Page 35 of 543
Quick Reference Guide
33
Handling the Unexpected (P 481)
Flat Tire (P 482)
● Park in a safe location and repair the flat
tire using the temporary tire repair kit.
Indicators Come On
(P 502)
●Identify the indica tor and consult the
owner’s manual.
Power System Won’t Start
(P 495)
● If the 12-volt battery is dead, jump start
using a booster battery.
Blown Fuse
(P 508)
● Check for a blown fuse if an electrical
device does not operate.
Overheating (P 501)
● Park in a safe location. If you do not see
steam under the hood, open the hood,
and let the power system cool down.
Emergency Towing
(P 515)
●Call a professional towing service if you
need to tow your vehicle.
17 CLARITY BEV CSS-31TRV6000.book 33 ページ 2017年4月14日 金曜日 午前11時 8分
Page 100 of 543
98
uuIndicators uDriver Information Interface Wa rning and Information Messages
Instrument Panel
Driver Information Interface Warning and Information Messages
The following messages appear only on the driver information interface. Press th e (display/information) button to see the mess age
again with the system message indicator on.
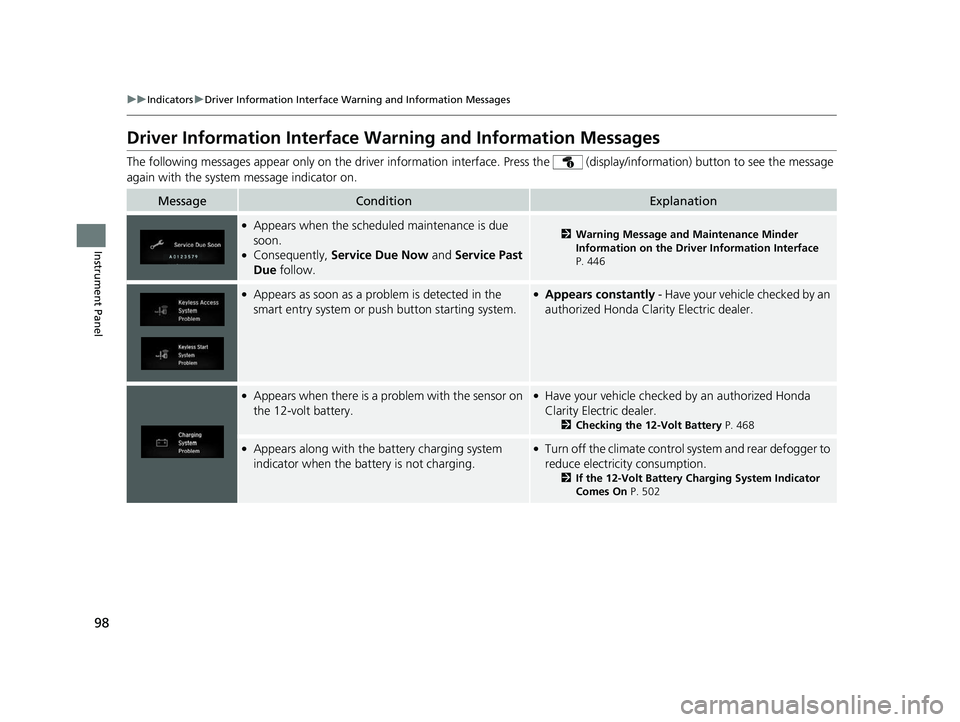
MessageConditionExplanation
●Appears when the schedul ed maintenance is due
soon.
●Consequently, Service Due Now and Service Past
Due follow.
2Warning Message and Maintenance Minder
Information on the Driver Information Interface
P. 446
●Appears as soon as a problem is detected in the
smart entry system or push button starting system.●Appears constantly - Have your vehicle checked by an
authorized Honda Clar ity Electric dealer.
●Appears when there is a pr oblem with the sensor on
the 12-volt battery.●Have your vehicle checked by an authorized Honda
Clarity Electric dealer.
2 Checking the 12-Volt Battery P. 468
●Appears along with the battery charging system
indicator when the batte ry is not charging.●Turn off the climate control system and rear defogger to
reduce electricity consumption.
2If the 12-Volt Battery Charging System Indicator
Comes On P. 502
17 CLARITY BEV CSS-31TRV6000.book 98 ページ 2017年4月14日 金曜日 午前11時 8分
Page 443 of 543
441
Maintenance
This chapter discusses basic maintenance.
Before Performing MaintenanceInspection and Maintenance ............ 442
Safety When Performing Maintenance...443
Parts and Fluids Used in Maintenance Service ........................................... 444
Maintenance Minder
TM..................... 445
Maintenance Under the Hood Maintenance Items Under the Hood .. 449
Opening the Hood ........................... 450
Cooling System ................................ 451
Transmission Fluid ............................ 452
Brake Fluid ....................................... 452 Refilling Window Washer Fluid......... 453
Replacing Light Bulbs ....................... 454
Checking and Maintaining Wiper
Blades .......................................... 456
Checking and Maintaining Tires
Checking Tires ................................. 459
Tire and Loading Information Label .. 460
Tire Labeling .................................... 460
DOT Tire Quality Grading (U.S. Vehicles).. 462
Wear Indicators................................ 464
Tire Service Life ................................ 464
Tire and Wheel Replacement............ 465 Tire Rotation .................................... 466
Winter Tires ..................................... 467
12-Volt Battery ................................. 468
Remote Transmitter Care Replacing the Button Battery ........... 470
Climate Control System Maintenance.. 471
CleaningInterior Care .................................... 472
Exterior Care.................................... 474
Accessories and Modifications ........ 478
17 CLARITY BEV CSS-31TRV6000.book 441 ページ 2017年4月14日 金曜日 午前11 時8分
Page 448 of 543
446
uuMaintenance MinderTMuTo Use Maintenance MinderTM
Maintenance
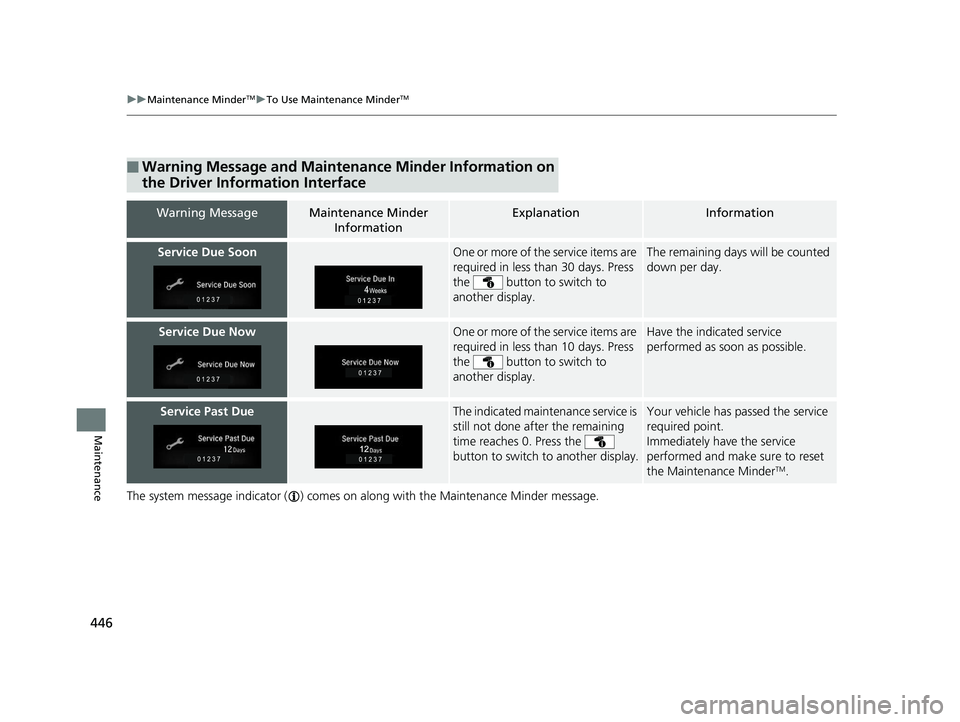
The system message indicator ( ) comes on along with the Maintenance Minder message.
■Warning Message and Maintenance Minder Information on
the Driver Information Interface
Warning MessageMaintenance Minder
InformationExplanationInformation
Service Due SoonOne or more of the service items are
required in less than 30 days. Press
the button to switch to
another display.The remaining days will be counted
down per day.
Service Due NowOne or more of the service items are
required in less than 10 days. Press
the button to switch to
another display.Have the indicated service
performed as soon as possible.
Service Past DueThe indicated maintenance service is
still not done after the remaining
time reaches 0. Press the
button to switch to another display.Your vehicle has passed the service
required point.
Immediately have the service
performed and make sure to reset
the Maintenance Minder
TM.
17 CLARITY BEV CSS-31TRV6000.book 446 ページ 2017年4月14日 金曜日 午前11 時8分
Page 449 of 543
447
uuMaintenance MinderTMuTo Use Maintenance MinderTM
Continued
Maintenance
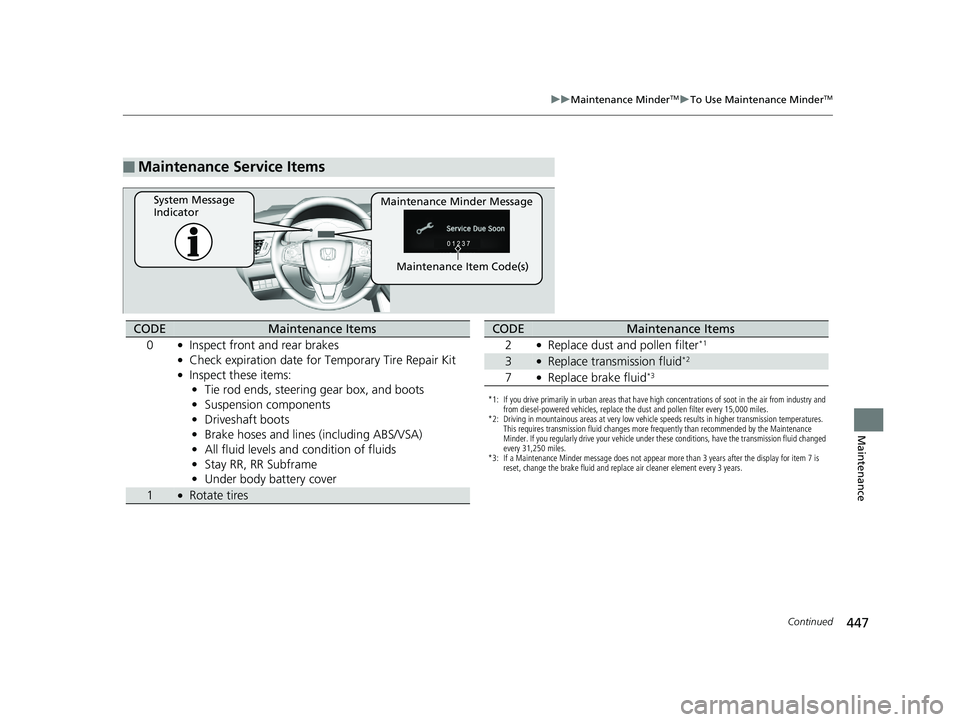
■Maintenance Service Items
Maintenance Minder Message
System Message
Indicator
Maintenance Item Code(s)
CODEMaintenance Items
0
●Inspect front and rear brakes●Check expiration date for Temporary Tire Repair Kit●Inspect these items: • Tie rod ends, steering gear box, and boots
• Suspension components
• Driveshaft boots
• Brake hoses and lines (including ABS/VSA)
• All fluid levels and condition of fluids
• Stay RR, RR Subframe
• Under body battery cover
1●Rotate tires
*1: If you drive primarily in urban areas that have high concentrations of soot in the air from industry and
from diesel-powered vehicles, replace the dust and pollen filter every 15,000 miles.
*2: Driving in mountainous areas at very low vehicle speeds results in higher transmission temperatures. This requires transmission fluid changes more frequently than recommended by the Maintenance
Minder. If you regularly drive your vehicle under these conditions, have the transmission fluid changed
every 31,250 miles.
*3: If a Maintenance Minder message does not appear more than 3 years after the display for item 7 is reset, change the brake fluid and replace air cleaner element every 3 years.
CODEMaintenance Items
2
●Replace dust and pollen filter*1
3●Replace transmission fluid*2
7●Replace brake fluid*3
17 CLARITY BEV CSS-31TRV6000.book 447 ページ 2017年4月14日 金曜日 午前11 時8分
Page 466 of 543
464
uuChecking and Maintaining Tires uWear Indicators
Maintenance
Wear Indicators
The groove where the wear indicator is
located is 1/16 inch (1.6 mm) shallower than
elsewhere on the tire. If the tread has worn so
that the indicator is ex posed, replace the tire.
Worn out tires have poor traction on wet
roads.
Tire Service Life
The life of your tires is dependent on many factors, including driving habits, road
conditions, vehicle loading, inflation pre ssure, maintenance history, speed, and
environmental conditions (even when the tires are not in use).
In addition to regular in spections and inflation pres sure maintenance, it is
recommended that you have annual inspecti ons performed once the tires reach five
years old. All tires should be removed fro m service after 10 years from the date of
manufacture, regardless of their condition or state of wear.
Example of a Wear
Indicator mark
17 CLARITY BEV CSS-31TRV6000.book 464 ページ 2017年4月14日 金曜日 午前11 時8分
Page 502 of 543
uuJump Starting u
500
Handling the Unexpected
Once your vehicle’s power system has sta rted, remove the jumper cables in the
following order:
1. Disconnect the jumper cable from your vehicle’s ground.
2. Disconnect the other end of the jumper cable from the booster battery -
terminal.
3. Disconnect the jumper cable from your vehicle’s 12-volt battery + terminal.
4. Disconnect the other end of the jumper cable from the booster battery +
terminal.
Have your vehicle inspected by a nearby service station or an authorized Honda
Clarity Electric dealer.
■What to Do After the Power System Starts1 What to Do After the Power System Starts
The indicators for the Vehicle Stability Assist (VSA ®)
system, VSA ® OFF, Collision Mitigation Braking
System
TM (CMBSTM), and low tire pressure/Tire
Pressure Monitoring System (TPMS) may come on
along with a message in the driver information
interface when you turn the power system on after
reconnecting the battery.
Drive a short distance at 12 mph (20 km/h). The
indicator should go off. If it does not, have your
vehicle checked by an authorized Honda Clarity
Electric dealer.
17 CLARITY BEV CSS-31TRV6000.book 500 ページ 2017年4月14日 金曜日 午前11 時8分
Page 509 of 543
507
uuIndicator, Coming On/BlinkinguIf the Transmission System Indicator Blinks along with the Warning Message
Handling the Unexpected
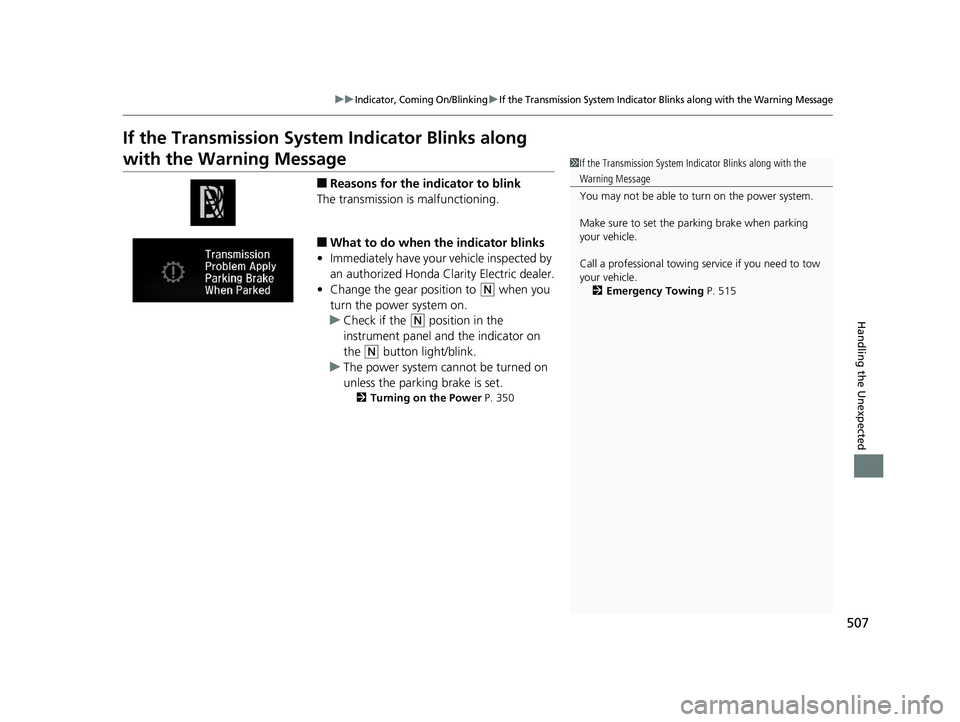
If the Transmission System Indicator Blinks along
with the Warning Message
■Reasons for the indicator to blink
The transmission is malfunctioning.
■What to do when the indicator blinks
• Immediately have your vehicle inspected by
an authorized Honda Cl arity Electric dealer.
• Change the gear position to
(N when you
turn the power system on.
u Check if the
(N position in the
instrument panel and the indicator on
the
(N button light/blink.
u The power system cannot be turned on
unless the parking brake is set.
2 Turning on the Power P. 350
1If the Transmission System In dicator Blinks along with the
Warning Message
You may not be able to turn on the power system.
Make sure to set the parking brake when parking
your vehicle.
Call a professional towing service if you need to tow
your vehicle. 2 Emergency Towing P. 515
17 CLARITY BEV CSS-31TRV6000.book 507 ページ 2017年4月14日 金曜日 午前11 時8分