2017 FORD SUPER DUTY clock
[x] Cancel search: clockPage 333 of 636
It is very important to use prediluted
coolant meeting the correct specification
in order to avoid plugging the small
passageways in the engine cooling system.
See Capacities and Specifications
(page 418). Incorrect prediluted coolant
use can cause damage not covered by the
vehicle Warranty.
If the coolant level is at or below the
minimum mark, add prediluted coolant
immediately.
To top up the coolant level do the
following:
1. Unscrew the cap slowly. Any pressure escapes as you unscrew the cap.
2. Add prediluted coolant meeting the correct specification. See
Capacities
and Specifications (page 411).
3. Add enough prediluted coolant to reach the correct level.
4. Replace the coolant reservoir cap, turn
it clockwise until you feel a strong
resistance.
5. Check the coolant level in the coolant reservoir the next few times you drive
your vehicle.
Note: During normal vehicle operation, the
coolant may change color from orange to
pink or light red. As long as the coolant is
clear and uncontaminated, this color change
does not indicate the coolant has degraded
nor does it require the coolant to be drained,
the system to be flushed, or the coolant to
be replaced.
Do not mix different colors or types of
prediluted coolant in your vehicle. Mixing
of prediluted coolant or using an incorrect
prediluted coolant may harm the engine
or cooling system components and may
not be covered by the vehicle Warranty.
In case of emergency, you can add a large
amount of water without prediluted
coolant in order to reach a vehicle service
location. On arrival do the following: 1. Drain the cooling system.
2. Chemically clean the cooling system.
We recommend Motorcraft Premium
Cooling System Flush.
3. Refill with prediluted coolant as soon as possible.
Water alone, without prediluted coolant,
can cause engine damage from corrosion,
overheating or freezing.
Do not use the following as a coolant
substitute:
• Alcohol.
• Methanol.
• Brine.
• Any coolant mixed with alcohol or
methanol antifreeze.
Alcohol and other liquids can cause engine
damage from overheating or freezing.
Do not add extra inhibitors or additives to
the coolant. These can be harmful and
compromise the corrosion protection of
the coolant.
Recycled Coolant
We do not recommend the use of recycled
coolant as an approved recycling process
is not yet available.
Dispose of used engine coolant in an
appropriate manner. Follow your
community ’s regulations and standards
for recycling and disposing of automotive
fluids.
330
Super Duty (TFE) Canada/United States of America, enUSA, First Printing Maintenance
Page 337 of 636
For vehicles with overflow coolant systems
with a non-pressurized cap on the coolant
recovery system, add coolant to the
coolant recovery reservoir when the engine
is cool. Add prediluted coolant to the
maximum level. For all vehicles which have
a coolant degas system with a pressurized
cap, or if it is necessary to remove the
coolant pressure relief cap on the radiator,
follow these steps to add engine coolant:
1. Turn the engine off and let it cool.
2. Unscrew the cap slowly. Any pressure
escapes as you unscrew the cap.
3. Fill the coolant reservoir slowly with prediluted engine coolant to within the
minimum and maximum range on the
engine coolant reservoir. If you
removed the radiator cap in an
overflow system, fill the radiator until
the coolant is visible and the radiator
is almost full. If coolant is added to
bring the level within the minimum and
maximum range when the engine is not
cold, the system may remain
underfilled.
4. Replace the coolant reservoir cap, turn
it clockwise until you feel a strong
resistance.
5. Check the coolant level in the coolant reservoir the next few times you drive
your vehicle. If necessary, add enough
prediluted engine coolant to bring the
coolant level to the proper level.
Note: If prediluted coolant is not available,
use the approved antifreeze concentrate
diluting it to 50/50 with distilled water. See
Capacities and Specifications (page 428).
Using water that has not been deionised
may contribute to deposit formation,
corrosion or plugging of the small cooling
system passageways. If you have to add more than 1.1 qt (1 L) of
engine coolant per month, have your
vehicle checked as soon as possible.
Operating an engine with a low level of
coolant can result in engine overheating
and possible engine damage.
Note: During normal vehicle operation, the
coolant may change color from orange to
pink or light red. As long as the coolant is
clear and uncontaminated, this color change
does not indicate the coolant has degraded
nor does it require the coolant to be drained,
the system to be flushed, or the coolant to
be replaced.
Note: In case of emergency, you can add a
large amount of water without coolant in
order to reach a vehicle service location.
Water alone, without coolant, can cause
engine damage from corrosion, overheating
or freezing. When you reach a service
location, you must have the cooling system
drained, flushed and refilled using the
correct specification prediluted coolant or
antifreeze concentrate. See
Capacities and
Specifications (page 428).
Do not use the following as a coolant
substitute:
• Alcohol.
• Methanol.
• Brine.
• Any coolant mixed with alcohol or
methanol antifreeze.
Alcohol and other liquids can cause engine
damage from overheating or freezing.
Do not add extra inhibitors or non-specified
additives to the coolant. These can be
harmful and compromise the corrosion
protection of the coolant.
334
Super Duty (TFE) Canada/United States of America, enUSA, First Printing Maintenance
Page 338 of 636
Engine and Secondary Cooling
System Refill Procedure
The following procedure should be used
when refilling the engine or secondary
cooling systems after it has been drained
or become extremely low:
1. Before you remove the cap, turn the
engine off and let it cool.
2. When the engine is cool, wrap a thick cloth around the cap. Slowly turn cap
counterclockwise until pressure begins
to release.
3. Step back while the pressure releases.
4. When you are sure that all the pressure
has been released, use the cloth to turn
it counterclockwise and remove the
cap.
5. Slowly add prediluted engine coolant to the coolant reservoir until the
coolant level is within the minimum
and maximum range as listed on the
reservoir.
6. Reinstall the pressure relief cap.
7. Start and run the engine at 2000 rpm for 2 minutes.
8. Shut engine off, and remove the pressure relief cap as previously
outlined.
9. If required, add prediluted engine coolant to the coolant reservoir until
the coolant level is within the minimum
and maximum range as listed on the
reservoir.
10. Engine cooling system: Repeat
Step 5 until the coolant level has
stabilized (is no longer dropping after
each step) and the upper radiator
hose at the radiator is warm to the
touch (indicating that the engine
thermostat is open and coolant is
flowing through the radiator). 11.
Check the secondary cooling system.
Repeat Step 5 until the coolant level
has stabilized (is no longer dropping
after each step) and the lower
passenger side of the secondary
radiator is warm to the touch
(indicating secondary thermostat is
open and coolant is flowing through
the entire system).
12. Reinstall the pressure relief cap. Shut
the engine off and let it cool.
13. Check the coolant level in the reservoir before you drive your vehicle
the next few times.
14. If necessary, add prediluted engine coolant to the coolant reservoir until
the coolant level is within the
minimum and maximum range as
listed on the reservoir. After any
coolant has been added, check the
coolant concentration.
Recycled Coolant
We do not recommend the use of recycled
coolant as an approved recycling process
is not yet available.
Dispose of used engine coolant in an
appropriate manner. Follow your
community ’s regulations and standards
for recycling and disposing of automotive
fluids.
Severe Climates
If you drive in extremely cold climates:
• It may be necessary to increase the
coolant concentration above 50%.
• A coolant concentration of 60%
provides improved freeze point
protection. Coolant concentrations
above 60% decrease the overheat
protection characteristics of the
coolant and may cause engine
damage.
335
Super Duty (TFE) Canada/United States of America, enUSA, First Printing Maintenance
Page 346 of 636
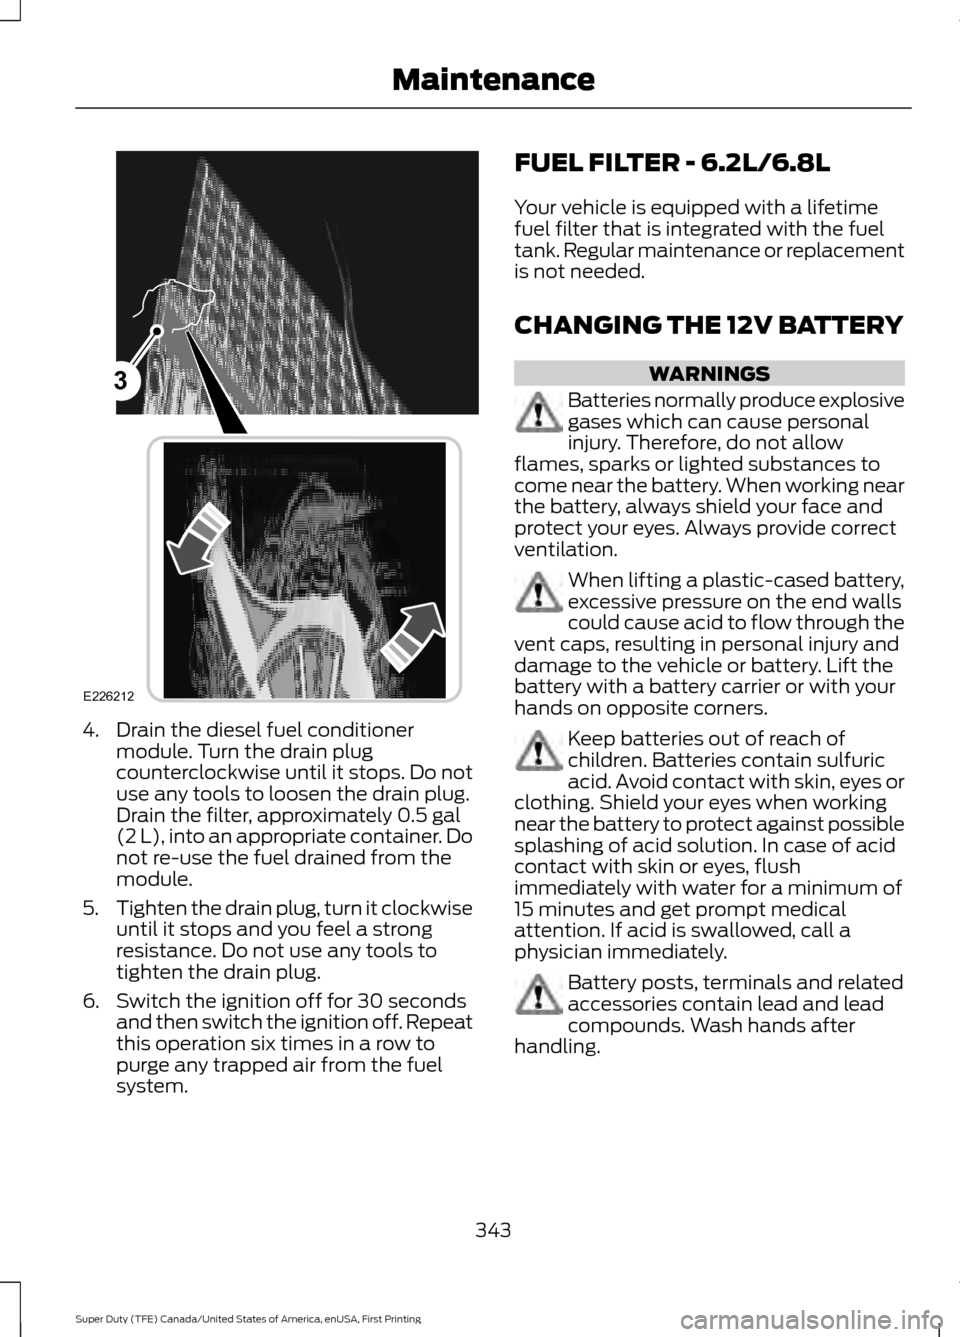
4. Drain the diesel fuel conditioner
module. Turn the drain plug
counterclockwise until it stops. Do not
use any tools to loosen the drain plug.
Drain the filter, approximately 0.5 gal
(2 L), into an appropriate container. Do
not re-use the fuel drained from the
module.
5. Tighten the drain plug, turn it clockwise
until it stops and you feel a strong
resistance. Do not use any tools to
tighten the drain plug.
6. Switch the ignition off for 30 seconds and then switch the ignition off. Repeat
this operation six times in a row to
purge any trapped air from the fuel
system. FUEL FILTER - 6.2L/6.8L
Your vehicle is equipped with a lifetime
fuel filter that is integrated with the fuel
tank. Regular maintenance or replacement
is not needed.
CHANGING THE 12V BATTERY
WARNINGS
Batteries normally produce explosive
gases which can cause personal
injury. Therefore, do not allow
flames, sparks or lighted substances to
come near the battery. When working near
the battery, always shield your face and
protect your eyes. Always provide correct
ventilation. When lifting a plastic-cased battery,
excessive pressure on the end walls
could cause acid to flow through the
vent caps, resulting in personal injury and
damage to the vehicle or battery. Lift the
battery with a battery carrier or with your
hands on opposite corners. Keep batteries out of reach of
children. Batteries contain sulfuric
acid. Avoid contact with skin, eyes or
clothing. Shield your eyes when working
near the battery to protect against possible
splashing of acid solution. In case of acid
contact with skin or eyes, flush
immediately with water for a minimum of
15 minutes and get prompt medical
attention. If acid is swallowed, call a
physician immediately. Battery posts, terminals and related
accessories contain lead and lead
compounds. Wash hands after
handling.
343
Super Duty (TFE) Canada/United States of America, enUSA, First Printing Maintenance3
E226212
Page 347 of 636
WARNINGS
This vehicle may be fitted with more
than one battery. Removing the
battery cables from only one battery
does not disconnect your vehicle electrical
system. Make sure you disconnect the
battery cables from all batteries when
disconnecting power. Failure to do so may
cause serious personal injury or property
damage. Your vehicle is fitted with a Motorcraft
maintenance-free battery which normally
does not require additional water.
When a battery replacement is required,
you must use a recommended
replacement battery that matches the
electrical requirements of the vehicle.
Note:
After cleaning or replacing the
battery, make sure you reinstall the battery
cover or shield.
Note: If you add electrical accessories or
components to the vehicle, it may adversely
affect the low voltage battery performance
and durability. This may also affect the
performance of other electrical systems in
the vehicle.
For longer, trouble-free operation, keep the
top of the battery clean and dry.
If you see any corrosion on the battery or
terminals, remove the cables from the
terminals and clean with a wire brush. You
can neutralize the acid with a solution of
baking soda and water. Because your vehicle
’s engine is
electronically controlled by a computer,
some control conditions are maintained
by power from the battery. When the
battery is disconnected or a new battery
is installed, the engine must relearn its idle
and fuel trim strategy for optimum
driveability and performance. Flexible fuel
vehicles (FFV) must also relearn the
ethanol content of the fuel for optimum
driveability and performance.
To restore the settings, do the following:
1. Apply the parking brake.
2. Shift into park (P) or neutral (N).
3. Switch off all accessories.
4. Press the brake pedal and start your vehicle.
5. Run the engine until it reaches normal operating temperature. While the
engine is warming up, complete the
following: Reset the clock. See Audio
System (page 435). Reset the power
windows bounce-back feature. See
Windows and Mirrors
(page 95).
Reset the radio station presets. See
Audio System
(page 435).
6. Allow the engine to idle for at least one
minute.
7. Drive the vehicle at least 10 mi (16 km)
to completely relearn the idle trim and
fuel trim strategy.
Note: If you do not allow the engine to
relearn the idle and fuel trim strategy, the
idle quality of your vehicle may be adversely
affected until the engine computer
eventually relearns the idle trim and fuel
trim strategy.
Note: For flexible fuel vehicles, if you are
operating on E85, you may experience poor
starts or an inability to start the engine and
driveability problems until the fuel trim and
ethanol content have been relearned.
344
Super Duty (TFE) Canada/United States of America, enUSA, First Printing Maintenance
Page 350 of 636
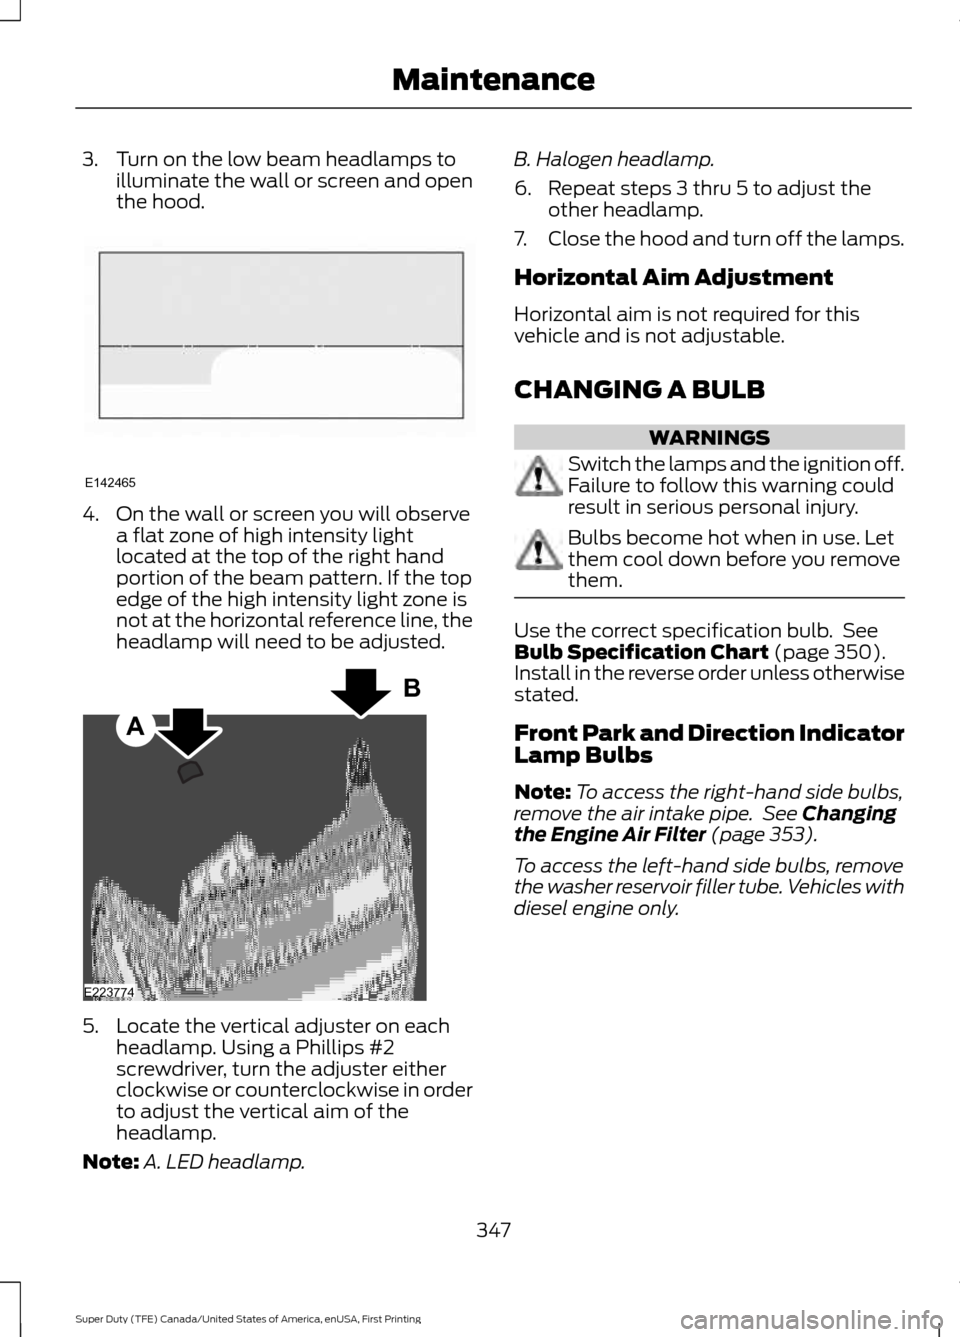
3. Turn on the low beam headlamps to
illuminate the wall or screen and open
the hood. 4. On the wall or screen you will observe
a flat zone of high intensity light
located at the top of the right hand
portion of the beam pattern. If the top
edge of the high intensity light zone is
not at the horizontal reference line, the
headlamp will need to be adjusted. 5. Locate the vertical adjuster on each
headlamp. Using a Phillips #2
screwdriver, turn the adjuster either
clockwise or counterclockwise in order
to adjust the vertical aim of the
headlamp.
Note: A. LED headlamp. B. Halogen headlamp.
6. Repeat steps 3 thru 5 to adjust the
other headlamp.
7. Close the hood and turn off the lamps.
Horizontal Aim Adjustment
Horizontal aim is not required for this
vehicle and is not adjustable.
CHANGING A BULB WARNINGS
Switch the lamps and the ignition off.
Failure to follow this warning could
result in serious personal injury.
Bulbs become hot when in use. Let
them cool down before you remove
them.
Use the correct specification bulb. See
Bulb Specification Chart (page 350).
Install in the reverse order unless otherwise
stated.
Front Park and Direction Indicator
Lamp Bulbs
Note: To access the right-hand side bulbs,
remove the air intake pipe. See
Changing
the Engine Air Filter (page 353).
To access the left-hand side bulbs, remove
the washer reservoir filler tube. Vehicles with
diesel engine only.
347
Super Duty (TFE) Canada/United States of America, enUSA, First Printing MaintenanceE142465 A
B
E223774
Page 351 of 636
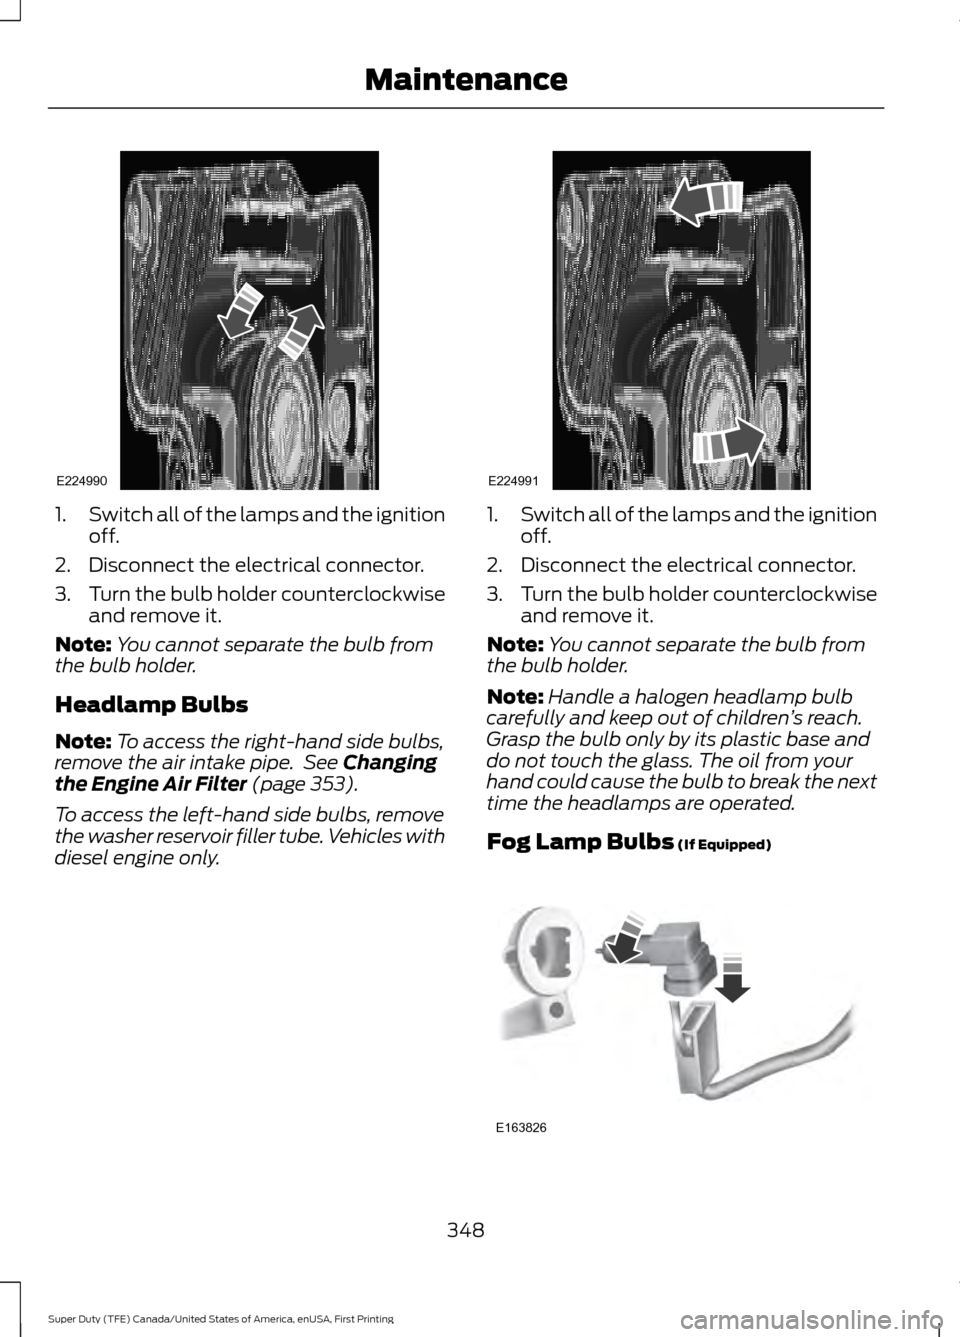
1.
Switch all of the lamps and the ignition
off.
2. Disconnect the electrical connector.
3. Turn the bulb holder counterclockwise
and remove it.
Note: You cannot separate the bulb from
the bulb holder.
Headlamp Bulbs
Note: To access the right-hand side bulbs,
remove the air intake pipe. See Changing
the Engine Air Filter (page 353).
To access the left-hand side bulbs, remove
the washer reservoir filler tube. Vehicles with
diesel engine only. 1.
Switch all of the lamps and the ignition
off.
2. Disconnect the electrical connector.
3. Turn the bulb holder counterclockwise
and remove it.
Note: You cannot separate the bulb from
the bulb holder.
Note: Handle a halogen headlamp bulb
carefully and keep out of children ’s reach.
Grasp the bulb only by its plastic base and
do not touch the glass. The oil from your
hand could cause the bulb to break the next
time the headlamps are operated.
Fog Lamp Bulbs
(If Equipped) 348
Super Duty (TFE) Canada/United States of America, enUSA, First Printing MaintenanceE224990 E224991 E163826
Page 352 of 636
1.
Switch all of the lamps and the ignition
off.
2. To access the bulb, reach behind the bumper.
3. Disconnect the electrical connector.
4. Turn the bulb holder counterclockwise
and remove it.
Note: You cannot separate the bulb from
the bulb holder.
Note: Handle a halogen bulb carefully and
keep out of children ’s reach. Grasp the bulb
only by its plastic base and do not touch the
glass. The oil from your hand could cause
the bulb to break the next time the fog
lamps are operated.
Rear Lamps, Brake Lamps, Rear
Direction Indicator and Reversing
Lamp Bulbs
Pickup Models - Vehicles without Blind
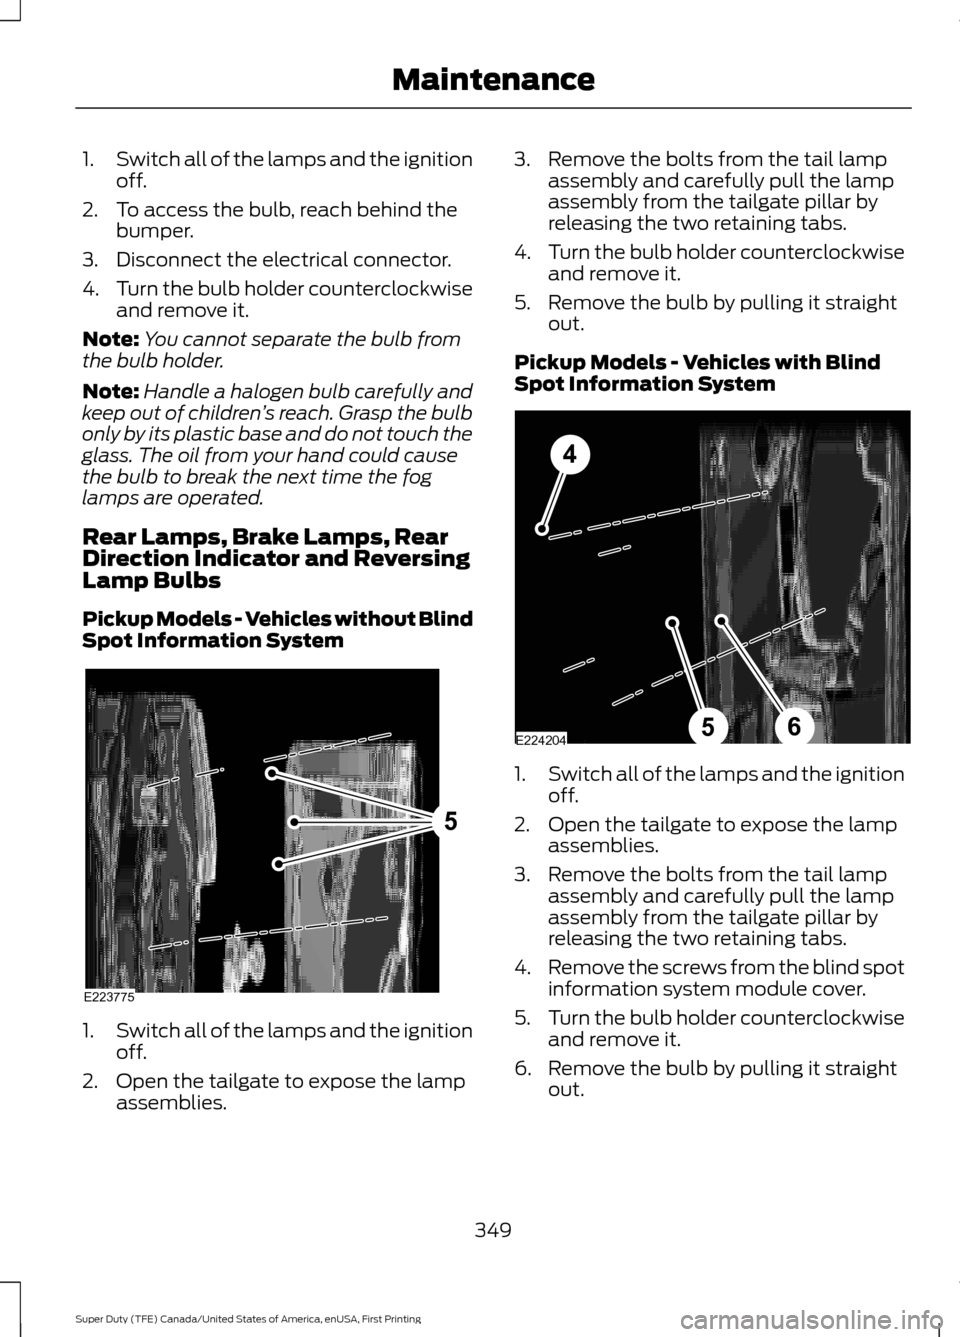
Spot Information System 1.
Switch all of the lamps and the ignition
off.
2. Open the tailgate to expose the lamp assemblies. 3. Remove the bolts from the tail lamp
assembly and carefully pull the lamp
assembly from the tailgate pillar by
releasing the two retaining tabs.
4. Turn the bulb holder counterclockwise
and remove it.
5. Remove the bulb by pulling it straight out.
Pickup Models - Vehicles with Blind
Spot Information System 1.
Switch all of the lamps and the ignition
off.
2. Open the tailgate to expose the lamp assemblies.
3. Remove the bolts from the tail lamp assembly and carefully pull the lamp
assembly from the tailgate pillar by
releasing the two retaining tabs.
4. Remove the screws from the blind spot
information system module cover.
5. Turn the bulb holder counterclockwise
and remove it.
6. Remove the bulb by pulling it straight out.
349
Super Duty (TFE) Canada/United States of America, enUSA, First Printing MaintenanceE223775
5 E224204
4
65