2017 FORD SUPER DUTY display
[x] Cancel search: displayPage 373 of 636
GENERAL INFORMATION
Use only approved wheel and tire sizes,
using other sizes could damage your
vehicle. If you change the diameter of the
tires from that fitted at the factory, the
speedometer may not display the correct
speed. Take your vehicle to an authorized
Ford dealer to have the system
reprogrammed. If you intend to change the
size of the wheels from that fitted by the
manufacturer, you can check the suitability
with an authorized dealer.
Additional information related to the
functionality and maintenance of your tires
can be found later in this chapter. See Tire
Care (page 373).
The Ford recommended tire inflation
pressures can be found on the Tire Label,
which is located on the B-pillar or the edge
of the driver's door. This information can
also be found on the Safety Compliance
Certification Label (affixed to either the
door hinge pillar, door-latch post, or the
door edge that meets the door last post;
next to the driver ’s seating position).
Ford strongly recommends maintaining
these tire pressures at all times. Failure to
follow the tire pressure recommendations
can cause uneven treadwear patterns,
reduced fuel economy, and adversely
affect the way your vehicle handles.
Note: Check and set the tire pressure at the
ambient temperature in which you are
intending to drive your vehicle and when the
tires are cold.
Note: Check your tire pressures at least
once per month.
Set the pressure for your spare tire to the
highest value given for your vehicle and tire
size combination (if equipped). Notice to utility vehicle and truck
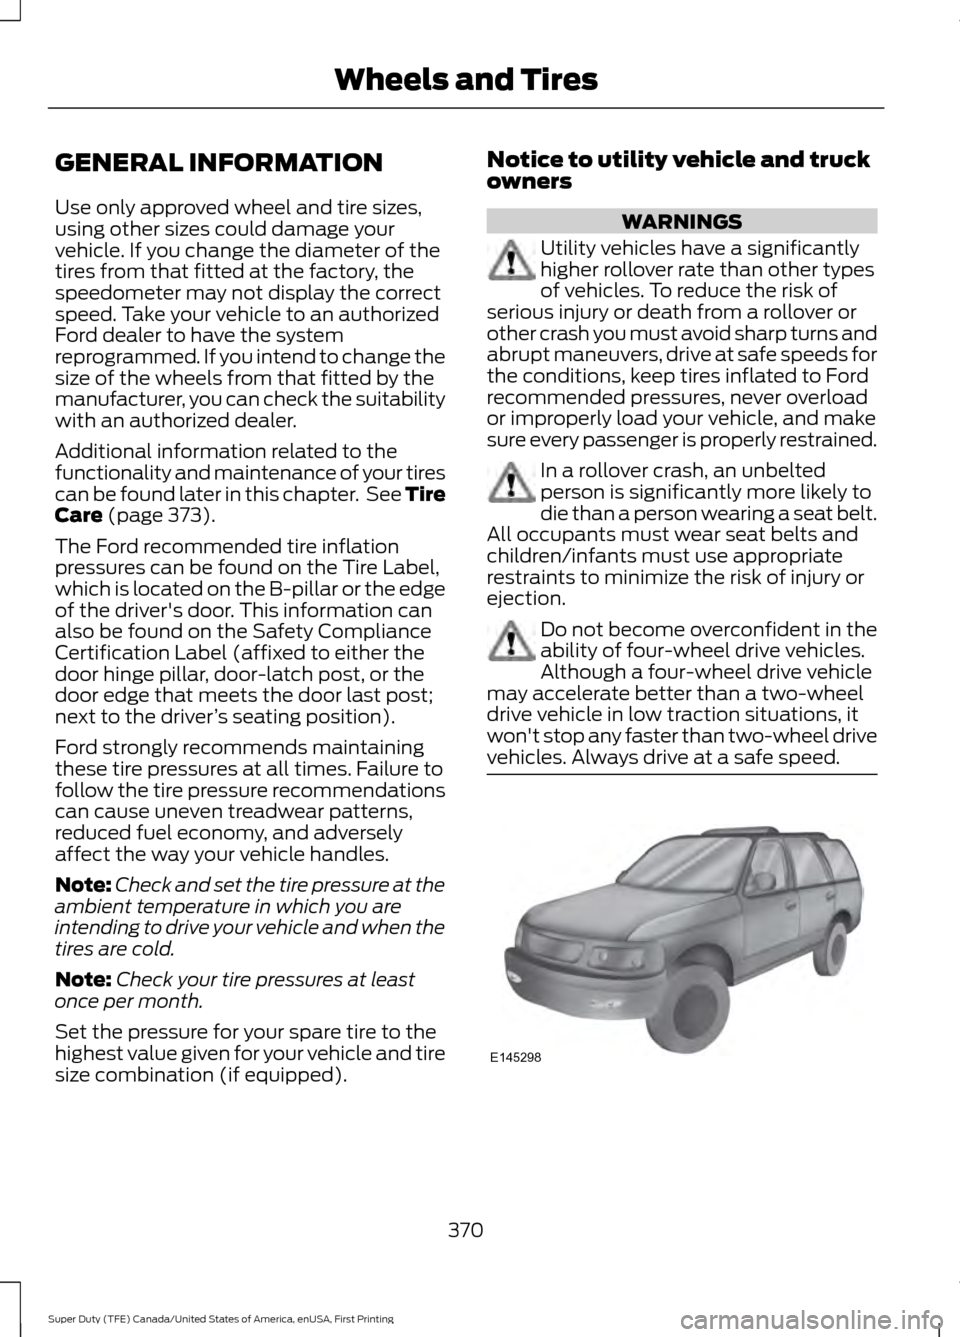
owners WARNINGS
Utility vehicles have a significantly
higher rollover rate than other types
of vehicles. To reduce the risk of
serious injury or death from a rollover or
other crash you must avoid sharp turns and
abrupt maneuvers, drive at safe speeds for
the conditions, keep tires inflated to Ford
recommended pressures, never overload
or improperly load your vehicle, and make
sure every passenger is properly restrained. In a rollover crash, an unbelted
person is significantly more likely to
die than a person wearing a seat belt.
All occupants must wear seat belts and
children/infants must use appropriate
restraints to minimize the risk of injury or
ejection. Do not become overconfident in the
ability of four-wheel drive vehicles.
Although a four-wheel drive vehicle
may accelerate better than a two-wheel
drive vehicle in low traction situations, it
won't stop any faster than two-wheel drive
vehicles. Always drive at a safe speed. 370
Super Duty (TFE) Canada/United States of America, enUSA, First Printing Wheels and TiresE145298
Page 398 of 636
•
To reduce the chances of interference
from another vehicle, perform the
system reset procedure at least three
feet (one meter) away from another
Ford Motor Company vehicle
undergoing the system reset procedure
at the same time.
• Do not wait more than two minutes
between resetting each tire sensor or
the system will time-out and the entire
procedure will have to be repeated on
all four wheels.
• A double horn will sound indicating the
need to repeat the procedure.
Performing the System Reset Procedure
(Single Rear Wheel)
Read the entire procedure before
attempting.
1. Drive the vehicle above 20 mph
(32 km/h) for at least two minutes,
then park in a safe location where you
can easily get to all four tires and have
access to an air pump.
2. Place the ignition in the off position and
keep the key in the ignition.
3. Cycle the ignition to the on position with the engine off.
4. Turn the hazard flashers on then off three times. You must accomplish this
within 10 seconds. If the reset mode
has been entered successfully, the horn
will sound once, the system indicator
will flash and a message is shown in
the information display. If this does not
occur, please try again starting at Step
2. If after repeated attempts to enter
the reset mode, the horn does not
sound, the system indicator does not
flash and no message is shown in the
information display, seek service from
your authorized dealer. 5. Train the tire pressure monitoring
system sensors in the tires using the
following system reset sequence
starting with the left front tire in the
following clockwise order: Left front
(driver's side front tire), Right front
(passenger's side front tire), Right rear
(passenger's side rear tire), Left rear
(driver's side rear tire).
6. Remove the valve cap from the valve stem on the left front tire. Decrease the
air pressure until the horn sounds.
Note: The single horn chirp confirms that
the sensor identification code has been
learned by the module for this position. If a
double horn is heard, the reset procedure
was unsuccessful, and you must repeat it.
7. Remove the valve cap from the valve stem on the right front tire. Decrease
the air pressure until the horn sounds.
8. Remove the valve cap from the valve stem on the right rear tire. Decrease the
air pressure until the horn sounds.
9. Remove the valve cap from the valve stem on the left rear tire. Decrease the
air pressure until the horn sounds.
Training is complete after the horn
sounds for the last tire trained (driver's
side rear tire), the system indicator
stops flashing, and a message is shown
in the information display.
10. Turn the ignition off. If two short horn
beeps are heard, the reset procedure
was unsuccessful and you must
repeat it. If after repeating the
procedure and two short beeps are
heard when the ignition is turned to
off, seek assistance from your
authorized dealer.
395
Super Duty (TFE) Canada/United States of America, enUSA, First Printing Wheels and Tires
Page 399 of 636
11.
Set all four tires to the recommended
air pressure as indicated on the
Safety Compliance Certification
Label (affixed to either the door hinge
pillar, door-latch post, or the door
edge that meets the door-latch post,
next to the driver's seating position)
or Tire Label located on the B-Pillar
or the edge of the driver's door.
Performing the System Reset Procedure
(Dual Rear Wheel)
For further information see
Understanding Your Tire Pressure
Monitoring System and refer to Dual
Rear Wheel, earlier in this section.
Read the entire procedure before
attempting.
1. Drive the vehicle above
20 mph
(32 km/h) for at least two minutes,
then park in a safe location where you
can easily get to all four tires and have
access to an air pump.
2. Place the ignition in the off position and
keep the key in the ignition.
3. Cycle the ignition to the on position with the engine off.
4. Turn the hazard flashers on then off three times. You must accomplish this
within 10 seconds. If the reset mode
has been entered successfully, the horn
will sound once, the system indicator
will flash and a message is shown in
the information display. If this does not
occur, please try again starting at Step
2. If after repeated attempts to enter
the reset mode, the horn does not
sound, the system indicator does not
flash and no message is shown in the
information display, seek service from
your authorized dealer. 5. Train the tire pressure monitoring
system sensors in the tires using the
following system reset sequence
starting with the left front tire in the
following order: Left front (driver's side
front tire), Right front (passenger's side
front tire), Right outer rear (passenger's
side rear outer tire), Right inner rear
(passenger's side rear inner tire), Left
outer rear (driver's side rear outer tire),
Left inner rear (driver's side rear inner
tire).
6. Remove the valve cap from the valve stem on the left front tire. Decrease the
air pressure until the horn sounds.
Note: The single horn chirp confirms that
the sensor identification code has been
learned by the module for this position. If a
double horn is heard, the reset procedure
was unsuccessful, and you must repeat it.
7. Remove the valve cap from the valve stem on the right front tire. Decrease
the air pressure until the horn sounds.
8. Remove the valve cap from the valve stem on the right outer rear tire.
Decrease the air pressure until the horn
sounds.
9. Remove the valve cap from the valve stem on the right inner rear tire.
Decrease the air pressure until the horn
sounds.
10. Remove the valve cap from the valve
stem on the left outer rear tire.
Decrease the air pressure until the
horn sounds.
11. Remove the valve cap from the valve
stem on the left inner rear tire.
Decrease the air pressure until the
horn sounds. Training is complete
after the horn sounds for the last tire
trained, the system indicator stops
flashing, and a message is shown in
the information display.
396
Super Duty (TFE) Canada/United States of America, enUSA, First Printing Wheels and Tires
Page 400 of 636
12.
Turn the ignition off. If two short horn
beeps are heard, the reset procedure
was unsuccessful and you must
repeat it. If after repeating the
procedure and two short beeps are
heard when the ignition is turned to
off, seek assistance from your
authorized dealer.
13. Set all four tires to the recommended
air pressure as indicated on the
Safety Compliance Certification
Label (affixed to either the door hinge
pillar, door-latch post, or the door
edge that meets the door-latch post,
next to the driver's seating position)
or Tire Label located on the B-Pillar
or the edge of the driver's door.
Trailer Tire Pressure Monitoring
System (If Equipped)
Note: Additional equipment may be
required for your vehicle to support trailer
tire pressure monitoring. See your authorized
dealer for more information.
Note: The trailer tire pressure monitoring
system is not a substitute for proper tire
maintenance. It is your responsibility to
maintain correct tire pressures at all times.
Note: If a trailer tire is repaired, replaced or
broken down for service, the screw and valve
on the trailer tire pressure sensor should be
replaced. See your authorized dealer for
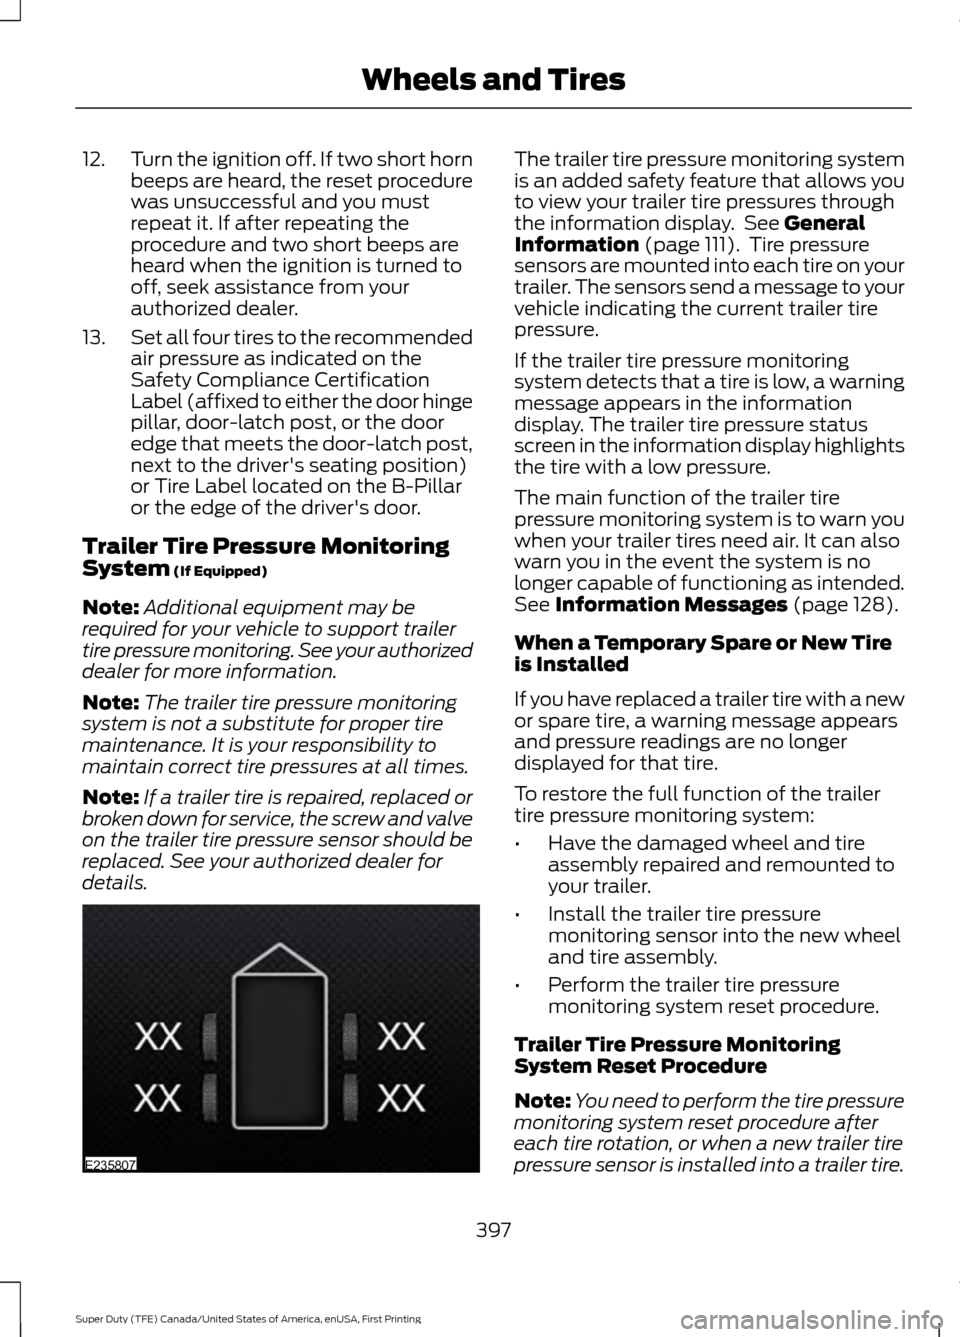
details. The trailer tire pressure monitoring system
is an added safety feature that allows you
to view your trailer tire pressures through
the information display. See
General
Information (page 111). Tire pressure
sensors are mounted into each tire on your
trailer. The sensors send a message to your
vehicle indicating the current trailer tire
pressure.
If the trailer tire pressure monitoring
system detects that a tire is low, a warning
message appears in the information
display. The trailer tire pressure status
screen in the information display highlights
the tire with a low pressure.
The main function of the trailer tire
pressure monitoring system is to warn you
when your trailer tires need air. It can also
warn you in the event the system is no
longer capable of functioning as intended.
See
Information Messages (page 128).
When a Temporary Spare or New Tire
is Installed
If you have replaced a trailer tire with a new
or spare tire, a warning message appears
and pressure readings are no longer
displayed for that tire.
To restore the full function of the trailer
tire pressure monitoring system:
• Have the damaged wheel and tire
assembly repaired and remounted to
your trailer.
• Install the trailer tire pressure
monitoring sensor into the new wheel
and tire assembly.
• Perform the trailer tire pressure
monitoring system reset procedure.
Trailer Tire Pressure Monitoring
System Reset Procedure
Note: You need to perform the tire pressure
monitoring system reset procedure after
each tire rotation, or when a new trailer tire
pressure sensor is installed into a trailer tire.
397
Super Duty (TFE) Canada/United States of America, enUSA, First Printing Wheels and TiresE235807
Page 401 of 636
The trailer tire pressure monitoring system
can be reset through the menu in the
information display. See General
Information (page 111). Performing the
trailer setup process also resets the trailer
tire pressure monitoring system.
CHANGING A ROAD WHEEL WARNINGS
The use of tire sealant may damage
your tire pressure monitoring system
and should only be used in roadside
emergencies. If you must use a sealant, the
Ford Tire Mobility Kit sealant should be
used. The tire pressure monitoring system
sensor and valve stem on the wheel must
be replaced by an authorized dealer after
use of the sealant. If the tire pressure monitor sensor
becomes damaged, it will no longer
function. See
Tire Pressure
Monitoring System (page 390). Note:
If your vehicle is equipped with the
tire pressure monitoring system, the
indicator light will illuminate when the spare
tire is in use. To restore the full function of
the monitoring system, all road wheels
equipped with tire pressure monitoring
sensors must be mounted on the vehicle.
If you get a flat tire while driving, do not
apply the brake heavily. Instead, gradually
decrease your speed. Hold the steering
wheel firmly and slowly move to a safe
place on the side of the road. If your vehicle is equipped with the tire
pressure monitoring system, have a flat
serviced by an authorized dealer in order
to prevent damage to the system sensors.
See
Tire Pressure Monitoring System
(page 390). Replace the spare tire with a
road tire as soon as possible. During
repairing or replacing of the flat tire, have
the authorized dealer inspect the system
sensor for damage.
Dissimilar Spare Wheel and Tire
Assembly Information WARNING
Failure to follow these guidelines
could result in an increased risk of
loss of vehicle control, injury or death.
If you have a dissimilar spare wheel and
tire, then it is intended for temporary use
only. This means that if you need to use it,
you should replace it as soon as possible
with a road wheel and tire assembly that
is the same size and type as the road tires
and wheels that were originally provided
by Ford. If the dissimilar spare tire or wheel
is damaged, it should be replaced rather
than repaired.
A dissimilar spare wheel and tire assembly
is defined as a spare wheel and tire
assembly that is different in brand, size or
appearance from the road tires and wheels
and can be one of three types:
1.
T-type mini-spare:
This spare tire
begins with the letter T for tire size and
may have Temporary Use Only molded in
the sidewall.
2. Full-size dissimilar spare with label
on wheel:
This spare tire has a label on
the wheel that states: THIS WHEEL AND
TIRE ASSEMBLY FOR TEMPORARY USE
ONLY
When driving with one of the dissimilar
spare tires listed above, do not:
398
Super Duty (TFE) Canada/United States of America, enUSA, First Printing Wheels and Tires
Page 425 of 636
If you use oil and fluids that do not meet
the defined specification and viscosity
grade, this may lead to:
•
Component damage which is not
covered by the vehicle warranty.
• Longer engine cranking periods.
• Increased emission levels.
• Reduced engine performance.
• Reduced fuel economy.
• Degraded brake performance.
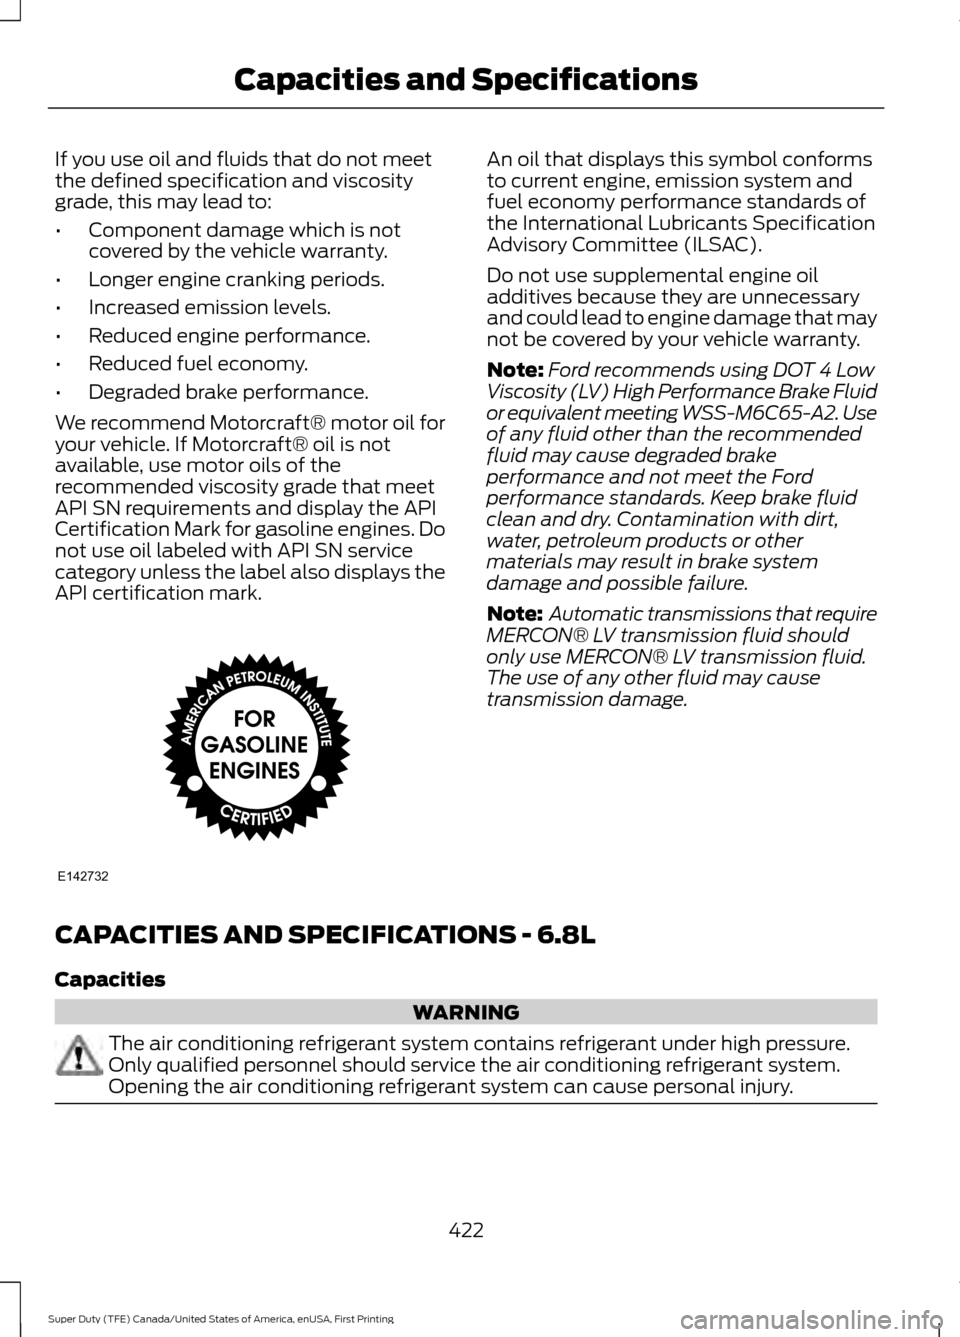
We recommend Motorcraft® motor oil for
your vehicle. If Motorcraft® oil is not
available, use motor oils of the
recommended viscosity grade that meet
API SN requirements and display the API
Certification Mark for gasoline engines. Do
not use oil labeled with API SN service
category unless the label also displays the
API certification mark. An oil that displays this symbol conforms
to current engine, emission system and
fuel economy performance standards of
the International Lubricants Specification
Advisory Committee (ILSAC).
Do not use supplemental engine oil
additives because they are unnecessary
and could lead to engine damage that may
not be covered by your vehicle warranty.
Note:
Ford recommends using DOT 4 Low
Viscosity (LV) High Performance Brake Fluid
or equivalent meeting WSS-M6C65-A2. Use
of any fluid other than the recommended
fluid may cause degraded brake
performance and not meet the Ford
performance standards. Keep brake fluid
clean and dry. Contamination with dirt,
water, petroleum products or other
materials may result in brake system
damage and possible failure.
Note: Automatic transmissions that require
MERCON® LV transmission fluid should
only use MERCON® LV transmission fluid.
The use of any other fluid may cause
transmission damage.
CAPACITIES AND SPECIFICATIONS - 6.8L
Capacities WARNING
The air conditioning refrigerant system contains refrigerant under high pressure.
Only qualified personnel should service the air conditioning refrigerant system.
Opening the air conditioning refrigerant system can cause personal injury.
422
Super Duty (TFE) Canada/United States of America, enUSA, First Printing Capacities and SpecificationsE142732
Page 430 of 636
Specification
Name
--
Lock cylinders (Mexico):
Penetrating and Lock Lubricant
MXL-1
WSD-M1C227-A
Transmission, parking brake linkages and pivots, brake
pedal shift:
Motorcraft® Premium Long-Life Grease
XG-1-E
1 Reference the reservoir cap for proper fluid.
If you use oil and fluids that do not meet
the defined specification and viscosity
grade, this may lead to:
• Component damage which is not
covered by the vehicle warranty.
• Longer engine cranking periods.
• Increased emission levels.
• Reduced engine performance.
• Reduced fuel economy.
• Degraded brake performance.
We recommend Motorcraft® motor oil for
your vehicle. If Motorcraft® oil is not
available, use motor oils of the
recommended viscosity grade that meet
API SN requirements and display the API
Certification Mark for gasoline engines. Do
not use oil labeled with API SN service
category unless the label also displays the
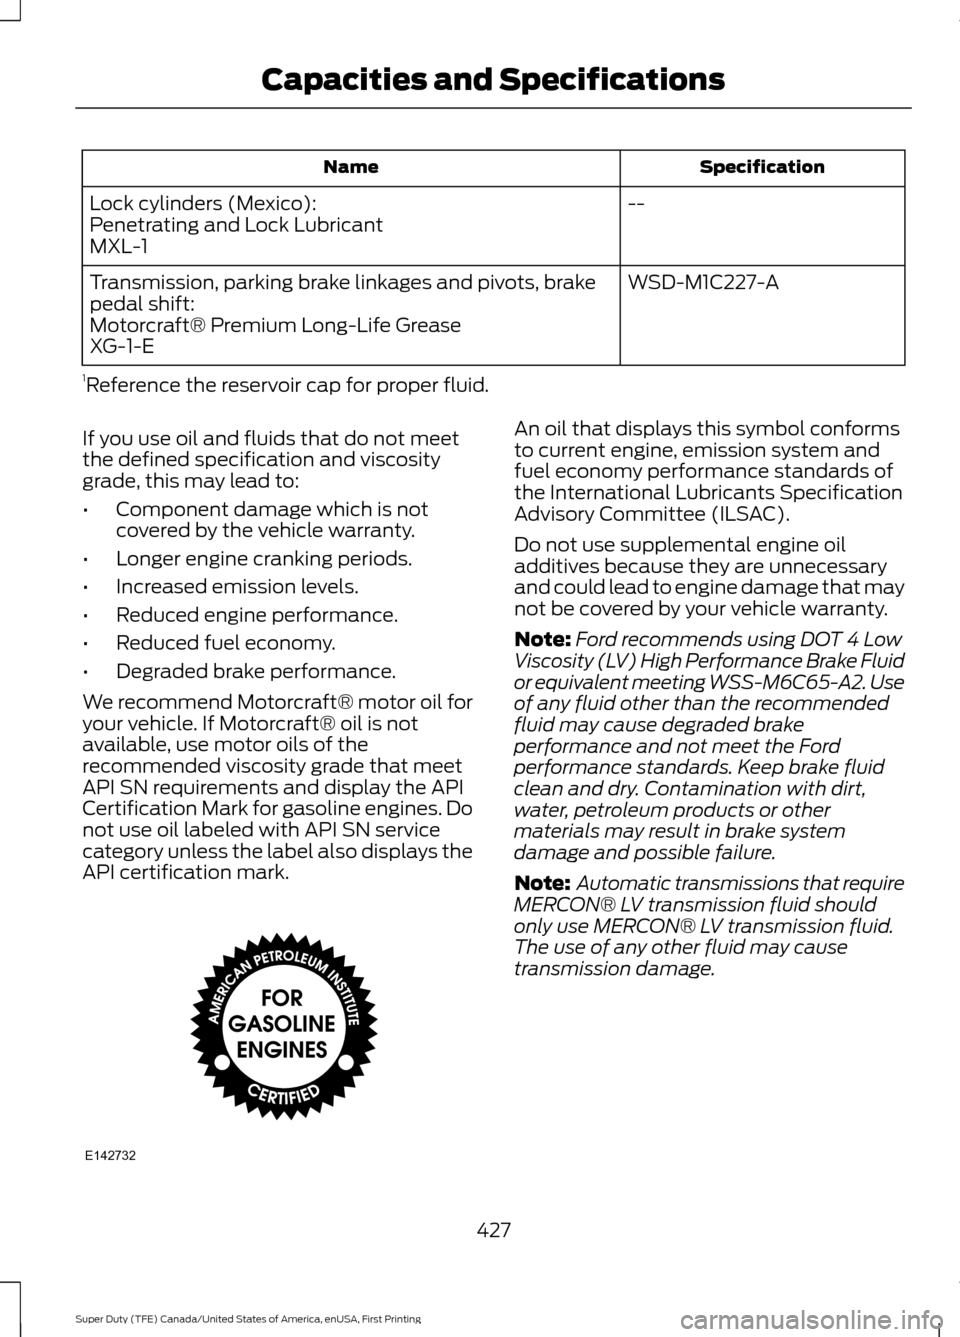
API certification mark. An oil that displays this symbol conforms
to current engine, emission system and
fuel economy performance standards of
the International Lubricants Specification
Advisory Committee (ILSAC).
Do not use supplemental engine oil
additives because they are unnecessary
and could lead to engine damage that may
not be covered by your vehicle warranty.
Note:
Ford recommends using DOT 4 Low
Viscosity (LV) High Performance Brake Fluid
or equivalent meeting WSS-M6C65-A2. Use
of any fluid other than the recommended
fluid may cause degraded brake
performance and not meet the Ford
performance standards. Keep brake fluid
clean and dry. Contamination with dirt,
water, petroleum products or other
materials may result in brake system
damage and possible failure.
Note: Automatic transmissions that require
MERCON® LV transmission fluid should
only use MERCON® LV transmission fluid.
The use of any other fluid may cause
transmission damage.
427
Super Duty (TFE) Canada/United States of America, enUSA, First Printing Capacities and SpecificationsE142732
Page 437 of 636
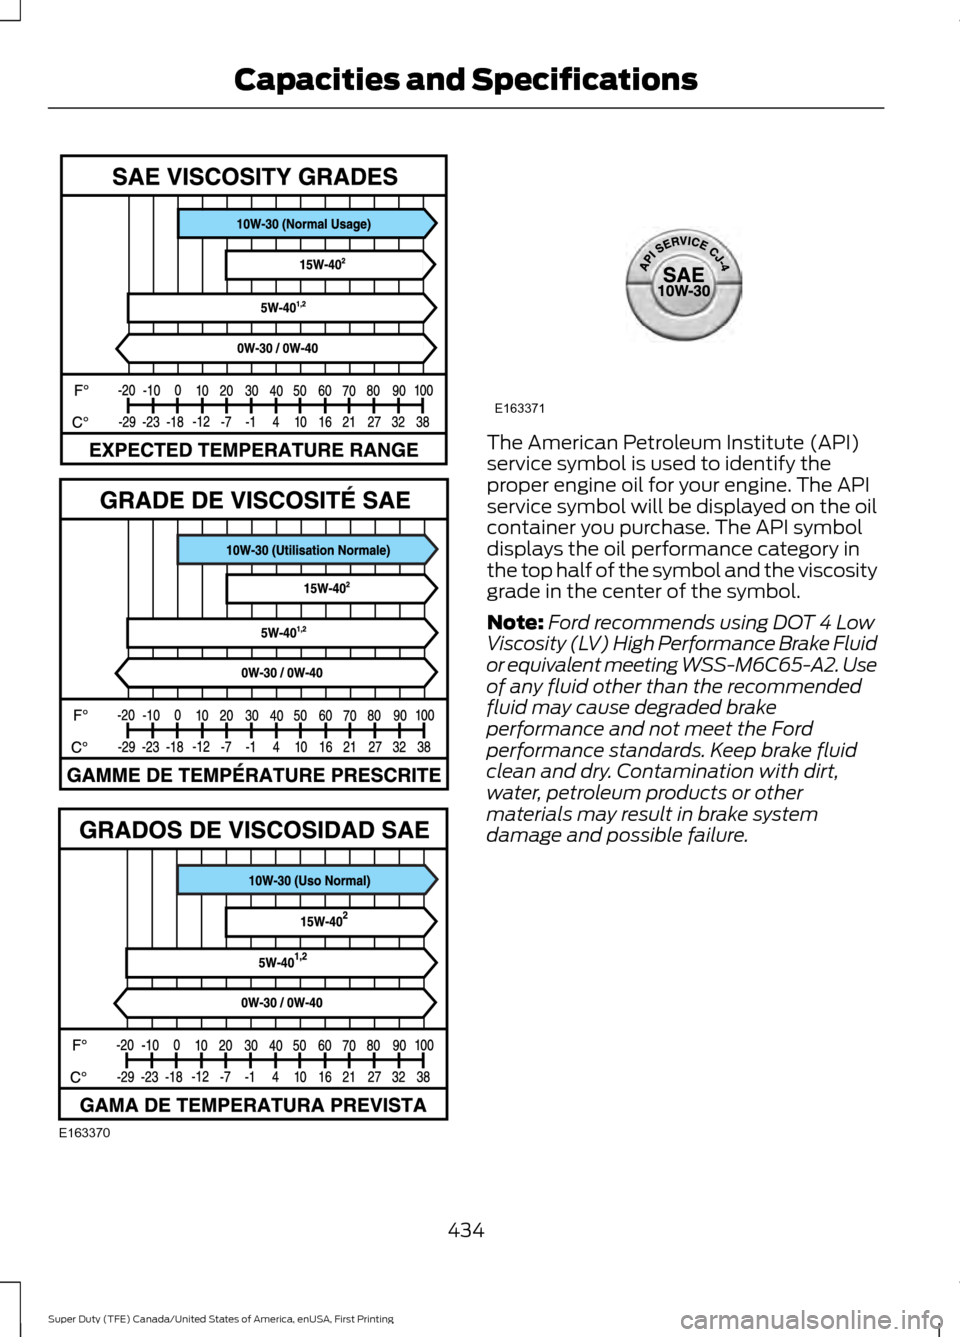
The American Petroleum Institute (API)
service symbol is used to identify the
proper engine oil for your engine. The API
service symbol will be displayed on the oil
container you purchase. The API symbol
displays the oil performance category in
the top half of the symbol and the viscosity
grade in the center of the symbol.
Note:
Ford recommends using DOT 4 Low
Viscosity (LV) High Performance Brake Fluid
or equivalent meeting WSS-M6C65-A2. Use
of any fluid other than the recommended
fluid may cause degraded brake
performance and not meet the Ford
performance standards. Keep brake fluid
clean and dry. Contamination with dirt,
water, petroleum products or other
materials may result in brake system
damage and possible failure.
434
Super Duty (TFE) Canada/United States of America, enUSA, First Printing Capacities and SpecificationsE163370 E163371