Page 48 of 358
Figure 2
29.9 inches (760 millimeters).
1.
Figure 3 Front passenger airbag - 27.5
inches (700 millimeters).
1.
Front driver airbag – 17 inches
(430 millimeters).
2.
Note: No objects should be placed between
the driver side steering wheel airbag and the
passenger side dash airbag. Figure 4 (If equipped)
From outboard side of seat - 6
inches (152 millimeters).
1.
Forward of seatback - 14 inches
(356 millimeters).
2. WARNING
The partition and the installation
hardware of the partition must not
interfere with the operation and
deployment of the rollover curtain air bags
and seat side air bags. Failure to follow
these instructions may cause personal
injury. Figure 5 (If equipped)
Up from side airbag module - 16
inches (406 millimeters).
3.
45
Taurus (CPH) Police, Canada/United States of America, enUSA, First Printing Supplementary Restraints SystemE201576 E201577 E201578 E201579
Page 55 of 358

From the Instrument Panel or Overhead
Console
Press the button on the
instrument panel or pull the
switch down on the overhead
console.
Note: The luggage compartment release
switch in standard configuration operates
when the ignition is in the run or start
position. An optional configuration is
available so that the switch operates when
the ignition is in any position. Contact an
authorized dealer to change these settings.
Note: The luggage compartment release
switch on both the instrument panel and
overhead console function the same.
INTERIOR LUGGAGE
COMPARTMENT RELEASE WARNINGS
Keep vehicle doors and luggage
compartment locked and keep keys
and remote transmitters out of a
child ’s reach. Unsupervised children could
lock themselves in the trunk and risk injury.
Children should be taught not to play in
vehicles. Do not leave children or animals
unattended in the vehicle. On hot
days, the temperature in the trunk or
vehicle interior can rise very quickly.
Exposure of people or animals to these
high temperatures for even a short time
can cause death or serious heat-related
injuries, including brain damage. Small
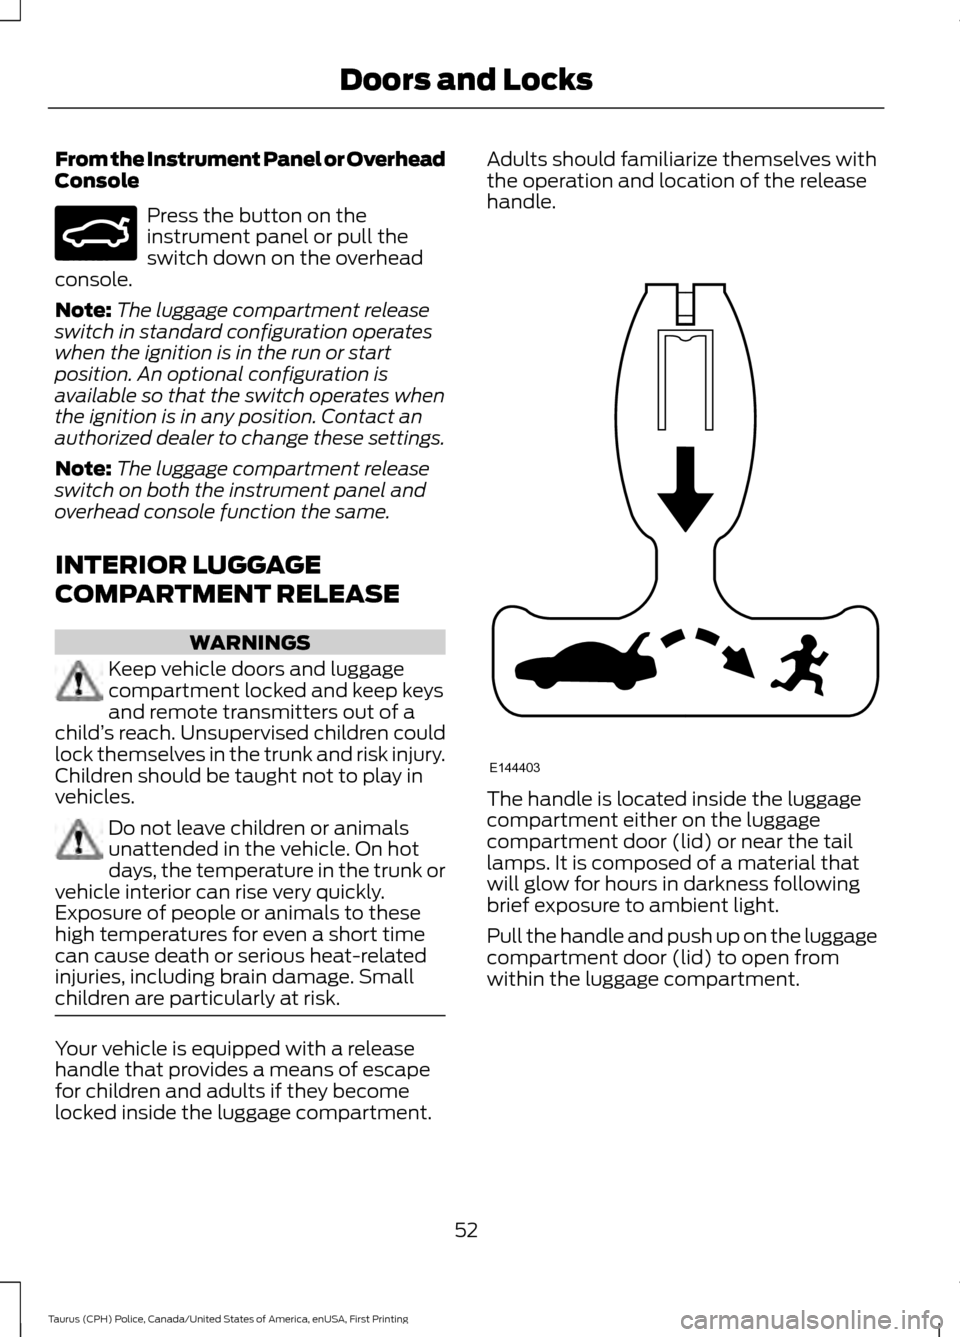
children are particularly at risk. Your vehicle is equipped with a release
handle that provides a means of escape
for children and adults if they become
locked inside the luggage compartment. Adults should familiarize themselves with
the operation and location of the release
handle.
The handle is located inside the luggage
compartment either on the luggage
compartment door (lid) or near the tail
lamps. It is composed of a material that
will glow for hours in darkness following
brief exposure to ambient light.
Pull the handle and push up on the luggage
compartment door (lid) to open from
within the luggage compartment.
52
Taurus (CPH) Police, Canada/United States of America, enUSA, First Printing Doors and LocksE159323 E144403
Page 56 of 358
ANTI-THEFT ALARM (If Equipped)
Alarm System
The perimeter alarm is a deterrent against
unauthorized access to your vehicle
through the doors, luggage compartment
and the hood.
Triggering the Alarm
Once armed, the alarm is triggered in any
of the following ways:
• If someone opens a door, cargo area
or the hood without a valid key or
remote control.
• If you switch the ignition on without a
valid key.
If the alarm is triggered, the horn will sound
for 30 seconds and the hazard warning
flasher will flash for five minutes.
Any further attempts to perform one of the
above will trigger the alarm again.
Arming the Alarm
To arm the alarm, lock your vehicle. See
Doors and Locks
(page 50).
Disarming the Alarm
Disarm and silence the alarm by unlocking
the doors with the key and switching the
ignition on within 12 seconds, or by
unlocking the doors or the cargo area with
the remote control.
53
Taurus (CPH) Police, Canada/United States of America, enUSA, First Printing Security
Page 57 of 358
ADJUSTING THE STEERING
WHEEL
WARNING
Do not adjust the steering wheel
when your vehicle is moving.
Note:
Make sure that you are sitting in the
correct position. See Sitting in the Correct
Position (page 84). 1. Unlock the steering column.
2.
Adjust the steering wheel to the desired
position. 3. Lock the steering column. AUDIO CONTROL
See your SYNC information.
VOICE CONTROL
(If Equipped)
Phone mode.
A
Voice recognition.
B
See your SYNC information.
54
Taurus (CPH) Police, Canada/United States of America, enUSA, First Printing Steering WheelE191039 E191047 E224575 E224574
Page 59 of 358
ADJUSTING THE PEDALS
WARNING
Never use the controls while your
feet are on the accelerator and brake
pedals and the vehicle is moving.
You can find the control on the left side of
the steering column. Press and hold the
appropriate side of the control to move the
pedals.
A. Farther.
B. Closer.
Note:
Adjust the pedals only when your
vehicle is in park (P).
56
Taurus (CPH) Police, Canada/United States of America, enUSA, First Printing Pedals (If Equipped)AB
E162916
Page 62 of 358

Headlamp Flasher
Slightly pull the lever toward you and
release it to flash the headlamps.
Spot Lamp Control (If Equipped)
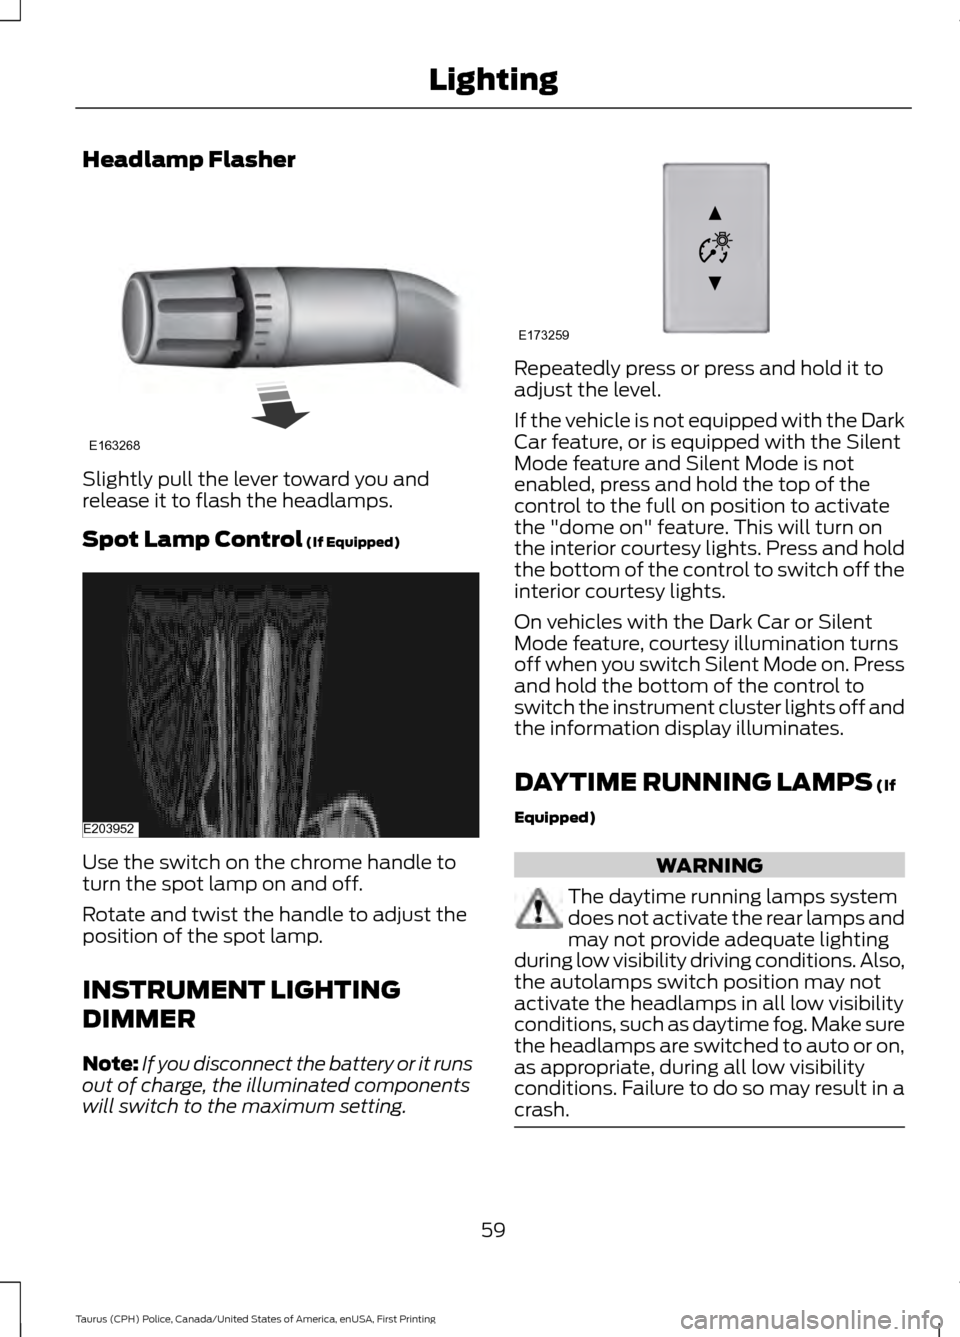
Use the switch on the chrome handle to
turn the spot lamp on and off.
Rotate and twist the handle to adjust the
position of the spot lamp.
INSTRUMENT LIGHTING
DIMMER
Note:
If you disconnect the battery or it runs
out of charge, the illuminated components
will switch to the maximum setting. Repeatedly press or press and hold it to
adjust the level.
If the vehicle is not equipped with the Dark
Car feature, or is equipped with the Silent
Mode feature and Silent Mode is not
enabled, press and hold the top of the
control to the full on position to activate
the "dome on" feature. This will turn on
the interior courtesy lights. Press and hold
the bottom of the control to switch off the
interior courtesy lights.
On vehicles with the Dark Car or Silent
Mode feature, courtesy illumination turns
off when you switch Silent Mode on. Press
and hold the bottom of the control to
switch the instrument cluster lights off and
the information display illuminates.
DAYTIME RUNNING LAMPS
(If
Equipped) WARNING
The daytime running lamps system
does not activate the rear lamps and
may not provide adequate lighting
during low visibility driving conditions. Also,
the autolamps switch position may not
activate the headlamps in all low visibility
conditions, such as daytime fog. Make sure
the headlamps are switched to auto or on,
as appropriate, during all low visibility
conditions. Failure to do so may result in a
crash. 59
Taurus (CPH) Police, Canada/United States of America, enUSA, First Printing LightingE163268 E203952 E173259
Page 65 of 358

POWER WINDOWS
WARNINGS
Do not leave children unattended in
your vehicle and do not let them play
with the power windows. They may
seriously injure themselves. When closing the power windows,
you should verify they are free of
obstructions and make sure that
children and pets are not in the proximity
of the window openings. Note:
You may hear a pulsing noise when
just one of the windows is open. Lower the
opposite window slightly to reduce this
noise.
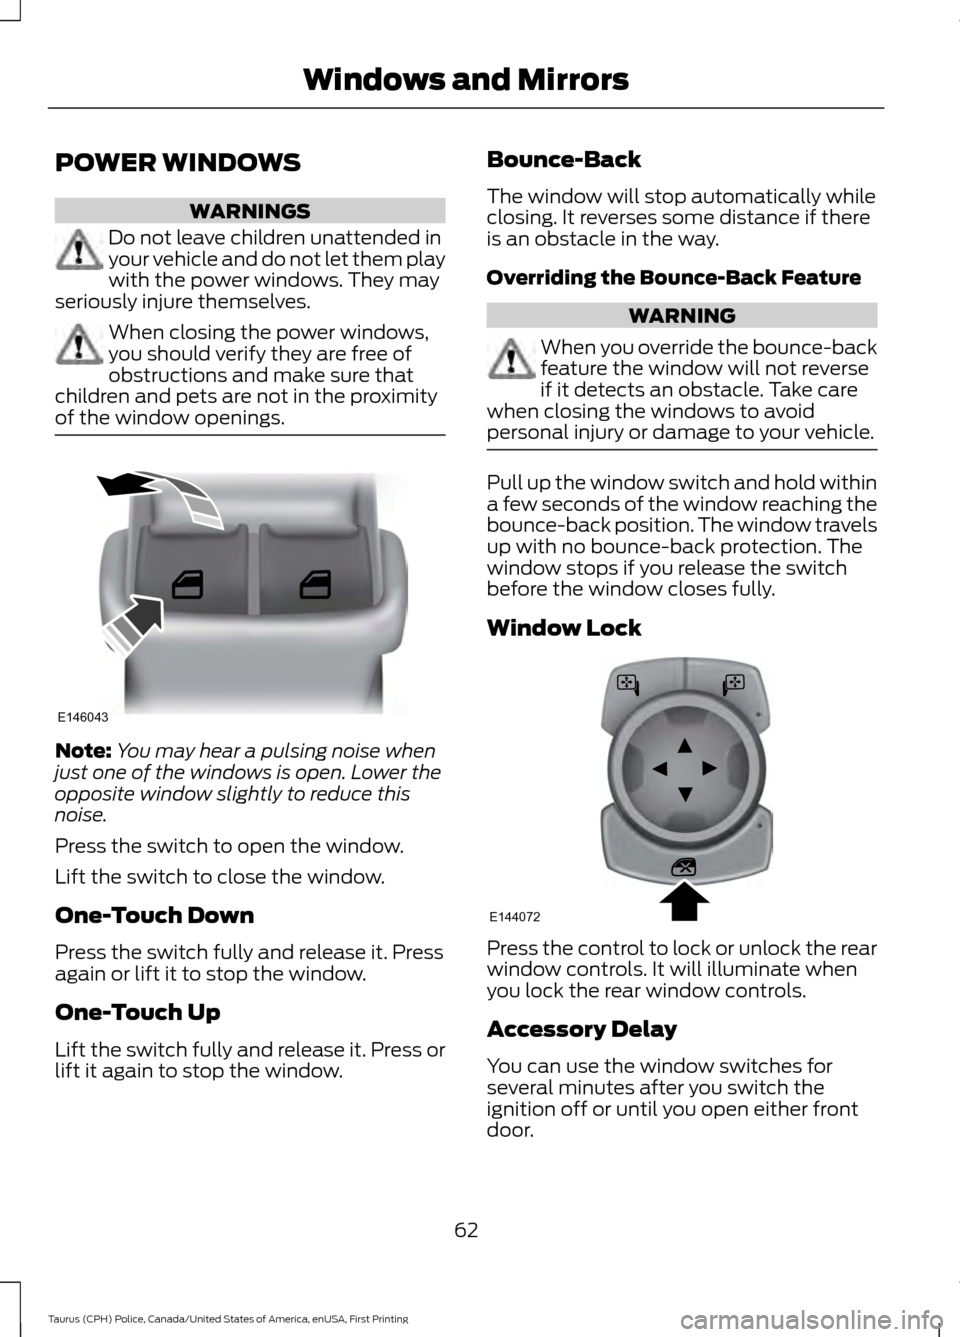
Press the switch to open the window.
Lift the switch to close the window.
One-Touch Down
Press the switch fully and release it. Press
again or lift it to stop the window.
One-Touch Up
Lift the switch fully and release it. Press or
lift it again to stop the window. Bounce-Back
The window will stop automatically while
closing. It reverses some distance if there
is an obstacle in the way.
Overriding the Bounce-Back Feature WARNING
When you override the bounce-back
feature the window will not reverse
if it detects an obstacle. Take care
when closing the windows to avoid
personal injury or damage to your vehicle. Pull up the window switch and hold within
a few seconds of the window reaching the
bounce-back position. The window travels
up with no bounce-back protection. The
window stops if you release the switch
before the window closes fully.
Window Lock
Press the control to lock or unlock the rear
window controls. It will illuminate when
you lock the rear window controls.
Accessory Delay
You can use the window switches for
several minutes after you switch the
ignition off or until you open either front
door.
62
Taurus (CPH) Police, Canada/United States of America, enUSA, First Printing Windows and MirrorsE146043 E144072
Page 66 of 358

EXTERIOR MIRRORS
Power Exterior Mirrors
WARNING
Do not adjust the mirrors when your
vehicle is moving.
Left-hand mirror.
A
Adjustment control.
B
Right-hand mirror.
C
To adjust your mirrors, switch your vehicle
on (with the ignition in accessory mode or
the engine running) and then:
1. Select the mirror you want to adjust. The control lights.
2. Use the adjustment control to adjust the position of the mirror.
3. Press the mirror control again. The control light turns off.
Fold-Away Exterior Mirrors
Push the mirror toward the door window
glass. Make sure that you fully engage the
mirror in its support when returning it to its
original position. Heated Exterior Mirrors (If Equipped)
See Heated Windows and Mirrors (page
82
).
Integrated Blind Spot Mirror
(If
Equipped) WARNING
Objects in the blind spot mirror are
closer than they appear.
Blind spot mirrors have an integrated
convex mirror built into the upper outboard
corner of the exterior mirrors. They can
assist you by increasing visibility along the
side of your vehicle.
Check the main mirror first before a lane
change, then check the blind spot mirror.
If no vehicles are present in the blind spot
mirror and the traffic in the adjacent lane
is at a safe distance, signal that you are
going to change lanes. Glance over your
shoulder to verify traffic is clear, and
carefully change lanes.
63
Taurus (CPH) Police, Canada/United States of America, enUSA, First Printing Windows and MirrorsE144073