Page 145 of 313
Protected Components
Fuse Rating
Fuse or Relay
Number
Starter.
30A 2
22
Charge air cooler fan.
30A 2
23
Shunt.
—
24
Charge air cooler fan relay.
—
25
Transmission control module fan relay.
—
26
Fuel pump 1 relay.
—
27
AC clutch relay.
—
28
Starter relay.
—
29
Fuel injection relay.
—
30
Fuel pump 2 relay.
—
31
Engine control module relay.
—
32
1 Mini fuse.
2 J-case low profile fuse.
Passenger Compartment Fuse
Panel
The fuse panel is in the passenger footwell
behind the toeboard panel. To remove the toeboard panel, rotate each
of the four fasteners, and then pull the
toeboard panel toward you. Once you
remove this panel, you can access the fuse
panel. After replacing a fuse, reinstall the
toeboard panel and rotate the fasteners
back to their original position.
142
Ford GT (CGX) Canada/United States of America, enUSA, First Printing FusesE238973
Page 146 of 313
Protected Components
Fuse Rating
Fuse or Relay
Number
Not used.
—
1
Not used (spare).
7.5A 1
2
Driver unlock relay.
20A 1
3
Double lock relay.
Not used (spare).
5A 1
4
Not used (spare).
20A 1
5
Not used (spare).
10A 2
6
Not used (spare).
10A 2
7
Not used (spare).
10A 2
8
Brake on/off (BOO) switch.
10A 2
9
Push button start switch.
5A 2
10
Right and left exterior door locks and
handles.
5A 2
11
143
Ford GT (CGX) Canada/United States of America, enUSA, First Printing FusesE145984
Page 147 of 313

Protected Components
Fuse Rating
Fuse or Relay
Number
RF transceiver module (RTM).
7.5A 2
12
Steering column control module logic.
7.5A 2
13
Smart datalink connector logic.
Instrument cluster.
Extended power mode (EPM) module.
10A 2
14
Smart datalink connector (SDLC) power.
10A 2
15
Decklid release relay.
15A 1
16
Combined sensor module.
5A 2
17
Telematics control unit (TCU)- Modem.
5A 2
18
Not used (spare).
7.5A 2
19
Front damper controllers.
7.5A 2
20
Shift indicator module (HUD).
5A 2
21
Interior temperature sensor.
Extended power mode module.
5A 2
22
Right window switch illumination.
10A 1
23
Right door lock switch illumination.
Left door lock switch illumination.
Power mirror/window switch (motor).
Right smart window motor (logic).
Left smart window motor (logic).
Central lock relay.
20A 1
24
Central unlock relay.
Left smart window motor.
30A 1
25
Right smart window motor.
30A 1
26
Not used (spare).
30A 1
27
Electronic steering column lock (relay
supply).
20A 1
28
144
Ford GT (CGX) Canada/United States of America, enUSA, First Printing Fuses
Page 148 of 313
Protected Components
Fuse Rating
Fuse or Relay
Number
Not used (spare).
30A 1
29
Not used (spare).
30A 1
30
Not used (spare).
15A 1
31
SYNC.
10A 1
32
Audio on/off switch.
Gear shift module (GSM).
HVAC ECU power.
Audio control module (ACM).
20A 1
33
Run-start relay (R12).
30A 1
34
Steering angle sensor (SSAM).
5A 1
35
Power point.
15A 1
36
Battery junction box (BJB) F60, F62, F64,
F66, F65.
20A 1
37
Not used.
—
38
1 Micro 2 fuse.
2 Micro 3 fuse.
CHANGING A FUSE
Fuses WARNING
Always replace a fuse with one that
has the specified amperage rating.
Using a fuse with a higher amperage
rating can cause severe wire damage and
could start a fire. If electrical components in the vehicle are
not working, a fuse may have blown. Blown
fuses are identified by a broken wire within
the fuse. Check the appropriate fuses
before replacing any electrical
components.
145
Ford GT (CGX) Canada/United States of America, enUSA, First Printing FusesE217331
Page 149 of 313
Fuse Types
Fuse Type
Callout
Micro 2
A
Micro 3
B
Maxi
C
Mini
D
M Case
E
J Case
F
J Case Low Profile
G
146
Ford GT (CGX) Canada/United States of America, enUSA, First Printing FusesE207206
Page 150 of 313

GENERAL INFORMATION
Have your Ford GT serviced regularly to
help maintain its roadworthiness and
resale value. There is a network of Ford GT
service dealers that are certified to help
you with their professional servicing
expertise. We believe that their specially
trained technicians are best qualified to
service your vehicle properly and expertly.
They are supported by a range of highly
specialized tools developed specifically
for servicing the Ford GT.
If your vehicle requires professional service,
an authorized dealer can provide the
necessary parts and service. Check your
warranty information to find out which
parts and services are covered.
Use only recommended fuels, lubricants,
fluids and service parts conforming to
specifications. Motorcraft® parts are
designed and built to provide the best
performance in your vehicle.
Precautions
•
Do not work on a hot engine.
• Make sure that nothing gets caught in
moving parts.
• Do not work on a vehicle with the
engine running in an enclosed space,
unless you are sure you have enough
ventilation.
• Keep all open flames and other burning
material (such as cigarettes) away
from the battery and all fuel related
parts.
Working with the Engine Off
1. Set the parking brake and shift to park
(P).
2. Switch off the engine.
3. Block the wheels. Working with the Engine On WARNING
To reduce the risk of vehicle damage
and personal burn injuries, do not
start your engine with the air cleaner
removed and do not remove it while the
engine is running. 1.
Set the parking brake and shift to park
(P).
2. Block the wheels.
OPENING AND CLOSING THE
HOOD
Opening the Front Hood 147
Ford GT (CGX) Canada/United States of America, enUSA, First Printing MaintenanceE229939
Page 151 of 313

1.
Inside the vehicle, pull the hood release
handle located on the left side panel
left of the pedals.
2. Slightly lift the hood. 3. Release the hood latch by pulling up
on the secondary release lever. 4.
Open the hood and support it with the
prop rod. Closing the Front Hood
1. Remove the hood prop rod from the
under hood slot and securely place it
back in its holder.
2. Lower the hood and lightly press down
until closed.
Note: If you do not close the front hood
correctly, an indicator lamp displays in the
instrument cluster. See Warning Lamps
and Indicators (page 64).
Opening the Rear Hatch
Production Model
You can open the rear hatch by three
different methods:
• A button on your remote control. See
Remote Control
(page 41).
• A button on the headlamp switch. See
Lighting Control
(page 57).
• In the case of a dead battery or other
electrical concerns, use the key blade
in your remote control. See
Remote
Control (page 41).
After you release the rear hatch latch, lift
the rear hatch into the open position.
A hydraulic cylinder holds the rear hatch
open.
Competition Model
Use the following procedure to open the
rear hatch on your competition model GT.
1. Unlock rear hatch using your key.
148
Ford GT (CGX) Canada/United States of America, enUSA, First Printing MaintenanceE233210 E233828
Page 152 of 313
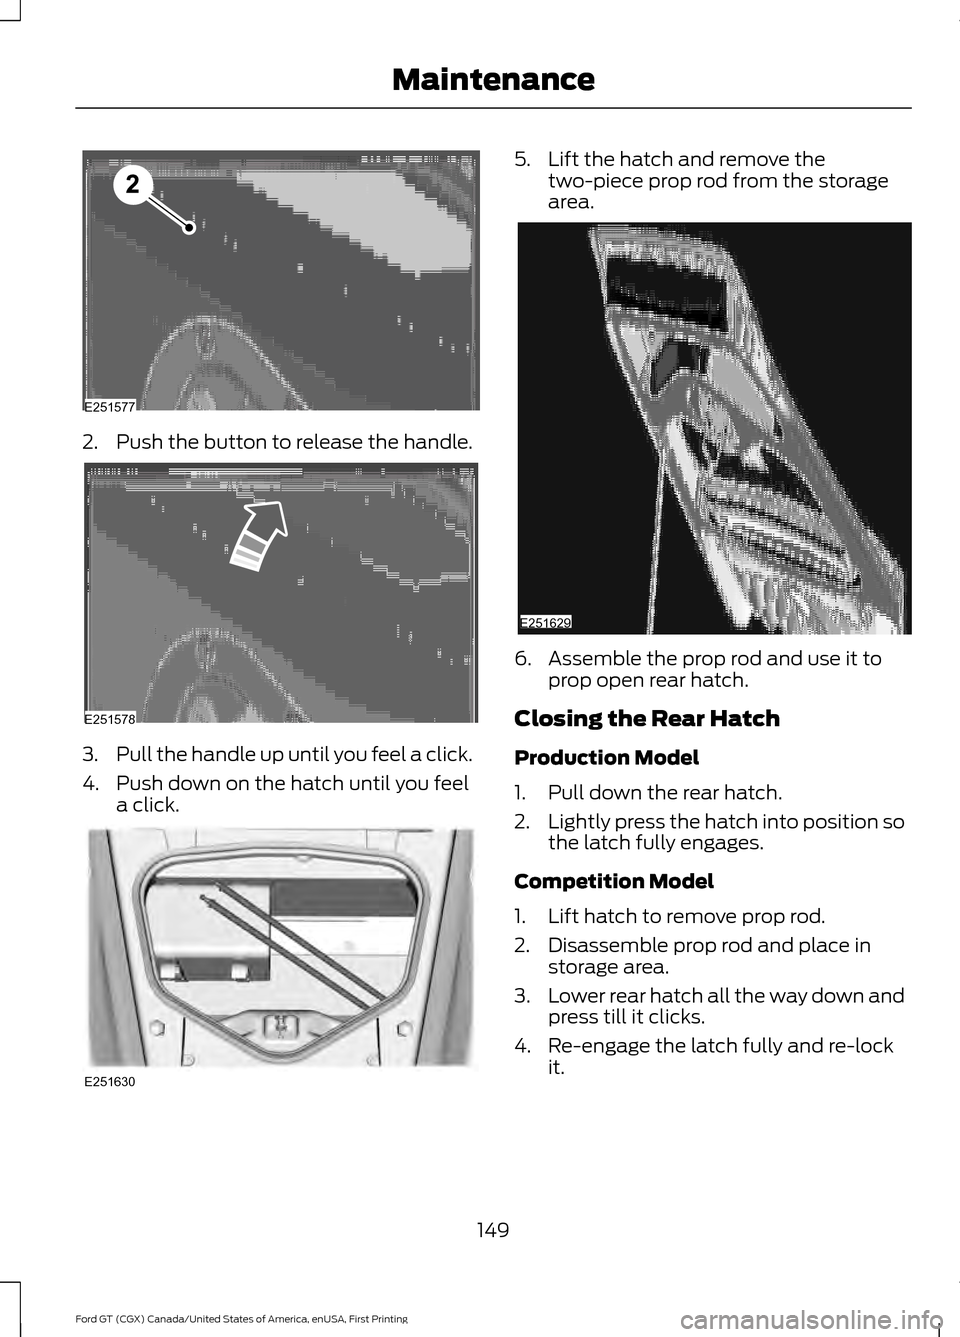
2.
Push the button to release the handle. 3.
Pull the handle up until you feel a click.
4. Push down on the hatch until you feel a click. 5. Lift the hatch and remove the
two-piece prop rod from the storage
area. 6. Assemble the prop rod and use it to
prop open rear hatch.
Closing the Rear Hatch
Production Model
1. Pull down the rear hatch.
2. Lightly press the hatch into position so
the latch fully engages.
Competition Model
1. Lift hatch to remove prop rod.
2. Disassemble prop rod and place in storage area.
3. Lower rear hatch all the way down and
press till it clicks.
4. Re-engage the latch fully and re-lock it.
149
Ford GT (CGX) Canada/United States of America, enUSA, First Printing MaintenanceE251577 E251578 E251630 E251629