2017 FORD F450 SUPER DUTY clock setting
[x] Cancel search: clock settingPage 165 of 642
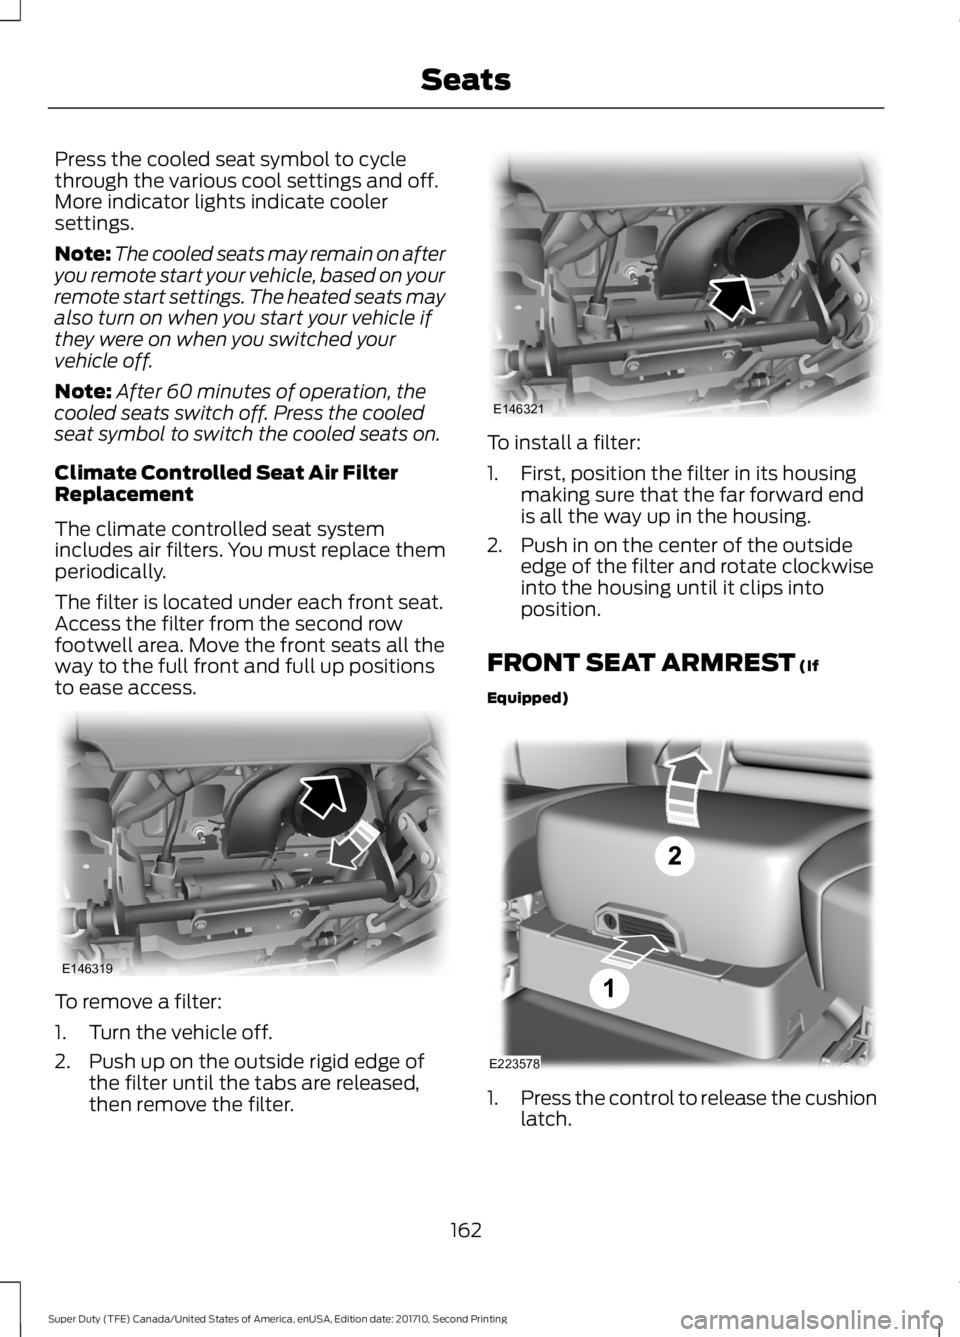
Press the cooled seat symbol to cyclethrough the various cool settings and off.More indicator lights indicate coolersettings.
Note:The cooled seats may remain on afteryou remote start your vehicle, based on yourremote start settings. The heated seats mayalso turn on when you start your vehicle ifthey were on when you switched yourvehicle off.
Note:After 60 minutes of operation, thecooled seats switch off. Press the cooledseat symbol to switch the cooled seats on.
Climate Controlled Seat Air FilterReplacement
The climate controlled seat systemincludes air filters. You must replace themperiodically.
The filter is located under each front seat.Access the filter from the second rowfootwell area. Move the front seats all theway to the full front and full up positionsto ease access.
To remove a filter:
1. Turn the vehicle off.
2. Push up on the outside rigid edge ofthe filter until the tabs are released,then remove the filter.
To install a filter:
1. First, position the filter in its housingmaking sure that the far forward endis all the way up in the housing.
2. Push in on the center of the outsideedge of the filter and rotate clockwiseinto the housing until it clips intoposition.
FRONT SEAT ARMREST (If
Equipped)
1.Press the control to release the cushionlatch.
162
Super Duty (TFE) Canada/United States of America, enUSA, Edition date: 201710, Second Printing
SeatsE146319 E146321 E223578
Page 350 of 642
WARNINGS
This vehicle may be fitted with morethan one battery. Removing thebattery cables from only one batterydoes not disconnect your vehicle electricalsystem. Make sure you disconnect thebattery cables from all batteries whendisconnecting power. Failure to do so maycause serious personal injury or propertydamage.
Your vehicle is fitted with a Motorcraftmaintenance-free battery which normallydoes not require additional water.
When a battery replacement is required,you must use a recommendedreplacement battery that matches theelectrical requirements of the vehicle.
Note:After cleaning or replacing thebattery, make sure you reinstall the batterycover or shield.
Note:If you add electrical accessories orcomponents to the vehicle, it may adverselyaffect the low voltage battery performanceand durability. This may also affect theperformance of other electrical systems inthe vehicle.
For longer, trouble-free operation, keep thetop of the battery clean and dry.
If you see any corrosion on the battery orterminals, remove the cables from theterminals and clean with a wire brush. Youcan neutralize the acid with a solution ofbaking soda and water.
Because your vehicle’s engine iselectronically controlled by a computer,some control conditions are maintainedby power from the battery. When thebattery is disconnected or a new batteryis installed, the engine must relearn its idleand fuel trim strategy for optimumdriveability and performance. Flexible fuelvehicles (FFV) must also relearn theethanol content of the fuel for optimumdriveability and performance.
To restore the settings, do the following:
1. Apply the parking brake.
2. Shift into park (P) or neutral (N).
3. Switch off all accessories.
4. Press the brake pedal and start yourvehicle.
5. Run the engine until it reaches normaloperating temperature. While theengine is warming up, complete thefollowing: Reset the clock. See AudioSystem (page 441). Reset the powerwindows bounce-back feature. SeeWindows and Mirrors (page 95).Reset the radio station presets. SeeAudio System (page 441).
6.Allow the engine to idle for at least oneminute.
7.Drive the vehicle at least 10 mi (16 km)to completely relearn the idle trim andfuel trim strategy.
Note:If you do not allow the engine torelearn the idle and fuel trim strategy, theidle quality of your vehicle may be adverselyaffected until the engine computereventually relearns the idle trim and fueltrim strategy.
Note:For flexible fuel vehicles, if you areoperating on E85, you may experience poorstarts or an inability to start the engine anddriveability problems until the fuel trim andethanol content have been relearned.
347
Super Duty (TFE) Canada/United States of America, enUSA, Edition date: 201710, Second Printing
Maintenance
Page 402 of 642

•To reduce the chances of interferencefrom another vehicle, perform thesystem reset procedure at least threefeet (one meter) away from anotherFord Motor Company vehicleundergoing the system reset procedureat the same time.
•Do not wait more than two minutesbetween resetting each tire sensor orthe system will time-out and the entireprocedure will have to be repeated onall four wheels.
•A double horn will sound indicating theneed to repeat the procedure.
Performing the System Reset Procedure(Single Rear Wheel)
Read the entire procedure beforeattempting.
1. Drive the vehicle above 20 mph(32 km/h) for at least two minutes,then park in a safe location where youcan easily get to all four tires and haveaccess to an air pump.
2.Place the ignition in the off position andkeep the key in the ignition.
3. Cycle the ignition to the on positionwith the engine off.
4. Turn the hazard flashers on then offthree times. You must accomplish thiswithin 10 seconds. If the reset modehas been entered successfully, the hornwill sound once, the system indicatorwill flash and a message is shown inthe information display. If this does notoccur, please try again starting at Step2. If after repeated attempts to enterthe reset mode, the horn does notsound, the system indicator does notflash and no message is shown in theinformation display, seek service fromyour authorized dealer.
5. Train the tire pressure monitoringsystem sensors in the tires using thefollowing system reset sequencestarting with the left front tire in thefollowing clockwise order: Left front(driver's side front tire), Right front(passenger's side front tire), Right rear(passenger's side rear tire), Left rear(driver's side rear tire).
6. Remove the valve cap from the valvestem on the left front tire. Decrease theair pressure until the horn sounds.
Note:The single horn chirp confirms thatthe sensor identification code has beenlearned by the module for this position. If adouble horn is heard, the reset procedurewas unsuccessful, and you must repeat it.
7. Remove the valve cap from the valvestem on the right front tire. Decreasethe air pressure until the horn sounds.
8. Remove the valve cap from the valvestem on the right rear tire. Decrease theair pressure until the horn sounds.
9. Remove the valve cap from the valvestem on the left rear tire. Decrease theair pressure until the horn sounds.Training is complete after the hornsounds for the last tire trained (driver'sside rear tire), the system indicatorstops flashing, and a message is shownin the information display.
10.Turn the ignition off. If two short hornbeeps are heard, the reset procedurewas unsuccessful and you mustrepeat it. If after repeating theprocedure and two short beeps areheard when the ignition is turned tooff, seek assistance from yourauthorized dealer.
399
Super Duty (TFE) Canada/United States of America, enUSA, Edition date: 201710, Second Printing
Wheels and Tires
Page 448 of 642
CD slot: Insert a CD.G
Eject: Press to eject a CD.H
VOL and Power: Press to switch the system on and off. Turn to adjust thevolume.I
PHONE: Press to access the phone features of the SYNC system. See yourSYNC information.J
MENU: Press to access different audio system features. See Menu Structurelater in this section.K
MEDIA: Press to open the media source menu. You can press this multipletimes to change to CD or to a SYNC-Media device or scroll through the mediasources using the arrow buttons. Press OK to select a source.
L
CLOCK: If not in phone mode, press to display the clock.M
RADIO: Press this multiple times to select a radio band. Press and hold toselect the autostore function. Press to return to the main screen of the activeradio band.
N
SIRIUS: Press to listen to SIRIUS satellite radio.O
CD: Press to listen to a CD. Press the function buttons to scroll through themenu choices.P
SOUND: Press to access settings for Treble, Midrange, Bass, Fade or Balance.Use the up and down arrow buttons to select the various settings. When youmake your selection, press the left and right arrow buttons to change thesettings. Press OK to set or press MENU to exit. Sound settings can be set foreach audio source independently.
Q
Menu Structure
Note:Depending on your system, someoptions may appear slightly different.
Press MENU.
Press the up and down arrow buttons toscroll through the options.
Press the right arrow to enter a menu.Press the left arrow to exit a menu.
Press OK to confirm a selection.
445
Super Duty (TFE) Canada/United States of America, enUSA, Edition date: 201710, Second Printing
Audio System
Page 449 of 642
Radio
Use the left and right arrows to go up or down thefrequency band.Manual tune
Select for a brief sampling of all available channels.Scan
Select to store the six strongest local stations on the AM-AST and FM-AST frequency bands.AST
Select to view additional broadcast data (radio text), ifavailable. This feature defaults to off. RBDS must be onfor you to set a category, or display radio text and stationnames.
RBDS/RDS
Audio Settings
Automatically adjusts the volume to compensate forspeed and wind noise. You can set the system between0 and +7.
Speed CompensatedVolume
Select to adjust settings for Treble, Midrange, Bass, Fadeor Balance.Sound
Select to optimize sound quality for the chosen seatingposition.Occupancy Mode
Choose between the stereo modes.DSP
CD Settings
Select to scan all disc selections.Scan All
Select to scan all music in the current MP3 folder.Scan Folder
Select to bring soft and loud passages together for a moreconsistent listening level.CD Compression
Clock Settings
Select to set the time.Set Time
Select to set the calendar date.Set Date
Select to view clock time in a 12-hour mode or 24-hourmode.24h Mode
446
Super Duty (TFE) Canada/United States of America, enUSA, Edition date: 201710, Second Printing
Audio System
Page 497 of 642

Action and DescriptionMenu ItemItem
This bar displays icons and messages pertaining to currentsystem activities including climate settings, voicecommands and phone functions such as text messages.
Status BarA
This button is available on the main screens. Pressing ittakes you to the home screen view.HomeB
This shows the current time. You can set the clock manuallyor have it controlled by the vehicle's GPS location. SeeSettings (page 541).
ClockC
This displays the current outside temperature.OutsideTemperatureD
You can touch any of the buttons on this bar to select afeature.Feature BarE
The touchscreen allows you quick accessto all of your comfort, navigation,communication and entertainmentoptions. Using the status and feature baryou can quickly select the feature you wantto use.
Note:Your system is equipped with afeature that allows you to access andcontrol audio features for 10 minutes afteryou switch the ignition off (and no doorsopen).
The Status Bar
Additional icons also display in the statusbar depending on market, vehicle optionsand current operation. If a feature is notactive, the icon does not display. Certainicons may move to the left or rightdepending on what options are active.
494
Super Duty (TFE) Canada/United States of America, enUSA, Edition date: 201710, Second Printing
SYNC™ 3 (If Equipped)
Page 526 of 642
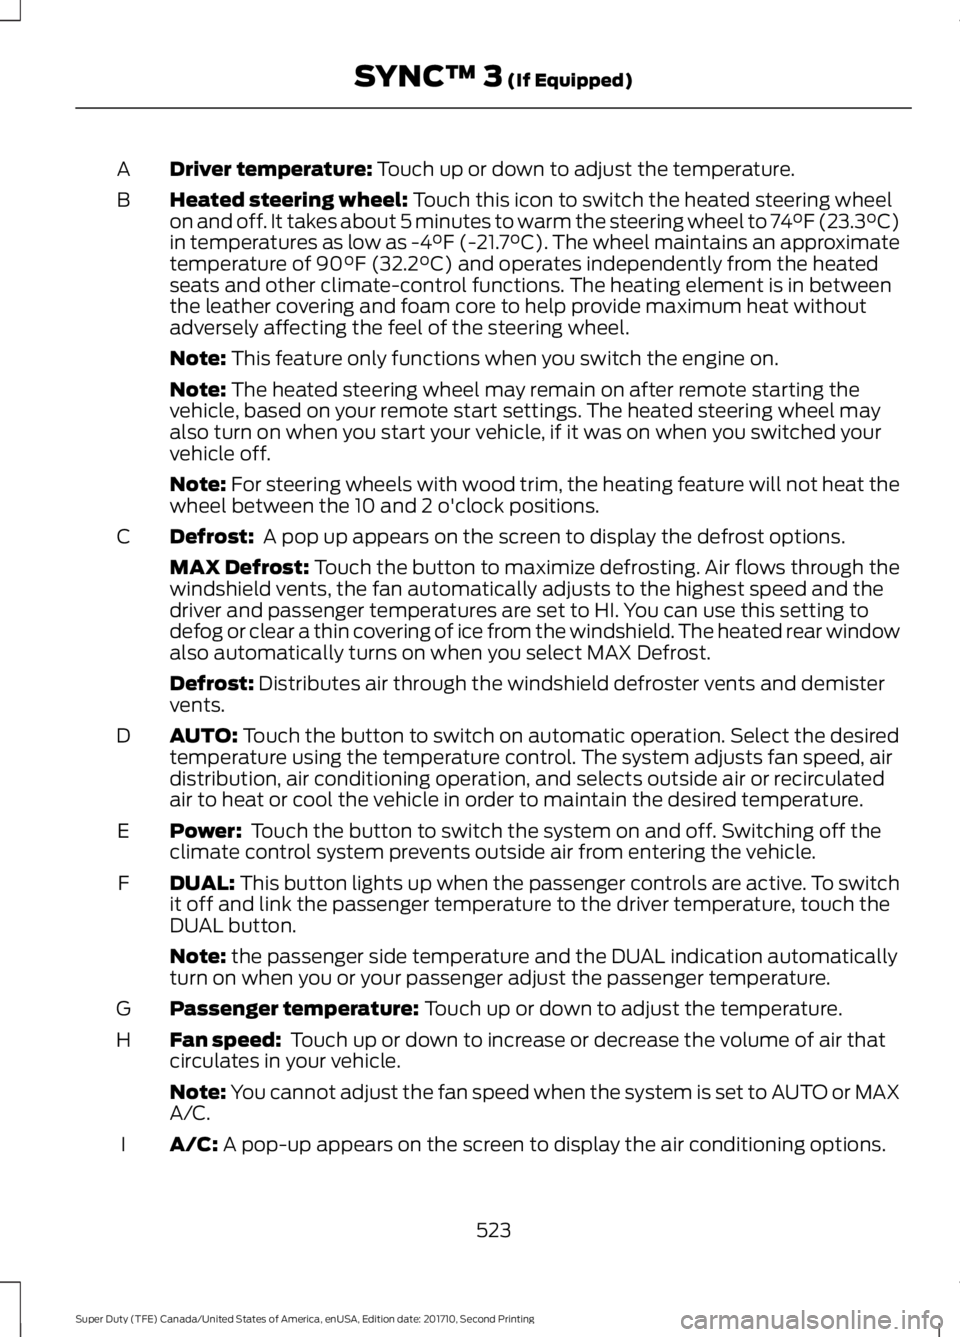
Driver temperature: Touch up or down to adjust the temperature.A
Heated steering wheel: Touch this icon to switch the heated steering wheelon and off. It takes about 5 minutes to warm the steering wheel to 74°F (23.3°C)in temperatures as low as -4°F (-21.7°C). The wheel maintains an approximatetemperature of 90°F (32.2°C) and operates independently from the heatedseats and other climate-control functions. The heating element is in betweenthe leather covering and foam core to help provide maximum heat withoutadversely affecting the feel of the steering wheel.
B
Note: This feature only functions when you switch the engine on.
Note: The heated steering wheel may remain on after remote starting thevehicle, based on your remote start settings. The heated steering wheel mayalso turn on when you start your vehicle, if it was on when you switched yourvehicle off.
Note: For steering wheels with wood trim, the heating feature will not heat thewheel between the 10 and 2 o'clock positions.
Defrost: A pop up appears on the screen to display the defrost options.C
MAX Defrost: Touch the button to maximize defrosting. Air flows through thewindshield vents, the fan automatically adjusts to the highest speed and thedriver and passenger temperatures are set to HI. You can use this setting todefog or clear a thin covering of ice from the windshield. The heated rear windowalso automatically turns on when you select MAX Defrost.
Defrost: Distributes air through the windshield defroster vents and demistervents.
AUTO: Touch the button to switch on automatic operation. Select the desiredtemperature using the temperature control. The system adjusts fan speed, airdistribution, air conditioning operation, and selects outside air or recirculatedair to heat or cool the vehicle in order to maintain the desired temperature.
D
Power: Touch the button to switch the system on and off. Switching off theclimate control system prevents outside air from entering the vehicle.E
DUAL: This button lights up when the passenger controls are active. To switchit off and link the passenger temperature to the driver temperature, touch theDUAL button.
F
Note: the passenger side temperature and the DUAL indication automaticallyturn on when you or your passenger adjust the passenger temperature.
Passenger temperature: Touch up or down to adjust the temperature.G
Fan speed: Touch up or down to increase or decrease the volume of air thatcirculates in your vehicle.H
Note: You cannot adjust the fan speed when the system is set to AUTO or MAXA/C.
A/C: A pop-up appears on the screen to display the air conditioning options.I
523
Super Duty (TFE) Canada/United States of America, enUSA, Edition date: 201710, Second Printing
SYNC™ 3 (If Equipped)
Page 546 of 642
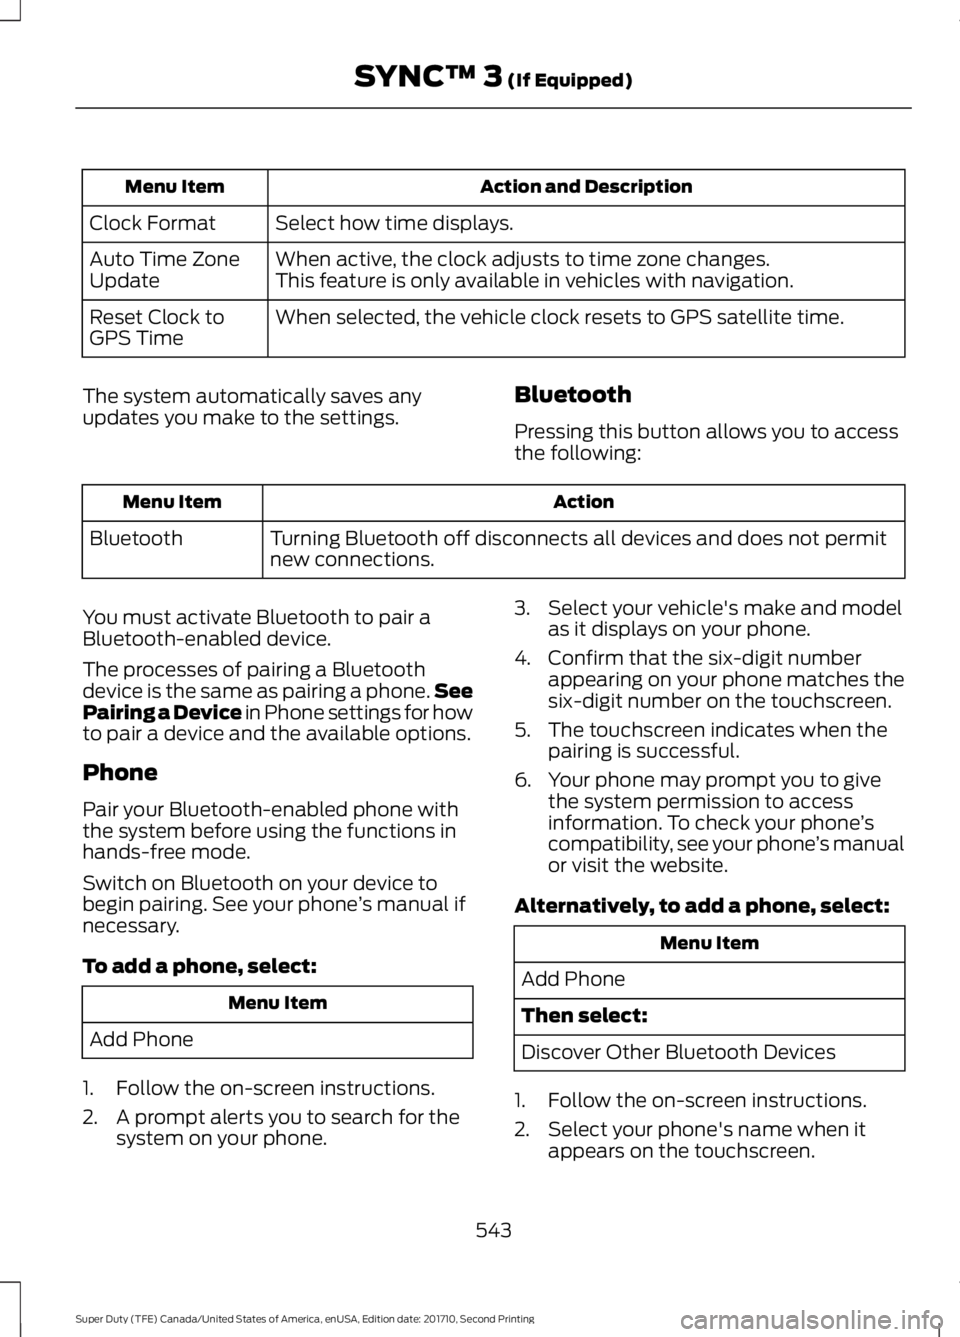
Action and DescriptionMenu Item
Select how time displays.Clock Format
When active, the clock adjusts to time zone changes.Auto Time ZoneUpdateThis feature is only available in vehicles with navigation.
When selected, the vehicle clock resets to GPS satellite time.Reset Clock toGPS Time
The system automatically saves anyupdates you make to the settings.Bluetooth
Pressing this button allows you to accessthe following:
ActionMenu Item
Turning Bluetooth off disconnects all devices and does not permitnew connections.Bluetooth
You must activate Bluetooth to pair aBluetooth-enabled device.
The processes of pairing a Bluetoothdevice is the same as pairing a phone.SeePairing a Device in Phone settings for howto pair a device and the available options.
Phone
Pair your Bluetooth-enabled phone withthe system before using the functions inhands-free mode.
Switch on Bluetooth on your device tobegin pairing. See your phone’s manual ifnecessary.
To add a phone, select:
Menu Item
Add Phone
1. Follow the on-screen instructions.
2. A prompt alerts you to search for thesystem on your phone.
3. Select your vehicle's make and modelas it displays on your phone.
4. Confirm that the six-digit numberappearing on your phone matches thesix-digit number on the touchscreen.
5. The touchscreen indicates when thepairing is successful.
6. Your phone may prompt you to givethe system permission to accessinformation. To check your phone’scompatibility, see your phone’s manualor visit the website.
Alternatively, to add a phone, select:
Menu Item
Add Phone
Then select:
Discover Other Bluetooth Devices
1. Follow the on-screen instructions.
2. Select your phone's name when itappears on the touchscreen.
543
Super Duty (TFE) Canada/United States of America, enUSA, Edition date: 201710, Second Printing
SYNC™ 3 (If Equipped)