2017 FORD F150 mirror
[x] Cancel search: mirrorPage 157 of 599
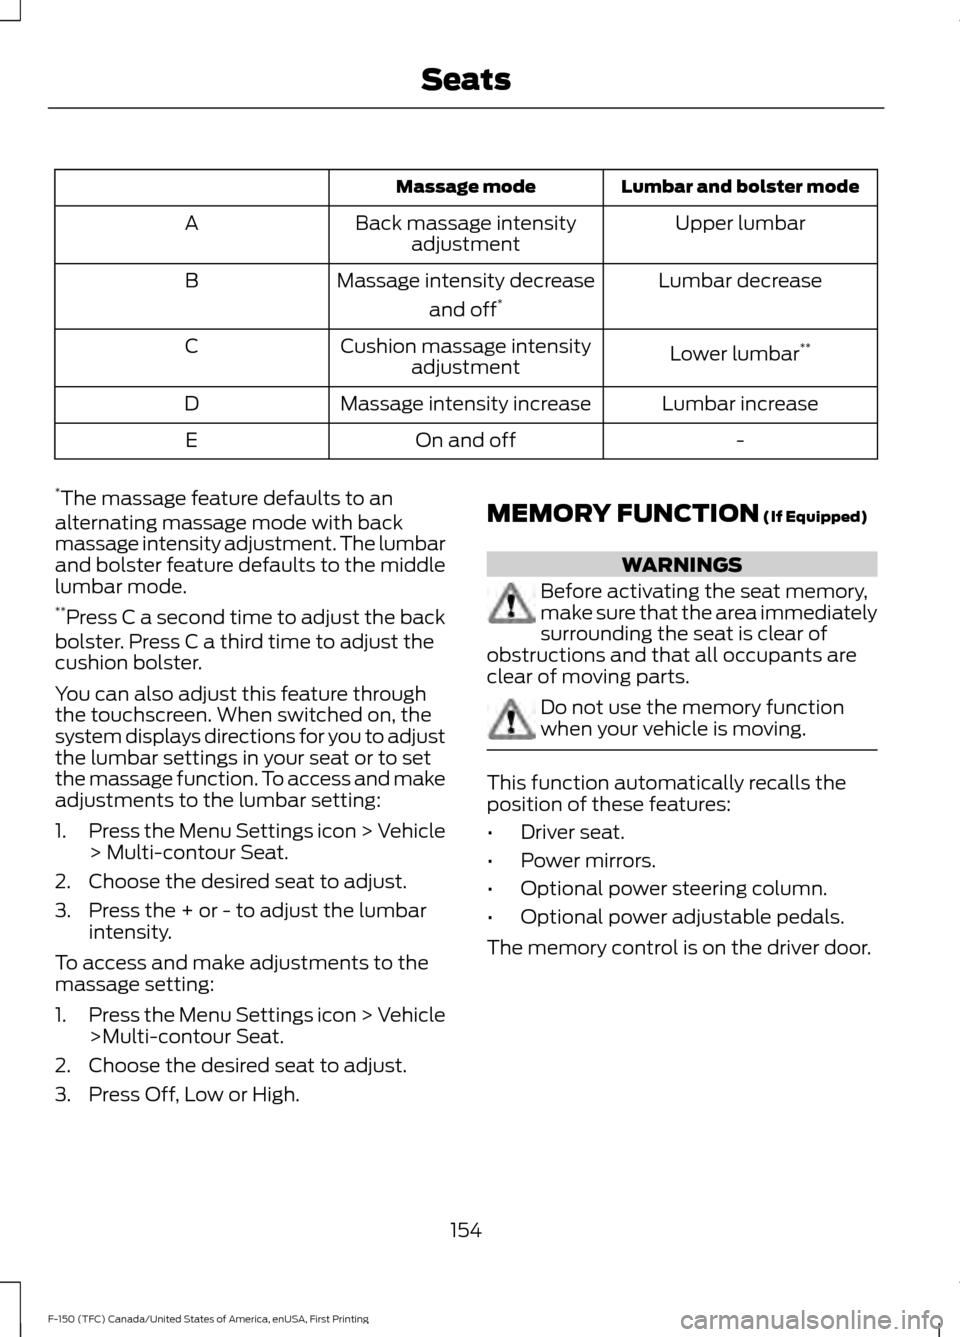
Lumbar and bolster mode
Massage mode
Upper lumbar
Back massage intensity
adjustment
A
Lumbar decrease
Massage intensity decrease
and off*
B
Lower lumbar**
Cushion massage intensity
adjustment
C
Lumbar increase
Massage intensity increase
D
-
On and off
E
* The massage feature defaults to an
alternating massage mode with back
massage intensity adjustment. The lumbar
and bolster feature defaults to the middle
lumbar mode.
** Press C a second time to adjust the back
bolster. Press C a third time to adjust the
cushion bolster.
You can also adjust this feature through
the touchscreen. When switched on, the
system displays directions for you to adjust
the lumbar settings in your seat or to set
the massage function. To access and make
adjustments to the lumbar setting:
1. Press the Menu Settings icon > Vehicle
> Multi-contour Seat.
2. Choose the desired seat to adjust.
3. Press the + or - to adjust the lumbar intensity.
To access and make adjustments to the
massage setting:
1. Press the Menu Settings icon > Vehicle
>Multi-contour Seat.
2. Choose the desired seat to adjust.
3. Press Off, Low or High. MEMORY FUNCTION (If Equipped) WARNINGS
Before activating the seat memory,
make sure that the area immediately
surrounding the seat is clear of
obstructions and that all occupants are
clear of moving parts. Do not use the memory function
when your vehicle is moving.
This function automatically recalls the
position of these features:
•
Driver seat.
• Power mirrors.
• Optional power steering column.
• Optional power adjustable pedals.
The memory control is on the driver door.
154
F-150 (TFC) Canada/United States of America, enUSA, First Printing Seats
Page 158 of 599
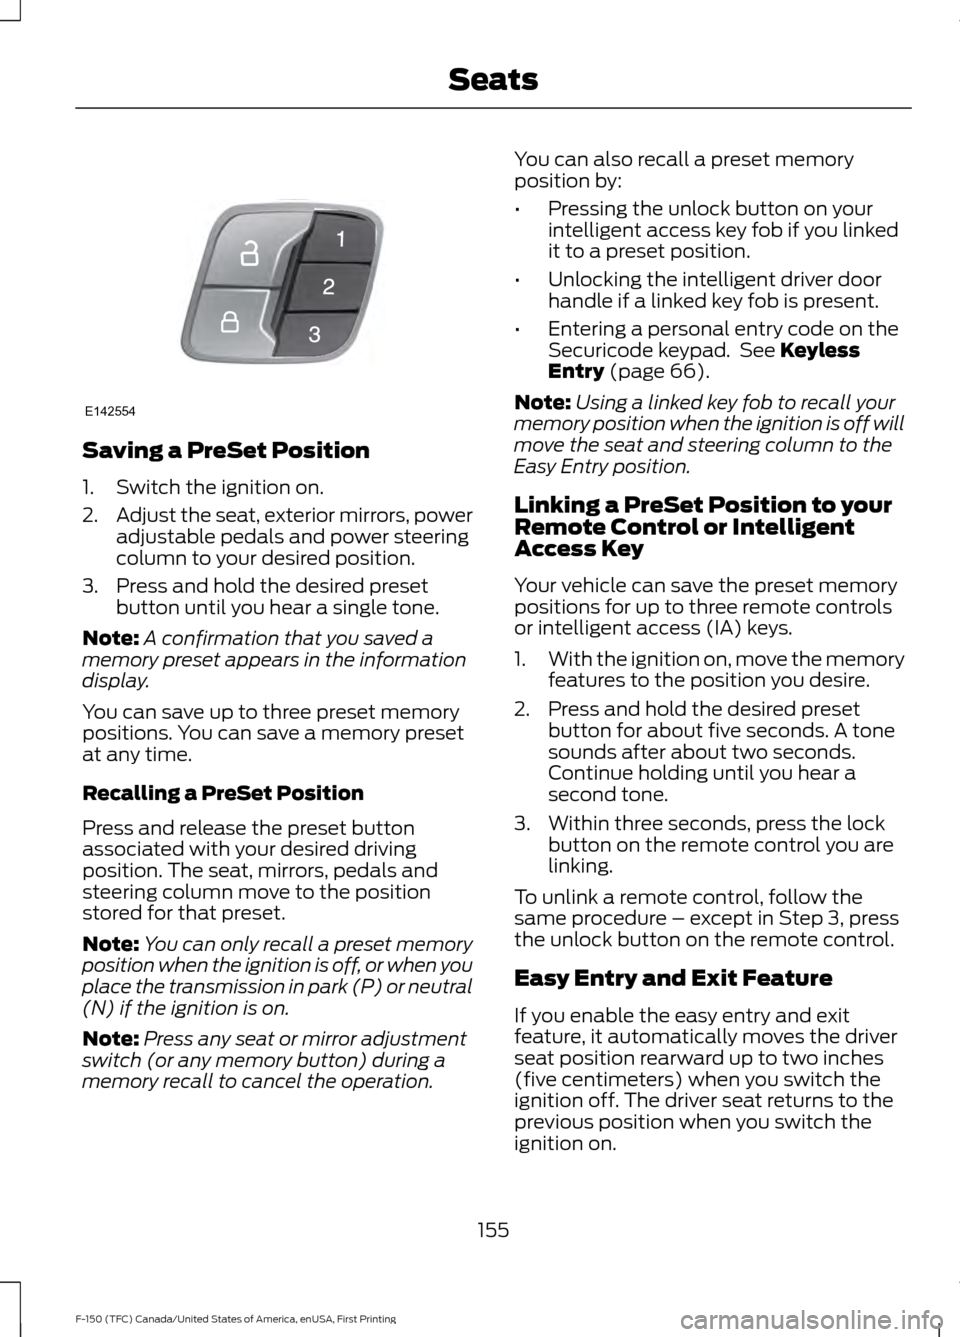
Saving a PreSet Position
1. Switch the ignition on.
2.
Adjust the seat, exterior mirrors, power
adjustable pedals and power steering
column to your desired position.
3. Press and hold the desired preset button until you hear a single tone.
Note: A confirmation that you saved a
memory preset appears in the information
display.
You can save up to three preset memory
positions. You can save a memory preset
at any time.
Recalling a PreSet Position
Press and release the preset button
associated with your desired driving
position. The seat, mirrors, pedals and
steering column move to the position
stored for that preset.
Note: You can only recall a preset memory
position when the ignition is off, or when you
place the transmission in park (P) or neutral
(N) if the ignition is on.
Note: Press any seat or mirror adjustment
switch (or any memory button) during a
memory recall to cancel the operation. You can also recall a preset memory
position by:
•
Pressing the unlock button on your
intelligent access key fob if you linked
it to a preset position.
• Unlocking the intelligent driver door
handle if a linked key fob is present.
• Entering a personal entry code on the
Securicode keypad. See Keyless
Entry (page 66).
Note: Using a linked key fob to recall your
memory position when the ignition is off will
move the seat and steering column to the
Easy Entry position.
Linking a PreSet Position to your
Remote Control or Intelligent
Access Key
Your vehicle can save the preset memory
positions for up to three remote controls
or intelligent access (IA) keys.
1. With the ignition on, move the memory
features to the position you desire.
2. Press and hold the desired preset button for about five seconds. A tone
sounds after about two seconds.
Continue holding until you hear a
second tone.
3. Within three seconds, press the lock button on the remote control you are
linking.
To unlink a remote control, follow the
same procedure – except in Step 3, press
the unlock button on the remote control.
Easy Entry and Exit Feature
If you enable the easy entry and exit
feature, it automatically moves the driver
seat position rearward up to two inches
(five centimeters) when you switch the
ignition off. The driver seat returns to the
previous position when you switch the
ignition on.
155
F-150 (TFC) Canada/United States of America, enUSA, First Printing SeatsE142554
Page 221 of 599
The system does not position the vehicle where I want in the space
The parking space length or position of parked objects changed after your vehicle passed.
The temperature around your vehicle changes quickly (driving from a heated garage
into the cold, or after leaving a car wash).
You didn't wait for the steering wheel to complete its rotation after a gear change. The
system performs best when the steering wheel is allowed to finish rotating before
accelerating.
REAR VIEW CAMERA (If Equipped) WARNINGS
The rear view camera system is a
reverse aid supplement device that
still requires the driver to use it in
conjunction with the interior and exterior
mirrors for maximum coverage. Objects that are close to either
corner of the bumper or under the
bumper, might not be seen on the
screen due to the limited coverage of the
camera system. Reverse your vehicle as slow as
possible, higher speeds may limit
your reaction time to stop your
vehicle. Use caution when the rear cargo door
is ajar. If the rear cargo door is ajar,
the camera will be out of position
and the video image may be incorrect. All
guidelines disappear when the rear cargo
door is ajar. Some vehicles may not come
equipped with guidelines. Use caution when turning camera
features on or off when the
transmission is not in park (P). Make
sure your vehicle is not moving. The rear view camera system provides a
video image of the area behind your
vehicle. During operation, lines appear in the
display which represent your vehicle
’s path
and proximity to objects behind your
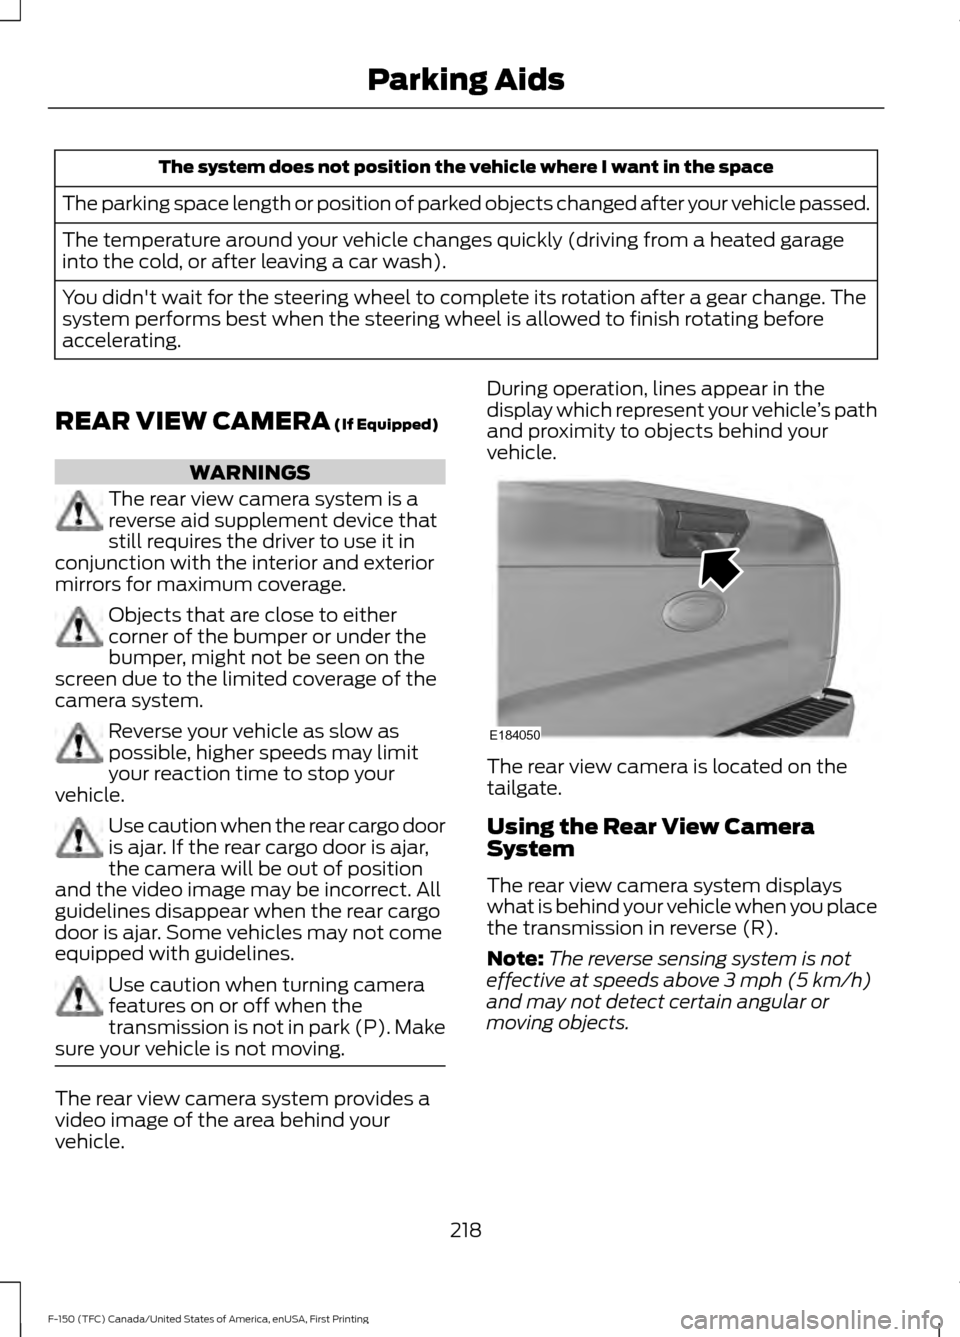
vehicle. The rear view camera is located on the
tailgate.
Using the Rear View Camera
System
The rear view camera system displays
what is behind your vehicle when you place
the transmission in reverse (R).
Note:
The reverse sensing system is not
effective at speeds above
3 mph (5 km/h)
and may not detect certain angular or
moving objects.
218
F-150 (TFC) Canada/United States of America, enUSA, First Printing Parking AidsE184050
Page 223 of 599

Active guidelines only show with fixed
guidelines. To use active guidelines, turn
the steering wheel to point the guidelines
toward an intended path. If the steering
wheel position changes while reversing,
your vehicle might deviate from the original
intended path.
The fixed and active guidelines fade in and
out depending on the steering wheel
position. The active guidelines do not show
when the steering wheel position is
straight.
Always use caution while reversing.
Objects in the red zone are closest to your
vehicle and objects in the green zone are
farther away. Objects are getting closer to
your vehicle as they move from the green
zone to the yellow or red zones. Use the
side view mirrors and rear view mirror to
get better coverage on both sides and rear
of your vehicle.
Obstacle Distance Indicator (If
Equipped) The system will provide an image of your
vehicle and the sensor zones. The zones
will highlight green, yellow and red when
the parking aid sensors detect an object in
the coverage area.
Manual Zoom
WARNING
When manual zoom is on, the full
area behind your vehicle may not
show. Be aware of your surroundings
when using the manual zoom feature. Note:
Manual zoom is only available when
the transmission is in reverse (R).
Note: Only the centerline shows when you
enable manual zoom.
Selectable settings for this feature are
Zoom in (+) and Zoom out (-). Press the
symbol on the camera screen to change
the view. The default setting is Zoom OFF.
This allows you to get a closer view of an
object behind your vehicle. The zoomed
image keeps the bumper in the image to
provide a reference. The zoom is only
active while the transmission is in reverse
(R).
Rear Camera Delay
Selectable settings for this feature are ON
and OFF. The default setting for the rear
camera delay is OFF.
When shifting the transmission out of
reverse (R) and into any gear other than
park (P), the camera image remains in the
display until your vehicle speed reaches
6 mph (10 km/h)
. This occurs when the
rear camera delay feature is on, or until a
radio button is pressed.
220
F-150 (TFC) Canada/United States of America, enUSA, First Printing Parking AidsE190459
Page 224 of 599
360 DEGREE CAMERA (If Equipped)
WARNINGS
The 360 degree camera system still
requires the driver to use it in
conjunction with looking out of the
windows, and checking the interior and
exterior mirrors for maximum coverage. Objects that are close to either
corner of the bumper or under the
bumper, might not be seen on the
screen due to the limited coverage of the
camera system. Use caution when turning camera
features on or off when the
transmission is not in park (P). Make
sure your vehicle is not moving. The 360 degree camera system consists
of front, side and rear cameras. The
system:
•
Allows you to see what is directly in
front or behind your vehicle.
• Provides cross traffic view in front and
behind your vehicle.
• Allows you to see a top-down view of
the area outside your vehicle, including
the blind spots.
• Provides visibility around your vehicle
to you in parking maneuvers such as:
•Centering in a parking space.
• Obstacles near vehicle.
• Parallel parking. The 360 degree camera system
button is located on the
instrument panel and allows you
to toggle through different camera views.
The front and rear cameras have multiple
screens which consist of: Normal view with 360, Normal view, and split view. When in
park (P), neutral (N) or drive (D), only the
front images will be displayed when the
button is pressed. When in reverse (R), only
the rear images will be displayed when the
button is pressed.
Note:
The 360 degree camera system will
turn OFF when your vehicle is in motion at
low speed, except when in reverse (R).
Camera Views
The small vehicle icon displayed on the
top left corner of the image illustrates the
camera view being displayed. Camera
views are laid out in the order the screens
will appear once the button is pressed.
Note: The front video image will be
disabled when your vehicle is in motion at
low speed, except when in reverse (R).
• Front 360 + Normal: Contains the
normal front camera view next to a
360 degree camera view. This view will
appear on the screen when the button
is pressed in any gear other than
reverse (R).
• Front Normal View:
Provides an
image of what is directly in front of your
vehicle. Access this view by pressing
the camera button from the Front 360
+ Normal View screen.
• Front Split View:
Provides an
extended view of what is in front of
your vehicle. Access this view by
pressing the camera button from the
Front Normal View screen.
• Rear 360 + Normal:
Contains the
normal rear camera view next to a 360
degree camera view. This view can be
accessed by putting your vehicle in
reverse (R), or by pressing the camera
button from the Rear Split View screen.
221
F-150 (TFC) Canada/United States of America, enUSA, First Printing Parking AidsE183663
Page 225 of 599
•
Rear Normal View: Provides an image
of what is directly behind your vehicle.
Access this view by pressing the
camera button from the Rear 360 +
Normal screen.
• Rear Split View: Provides an
extended view of what is behind your
vehicle. Access this view by pressing
the camera button from the Rear
Normal View screen.
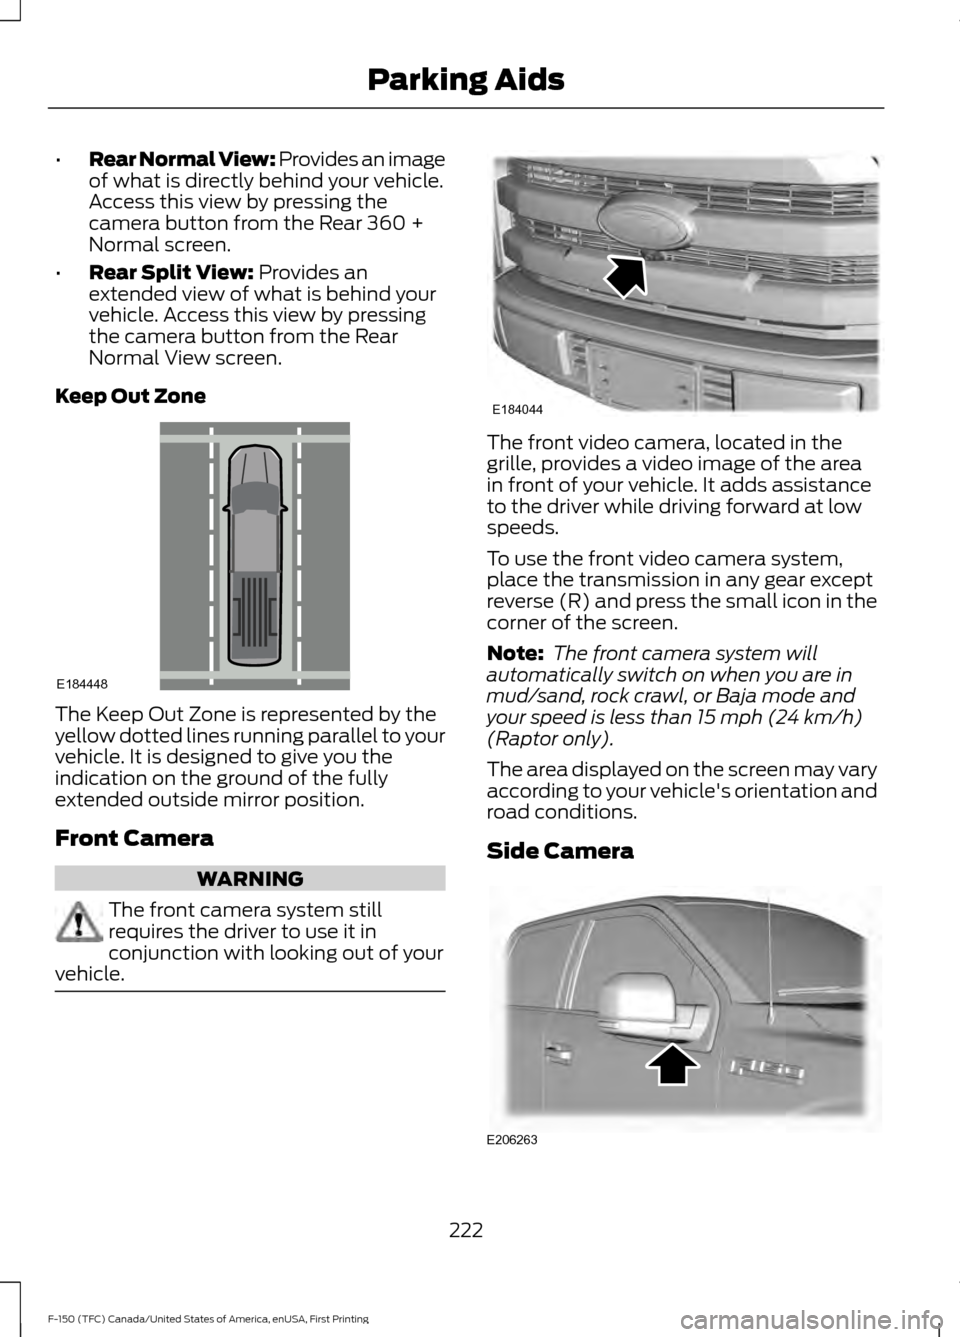
Keep Out Zone The Keep Out Zone is represented by the
yellow dotted lines running parallel to your
vehicle. It is designed to give you the
indication on the ground of the fully
extended outside mirror position.
Front Camera
WARNING
The front camera system still
requires the driver to use it in
conjunction with looking out of your
vehicle. The front video camera, located in the
grille, provides a video image of the area
in front of your vehicle. It adds assistance
to the driver while driving forward at low
speeds.
To use the front video camera system,
place the transmission in any gear except
reverse (R) and press the small icon in the
corner of the screen.
Note:
The front camera system will
automatically switch on when you are in
mud/sand, rock crawl, or Baja mode and
your speed is less than
15 mph (24 km/h)
(Raptor only).
The area displayed on the screen may vary
according to your vehicle's orientation and
road conditions.
Side Camera 222
F-150 (TFC) Canada/United States of America, enUSA, First Printing Parking AidsE184448 E184044 E206263
Page 226 of 599
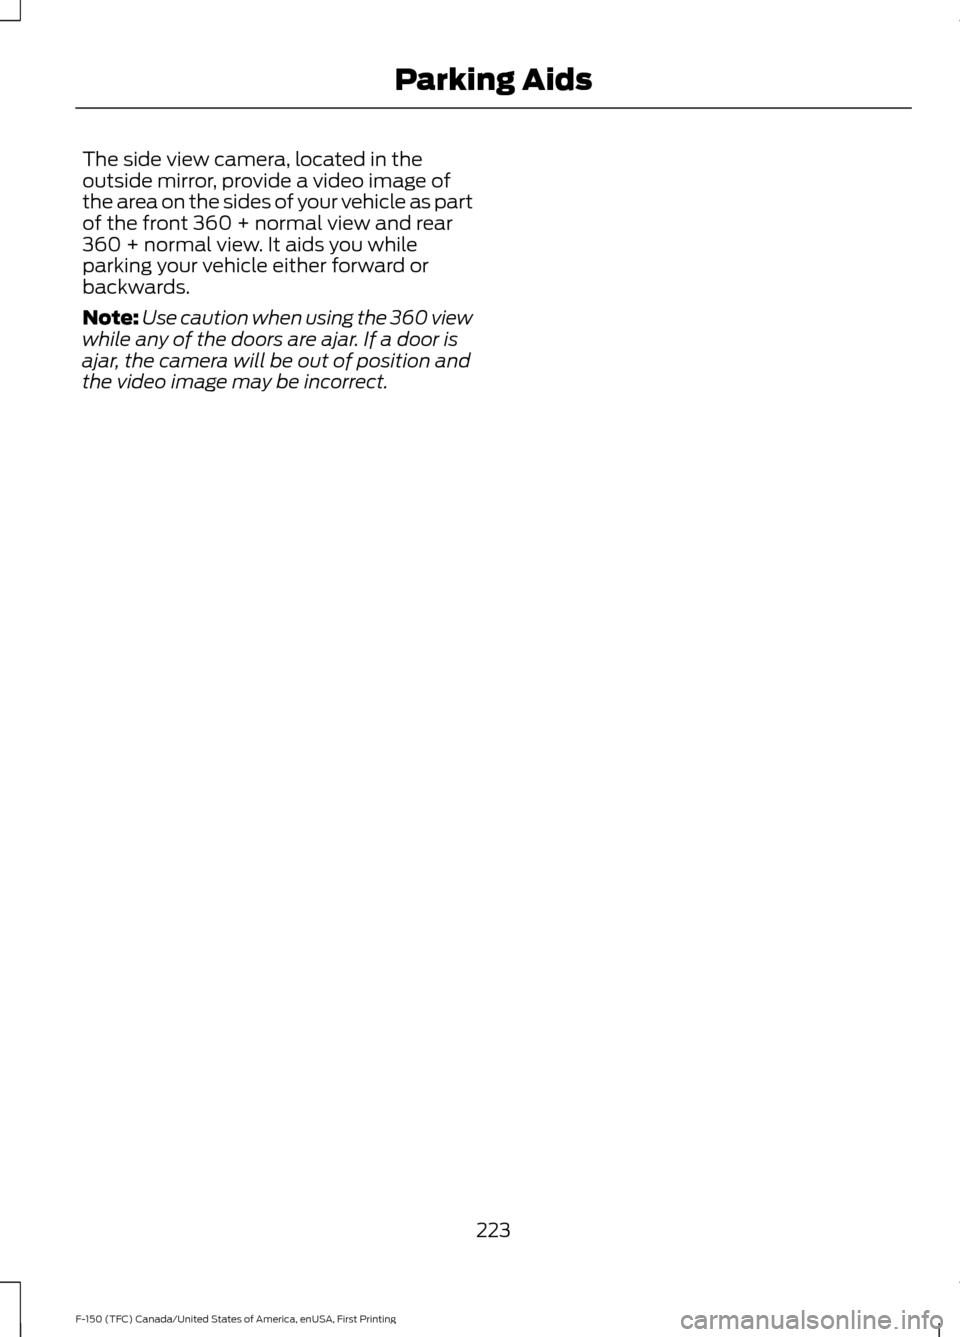
The side view camera, located in the
outside mirror, provide a video image of
the area on the sides of your vehicle as part
of the front 360 + normal view and rear
360 + normal view. It aids you while
parking your vehicle either forward or
backwards.
Note:
Use caution when using the 360 view
while any of the doors are ajar. If a door is
ajar, the camera will be out of position and
the video image may be incorrect.
223
F-150 (TFC) Canada/United States of America, enUSA, First Printing Parking Aids
Page 236 of 599
Note:
When Aid mode is on and the system
detects no steering activity for a short
period, the system will alert you to put your
hands on the steering wheel. The system
may detect a light grip or touch on the
steering wheel as hands off driving.
The system notifies you to stay in your lane
through the steering system and the
instrument cluster display when the front
camera detects an unintentional drift out
of your lane is likely to occur. The system
automatically detects and tracks the road
lane markings using a camera mounted
behind the interior rear view mirror.
Switching the System On and Off
Note: The system on or off setting is stored
until it is manually changed, unless a
MyKey® is detected. If the system detects
a MyKey®, it defaults to on and the mode
is set to alert.
Note: If a MyKey® is detected, pressing the
button will not affect the on or off status of
the system. You can only change the mode
and intensity settings. Press the button located on the
center console to switch the
system on or off.
System Settings
The system has one standard feature
setting and one optional setting menu
available. See General Information
(page 110). The system stores the last
known selection for each of these settings.
You do not need to readjust your settings
each time you turn on the system.
Adjust the settings to enable one of the
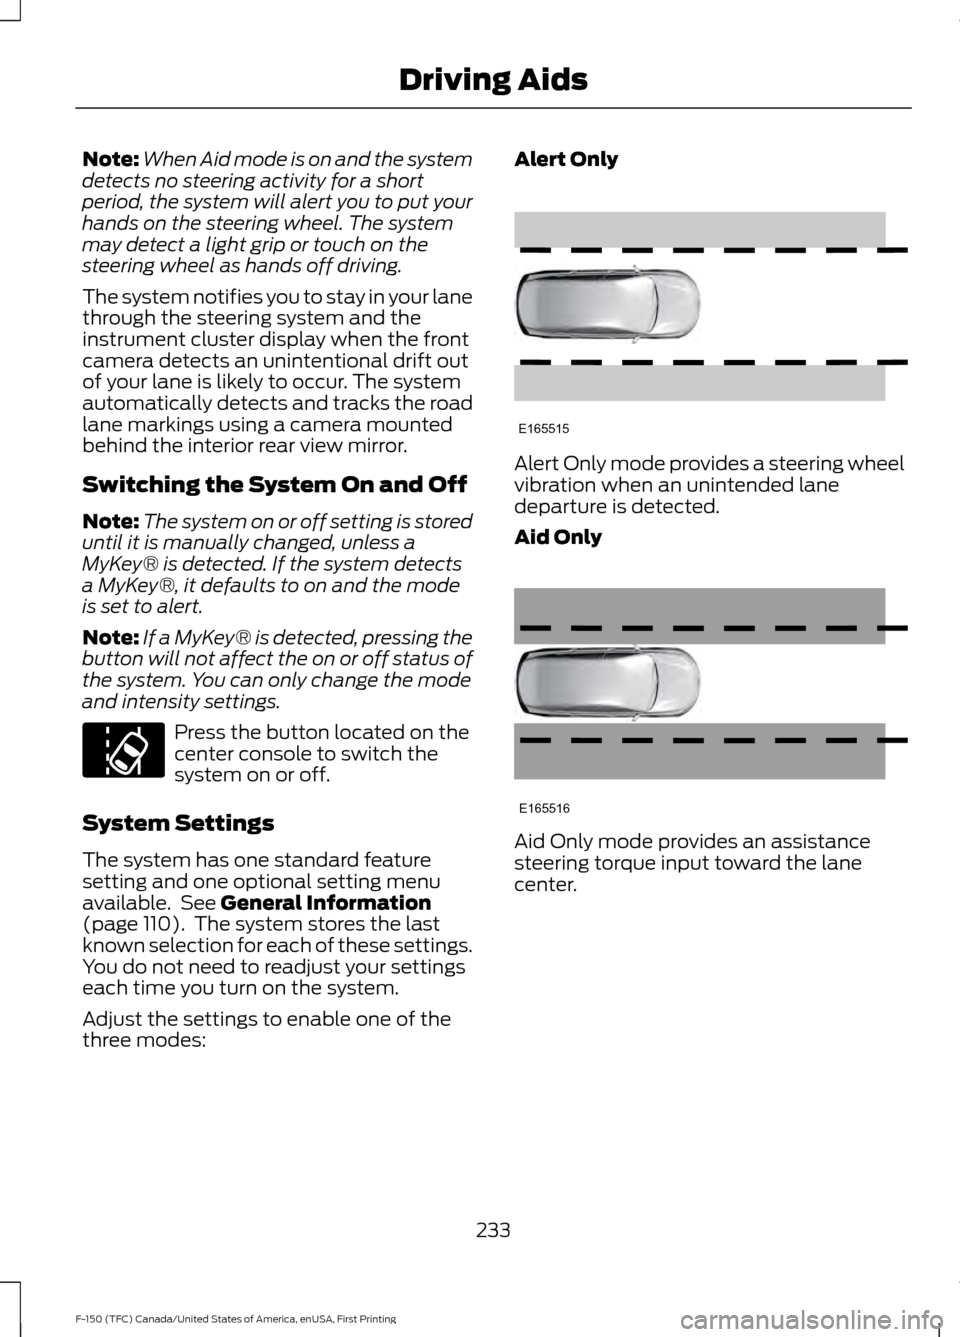
three modes: Alert Only
Alert Only mode provides a steering wheel
vibration when an unintended lane
departure is detected.
Aid Only
Aid Only mode provides an assistance
steering torque input toward the lane
center.
233
F-150 (TFC) Canada/United States of America, enUSA, First Printing Driving AidsE173233 E165515 E165516