2017 FORD EXPEDITION EL heating
[x] Cancel search: heatingPage 83 of 500
EXTERIOR MIRRORS
Power Exterior Mirrors
WARNING
Do not adjust the mirrors when yourvehicle is moving.
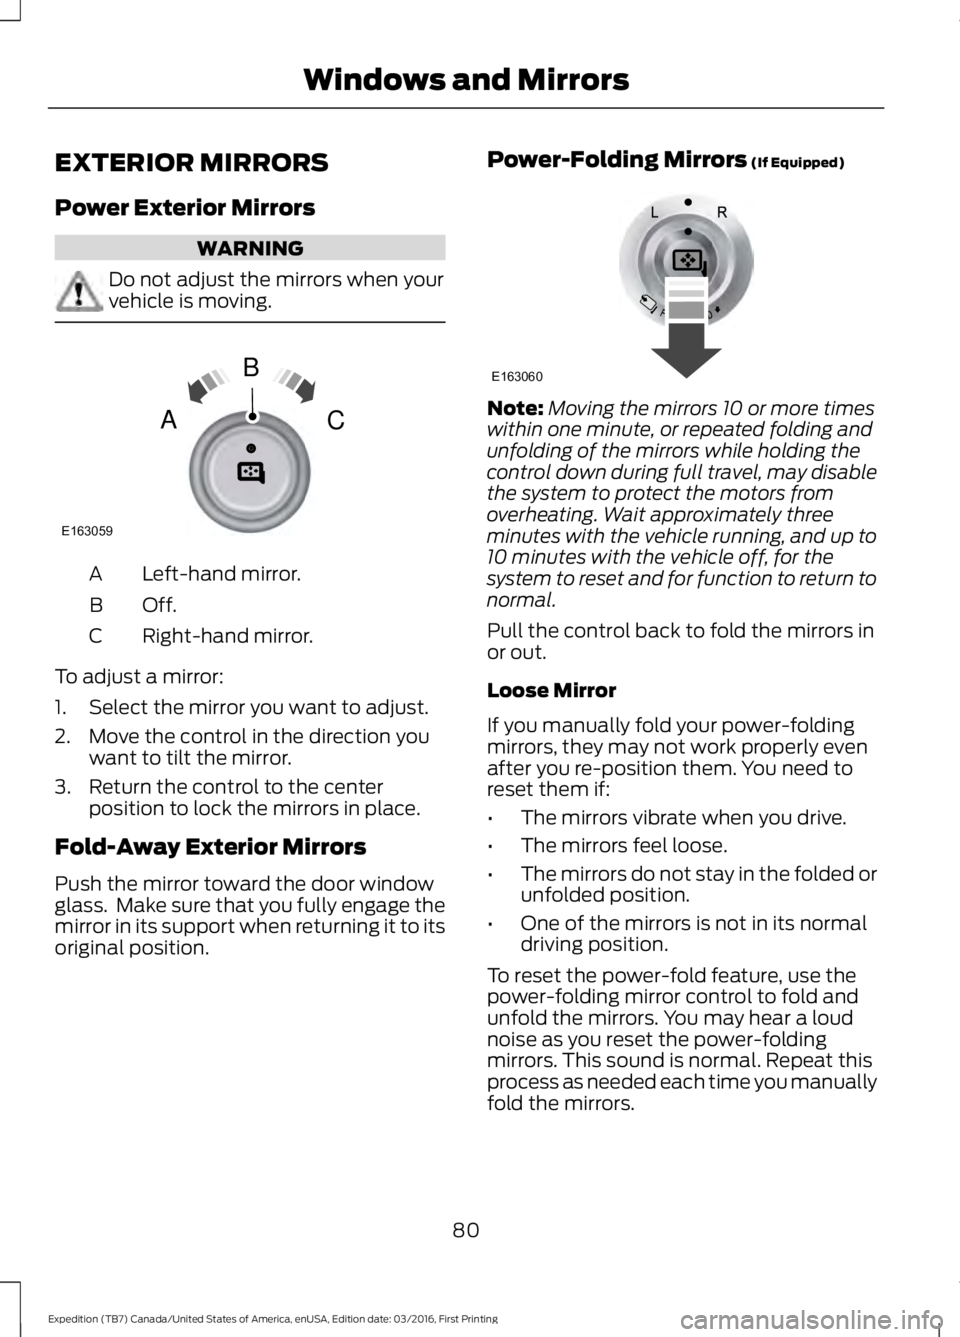
Left-hand mirror.A
Off.B
Right-hand mirror.C
To adjust a mirror:
1. Select the mirror you want to adjust.
2. Move the control in the direction youwant to tilt the mirror.
3. Return the control to the centerposition to lock the mirrors in place.
Fold-Away Exterior Mirrors
Push the mirror toward the door windowglass. Make sure that you fully engage themirror in its support when returning it to itsoriginal position.
Power-Folding Mirrors (If Equipped)
Note:Moving the mirrors 10 or more timeswithin one minute, or repeated folding andunfolding of the mirrors while holding thecontrol down during full travel, may disablethe system to protect the motors fromoverheating. Wait approximately threeminutes with the vehicle running, and up to10 minutes with the vehicle off, for thesystem to reset and for function to return tonormal.
Pull the control back to fold the mirrors inor out.
Loose Mirror
If you manually fold your power-foldingmirrors, they may not work properly evenafter you re-position them. You need toreset them if:
•The mirrors vibrate when you drive.
•The mirrors feel loose.
•The mirrors do not stay in the folded orunfolded position.
•One of the mirrors is not in its normaldriving position.
To reset the power-fold feature, use thepower-folding mirror control to fold andunfold the mirrors. You may hear a loudnoise as you reset the power-foldingmirrors. This sound is normal. Repeat thisprocess as needed each time you manuallyfold the mirrors.
80
Expedition (TB7) Canada/United States of America, enUSA, Edition date: 03/2016, First Printing
Windows and MirrorsE163059
B
AC E163060
Page 88 of 500
Vehicle Settings and Personalization
See General Information (page 91).
Fuel Gauge
Note:The fuel gauge may vary slightlywhen your vehicle is moving or on a gradient.
Switch the ignition on. The fuel gaugeindicates approximately how much fuelremains in the fuel tank. The arrowadjacent to the fuel pump symbolindicates on which side of your vehicle thefuel filler door is located.
The needle should move toward F whenyou refuel your vehicle. If the needle pointsto E after adding fuel, this indicates yourvehicle needs service soon.
After refueling, the needle may not alwaysreturn to the exact same position. This isnormal.
Note:It may take a short time for theneedle to reach F after leaving the gasstation. This is normal and depends uponthe slope of pavement at the gas station.
Note:The fuel amount dispensed into thetank is a little less or more than the gaugeindicated. This is normal and depends uponthe slope of pavement at the gas station.
Note:If the gas station nozzle shuts offbefore the tank is full, try a different gaspump nozzle.
Note:There is a small reserve left in thetank when the fuel gauge reaches empty.
Low Fuel Reminder
A low reminder displays when the distanceto empty reaches 50 miles (80 km) toempty.
Note:The low fuel reminder can appear atdifferent fuel gauge positions depending onfuel economy conditions. This variation isnormal.
Engine Coolant Temperature Gauge
Shows the temperature of the enginecoolant. At normal operating temperature,the needle remains in the center section.If the needle enters the red section, theengine is overheating. Stop the engine,switch the ignition off and determine thecause once the engine has cooled down.
Note:Do not restart the engine until youconclude the cause of overheating.
WARNING
Never remove the coolant reservoircap while the engine is running or hot.The hot coolant is under pressureand may cause serious burns.
85
Expedition (TB7) Canada/United States of America, enUSA, Edition date: 03/2016, First Printing
Instrument Cluster
Page 120 of 500
Automatic Climate Control
Note: Adjusting the settings when yourvehicle interior is extremely hot or cold isnot necessary. The system automaticallyadjusts to heat or cool the interior to yourselected temperature as quickly as possible.For the system to function efficiently, theinstrument panel and side air vents shouldbe fully open.
Note:If you select AUTO during coldoutside temperatures, the system directsairflow to the windshield and side windowvents. In addition, the fan may run at aslower speed until the engine warms up.
Note:If you select AUTO during hot outsidetemperatures, or when the inside of thevehicle is hot, the system automatically usesrecirculated air to maximize interior cooling.When the interior reaches the selectedtemperature, the system automaticallyswitches to using outside air.
Heating the Interior Quickly
Vehicle with automatic climate controlVehicle with manual climate control
Press the AUTO button.Adjust the fan speed to a high speedsetting.1
Adjust the temperature control to thedesired setting.Adjust the temperature control to thefull heat setting.2
Select the footwell air vents using theair distribution buttons.3
Recommended Settings for Heating
Vehicle with automatic climate controlVehicle with manual climate control
Press the AUTO button.Adjust the fan speed to the centersetting.1
Adjust the temperature control to thedesired setting. Use 72°F (22°C) as astarting point, then adjust the setting asnecessary.
Adjust the temperature control to themidway point of the hot settings.2
Select the footwell air vents using theair distribution buttons.3
117
Expedition (TB7) Canada/United States of America, enUSA, Edition date: 03/2016, First Printing
Climate Control
Page 136 of 500
HEATED SEATS (If Equipped)
Front Seats
WARNING
People who are unable to feel painto their skin because of advancedage, chronic illness, diabetes, spinalcord injury, medication, alcohol use,exhaustion or other physical conditions,must exercise care when using the heatedseat. The heated seat may cause burnseven at low temperatures, especially ifused for long periods of time. Do not placeanything on the seat that insulates againstheat, such as a blanket or cushion. Thismay cause the heated seat to overheat.Do not puncture the seat with pins, needlesor other pointed objects. This may damagethe heating element which may cause theheated seat to overheat. An overheatedseat may cause serious personal injury.
Do not do the following:
•Place heavy objects on the seat.
•Operate the heated seat if water or anyother liquid spills on the seat. Allow theseat to dry thoroughly.
•Operate the heated seats unless theengine is running. Doing so can causethe battery to lose charge.
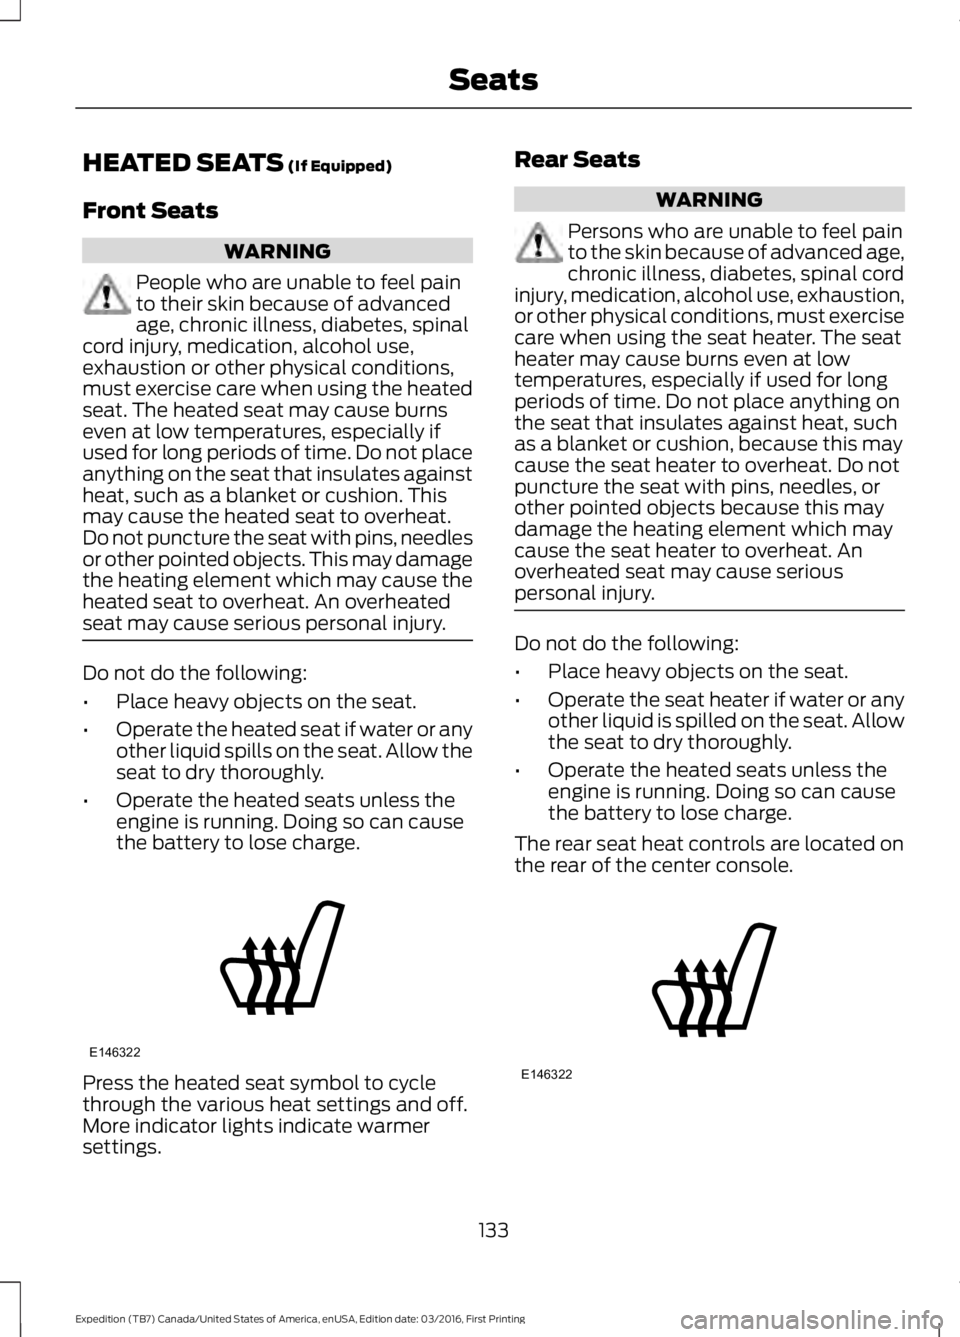
Press the heated seat symbol to cyclethrough the various heat settings and off.More indicator lights indicate warmersettings.
Rear Seats
WARNING
Persons who are unable to feel painto the skin because of advanced age,chronic illness, diabetes, spinal cordinjury, medication, alcohol use, exhaustion,or other physical conditions, must exercisecare when using the seat heater. The seatheater may cause burns even at lowtemperatures, especially if used for longperiods of time. Do not place anything onthe seat that insulates against heat, suchas a blanket or cushion, because this maycause the seat heater to overheat. Do notpuncture the seat with pins, needles, orother pointed objects because this maydamage the heating element which maycause the seat heater to overheat. Anoverheated seat may cause seriouspersonal injury.
Do not do the following:
•Place heavy objects on the seat.
•Operate the seat heater if water or anyother liquid is spilled on the seat. Allowthe seat to dry thoroughly.
•Operate the heated seats unless theengine is running. Doing so can causethe battery to lose charge.
The rear seat heat controls are located onthe rear of the center console.
133
Expedition (TB7) Canada/United States of America, enUSA, Edition date: 03/2016, First Printing
SeatsE146322 E146322
Page 137 of 500
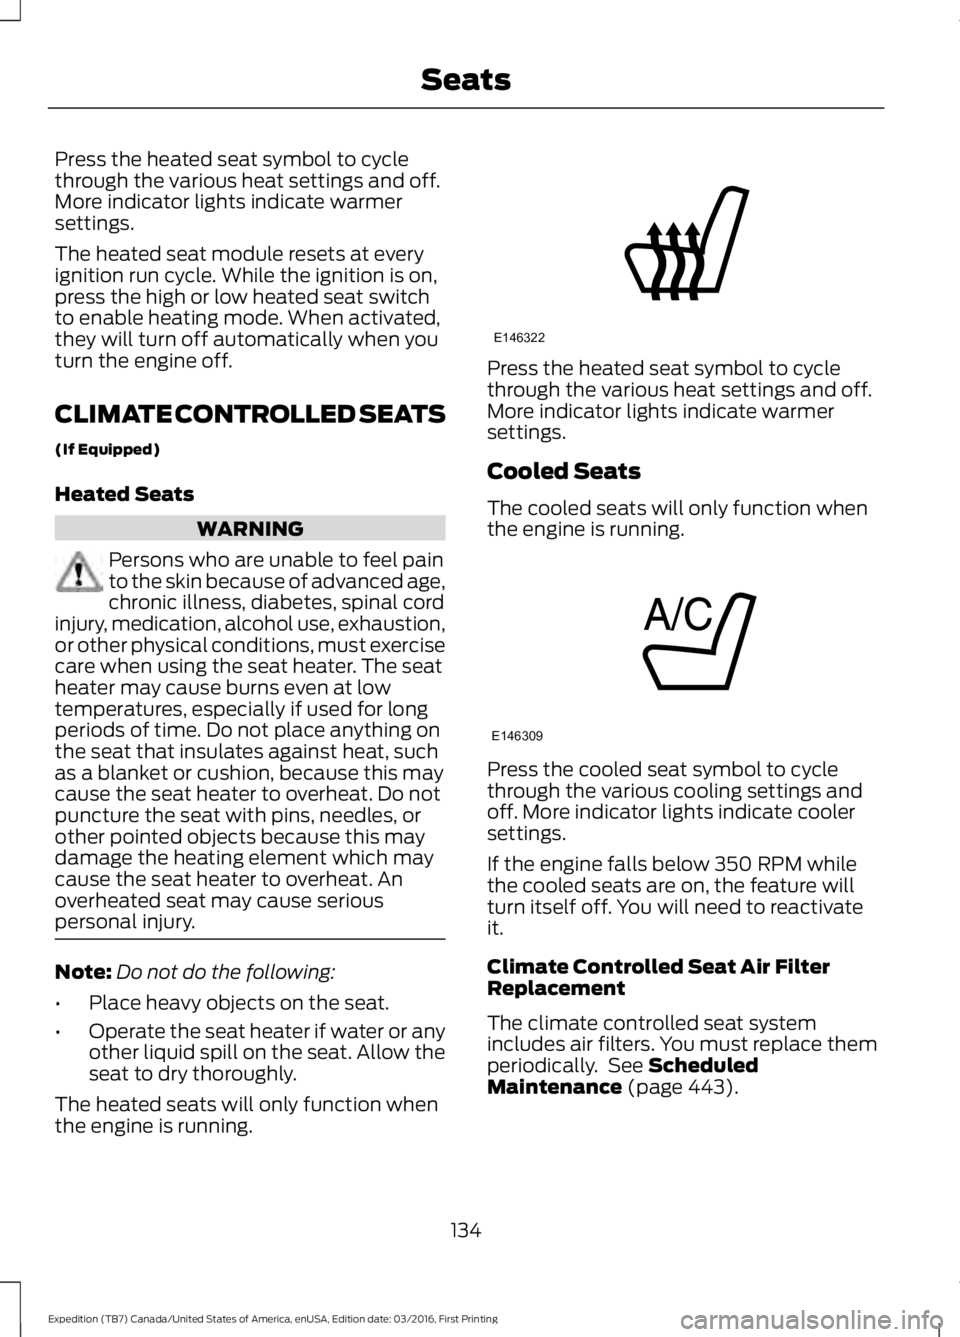
Press the heated seat symbol to cyclethrough the various heat settings and off.More indicator lights indicate warmersettings.
The heated seat module resets at everyignition run cycle. While the ignition is on,press the high or low heated seat switchto enable heating mode. When activated,they will turn off automatically when youturn the engine off.
CLIMATE CONTROLLED SEATS
(If Equipped)
Heated Seats
WARNING
Persons who are unable to feel painto the skin because of advanced age,chronic illness, diabetes, spinal cordinjury, medication, alcohol use, exhaustion,or other physical conditions, must exercisecare when using the seat heater. The seatheater may cause burns even at lowtemperatures, especially if used for longperiods of time. Do not place anything onthe seat that insulates against heat, suchas a blanket or cushion, because this maycause the seat heater to overheat. Do notpuncture the seat with pins, needles, orother pointed objects because this maydamage the heating element which maycause the seat heater to overheat. Anoverheated seat may cause seriouspersonal injury.
Note:Do not do the following:
•Place heavy objects on the seat.
•Operate the seat heater if water or anyother liquid spill on the seat. Allow theseat to dry thoroughly.
The heated seats will only function whenthe engine is running.
Press the heated seat symbol to cyclethrough the various heat settings and off.More indicator lights indicate warmersettings.
Cooled Seats
The cooled seats will only function whenthe engine is running.
Press the cooled seat symbol to cyclethrough the various cooling settings andoff. More indicator lights indicate coolersettings.
If the engine falls below 350 RPM whilethe cooled seats are on, the feature willturn itself off. You will need to reactivateit.
Climate Controlled Seat Air FilterReplacement
The climate controlled seat systemincludes air filters. You must replace themperiodically. See ScheduledMaintenance (page 443).
134
Expedition (TB7) Canada/United States of America, enUSA, Edition date: 03/2016, First Printing
SeatsE146322 E146309
Page 141 of 500
Gate Operator / CanadianProgramming
Canadian radio-frequency laws requiretransmitter signals to “time-out” (or quit)after several seconds of transmission –which may not be long enough forHomeLink to pick up the signal duringprogramming. Similar to this Canadian law,some U.S. gate operators are designed to“time-out” in the same manner.
Note:If programming a garage door openeror gate operator, it is advised to unplug thedevice during the “cycling” process toprevent possible overheating.
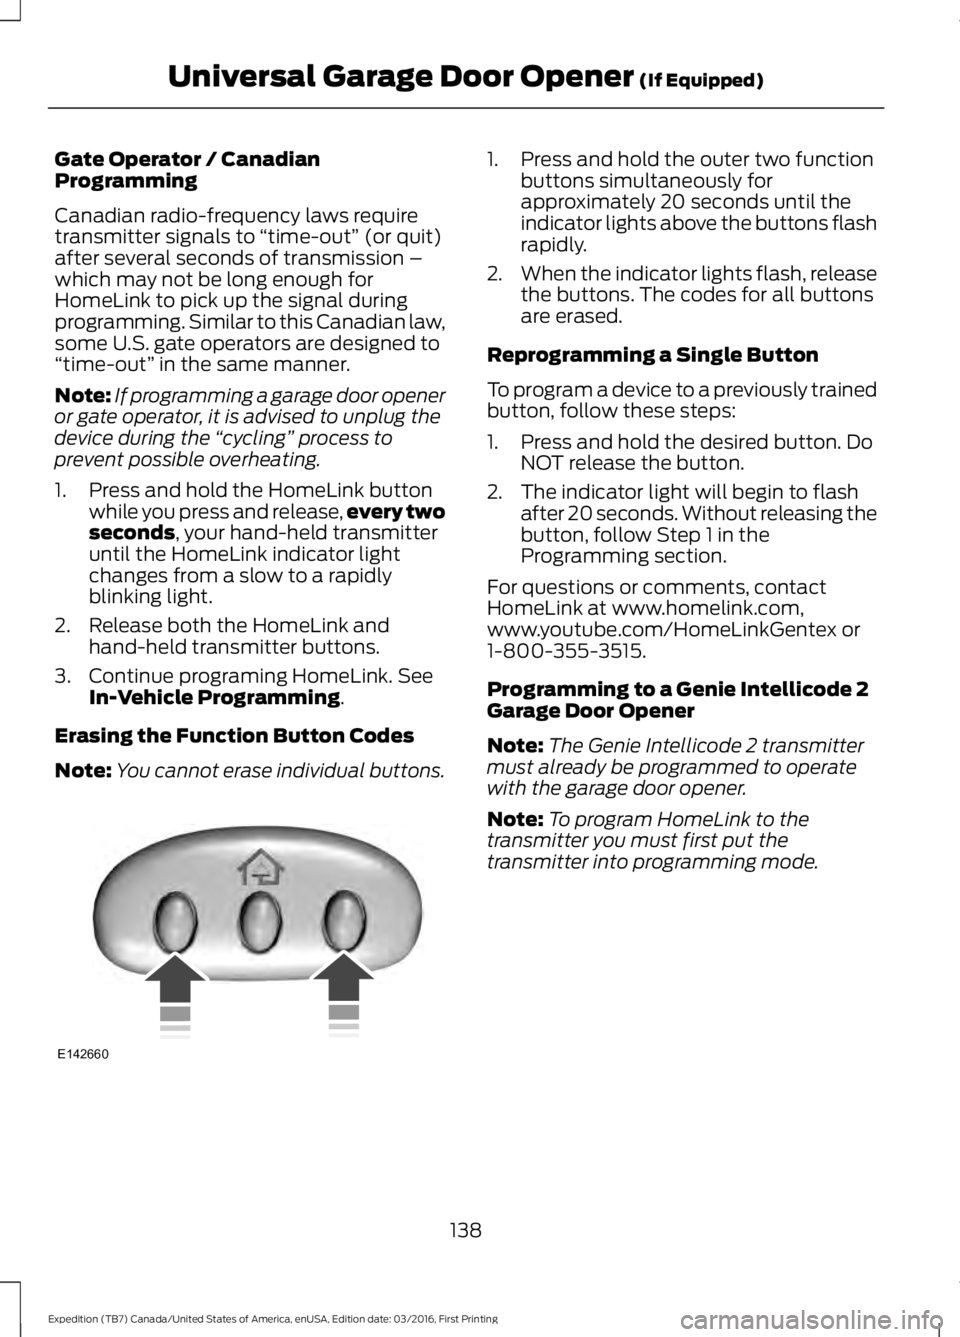
1. Press and hold the HomeLink buttonwhile you press and release,every twoseconds, your hand-held transmitteruntil the HomeLink indicator lightchanges from a slow to a rapidlyblinking light.
2. Release both the HomeLink andhand-held transmitter buttons.
3. Continue programing HomeLink. SeeIn-Vehicle Programming.
Erasing the Function Button Codes
Note:You cannot erase individual buttons.
1. Press and hold the outer two functionbuttons simultaneously forapproximately 20 seconds until theindicator lights above the buttons flashrapidly.
2.When the indicator lights flash, releasethe buttons. The codes for all buttonsare erased.
Reprogramming a Single Button
To program a device to a previously trainedbutton, follow these steps:
1. Press and hold the desired button. DoNOT release the button.
2. The indicator light will begin to flashafter 20 seconds. Without releasing thebutton, follow Step 1 in theProgramming section.
For questions or comments, contactHomeLink at www.homelink.com,www.youtube.com/HomeLinkGentex or1-800-355-3515.
Programming to a Genie Intellicode 2Garage Door Opener
Note:The Genie Intellicode 2 transmittermust already be programmed to operatewith the garage door opener.
Note:To program HomeLink to thetransmitter you must first put thetransmitter into programming mode.
138
Expedition (TB7) Canada/United States of America, enUSA, Edition date: 03/2016, First Printing
Universal Garage Door Opener (If Equipped)E142660
Page 173 of 500

Note:Avoid turning on steep slopes or hills.A danger lies in losing traction, slippingsideways and possible vehicle roll over.Whenever driving on a hill, determinebeforehand the route you will use. Do notdrive over the crest of a hill without seeingwhat conditions are on the other side. Donot drive in reverse over a hill without theaid of an observer.
Although natural obstacles may make itnecessary to travel diagonally up or downa hill or steep incline, you should alwaystry to drive straight up or straight down.
When climbing a steep slope or hill, startin a lower gear rather than downshifting toa lower gear from a higher gear once theascent has started. This reduces strain onthe engine and the possibility of stalling.
If your vehicle stalls, do not try to turnaround because this could cause vehicleroll over. It is better to reverse back to asafe location.
Apply just enough power to the wheels toclimb the hill. Too much power will causethe tires to slip, spin or lose traction,resulting in loss of vehicle control.
Descend a hill in the same gear you woulduse to climb up the hill to avoid excessivebrake application and brake overheating.Do not descend in neutral. Disengageoverdrive or move the transmissionselector lever to a lower gear. Whendescending a steep hill, avoid sudden hardbraking as you could lose control. The frontwheels have to be turning in order to steeryour vehicle.
If your vehicle has anti-lock brakes, applythe brakes steadily. Do not pump thebrakes.
Driving on Snow and Ice
WARNING
If you are driving in slipperyconditions that require tire chains orcables, then it is critical that you drivecautiously. Keep speeds down, allow forlonger stopping distances and avoidaggressive steering to reduce the chancesof a loss of vehicle control which can leadto serious injury or death. If the rear end ofyour vehicle slides while cornering, steer inthe direction of the slide until you regaincontrol of your vehicle.
Four-wheel drive vehicles have advantagesover two-wheel drive vehicles in snow andice but can skid like any other vehicle.Should you start to slide while driving onsnowy or icy roads, turn the steering wheelin the direction of the slide until you regaincontrol.
Avoid sudden applications of power andquick changes of direction on snow andice. Apply the accelerator slowly andsteadily when starting from a full stop.
170
Expedition (TB7) Canada/United States of America, enUSA, Edition date: 03/2016, First Printing
Four-Wheel Drive (If Equipped)E143949
Page 196 of 500
Switching the System Off and On
One or both systems can be switched offtemporarily by using the informationdisplay control; See InformationDisplays (page 91). . When you switch offthe Blind Spot Information System, youwill not receive alerts and the informationdisplay will display a system off message.The yellow alert indicator in the outsidemirror will also flash twice. The systemswitches back on whenever you switch theignition on.
You can also have the Blind SpotInformation System switched offpermanently at an authorized dealer. Onceswitched off permanently, the system canonly be switched back on at an authorizeddealer.
STEERING
Electric Power Steering
WARNINGS
The electric power steering systemhas diagnostic checks thatcontinuously monitor the system. Ifa fault is detected, a message displays inthe information display. Stop your vehicleas soon as it is safe to do so. Switch theignition off. After at least 10 seconds,switch the ignition on and watch theinformation display for a steering systemwarning message. If a steering systemwarning message returns, have the systemchecked by an authorized dealer.
If the system detects an error, youmay not feel a difference in thesteering, however a serious conditionmay exist. Obtain immediate service froman authorized dealer, failure to do so mayresult in loss of steering control.
Your vehicle has an electric power steeringsystem. There is no fluid reservoir. Nomaintenance is required.
If your vehicle loses electrical power whileyou are driving, electric power steeringassistance is lost. The steering system stilloperates and you can steer your vehiclemanually. Manually steering your vehiclerequires more effort.
Extreme continuous steering may increasethe effort required for you to steer yourvehicle. This increased effort preventsoverheating and permanent damage tothe steering system. You do not lose theability to steer your vehicle manually.Typical steering and driving maneuversallow the system to cool and return tonormal operation.
Steering Tips
If the steering wanders or pulls, check for:
•Correct tire pressures.
•Uneven tire wear.
•Loose or worn suspensioncomponents.
•Loose or worn steering components.
•Improper vehicle alignment.
Note:A high crown in the road or highcrosswinds may also make the steeringseem to wander or pull.
Adaptive Learning
The electronic power steering systemadaptive learning helps correct roadirregularities and improves overall handlingand steering feel. It communicates withthe brake system to help operateadvanced stability control and accidentavoidance systems. Additionally, wheneverthe battery is disconnected or a newbattery installed, you must drive yourvehicle a short distance before the systemrelearns the strategy and reactivates allsystems.
193
Expedition (TB7) Canada/United States of America, enUSA, Edition date: 03/2016, First Printing
Driving Aids