2017 FORD EXPEDITION EL set clock
[x] Cancel search: set clockPage 32 of 500

PRINCIPLE OF OPERATION
WARNINGS
Always drive and ride with yourseatback upright and the lap beltsnug and low across the hips.
To reduce the risk of injury, makesure children sit where they can beproperly restrained.
Never let a passenger hold a child onhis or her lap while the vehicle ismoving. The passenger cannotprotect the child from injury in a crash,which may result in serious injury or death.
All occupants of the vehicle,including the driver, should alwaysproperly wear their safety belts, evenwhen an airbag supplemental restraintsystem is provided. Failure to properly wearyour safety belt could seriously increasethe risk of injury or death.
It is extremely dangerous to ride in acargo area, inside or outside of avehicle. In a crash, people riding inthese areas are more likely to be seriouslyinjured or killed. Do not allow people to ridein any area of your vehicle that is notequipped with seats and safety belts. Besure everyone in your vehicle is in a seatand using a safety belt properly.
In a rollover crash, an unbeltedperson is significantly more likely todie than a person wearing a safetybelt.
Each seating position in your vehiclehas a specific safety belt assemblywhich is made up of one buckle andone tongue that are designed to be usedas a pair. 1) Use the shoulder belt on theoutside shoulder only. Never wear theshoulder belt under the arm. 2) Neverswing the safety belt around your neck overthe inside shoulder. 3) Never use a singlebelt for more than one person.
WARNINGS
When possible, all children 12 yearsold and under should be properlyrestrained in a rear seating position.Failure to follow this could seriouslyincrease the risk of injury or death.
Safety belts and seats can becomehot in a vehicle that has been closedup in sunny weather; they could burna small child. Check seat covers andbuckles before you place a child anywherenear them.
Front and rear seat occupants,including pregnant women, shouldwear safety belts for optimumprotection in an accident.
All seating positions in this vehicle havelap and shoulder safety belts. Alloccupants of the vehicle should alwaysproperly wear their safety belts, even whenan airbag supplemental restraint systemis provided.
The safety belt system consists of:
•Lap and shoulder safety belts.
•Shoulder safety belt with automaticlocking mode, (except driver safetybelt).
•Height adjuster at the front outboardseating positions.
•Safety belt pretensioner at the frontoutboard seating positions.
•Safety belt warning light and chime.
•Crash sensors and monitoring systemwith readiness indicator.
29
Expedition (TB7) Canada/United States of America, enUSA, Edition date: 03/2016, First Printing
Seatbelts
Page 249 of 500
Do not use supplemental engine oiladditives because they are unnecessaryand could lead to engine damage that maynot be covered by the vehicle Warranty.
Only use oils certified for gasoline enginesby the American Petroleum Institute (API).An oil with this trademark symbolconforms to the current engine andemission system protection standards andfuel economy requirements of theInternational Lubricants SpecificationAdvisory Committee (ILSAC).
To top up the engine oil level do thefollowing:
1. Clean the area surrounding the engineoil filler cap before you remove it.
2. Remove the engine oil filler cap. SeeUnder Hood Overview (page 244).Turn it counterclockwise and removeit.
3. Add engine oil that meets Fordspecifications. See Capacities andSpecifications (page 308). You mayhave to use a funnel to pour the engineoil into the opening.
4. Recheck the oil level.
5. If the oil level is correct, replace thedipstick and make sure it is fully seated.
6. Replace the engine oil filler cap. Turnit clockwise until you feel a strongresistance.
Note: Do not add oil further than themaximum mark. Oil levels above themaximum mark may cause engine damage.
Note:Make sure you install the oil filler capcorrectly.
Note:Soak up any spillage with anabsorbent cloth immediately.
OIL CHANGE INDICATOR
RESET
Use the information display controls onthe steering wheel to reset the oil changeindicator.
From the main menu scroll to:
Action and descriptionMessage
Press the right arrow button,then from this menu scrollto the following message.
Settings
Press the right arrow button,then from this menu scrollto the following message.
Vehicle
Press the right arrow button,then from this menu scrollto the following message.
Oil Life
Press and hold the OKbutton until the instrumentcluster displays thefollowing message.
Hold OK toReset
Reset Successful
When the oil change indic-ator resets the instrumentcluster displays 100%.
Remaining Life
{00}%
246
Expedition (TB7) Canada/United States of America, enUSA, Edition date: 03/2016, First Printing
MaintenanceE142732
Page 257 of 500
If you see any corrosion on the battery orterminals, remove the cables from theterminals and clean with a wire brush. Youcan neutralize the acid with a solution ofbaking soda and water.
Because your vehicle’s engine iselectronically controlled by a computer,some control conditions are maintainedby power from the battery. When thebattery is disconnected or a new batteryis installed, the engine must relearn its idleand fuel trim strategy for optimumdriveability and performance. Flexible fuelvehicles (FFV) must also relearn theethanol content of the fuel for optimumdriveability and performance.
To restore the settings, do the following:
1. Apply the parking brake.
2. Shift into park (P) or neutral (N).
3. Switch off all accessories.
4. Press the brake pedal and start yourvehicle.
5. Run the engine until it reaches normaloperating temperature. While theengine is warming up, complete thefollowing: Reset the clock. See AudioSystem (page 313). Reset the powerwindows bounce-back feature. SeeWindows and Mirrors (page 79).Reset the radio station presets. SeeAudio System (page 313).
6.Allow the engine to idle for at least oneminute.
7.Drive the vehicle at least 10 mi (16 km)to completely relearn the idle trim andfuel trim strategy.
Note:If you do not allow the engine torelearn the idle and fuel trim strategy, theidle quality of your vehicle may be adverselyaffected until the engine computereventually relearns the idle trim and fueltrim strategy.
Note:For flexible fuel vehicles, if you areoperating on E85, you may experience poorstarts or an inability to start the engine anddriveability problems until the fuel trim andethanol content have been relearned.
Make sure that you dispose of old batteriesin an environmentally friendly way. Seekadvice from your local authority aboutrecycling old batteries.
If storing your vehicle for more than 30days without recharging the battery, werecommend that you disconnect thebattery cables to maintain battery chargefor quick starting.
Battery Management System (If
Equipped)
The battery management system monitorsbattery conditions and takes actions toextend battery life. If excessive batterydrain is detected, the system temporarilydisables some electrical systems toprotect the battery.
Systems included are:
•Heated rear window.
•Heated seats.
•Climate control.
•Heated steering wheel.
•Audio unit.
•Navigation system.
A message may appear in the informationdisplays to alert you that batteryprotection actions are active. Thesemessages are only for notification that anaction is taking place, and not intended toindicate an electrical problem or that thebattery requires replacement.
254
Expedition (TB7) Canada/United States of America, enUSA, Edition date: 03/2016, First Printing
Maintenance
Page 299 of 500

•To reduce the chances of interferencefrom another vehicle, perform thesystem reset procedure at least threefeet (one meter) away from anotherFord Motor Company vehicleundergoing the system reset procedureat the same time.
•Do not wait more than two minutesbetween resetting each tire sensor orthe system will time-out and the entireprocedure will have to be repeated onall four wheels.
•A double horn will sound indicating theneed to repeat the procedure.
Performing the System Reset Procedure
Read the entire procedure beforeattempting.
1. Drive the vehicle above 20 mph (32km/h) for at least two minutes, thenpark in a safe location where you caneasily get to all four tires and haveaccess to an air pump.
2.Place the ignition in the off position andkeep the key in the ignition.
3. Cycle the ignition to the on positionwith the engine off.
4. Turn the hazard flashers on then offthree times. You must accomplish thiswithin 10 seconds. If the reset modehas been entered successfully, the hornwill sound once, the system indicatorwill flash and a message is shown inthe information display. If this does notoccur, please try again starting at Step2. If after repeated attempts to enterthe reset mode, the horn does notsound, the system indicator does notflash and no message is shown in theinformation display, seek service fromyour authorized dealer.
5. Train the tire pressure monitoringsystem sensors in the tires using thefollowing system reset sequencestarting with the left front tire in thefollowing clockwise order: Left front(driver's side front tire), Right front(passenger's side front tire), Right rear(passenger's side rear tire), Left rear(driver's side rear tire).
6. Remove the valve cap from the valvestem on the left front tire. Decrease theair pressure until the horn sounds.
Note:The single horn chirp confirms thatthe sensor identification code has beenlearned by the module for this position. If adouble horn is heard, the reset procedurewas unsuccessful, and you must repeat it.
7. Remove the valve cap from the valvestem on the right front tire. Decreasethe air pressure until the horn sounds.
8. Remove the valve cap from the valvestem on the right rear tire. Decrease theair pressure until the horn sounds.
9. Remove the valve cap from the valvestem on the left rear tire. Decrease theair pressure until the horn sounds.Training is complete after the hornsounds for the last tire trained (driver'sside rear tire), the system indicatorstops flashing, and a message is shownin the information display.
10.Turn the ignition off. If two short hornbeeps are heard, the reset procedurewas unsuccessful and you mustrepeat it. If after repeating theprocedure and two short beeps areheard when the ignition is turned tooff, seek assistance from yourauthorized dealer.
296
Expedition (TB7) Canada/United States of America, enUSA, Edition date: 03/2016, First Printing
Wheels and Tires
Page 303 of 500
Park on a level surface, activate the hazardflashers and set the parking brake. Then,place the transmission in park (P) and turnthe engine off.
Removing the Jack and Tools
Note:Pay close attention to the orientationof the bag, because it will have to bereinstalled after changing the tire.
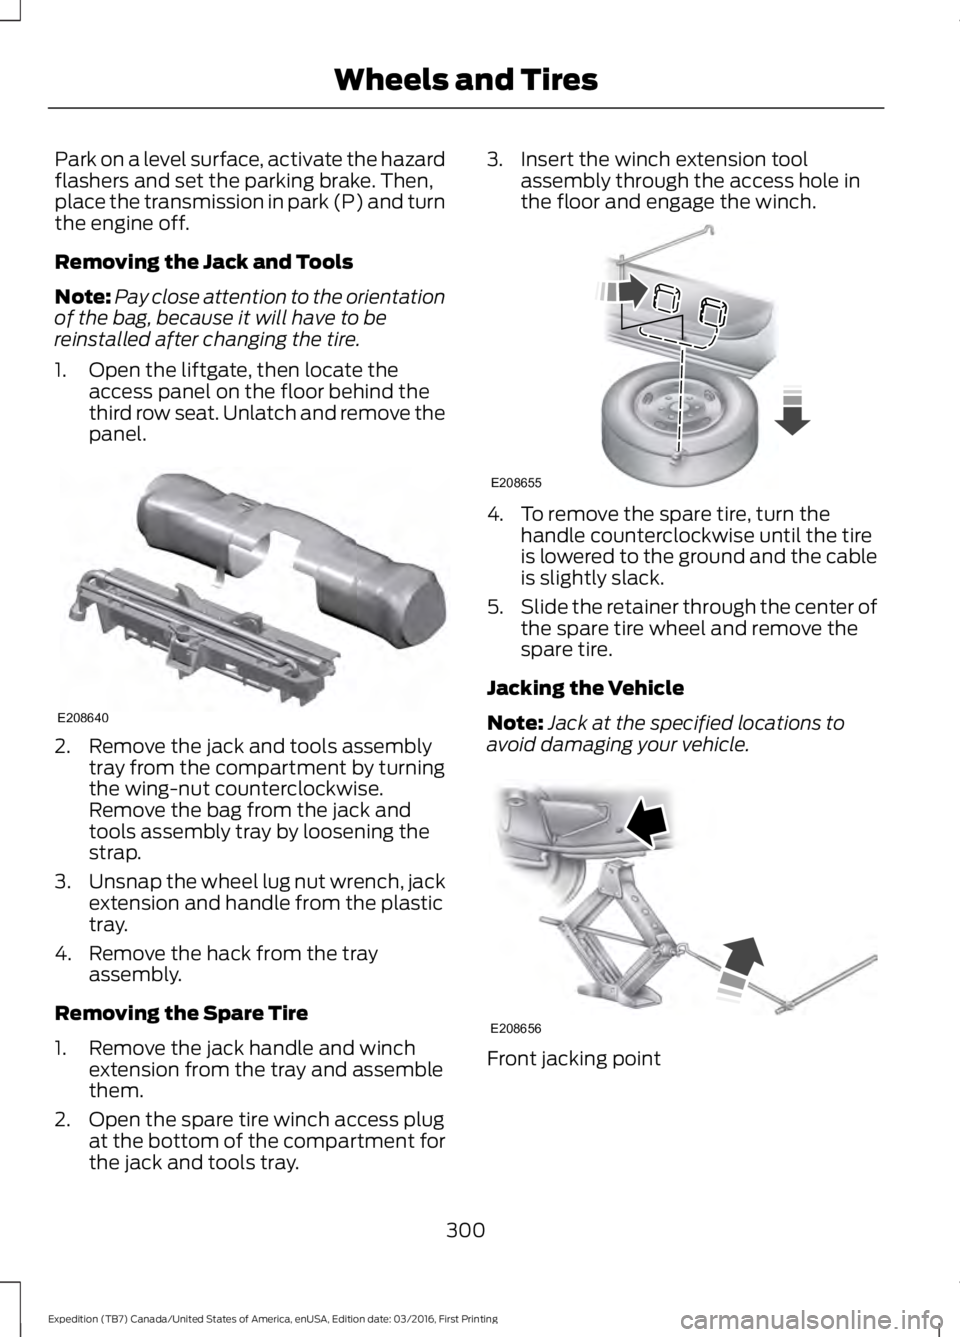
1. Open the liftgate, then locate theaccess panel on the floor behind thethird row seat. Unlatch and remove thepanel.
2. Remove the jack and tools assemblytray from the compartment by turningthe wing-nut counterclockwise.Remove the bag from the jack andtools assembly tray by loosening thestrap.
3.Unsnap the wheel lug nut wrench, jackextension and handle from the plastictray.
4. Remove the hack from the trayassembly.
Removing the Spare Tire
1. Remove the jack handle and winchextension from the tray and assemblethem.
2. Open the spare tire winch access plugat the bottom of the compartment forthe jack and tools tray.
3. Insert the winch extension toolassembly through the access hole inthe floor and engage the winch.
4. To remove the spare tire, turn thehandle counterclockwise until the tireis lowered to the ground and the cableis slightly slack.
5.Slide the retainer through the center ofthe spare tire wheel and remove thespare tire.
Jacking the Vehicle
Note:Jack at the specified locations toavoid damaging your vehicle.
Front jacking point
300
Expedition (TB7) Canada/United States of America, enUSA, Edition date: 03/2016, First Printing
Wheels and TiresE208640 E208655 E208656
Page 319 of 500
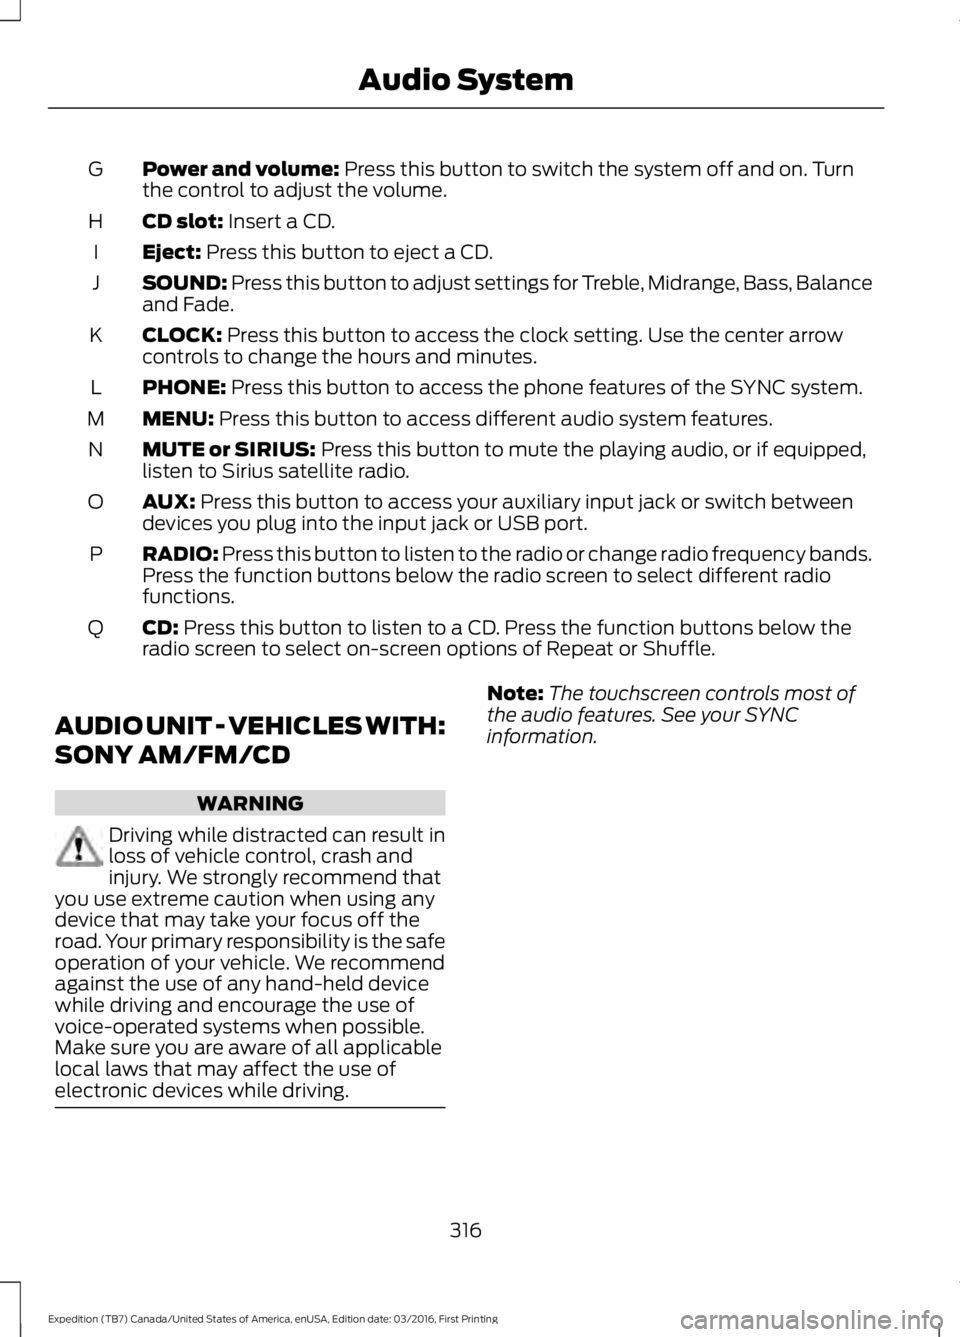
Power and volume: Press this button to switch the system off and on. Turnthe control to adjust the volume.G
CD slot: Insert a CD.H
Eject: Press this button to eject a CD.I
SOUND: Press this button to adjust settings for Treble, Midrange, Bass, Balanceand Fade.J
CLOCK: Press this button to access the clock setting. Use the center arrowcontrols to change the hours and minutes.K
PHONE: Press this button to access the phone features of the SYNC system.L
MENU: Press this button to access different audio system features.M
MUTE or SIRIUS: Press this button to mute the playing audio, or if equipped,listen to Sirius satellite radio.N
AUX: Press this button to access your auxiliary input jack or switch betweendevices you plug into the input jack or USB port.O
RADIO: Press this button to listen to the radio or change radio frequency bands.Press the function buttons below the radio screen to select different radiofunctions.
P
CD: Press this button to listen to a CD. Press the function buttons below theradio screen to select on-screen options of Repeat or Shuffle.Q
AUDIO UNIT - VEHICLES WITH:
SONY AM/FM/CD
WARNING
Driving while distracted can result inloss of vehicle control, crash andinjury. We strongly recommend thatyou use extreme caution when using anydevice that may take your focus off theroad. Your primary responsibility is the safeoperation of your vehicle. We recommendagainst the use of any hand-held devicewhile driving and encourage the use ofvoice-operated systems when possible.Make sure you are aware of all applicablelocal laws that may affect the use ofelectronic devices while driving.
Note:The touchscreen controls most ofthe audio features. See your SYNCinformation.
316
Expedition (TB7) Canada/United States of America, enUSA, Edition date: 03/2016, First Printing
Audio System
Page 369 of 500
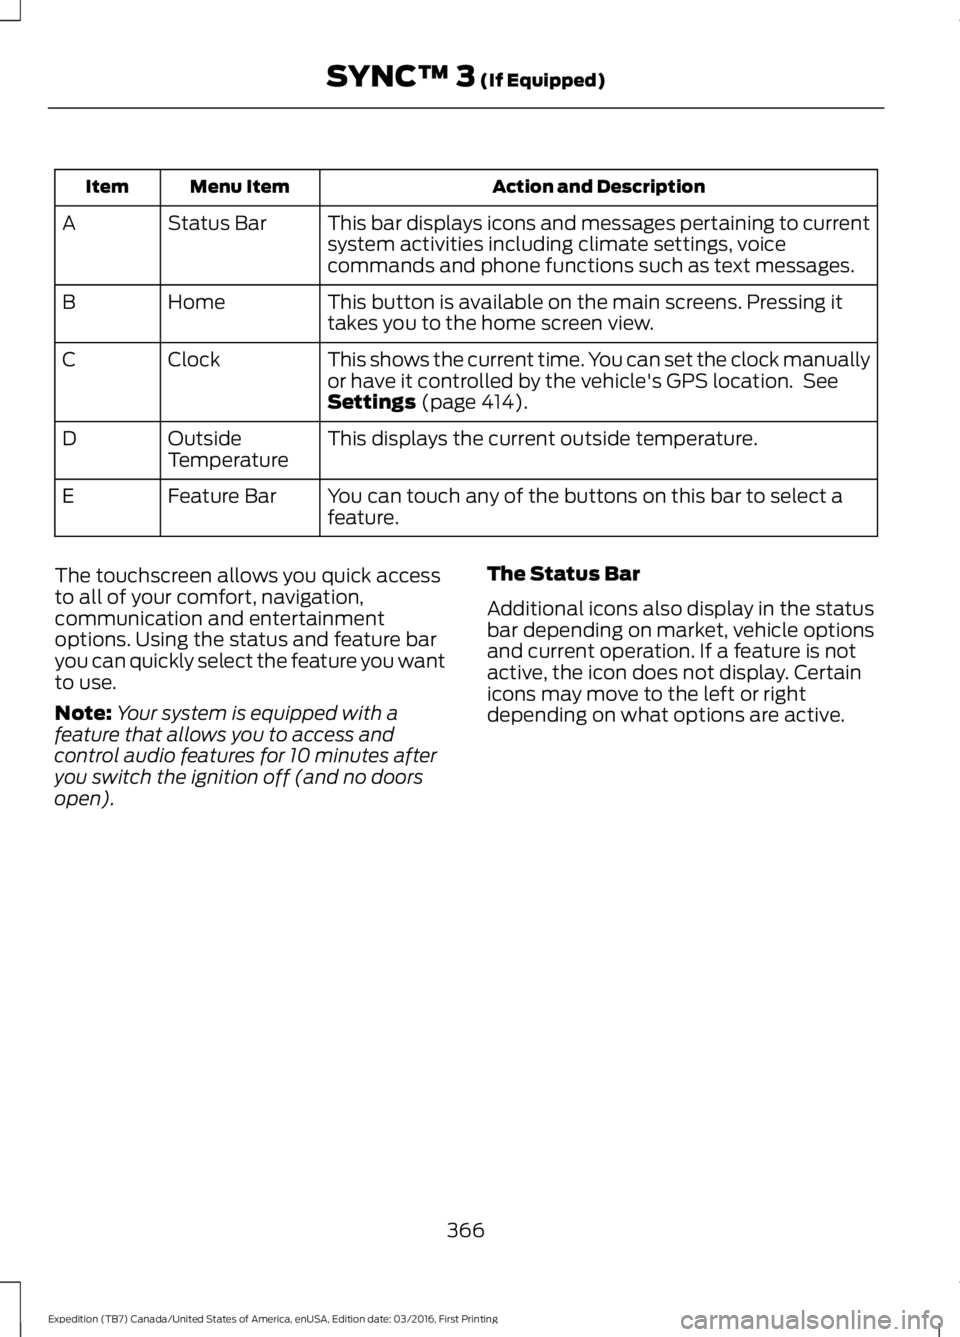
Action and DescriptionMenu ItemItem
This bar displays icons and messages pertaining to currentsystem activities including climate settings, voicecommands and phone functions such as text messages.
Status BarA
This button is available on the main screens. Pressing ittakes you to the home screen view.HomeB
This shows the current time. You can set the clock manuallyor have it controlled by the vehicle's GPS location. SeeSettings (page 414).
ClockC
This displays the current outside temperature.OutsideTemperatureD
You can touch any of the buttons on this bar to select afeature.Feature BarE
The touchscreen allows you quick accessto all of your comfort, navigation,communication and entertainmentoptions. Using the status and feature baryou can quickly select the feature you wantto use.
Note:Your system is equipped with afeature that allows you to access andcontrol audio features for 10 minutes afteryou switch the ignition off (and no doorsopen).
The Status Bar
Additional icons also display in the statusbar depending on market, vehicle optionsand current operation. If a feature is notactive, the icon does not display. Certainicons may move to the left or rightdepending on what options are active.
366
Expedition (TB7) Canada/United States of America, enUSA, Edition date: 03/2016, First Printing
SYNC™ 3 (If Equipped)
Page 400 of 500
Note: The heated steering wheel may remain on after remote starting thevehicle, based on your remote start settings. The heated steering wheel mayalso turn on when you start your vehicle, if it was on when you switched yourvehicle off.
Note: For steering wheels with wood trim, the heating feature will not heat thewheel between the 10 and 2 o'clock positions.
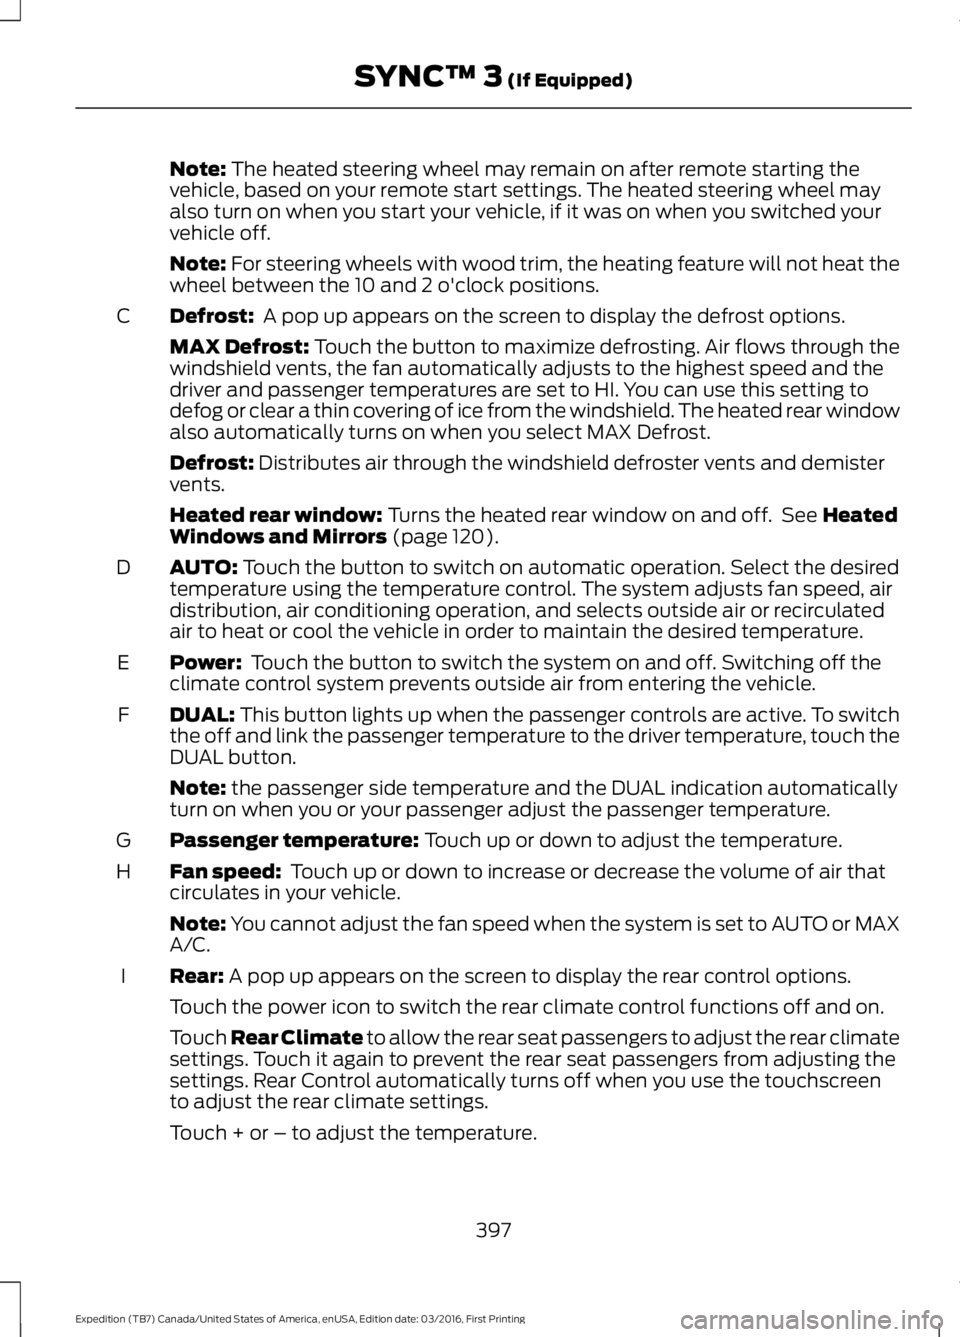
Defrost: A pop up appears on the screen to display the defrost options.C
MAX Defrost: Touch the button to maximize defrosting. Air flows through thewindshield vents, the fan automatically adjusts to the highest speed and thedriver and passenger temperatures are set to HI. You can use this setting todefog or clear a thin covering of ice from the windshield. The heated rear windowalso automatically turns on when you select MAX Defrost.
Defrost: Distributes air through the windshield defroster vents and demistervents.
Heated rear window: Turns the heated rear window on and off. See HeatedWindows and Mirrors (page 120).
AUTO: Touch the button to switch on automatic operation. Select the desiredtemperature using the temperature control. The system adjusts fan speed, airdistribution, air conditioning operation, and selects outside air or recirculatedair to heat or cool the vehicle in order to maintain the desired temperature.
D
Power: Touch the button to switch the system on and off. Switching off theclimate control system prevents outside air from entering the vehicle.E
DUAL: This button lights up when the passenger controls are active. To switchthe off and link the passenger temperature to the driver temperature, touch theDUAL button.
F
Note: the passenger side temperature and the DUAL indication automaticallyturn on when you or your passenger adjust the passenger temperature.
Passenger temperature: Touch up or down to adjust the temperature.G
Fan speed: Touch up or down to increase or decrease the volume of air thatcirculates in your vehicle.H
Note: You cannot adjust the fan speed when the system is set to AUTO or MAXA/C.
Rear: A pop up appears on the screen to display the rear control options.I
Touch the power icon to switch the rear climate control functions off and on.
Touch Rear Climate to allow the rear seat passengers to adjust the rear climatesettings. Touch it again to prevent the rear seat passengers from adjusting thesettings. Rear Control automatically turns off when you use the touchscreento adjust the rear climate settings.
Touch + or – to adjust the temperature.
397
Expedition (TB7) Canada/United States of America, enUSA, Edition date: 03/2016, First Printing
SYNC™ 3 (If Equipped)