2017 FORD EXPEDITION EL warning light
[x] Cancel search: warning lightPage 137 of 500
Press the heated seat symbol to cyclethrough the various heat settings and off.More indicator lights indicate warmersettings.
The heated seat module resets at everyignition run cycle. While the ignition is on,press the high or low heated seat switchto enable heating mode. When activated,they will turn off automatically when youturn the engine off.
CLIMATE CONTROLLED SEATS
(If Equipped)
Heated Seats
WARNING
Persons who are unable to feel painto the skin because of advanced age,chronic illness, diabetes, spinal cordinjury, medication, alcohol use, exhaustion,or other physical conditions, must exercisecare when using the seat heater. The seatheater may cause burns even at lowtemperatures, especially if used for longperiods of time. Do not place anything onthe seat that insulates against heat, suchas a blanket or cushion, because this maycause the seat heater to overheat. Do notpuncture the seat with pins, needles, orother pointed objects because this maydamage the heating element which maycause the seat heater to overheat. Anoverheated seat may cause seriouspersonal injury.
Note:Do not do the following:
•Place heavy objects on the seat.
•Operate the seat heater if water or anyother liquid spill on the seat. Allow theseat to dry thoroughly.
The heated seats will only function whenthe engine is running.
Press the heated seat symbol to cyclethrough the various heat settings and off.More indicator lights indicate warmersettings.
Cooled Seats
The cooled seats will only function whenthe engine is running.
Press the cooled seat symbol to cyclethrough the various cooling settings andoff. More indicator lights indicate coolersettings.
If the engine falls below 350 RPM whilethe cooled seats are on, the feature willturn itself off. You will need to reactivateit.
Climate Controlled Seat Air FilterReplacement
The climate controlled seat systemincludes air filters. You must replace themperiodically. See ScheduledMaintenance (page 443).
134
Expedition (TB7) Canada/United States of America, enUSA, Edition date: 03/2016, First Printing
SeatsE146322 E146309
Page 139 of 500
HomeLink Wireless ControlSystem
WARNINGS
Make sure that the garage door andsecurity device are free fromobstruction when you areprogramming. Do not program the systemwith the vehicle in the garage.
Do not use the system with anygarage door opener that does nothave the safety stop and reversefeature as required by U.S. Federal SafetyStandards (this includes any garage dooropener manufactured before April 1, 1982).A garage door opener which cannot detectan object, signaling the door to stop andreverse, does not meet current federalsafety standards. Using a garage dooropener without these features increasesthe risk of serious injury or death.
Note:Make sure you keep the originalremote control transmitter for use in othervehicles as well as for future systemprogramming.
Note:We recommend that upon the saleor lease termination of your vehicle, youerase the programmed function buttons forsecurity reasons. See Erasing the FunctionButton Codes.
Note:You can program a maximum ofthree devices. To change or replace any ofthe three devices after it has been initiallyprogrammed, you must first erase thecurrent settings. See Erasing the FunctionButton Codes.
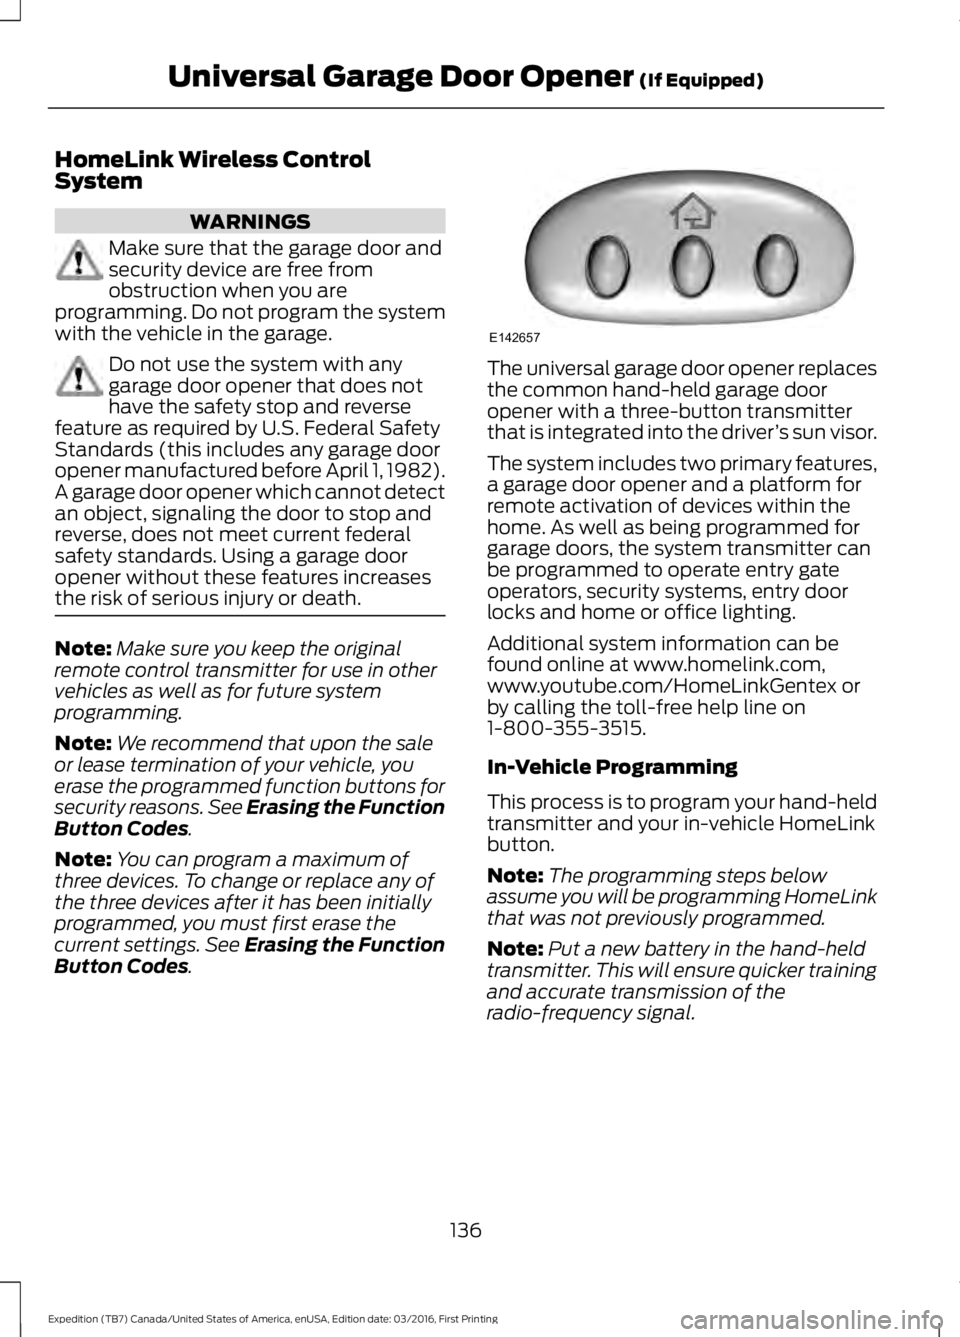
The universal garage door opener replacesthe common hand-held garage dooropener with a three-button transmitterthat is integrated into the driver’s sun visor.
The system includes two primary features,a garage door opener and a platform forremote activation of devices within thehome. As well as being programmed forgarage doors, the system transmitter canbe programmed to operate entry gateoperators, security systems, entry doorlocks and home or office lighting.
Additional system information can befound online at www.homelink.com,www.youtube.com/HomeLinkGentex orby calling the toll-free help line on1-800-355-3515.
In-Vehicle Programming
This process is to program your hand-heldtransmitter and your in-vehicle HomeLinkbutton.
Note:The programming steps belowassume you will be programming HomeLinkthat was not previously programmed.
Note:Put a new battery in the hand-heldtransmitter. This will ensure quicker trainingand accurate transmission of theradio-frequency signal.
136
Expedition (TB7) Canada/United States of America, enUSA, Edition date: 03/2016, First Printing
Universal Garage Door Opener (If Equipped)E142657
Page 144 of 500

12 Volt DC Power Point
WARNINGS
Do not plug optional electricalaccessories into the cigar lightersocket. Incorrect use of the cigarlighter can cause damage not covered bythe vehicle warranty, and can result in fireor serious injury.
Do not use a power point foroperating a cigar lighter. Incorrectuse of the power points can causedamage not covered by the vehiclewarranty, and can result in fire or seriousinjury.
Note:When you switch the ignition on, youcan use the socket to power 12 voltappliances with a maximum current ratingof 15 amps.
If the power supply does not work after youswitch the ignition off, switch the ignitionon.Note:Do not hang any accessory from theaccessory plug.
Note:Do not use the power point over thevehicle capacity of 12 volt DC 180 watts ora fuse may blow.
Note:Always keep the power point capsclosed when not in use.
Do not insert objects other than anaccessory plug into the power point. Thiswill damage the power point and blow thefuse.
Run the vehicle for full capacity use of thepower point.
To prevent the battery from running out ofcharge:
•Do not use the power point longer thannecessary when the vehicle is notrunning.
•Do not leave devices plugged inovernight or when you park your vehiclefor extended periods.
Locations
Power points may be in the followinglocations:
•On the lower instrument panel.
•Inside the center console.
•On the rear of the center console.
•In the rear cargo area.
110 Volt AC Power Point (If Equipped)
WARNING
Do not keep electrical devicesplugged in the power point wheneverthe device is not in use. Do not useany extension cord with the 110 volt ACpower point, since it will defeat the safetyprotection design. Doing so may cause thepower point to overload due to poweringmultiple devices that can reach beyondthe 150 watt load limit and could result infire or serious injury.
Note:The power point will turn off whenthe ignition is switched off or the batteryvoltage drops below 11 volts.
Use the power point for powering electricdevices that require up to 150 watts. It ison the rear of the center console.
Note:Depending on your vehicle, the powerpoint cover may open to the right or upward.
141
Expedition (TB7) Canada/United States of America, enUSA, Edition date: 03/2016, First Printing
Auxiliary Power PointsE193395
Page 148 of 500
Ignition Modes
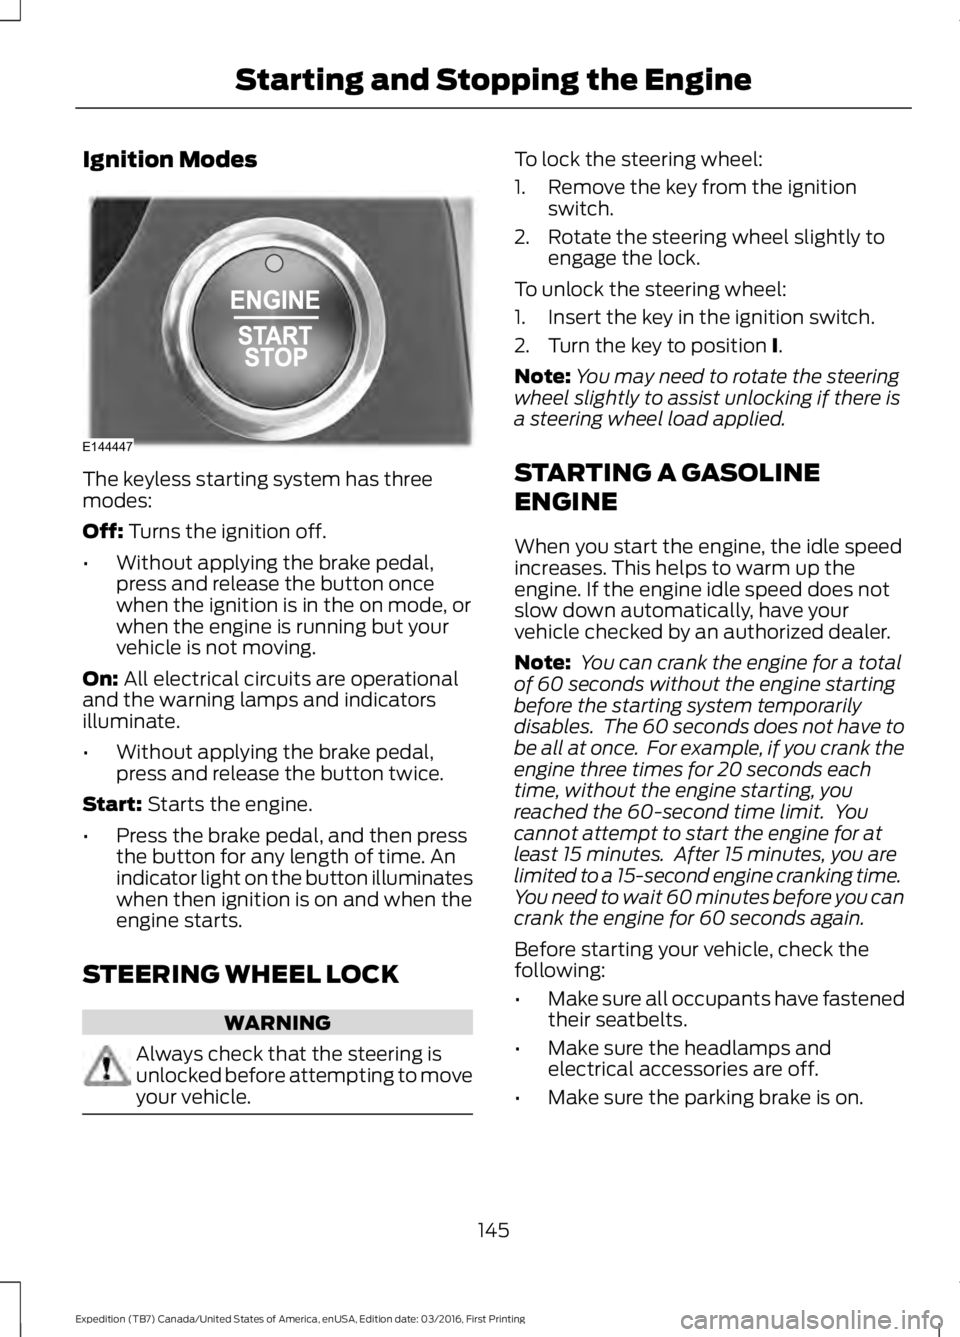
The keyless starting system has threemodes:
Off: Turns the ignition off.
•Without applying the brake pedal,press and release the button oncewhen the ignition is in the on mode, orwhen the engine is running but yourvehicle is not moving.
On: All electrical circuits are operationaland the warning lamps and indicatorsilluminate.
•Without applying the brake pedal,press and release the button twice.
Start: Starts the engine.
•Press the brake pedal, and then pressthe button for any length of time. Anindicator light on the button illuminateswhen then ignition is on and when theengine starts.
STEERING WHEEL LOCK
WARNING
Always check that the steering isunlocked before attempting to moveyour vehicle.
To lock the steering wheel:
1. Remove the key from the ignitionswitch.
2. Rotate the steering wheel slightly toengage the lock.
To unlock the steering wheel:
1. Insert the key in the ignition switch.
2. Turn the key to position I.
Note:You may need to rotate the steeringwheel slightly to assist unlocking if there isa steering wheel load applied.
STARTING A GASOLINE
ENGINE
When you start the engine, the idle speedincreases. This helps to warm up theengine. If the engine idle speed does notslow down automatically, have yourvehicle checked by an authorized dealer.
Note: You can crank the engine for a totalof 60 seconds without the engine startingbefore the starting system temporarilydisables. The 60 seconds does not have tobe all at once. For example, if you crank theengine three times for 20 seconds eachtime, without the engine starting, youreached the 60-second time limit. Youcannot attempt to start the engine for atleast 15 minutes. After 15 minutes, you arelimited to a 15-second engine cranking time.You need to wait 60 minutes before you cancrank the engine for 60 seconds again.
Before starting your vehicle, check thefollowing:
•Make sure all occupants have fastenedtheir seatbelts.
•Make sure the headlamps andelectrical accessories are off.
•Make sure the parking brake is on.
145
Expedition (TB7) Canada/United States of America, enUSA, Edition date: 03/2016, First Printing
Starting and Stopping the EngineE144447
Page 157 of 500
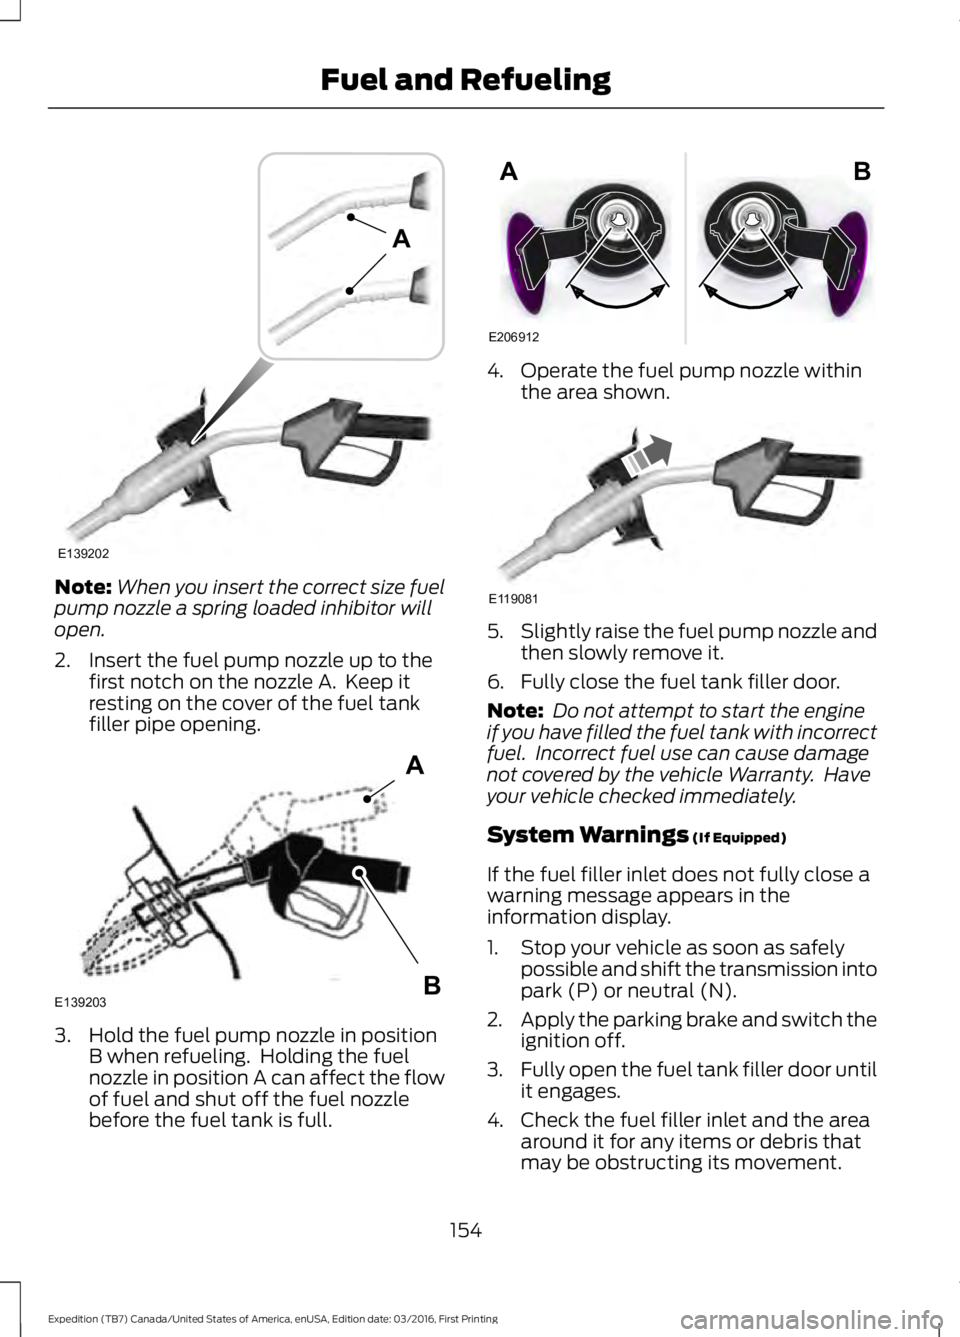
Note:When you insert the correct size fuelpump nozzle a spring loaded inhibitor willopen.
2. Insert the fuel pump nozzle up to thefirst notch on the nozzle A. Keep itresting on the cover of the fuel tankfiller pipe opening.
3. Hold the fuel pump nozzle in positionB when refueling. Holding the fuelnozzle in position A can affect the flowof fuel and shut off the fuel nozzlebefore the fuel tank is full.
4. Operate the fuel pump nozzle withinthe area shown.
5.Slightly raise the fuel pump nozzle andthen slowly remove it.
6. Fully close the fuel tank filler door.
Note: Do not attempt to start the engineif you have filled the fuel tank with incorrectfuel. Incorrect fuel use can cause damagenot covered by the vehicle Warranty. Haveyour vehicle checked immediately.
System Warnings (If Equipped)
If the fuel filler inlet does not fully close awarning message appears in theinformation display.
1. Stop your vehicle as soon as safelypossible and shift the transmission intopark (P) or neutral (N).
2.Apply the parking brake and switch theignition off.
3.Fully open the fuel tank filler door untilit engages.
4. Check the fuel filler inlet and the areaaround it for any items or debris thatmay be obstructing its movement.
154
Expedition (TB7) Canada/United States of America, enUSA, Edition date: 03/2016, First Printing
Fuel and RefuelingE139202
A E139203
A
B E206912
AB E119081
Page 159 of 500
Keep a record for at least one month andrecord the type of driving (city or highway).This provides an accurate estimate of yourvehicle’s fuel economy under currentdriving conditions. Keeping records duringsummer and winter will show howtemperature impacts fuel economy.
Conditions
•Heavily loading your vehicle reducesfuel economy.
•Carrying unnecessary weight in yourvehicle may reduce fuel economy.
•Adding certain accessories to yourvehicle such as bug deflectors, rollbarsor light bars, running boards and skiracks may reduce fuel economy.
•Using fuel blended with alcohol maylower fuel economy.
•Fuel economy may decrease with lowertemperatures.
•Fuel economy may decrease whendriving short distances.
•You will get better fuel economy whendriving on flat terrain than when drivingon hilly terrain.
EMISSION CONTROL SYSTEM
WARNINGS
Do not park, idle, or drive your vehiclein dry grass or other dry ground cover.The emission system heats up theengine compartment and exhaust system,which can start a fire.
Exhaust leaks may result in entry ofharmful and potentially lethal fumesinto the passenger compartment. Ifyou smell exhaust fumes inside yourvehicle, have your dealer inspect yourvehicle immediately. Do not drive if yousmell exhaust fumes.
Your vehicle is equipped with variousemission control components and acatalytic converter that will enable yourvehicle to comply with applicable exhaustemission standards.
To make sure that the catalytic converterand other emission control componentscontinue to work properly:
•Use only the specified fuel listed.
•Avoid running out of fuel.
•Do not turn off the ignition while yourvehicle is moving, especially at highspeeds.
•Have the items listed in scheduledmaintenance information performedaccording to the specified schedule.
The scheduled maintenance items listedin scheduled maintenance information areessential to the life and performance ofyour vehicle and to its emissions system.
If you use anything other than Ford,Motorcraft or Ford-authorized parts formaintenance replacements or for serviceof components affecting emission control,such non-Ford parts should be equivalentto genuine Ford Motor Company parts inperformance and durability.
Illumination of the service engine soonindicator, charging system warning light orthe temperature warning light, fluid leaks,strange odors, smoke or loss of enginepower could indicate that the emissioncontrol system is not working properly.
An improperly operating or damagedexhaust system may allow exhaust toenter the vehicle. Have a damaged orimproperly operating exhaust systeminspected and repaired immediately.
Do not make any unauthorized changes toyour vehicle or engine. By law, vehicleowners and anyone who manufactures,repairs, services, sells, leases, tradesvehicles, or supervises a fleet of vehiclesare not permitted to intentionally remove
156
Expedition (TB7) Canada/United States of America, enUSA, Edition date: 03/2016, First Printing
Fuel and Refueling
Page 163 of 500
Second (2)
Transmission operates in second (2) gearonly. Use second (2) gear to start-up onslippery roads.
First (1)
•Transmission operates in first (1) gearonly.
•Provides maximum engine braking.
•Allows upshifts by moving gearshiftlever.
•Will not downshift into first (1) gear athigh speeds; allows for first (1) gearwhen vehicle reaches slower speeds.
Tow/Haul Mode
WARNING
Do not use the tow/haul featurewhen driving in icy or slipperyconditions as the increased enginebraking can cause the rear wheels to slideand your vehicle to swing around with thepossible loss of vehicle control.
To activate tow/haul, press thebutton on the gearshift leveronce. The TOW HAUL indicatorlight will illuminate in the instrumentcluster.
The tow/haul feature:
•Delays upshifts to reduce the frequencyof transmission shifting.
•Provides engine braking in all forwardgears, which will slow your vehicle andassist you in controlling your vehiclewhen descending a grade.
•Depending on driving conditions andload conditions, may downshift thetransmission, slow your vehicle andcontrol your vehicle speed whendescending a hill, without pressing theaccelerator pedal. The amount ofdownshift braking provided will varybased upon the amount the brakepedal is pressed.
The tow/haul feature improvestransmission operation when towing atrailer or a heavy load. All transmissiongear ranges are available when usingtow/haul.
To deactivate the tow/haul feature andreturn to normal driving mode, press thebutton on the gearshift lever twice. TheTOW HAUL light will deactivate. Tow/haulwill also deactivate when you power downyour vehicle.
Forced Downshifts
•Allowed in drive (D) with the tow/haulfeature on or off.
•Press the accelerator to the floor.
•Allows transmission to select anappropriate gear.
160
Expedition (TB7) Canada/United States of America, enUSA, Edition date: 03/2016, First Printing
TransmissionE161509
Page 168 of 500
USING FOUR-WHEEL DRIVE
WARNING
For important information regardingsafe operation of this type of vehicle,see General Information in theWheels and Tires chapter.
Note:Do not use 4H or 4L mode on dry,hard surfaced roads. Doing so will produceexcessive noise, increase tire wear and maydamage drive components. 4H and 4L modeis only intended for consistently slippery orloose surfaces.
Note:If 4L mode is selected while yourvehicle is moving above 3 mph (5 km/h),the 4WD system will not perform a shift.This is normal and should be no reason forconcern. Refer to Shifting to or from 4L forproper operation.
4WD Indicator Lights
The indicator lights illuminate in theinformation display in the reconfigurabletelltale (RTT) location under the followingconditions. See Warning Lamps andIndicators (page 87).
Note:When a 4X4 system fault is present,the system will typically remain in whichever4WD mode was selected prior to the faultcondition occurring. It will not default to 4X2in all circumstances. When this warning isdisplayed, have your vehicle serviced by anauthorized dealer.
4X2
Momentarily illuminates when2H is selected.
4X4 AUTO
Continuously illuminates when4A is selected.
4X4 HIGH
Continuously illuminates when4H is selected.
4X4 LOW
Continuously illuminates when4L is selected.
4WD Switch Positions
WARNING
Utility and four-wheel drive vehiclesare not designed for cornering atspeeds as high as passenger cars anymore than low-slung sports cars aredesigned to perform satisfactorily underoff-road conditions. Avoid sharp turns orabrupt maneuvers in these vehicles.
Note:If your vehicle is equipped withAdvanceTrac® with RSC®, the system willautomatically turn off the stabilityenhancement feature when you shift the4WD system into 4L (4X4 LOW). You canmanually turn the system off by pressingthe AdvanceTrac button. See UsingTraction Control (page 176). This willdisable the engine management feature,allowing the vehicle to maintain full powerand enhanced momentum through theobstacle. The brake traction enhancementfeature will still be enabled.
Note:The Control Trac® selector switchshould not be changed while the rear wheelsare slipping.
165
Expedition (TB7) Canada/United States of America, enUSA, Edition date: 03/2016, First Printing
Four-Wheel Drive (If Equipped)E181778 E181781 E181779 E181780