2017 FORD EXPEDITION EL warning light
[x] Cancel search: warning lightPage 171 of 500

The transfer case supples power to all fourwheels. On four-wheel drive vehicles, thetransfer case allows you to select different4WD modes when necessary. You can findinformation on transfer case operation andshifting procedures in this chapter. You canfind information on transfer casemaintenance in the Maintenance chapter.You should become thoroughly familiarwith this information before you operateyour vehicle.
Four-wheel drive (when you select a 4WDmode) uses all four wheels to power yourvehicle. This increases traction, enablingyou to drive over terrain and roadconditions that a conventional two-wheeldrive vehicle cannot.
Basic Operating Principles
•Do not use 4H or 4L on dry, hardsurfaced roads. Doing so will produceexcessive noise, increase tire wear andmay damage drive components. 4H or4L modes are only intended forconsistently slippery or loose surfaces.
•Drive slower in strong crosswinds whichcan affect the normal steeringcharacteristics of your vehicle.
•When driving your vehicle on surfacesmade slippery by loose sand, water,gravel, snow or ice proceed with care.
If Your Vehicle leaves the Road
If your vehicle leaves the road, reduce yourvehicle speed and avoid severe braking.When your vehicle speed decreases, easeyour vehicle back onto the road. Do notturn the steering wheel sharply whilereturning your vehicle to the road.
It may be safer to stay on the shoulder ofthe road and slow down gradually beforereturning to the road. You may lose controlif you do not slow down or if you turn thesteering wheel too sharply or abruptly.
It may be less risky to strike small objects,such as freeway reflectors, with minordamage to your vehicle rather thanattempt a sudden return to the road whichcould cause your vehicle to slide sidewaysout of control or roll over. Remember, yoursafety and the safety of others should beyour primary concern.
If your vehicle gets stuck
WARNING
Do not spin the wheels at over 35mph (56 km/h). The tires may failand injure a passenger or bystander.
Note:Do not rock your vehicle if the engineis not at normal operating temperature,damage to the transmission may occur.
Note:Do not rock your vehicle for morethan a minute, damage to the transmissionand tires may occur or the engine mayoverheat.
If your vehicle gets stuck in mud or snow itmay be rocked out by shifting betweenforward and reverse gears, stoppingbetween shifts, in a steady pattern. Presslightly on the accelerator in each gear.
Emergency Maneuvers
In an unavoidable emergency situationwhere a sudden sharp turn must be made,remember to avoid over-driving yourvehicle (i.e. turn the steering wheel only asrapidly and as far as required to avoid theemergency). Excessive steering can resultin loss of vehicle control. Apply smoothpressure to the accelerator pedal or brakepedal when changes in vehicle speed arerequired. Avoid abrupt steering,acceleration and braking. This could resultin an increased risk of vehicle roll over, lossof vehicle control and personal injury. Useall available road surface to bring yourvehicle to a safe direction of travel.
168
Expedition (TB7) Canada/United States of America, enUSA, Edition date: 03/2016, First Printing
Four-Wheel Drive (If Equipped)
Page 176 of 500

GENERAL INFORMATION
Note:Occasional brake noise is normal. Ifa metal-to-metal, continuous grinding orcontinuous squeal sound is present, thebrake linings may be worn-out and anauthorized dealer should check them. If thevehicle has continuous vibration or shudderin the steering wheel while braking, anauthorized dealer should check your vehicle.
Note:Brake dust may accumulate on thewheels, even under normal drivingconditions. Some dust is inevitable as thebrakes wear and does not contribute tobrake noise. See Cleaning the AlloyWheels (page 270).
See Warning Lamps andIndicators (page 87).
Wet brakes result in reduced brakingefficiency. Gently press the brake pedal afew times when driving from a car wash orstanding water to dry the brakes.
Brake Over Accelerator
In the event the accelerator pedalbecomes stuck or entrapped, apply steadyand firm pressure to the brake pedal toslow the vehicle and reduce engine power.If you experience this condition, apply thebrakes and bring your vehicle to a safestop. Switch the engine off, move thetransmission to park (P) and apply theparking brake. Inspect the acceleratorpedal and the area around it for any itemsor debris that may be obstructing itsmovement. If none are found and thecondition persists, have your vehicle towedto the nearest authorized dealer.
Emergency Brake Assist
Emergency brake assist detects when youbrake heavily by measuring the rate atwhich you press the brake pedal. Itprovides maximum braking efficiency aslong as you press the pedal. Emergencybrake assist can reduce stopping distancesin critical situations.
Anti-lock Brake System
This system helps you maintain steeringcontrol during emergency stops by keepingthe brakes from locking.
This lamp momentarilyilluminates when you switch theignition on. If the light does notilluminate during start up, remains on orflashes, the anti-lock braking system maybe disabled. Have the system checked byan authorized dealer. If the anti-lock brakesystem is disabled, normal braking is stilleffective.
If the brake warning lampilluminates with the parkingbrake released, have your brakesystem serviced immediately.
HINTS ON DRIVING WITH
ANTI-LOCK BRAKES
Note:When the system is operating, thebrake pedal may pulse and may travelfurther. Maintain pressure on the brakepedal. You may also hear a noise from thesystem. This is normal.
The anti-lock braking system will noteliminate the risks when:
•You drive too closely to the vehicle infront of you.
•Your vehicle is hydroplaning.
•You take corners too fast.
•The road surface is poor.
173
Expedition (TB7) Canada/United States of America, enUSA, Edition date: 03/2016, First Printing
BrakesE138644 E138644
Page 177 of 500

PARKING BRAKE
WARNING
Always set the parking brake fullyand make sure the transmission isplaced in park (P). Failure to set theparking brake and engage park could resultin vehicle roll-away, property damage orbodily injury. Turn the ignition to the lockposition and remove the key whenever youleave your vehicle.
Apply the parking brake whenever yourvehicle is parked. Press the pedaldownward to set the parking brake. Thebrake warning lamp in the instrumentcluster will illuminate and remainsilluminated until the parking brake isreleased.
To release, pull the brake release leverlocated at the lower left side of theinstrument panel.
If you are parking your vehicle on a gradeor with a trailer, press and hold the brakepedal down, then set the parking brake.There may be a little vehicle movement asthe parking brake sets to hold the vehicle'sweight. This is normal and should be noreason for concern. If needed, press andhold the service brake pedal down, thentry reapplying the parking brake. Chock thewheels if required. If the parking brakecannot hold the weight of the vehicle, theparking brake may need to be serviced orthe vehicle may be overloaded.
HILL START ASSIST
WARNINGS
The system does not replace theparking brake. When you leave yourvehicle, always apply the parkingbrake and shift the transmission into park(P) (automatic transmission) or first gear(1) (manual transmission).
WARNINGS
You must remain in your vehicle onceyou have activated the system.
During all times, you are responsiblefor controlling your vehicle,supervising the system andintervening, if required.
If the engine is revved excessively, orif a malfunction is detected, thesystem will be deactivated.
The system makes it easier to pull awaywhen your vehicle is on a slope without theneed to use the parking brake.
When the system is active, your vehicle willremain stationary on the slope for two tothree seconds after you release the brakepedal. This allows you time to move yourfoot from the brake to the acceleratorpedal. The brakes release automaticallywhen the engine has sufficient torque toprevent your vehicle from rolling down thegrade. This is an advantage when pullingaway on a slope, for example from a carpark ramp, traffic lights or when reversinguphill into a parking space.
The system will activate automatically onany slope that will cause significant vehiclerollback. For vehicles with a manualtransmission, you can switch this featureoff using the information display. SeeInformation Displays (page 91). Thesystem will remain on or off depending onhow it was last set.
Note:There is no warning lamp to indicatethe system is either on or off.
Note:If your vehicle is equipped with AutoHold, Hill Start Assist will not be availablewhile Auto Hold is active.
174
Expedition (TB7) Canada/United States of America, enUSA, Edition date: 03/2016, First Printing
Brakes
Page 179 of 500

PRINCIPLE OF OPERATION
The traction control system helps avoiddrive wheel spin and loss of traction.
If your vehicle begins to slide, the systemapplies the brakes to individual wheelsand, when needed, reduces engine powerat the same time. If the wheels spin whenaccelerating on slippery or loose surfaces,the system reduces engine power in orderto increase traction.
USING TRACTION CONTROL
WARNING
The stability and traction controllight illuminates steadily if thesystem detects a failure. Make sureyou did not manually disable the tractioncontrol system using the switch. If thestability control and traction control lightis still illuminating steadily, have thesystem serviced by an authorized dealerimmediately. Operating your vehicle withtraction control disabled could lead to anincreased risk of loss of vehicle control,vehicle rollover, personal injury and death.
The system automatically turns on eachtime you switch the ignition on.
If your vehicle is stuck in mud or snow,switching traction control off may bebeneficial as this allows the wheels to spin.
Note:When you switch traction control off,stability control remains fully active.
Switching the System Off
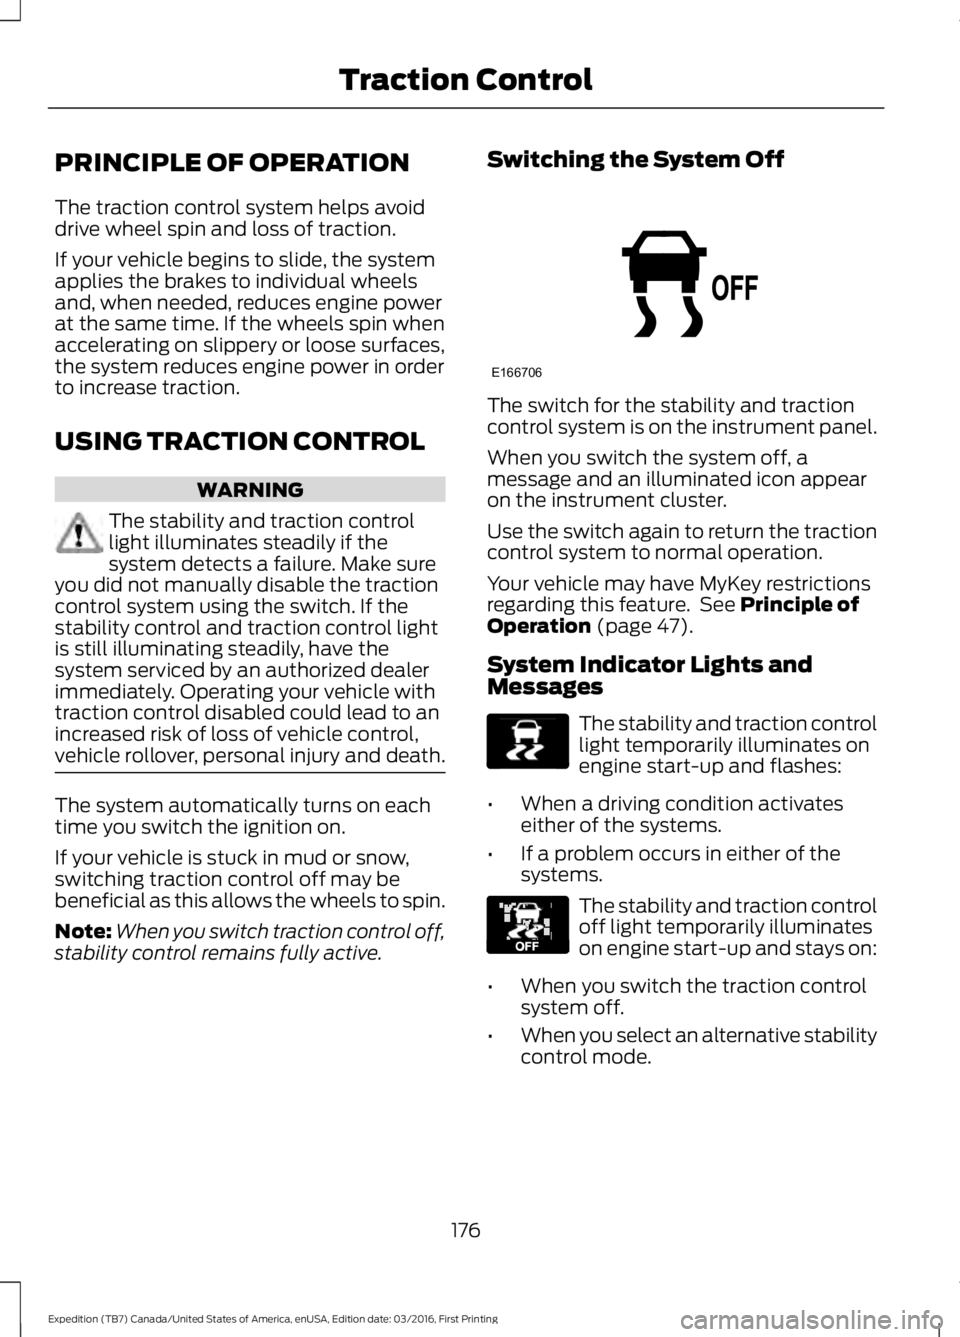
The switch for the stability and tractioncontrol system is on the instrument panel.
When you switch the system off, amessage and an illuminated icon appearon the instrument cluster.
Use the switch again to return the tractioncontrol system to normal operation.
Your vehicle may have MyKey restrictionsregarding this feature. See Principle ofOperation (page 47).
System Indicator Lights andMessages
The stability and traction controllight temporarily illuminates onengine start-up and flashes:
•When a driving condition activateseither of the systems.
•If a problem occurs in either of thesystems.
The stability and traction controloff light temporarily illuminateson engine start-up and stays on:
•When you switch the traction controlsystem off.
•When you select an alternative stabilitycontrol mode.
176
Expedition (TB7) Canada/United States of America, enUSA, Edition date: 03/2016, First Printing
Traction ControlE166706 E138639 E130458
Page 180 of 500

PRINCIPLE OF OPERATION
WARNINGS
Vehicle modifications involvingbraking system, aftermarket roofracks, suspension, steering system,tire construction and wheel and tire sizemay change the handling characteristicsof your vehicle and may adversely affectthe performance of the electronic stabilitycontrol system. In addition, installing anystereo loudspeakers may interfere withand adversely affect the electronic stabilitycontrol system. Install any aftermarketstereo loudspeaker as far as possible fromthe front center console, the tunnel, andthe front seats in order to minimize the riskof interfering with the electronic stabilitycontrol sensors. Reducing theeffectiveness of the electronic stabilitycontrol system could lead to an increasedrisk of loss of vehicle control, vehiclerollover, personal injury and death.
Remember that even advancedtechnology cannot defy the laws ofphysics. It’s always possible to losecontrol of a vehicle due to inappropriatedriver input for the conditions. Aggressivedriving on any road condition can causeyou to lose control of your vehicleincreasing the risk of personal injury orproperty damage. Activation of theelectronic stability control system is anindication that at least some of the tireshave exceeded their ability to grip the road;this could reduce the operator’s ability tocontrol the vehicle potentially resulting ina loss of vehicle control, vehicle rollover,personal injury and death. If your electronicstability control system activates, SLOWDOWN.
The system automatically turns on eachtime you switch the ignition on.
If a fault occurs in either the stabilitycontrol or the traction control system, youmay experience the following conditions:
•The stability and traction control lightilluminates steadily.
•The stability control and tractioncontrol systems do not enhance yourvehicle's ability to maintain traction ofthe wheels.
If a driving condition activates either thestability control or the traction controlsystem you may experience the followingconditions:
•The stability and traction control lightflashes.
•Your vehicle slows down.
•Reduced engine power.
•A vibration in the brake pedal.
•The brake pedal is stiffer than usual.
•If the driving condition is severe andyour foot is not on the brake, the brakepedal may move as the system applieshigher brake force.
The stability control system has severalfeatures built into it to help you maintaincontrol of your vehicle:
Electronic Stability Control
The system enhances your vehicle’s abilityto prevent skids or lateral slides byapplying brakes to one or more of thewheels individually and, if necessary,reducing engine power.
Roll Stability Control
The system enhances your vehicle’s abilityto prevent rollovers by detecting yourvehicle’s roll motion and the rate at whichit changes by applying the brakes to oneor more wheels individually.
177
Expedition (TB7) Canada/United States of America, enUSA, Edition date: 03/2016, First Printing
Stability Control
Page 189 of 500

The system uses red, yellow and greenhighlights which appear on top of the videoimage when an object is detected by thereverse sensing system. The alert highlightsthe closest object detected. The reversesensing alert can be disabled and if visualpark aid alert is enabled, highlighted areasare still displayed.
Manual Zoom
WARNING
When manual zoom is on, the fullarea behind your vehicle is notshown. Be aware of yoursurroundings when using the manual zoomfeature.
Note:Manual zoom is only available whenthe transmission is in reverse (R).
Note:Only the centerline shows when youenable manual zoom.
Selectable settings for this feature areZoom in (+) and Zoom out (-). Press thesymbol on the camera screen to changethe view. The default setting is Zoom OFF.
This allows you to get a closer view of anobject behind your vehicle. The zoomedimage keeps the bumper in the image toprovide a reference. The zoom is onlyactive while the transmission is in reverse(R).
Rear Camera Delay
Selectable settings for this feature are ONand OFF. The default setting for the rearcamera delay is OFF.
When shifting the transmission out ofreverse (R) and into any gear other thanpark (P), the camera image remains in thedisplay until:
•Your vehicle speed sufficientlyincreases.
•You shift your vehicle into park (P).
186
Expedition (TB7) Canada/United States of America, enUSA, Edition date: 03/2016, First Printing
Parking Aids
Page 194 of 500

System Lights and Messages
The Blind Spot Information and CrossTraffic Alert systems illuminate an amberalert indicator in the outside mirror on theside of your vehicle the approachingvehicle is coming from.
The alert indicator dims when the systemdetects nighttime darkness.
Cross Traffic Alert sounds also sounds anaudible alarm and a message appears inthe information display indicating a vehicleis coming from the right or left. CrossTraffic Alert works with the reverse sensingsystem which sounds its own audiblealarm. See Rear Parking Aid (page 182).
System Sensor Blockage
WARNING
Never use the Blind SpotInformation System as areplacement for using the interiorand exterior mirrors or looking over yourshoulder before changing lanes. The BlindSpot Information System is not areplacement for careful driving.
Note:It is possible to get a blockagewarning with no blockage present; this israre and known as a false blockage warning.A false blocked condition eitherself-corrects or clears after a key cycle.
The system uses radar sensors which arelocated behind the bumper fascia on eachside of your vehicle. Do not allow theseareas to become obstructed by mud, snowor bumper stickers, as this can causedegraded system performance.
If the system detects a degradedperformance condition, a blocked sensorwarning or low visibility warning will appearin the information display and the alertindicator illuminates in the appropriatemirror(s). The information display warningcan be cleared but the alert indicatorremains illuminated.
191
Expedition (TB7) Canada/United States of America, enUSA, Edition date: 03/2016, First Printing
Driving AidsE142442 E205199
Page 206 of 500

TOWING A TRAILER
WARNING
Towing trailers beyond themaximum recommendedgross trailer weight exceeds thelimit of your vehicle and couldresult in engine damage,transmission damage, structuraldamage, loss of vehicle control,vehicle rollover and personalinjury.
Note:Do not exceed the GVWR orthe GAWR specified on thecertification label. SeeRecommended Towing Weights(page 204).
Your vehicle may have electricalitems, such as fuses or relays,related to towing. See Fuses(page 233).
Your vehicle's load capacitydesignation is by weight, not byvolume, so you cannot necessarilyuse all available space whenloading a vehicle or trailer.
Towing a trailer places an extraload on your vehicle's engine,transmission, axle, brakes, tiresand suspension. Inspect thesecomponents periodically during,and after, any towing operation.
Load Placement
To help minimize how trailermovement affects your vehiclewhen driving:
•Load the heaviest items closestto the trailer floor.
•Load the heaviest itemscentered between the left andright side trailer tires.
•Load the heaviest items abovethe trailer axles or just slightlyforward toward the trailertongue. Do not allow the finaltrailer tongue weight to goabove or below 10-15% of theloaded trailer weight.
•Select a ball mount with thecorrect rise or drop. When boththe loaded vehicle and trailerare connected, the trailer frameshould be level, or slightlyangled down toward yourvehicle, when viewed from theside.
When driving with a trailer orpayload, a slight takeoff vibrationor shudder may be present due tothe increased payload weight.Additional information regardingproper trailer loading and settingyour vehicle up for towing islocated in another chapter of thismanual. See Load Limit (page198).
You can also find information inthe RV & Trailer Towing Guideavailable at your authorizeddealer, or online.
203
Expedition (TB7) Canada/United States of America, enUSA, Edition date: 03/2016, First Printing
Towing