2017 FIAT 124 SPIDER brake light
[x] Cancel search: brake lightPage 187 of 300
HAZARD WARNING
LIGHTS
Control
The hazard warning lights should
alwaysbeusedwhenyoustoponor
near a roadway in an emergency.
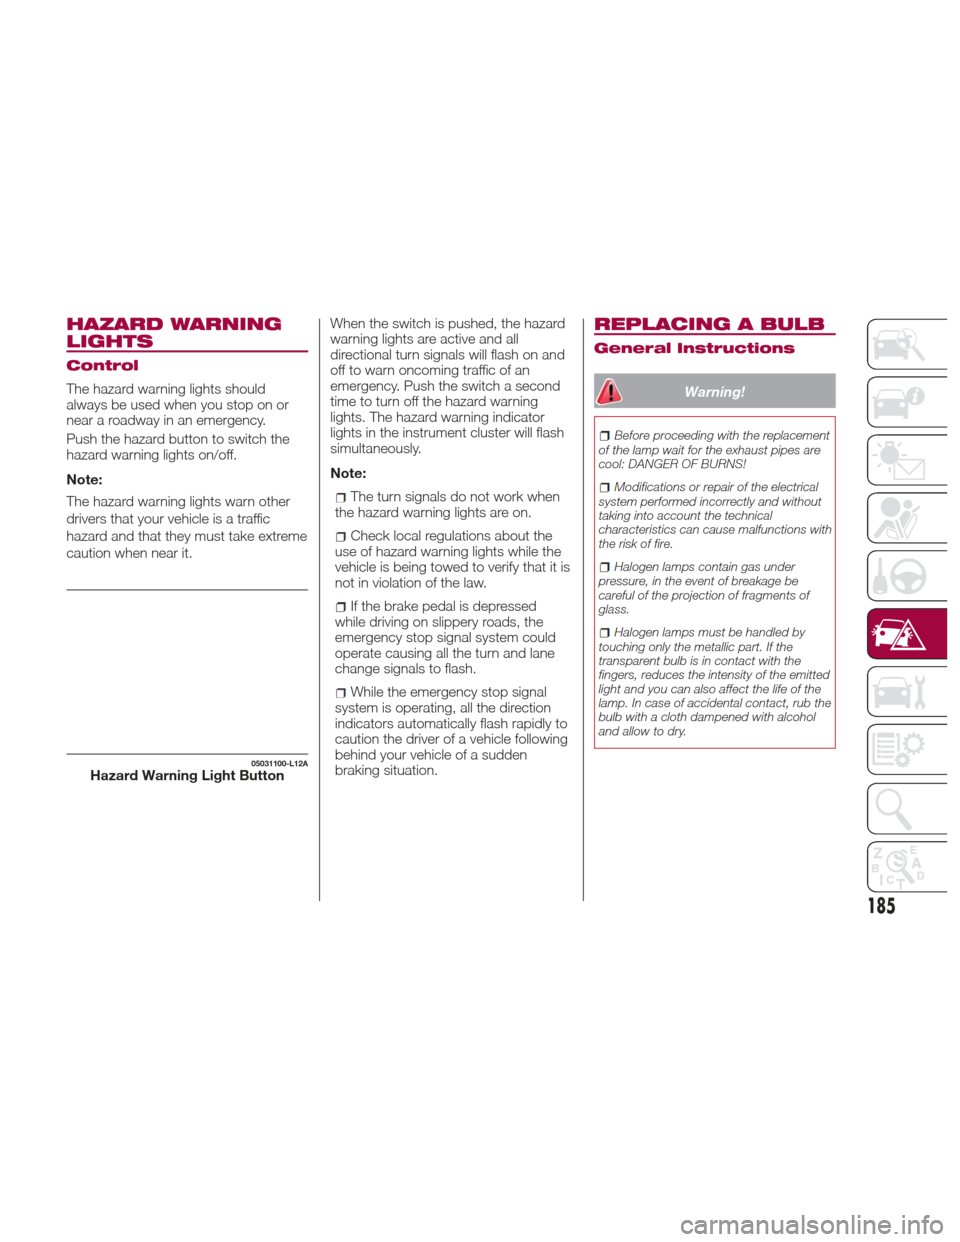
Push the hazard button to switch the
hazard warning lights on/off.
Note:
The hazard warning lights warn other
drivers that your vehicle is a traffic
hazard and that they must take extreme
caution when near it.When the switch is pushed, the hazard
warning lights are active and all
directional turn signals will flash on and
off to warn oncoming traffic of an
emergency. Push the switch a second
time to turn off the hazard warning
lights. The hazard warning indicator
lights in the instrument cluster will flash
simultaneously.
Note:
The turn signals do not work when
the hazard warning lights are on.
Check local regulations about the
use of hazard warning lights while the
vehicle is being towed to verify that it is
not in violation of the law.
If the brake pedal is depressed
while driving on slippery roads, the
emergency stop signal system could
operate causing all the turn and lane
change signals to flash.
While the emergency stop signal
system is operating, all the direction
indicators automatically flash rapidly to
caution the driver of a vehicle following
behind your vehicle of a sudden
braking situation.
REPLACING A BULB
General Instructions
Warning!
Before proceeding with the replacement
of the lamp wait for the exhaust pipes are
cool: DANGER OF BURNS!
Modifications or repair of the electrical
system performed incorrectly and without
taking into account the technical
characteristics can cause malfunctions with
the risk of fire.
Halogen lamps contain gas under
pressure, in the event of breakage be
careful of the projection of fragments of
glass.
Halogen lamps must be handled by
touching only the metallic part. If the
transparent bulb is in contact with the
fingers, reduces the intensity of the emitted
light and you can also affect the life of the
lamp. In case of accidental contact, rub the
bulb with a cloth dampened with alcohol
and allow to dry.
05031100-L12AHazard Warning Light Button
185
Page 192 of 300
5. Turn the socket and bulb assembly
counterclockwise and remove it.
6. Disconnect the bulb from the
socket.7. Install the new bulb in the reverse
order of the removal procedure.
Fog Lights
Proceed as follows:
1. If you are changing the right bulb,
start the engine, turn the steering wheel
all the way to the right, and turn off
engine. If you are changing the left bulb,
turn the steering wheel to the left.
2. Make sure the ignition is switched
off, and the headlight switch is off.
3. Remove the fasteners in the five
locations and partially peel back the
mud guard.
4. Disconnect the connector from the
unit by pressing the tab on the
connector with your finger and pulling
the connector.
5. Turn the socket and bulb assembly
counterclockwise, extract the bulb and
remove it;
6. Disconnect the bulb from the
socket.
7. Install the new bulb in the reverse
order of the removal procedure.Brake lights / Tail lights
Go to your authorized dealer when the
replacement of this lights is necessary.
Side Direction Indicator Lights
Proceed as follows:
1. Make sure the ignition is placed in
the OFF mode, and the headlight
switch is off.
2. If you are changing the right bulb,
start the engine, turn the steering wheel
all the way to the right, and turn off
engine. If you are changing the left bulb,
turn the steering wheel to the left.
3. Remove the fasteners in the five
locations and partially peel back the
mud guard.
4. Disconnect the electrical connector
from the bulb by pressing the tab on
the connector with your finger and
pulling the connector.
5. Remove the lens assembly by
pressing the tab on the unit with your
finger and pulling the unit forward to
compress in the internal catch, then pull
the cluster outwards.
6. Lift up the lens assembly, and then
remove the cluster and install the new
side direction indicator lens assembly in
the reverse order of the removal
procedure.
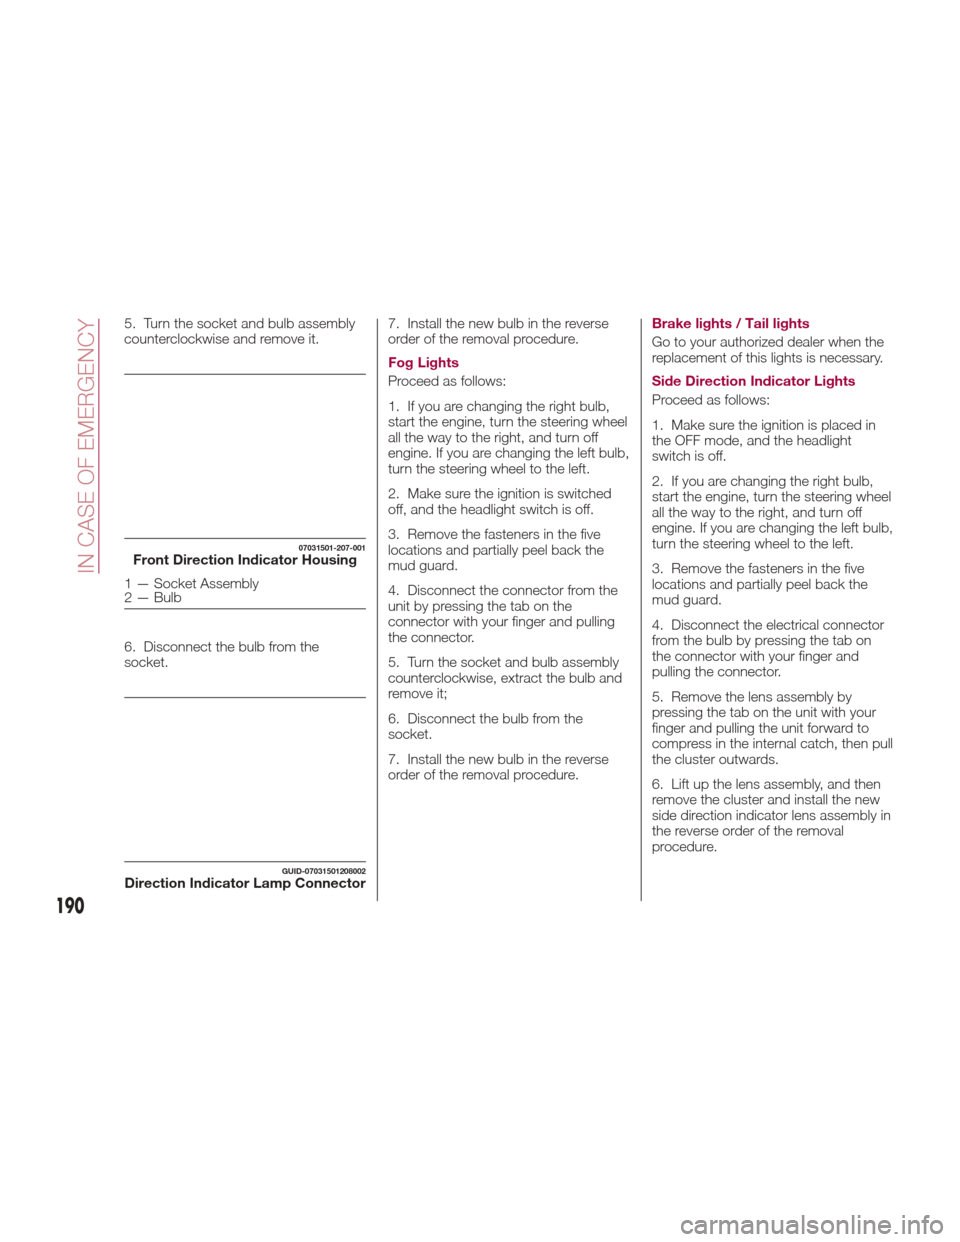
07031501-207-001Front Direction Indicator Housing
1 — Socket Assembly
2 — Bulb
GUID-07031501208002Direction Indicator Lamp Connector
190
IN CASE OF EMERGENCY
Page 207 of 300
To Secure The Jack
Proceed as follows:
1. Insert the wing bolt into the jack with
the jack screw pointing back, and turn
the wing bolt clockwise to temporarily
tighten it.
2. Turn the jack screw clockwise.
3. Turn the wing bolt completely to
secure the jack.
4. Insert the cover tabs and install the
cover.
Warning!
A loose tire or jack thrown forward in a
collision or hard stop could endanger the
occupants of the vehicle. Always stow the
jack parts and the spare tire in the places
provided. Have the deflated (flat) tire
repaired or replaced immediately.
Maintenance
Always keep the jack clean.
Make sure the moving parts are kept
free from dirt or rust.
Make sure the screw thread is
adequately lubricated. Conditions Of Non-Use
Temperatures below -40°F (−40°C)
On sandy or muddy ground
On uneven ground
On steep roads
In extreme weather conditions
In direct contact with the engine or
for repairs under the vehicle
On boats
Changing Procedure
Note: Make sure the jack is well
lubricated before using it.
Warning!
Do not attempt to change a tire on the side
of the vehicle close to moving traffic, pull
far enough off the road to avoid being hit
when operating the jack or changing the
wheel.
Proceed as follows:
1. Stop the vehicle in a position that
does not cause any danger to traffic
and lets you change the tire in safety, as
far as possible from the edge of the
driving lane. The ground must be flat
and sufficiently compact. 2. Turn on the hazard warning lights
and engage the parking brake.
3. For vehicles with automatic
transmission, place the gear selector in
Park (P). For vehicles with manual
transmission, place gear selector in
Reverse (R) and turn off the engine.
4. Stop the engine. The motor must be
kept off as long as the vehicle is lifted
off the ground.
5. Remove the jack and tools.
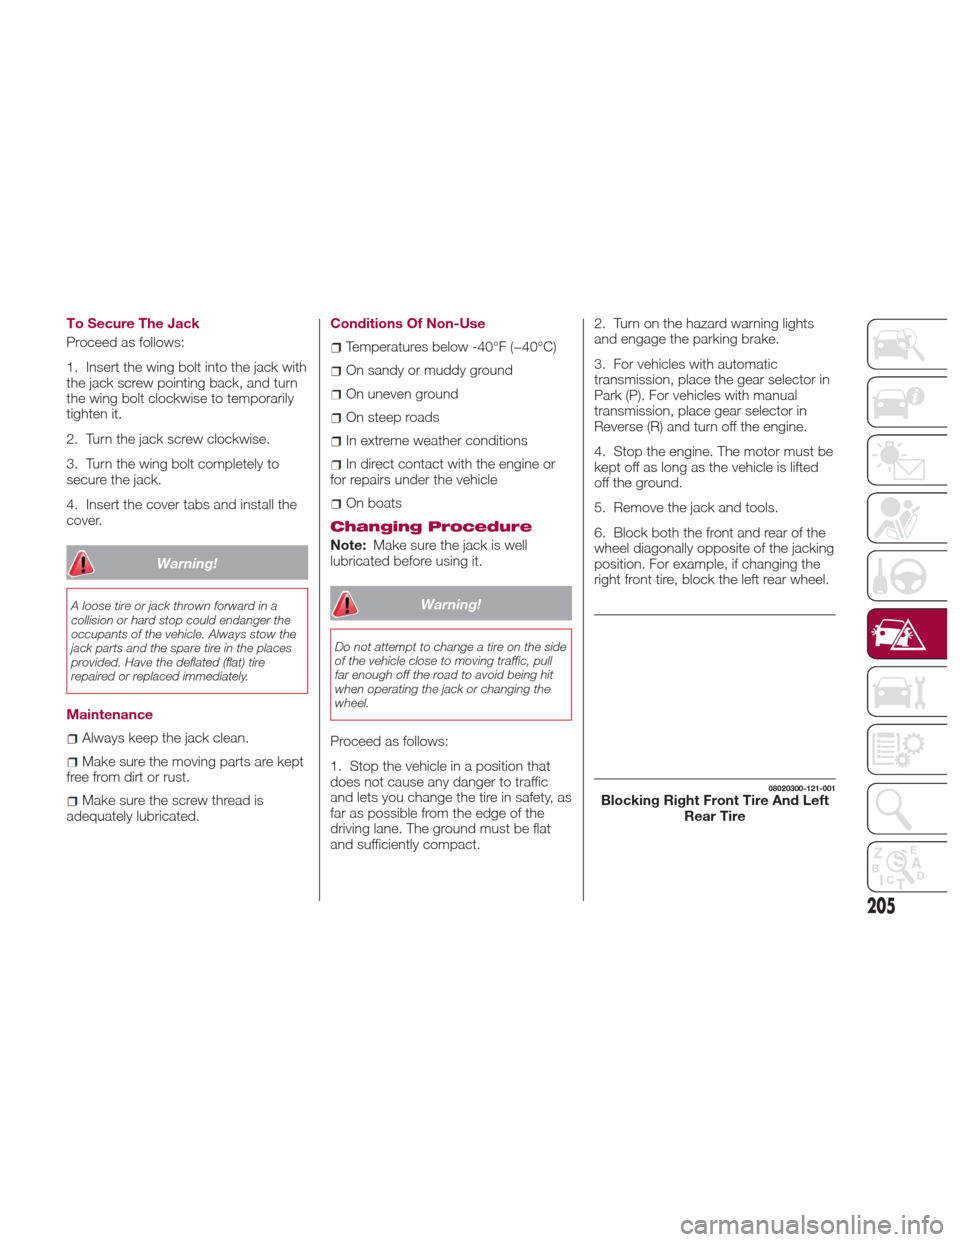
6. Block both the front and rear of the
wheel diagonally opposite of the jacking
position. For example, if changing the
right front tire, block the left rear wheel.
08020300-121-001Blocking Right Front Tire And Left
Rear Tire
205
Page 213 of 300
U.S.A. And CANADA Markets:
Proceed as follows:
1. Pull over to a safe location and turn
on the vehicle’s hazard warning lights.
2. Verify that the valve stem (on the
wheel with the deflated tire) is in a
position that is near to the ground. This
will allow the tire service kit hoses to
reach the valve stem and keep the tire
service kit flat on the ground. This will
provide the best positioning of the kit
when injecting the sealant into the
deflated tire and running the air pump.
Move the vehicle as necessary to place
the valve stem in this position before
proceeding.
3. Shift the gear selector to Reverse (R)
for a manual transmission, and shift the
gear selector to Park (P) for an
automatic transmission.
4. Apply the parking brake with the
brake pedal depressed and turn off the
engine.
5. Unload passengers and cargo and
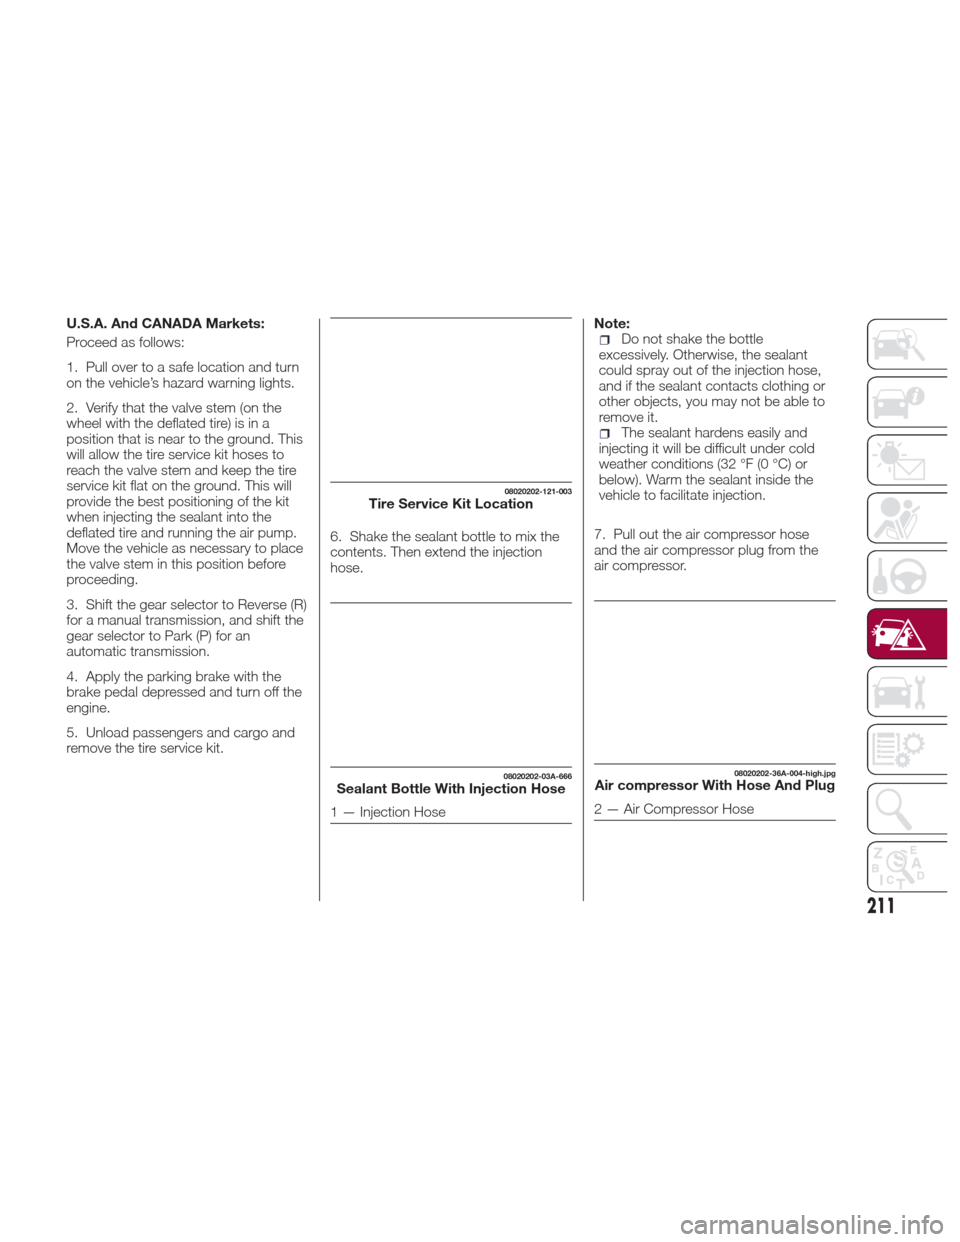
remove the tire service kit.6. Shake the sealant bottle to mix the
contents. Then extend the injection
hose.Note:Do not shake the bottle
excessively. Otherwise, the sealant
could spray out of the injection hose,
and if the sealant contacts clothing or
other objects, you may not be able to
remove it.
The sealant hardens easily and
injecting it will be difficult under cold
weather conditions (32 °F (0 °C) or
below). Warm the sealant inside the
vehicle to facilitate injection.
7. Pull out the air compressor hose
and the air compressor plug from the
air compressor.
08020202-121-003Tire Service Kit Location
08020202-03A-666Sealant Bottle With Injection Hose
1 — Injection Hose
08020202-36A-004-high.jpgAir compressor With Hose And Plug
2 — Air Compressor Hose
211
Page 217 of 300
Mexico Market
Proceed as follows:
1. Pull over to a safe location and turn
on the vehicle’s hazard warning lights.
2. Verify that the valve stem (on the
wheel with the deflated tire) is in a
position that is near to the ground. This
will allow the tire service kit hoses to
reach the valve stem and keep the tire
service kit flat on the ground. This will
provide the best positioning of the kit
when injecting the sealant into the
deflated tire and running the air pump.
Move the vehicle as necessary to place
the valve stem in this position before
proceeding.
3. Shift the gear selector to Reverse (R)
for a manual transmission, and shift the
gear selector to Park (P) for an
automatic transmission.
4. Apply the parking brake with the
brake pedal depressed and turn off the
engine.
5. Unload passengers and cargo and
remove the tire service kit.6. Shake the tire sealant well. If the
bottle is shaken after the injection hose
is screwed on, tire sealant could spray
out from the injection hose. Tire sealant
contacting clothing or other objects
may be impossible to remove. Shake
the bottle before screwing on the
injection hose.
Note:
Do not shake the bottle
excessively. Otherwise, the sealant
could spray out of the injection hose,
and if the sealant contacts clothing or
other objects, you may not be able to
remove it.
The sealant hardens easily and
injecting it will be difficult under cold
weather conditions (32 °F (0 °C) or
below). Warm the sealant inside the
vehicle to facilitate injection.
7. Remove the cap from the bottle.
Screw on the injection hose with the
bottle's inner cap left on to break the
inner cap. 8. Remove the valve cap from the flat
tire. Push the back of a valve core tool
to the core of the tire valve and bleed
out all of the remaining air.
GUID-0802020203A003Attaching Injection Hose to SealantBottle
215
Page 228 of 300

At least twice a year (for example,
every spring and fall) perform
inspection of:
Engine coolant
Engine oil
As explained in the “Introduction”
paragraph, several procedures can be
done only by a qualified service
technician with special tools.
For details, read the separate Warranty
Booklet provided with the vehicle. If you
are unsure about any servicing or
maintenance procedure, have it done
by an Authorized Dealer.
There are strict environmental laws
regarding the disposal of waste oil and
fluids. Please dispose of your waste
properly and with due regard to the
environment.
We recommend that you entrust the oil
and fluid changes of your vehicle to an
Authorized Dealer.
Periodic Checks
Every 620 miles (1,000 km) or before
long trips check and, if necessary, top
off:
Engine coolant level.
Brake fluid level.
Windshield washer fluid level.
Tire inflation pressure and condition.
Operation of lighting system
(headlights, direction indicators, hazard
warning lights, etc.).
Operation of windshield
washer/wiper system and
positioning/wear of windshield wiper
blades.
Every 1860 miles (3,000 km) check
and top off the engine oil level if
required.
Heavy-Duty Use Of The
Vehicle
If the vehicle is used under one of the
following conditions:
Dusty roads.
Short, repeated trips less than 4.4 -
5 miles (7-8km)atsub -zero outside
temperatures.
Engine idling for long periods of time
or driving long distances at low speeds
or long periods of inactivity. The following checks must be carried
out more often than indicated in the
Scheduled Servicing Plan:
Check front disc brake pad condition
and wear.
Check cleanliness of underhood area
and all door and trunk locks, cleanliness
and lubrication of linkage.
Visually inspect conditions of the:
engine, transmission, lines and hoses
(exhaust/fuel system/brakes) and
rubber elements (hoses/belts/etc.).
Check battery charge and battery
fluid level.
Visually inspect conditions of the
accessory drive belts.
Check and, if necessary, change
engine oil and replace oil filter.
Check and, if necessary, replace
cabin air filter.
Check and, if necessary, replace air
cleaner.
Severe Duty All Models
Change Engine Oil at 4,000 miles
(6,500 km) if the vehicle is operated in a
dusty and off road environment or is
operated predominately at idle or only
very low engine RPM’s. This type of
vehicle use is considered Severe Duty.
226
SERVICING AND MAINTENANCE
Page 229 of 300

Scheduled Servicing Plan
Mileage or time passed(whichever comes first)
10,000
20,000
30,000
40,000
50,000
60,000
70,000
80,000
90,000
100,000
110,000
120,000
130,000
140,000
150,000
Years123 456789101112131415
Or Kilometers16,000
32,000
48,000
64,000
80,000
96,000
112,000
128,000
144,000
160,000
176,000
192,000
208,000
224,000
240,000
Check tire condition/wear
and adjust pressure, if
necessary, check TIREKIT
expiration date (if
provided). •••••••••••••••
Check operation of lighting
system (headlamps,
direction indicators, hazard
warning lights, luggage
compartment, passenger
compartment, glove
compartment, instrument
panel warning lights, etc.). •••••••••••••••
Check and, if necessary,
top up fluid levels
(brakes/hydraulic clutch,
windshield washer, battery,
engine coolant, etc.). •••••••••••••••
227
Page 237 of 300

Overfilling the brake fluid reservoir can
result in spilling brake fluid on hot engine
parts, causing the brake fluid to catch fire.
Brake fluid can also damage painted and
vinyl surfaces, care should be taken to
avoid its contact with these surfaces.
Do not allow petroleum based fluid to
contaminate the brake fluid. Brake seal
components could be damaged, causing
partial or complete brake failure. This could
result in a collision.
Windshield And
Headlight Washer Fluid
Inspecting Washer Fluid Level
Inspect fluid level in the washer fluid
reservoir, open the cap and add fluid if
necessary.
Use plain water if washer fluid is
unavailable. But use only washer fluid in
cold weather to prevent it from freezing.
Automatic Transmission
Control Unit
The transmission oil level should only be
checked at your Authorized Dealer.
Battery Maintenance
To get the best service from a battery:
Keep it securely mounted.
Keep the top clean and dry.
Keep terminals and connections
clean, tight, and coated with petroleum
jelly or terminal grease.
Rinse off spilled electrolyte
immediately with a solution of water
and baking soda.
If the vehicle will not be used for an
extended time, disconnect the battery
leads and charge the battery every six
weeks.
Battery Replacement
Contact your Authorized Dealer to
purchase a replacement battery.
Warning!
Battery fluid is a corrosive acid solution
and can burn or even blind you. Do not
allow battery fluid to contact your eyes,
skin, or clothing. Do not lean over a battery
when attaching clamps. If acid splashes in
eyes or on skin, flush the area immediately
with large amounts of water. Refer to
“Jump-Starting” in “In Case Of Emergency”
for further information.
Battery gas is flammable and explosive.
Keep flame or sparks away from the
battery. Do not use a booster battery or
any other booster source with an output
greater than 12 Volts. Do not allow cable
clamps to touch each other.
Battery posts, terminals, and related
accessories contain lead and lead
compounds. Wash hands after handling.
07030901-121-001Windshield Washer Fluid Reservoir
235