2017 FIAT 124 SPIDER ABARTH park assist
[x] Cancel search: park assistPage 43 of 292

Follow Me Home
The follow me home light system turns
on the headlights (low beams) when the
lever is operated.
System Activation
When the lever is pulled with the ignition
switched to ACC or OFF, the low beam
headlights turn on.
The headlights turn off after a certain
period of time has elapsed after the
doors are closed.
The time until the headlights turn off
after all of the doors are closed can be
changed. If no operations are done for
three minutes after the lever is pulled,
the headlights turn off.
The headlights turn off if the lever is
pulled again while the headlights are on.
Front Fog Lights
The front fog light can be used when
the ignition is switched to ON and the
headlights or parking lights are on.
Activation
Turn the headlight switch in
orposition before activate front fog
lights.
Rotate the fog light switch to
position. The
fog light indicator in the
instrument cluster illuminates while the
front fog lights are on.
Deactivation
Perform one of the following operations
to turn off the front fog lights:
Rotate the fog light switch to OFF
position.
Turn the headlight switch to OFF
position.
Switch the ignition to a position other
than ON.
The
fog light indicator in the
instrument cluster goes off when the
front fog light is turned off. With auto-light control
When the fog light switch is in
position and the headlight switch is
in AUTO position, the front fog lights will
stay on.
Turn Signals
The ignition must be switched to the
ON position to use the turn and
lane-change signals.
Move the signal lever down (for a left
turn) or up (for a right turn). The signal
will self-cancel after the turn is
completed.
If the indicator light continues to flash
after a turn, manually return the lever to
its original position.
The turn signal indicators (green)
in the instrument cluster flash
according to the operation of the turn
signal lever to show which signal is
working.
Note: If an indicator light stays on
without flashing or if it flashes
abnormally, one of the turn signal bulbs
may be burned out.
Lane Change Assist
Move the lever halfway toward the
direction of the lane change (until the
indicator flashes) and hold it there. It will
return to the off position when released.
Three-flash turn signal
After releasing the turn signal lever, the
turn signal indicator flashes three times.
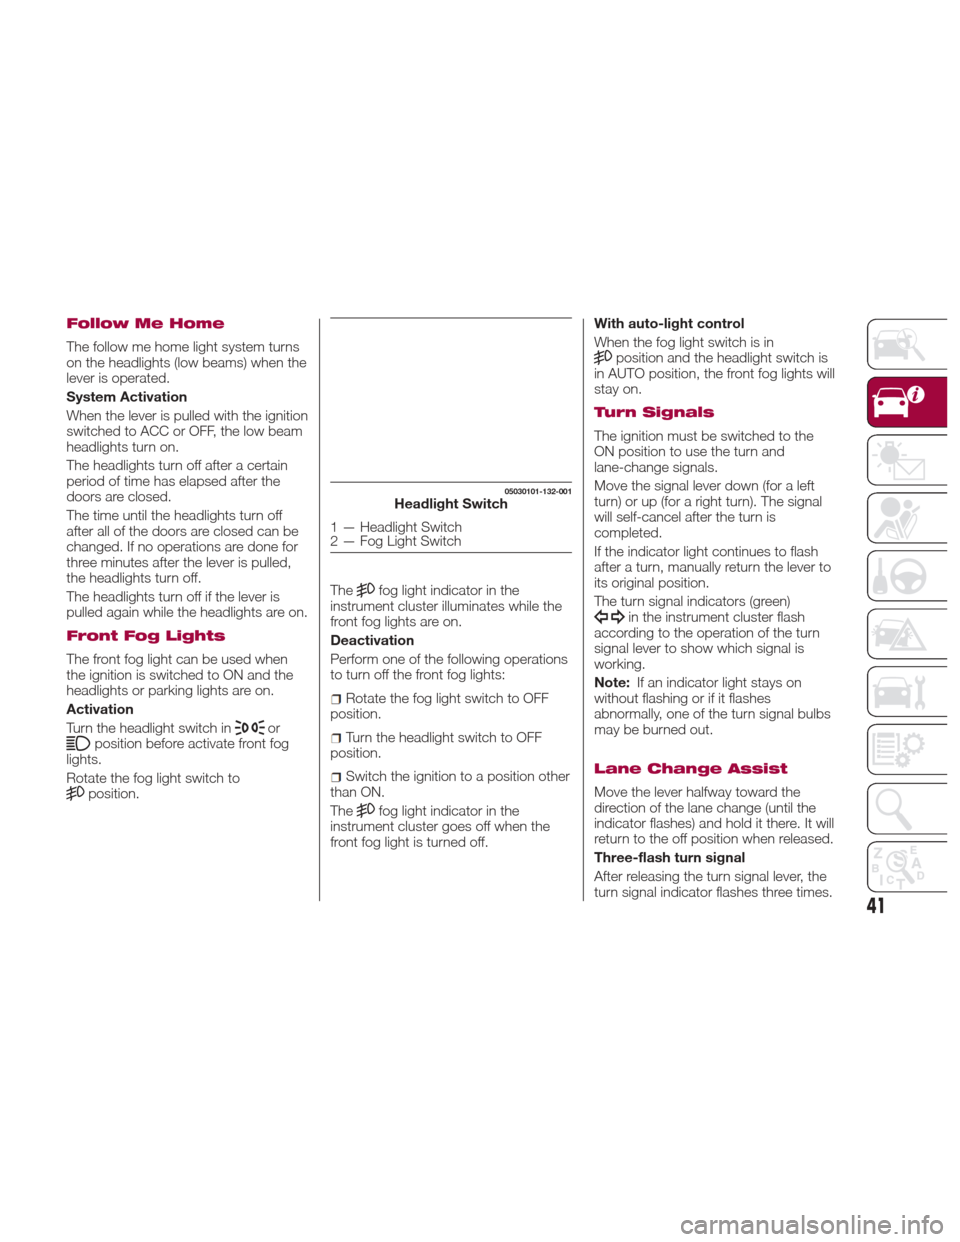
05030101-132-001Headlight Switch
1 — Headlight Switch
2 — Fog Light Switch
41
Page 118 of 292

dimmer and increase the brightness of
Blind Spot Monitoring (BSM) warning
lights when they turn on.
Refer to “Instrument Panel Illumination”
in “Knowing The Instrument Panel”
chapter.
BSM Warning Beep
The BSM warning beep is activated
simultaneously with the flashing of a
BSM warning light.
BSM Switch
When the BSM switch is pushed, the
BSM and RCTA systems are turned off
and the BSM off indicator light in the
instrument cluster turns on.
If the switch is pushed again, the BSM
and RCTA systems become operable
and the BSM off indicator light turns off.Note:
When the ignition is switched off,
the condition before the system was
turned off is maintained. For example,
if the ignition is switched OFF while the
BSM and RCTA systems are
operational, the BSM and RCTA
systems remain operational the next
time the ignition is switched ON.
The BSM and RCTA systems are
turned off when the battery is
disconnected such as when the
battery terminals or fuses have been
removed and reinstalled. To turn the
BSM and RCTA systems back on,
push the BSM switch.
RCTA (Rear Cross Traffic Alert)
Function
The RCTA system is designed to assist
the driver in checking the area to the
rear of the vehicle on both sides while
the vehicle is reversing by alerting the
driver to the presence of vehicles
approaching the rear of the vehicle.
The RCTA system detects vehicles
approaching from the left and right
sides of the vehicle while the vehicle is
reversing out of a parking space, and
notifies the driver of possible danger
using the BSM warning lights and the
warning buzzer. RCTA Operation
The RCTA system operates when the
gear selector is shifted to the Reverse
(R) position.
If there is the possibility of a collision
with an approaching vehicle, the BSM
warning light flashes and the warning
beep is activated simultaneously.
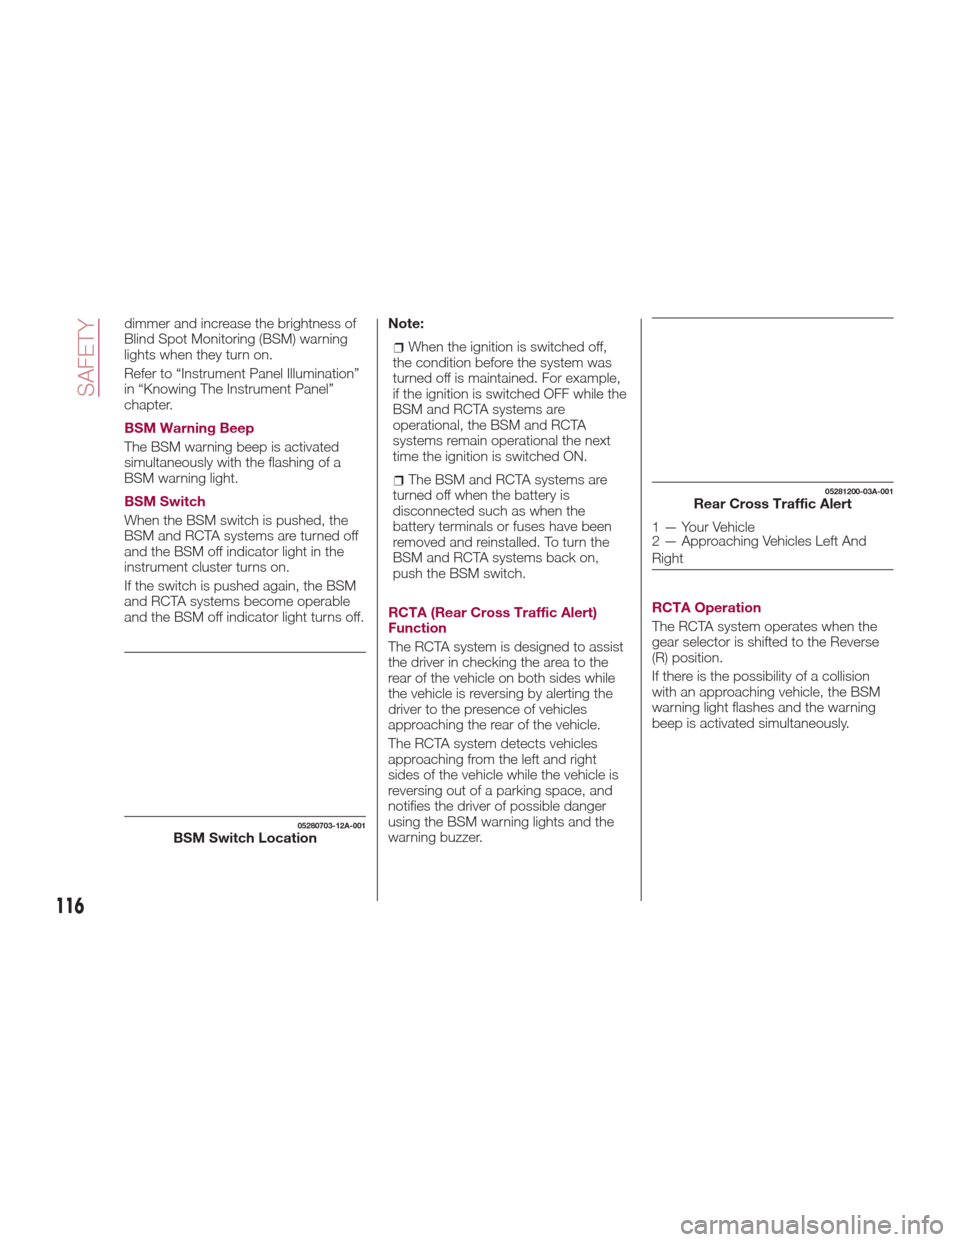
05280703-12A-001BSM Switch Location
05281200-03A-001Rear Cross Traffic Alert
1 — Your Vehicle
2 — Approaching Vehicles Left And
Right
116
SAFETY
Page 149 of 292

STARTING AND OPERATING
STARTINGTHEENGINE .......148
BRAKE SYSTEM............149
MANUAL TRANSMISSION ......151
AUTOMATIC TRANSMISSION —
IF EQUIPPED ..............152
ELECTRONIC SPEED
CONTROL ................157
RADAR SENSORS —
IF EQUIPPED ..............160
REAR PARK ASSIST —
IF EQUIPPED ..............161
PARKVIEW REAR BACKUP
CAMERA — IF EQUIPPED ......166
REFUELING THE VEHICLE ......171
VEHICLELOADING ..........175
TOWING TRAILERS ..........176
DRIVING TIPS ..............177
147
Page 151 of 292

Extended Park Starting
Note:
Extended Park condition occurs when
the vehicle has not been started or
driven for at least 30 days.
1. Install a battery charger or jumper
cables to the battery to ensure a full
battery charge during the crank cycle.
2. Place the ignition in the START
mode and release it when the engine
starts.
3. If the engine fails to start within
10 seconds, place the ignition in the
STOP (OFF/LOCK) mode, wait five
seconds to allow the starter to cool,
then repeat the Extended Park Starting
procedure.
4. If the engine fails to start after eight
attempts, allow the starter to cool for at
least 10 minutes, then repeat the
procedure.
Caution!
To prevent damage to the starter, do not
crank continuously for more than
10 seconds at a time. Wait 10 to
15 seconds before trying again.
After Starting —
Warming Up The Engine
Proceed as follows:
1. Travel slowly, letting the engine run
at a reduced RPM, without accelerating
suddenly.
2. It is recommended to wait until the
digital engine coolant temperature
indicator starts moving before
demanding full performance.
Stopping The Engine
Proceed as follows:
1. Park the car in a position that is not
dangerous for oncoming traffic, if
equipped with manual transmission
place gear selector in FIRST (1st) or
REVERSE (R) gear, if equipped with
automatic transmission place the gear
selector to PARK (P).
2. Push and release the ignition button
to STOP the engine.
BRAKE SYSTEM
This vehicle has power-assisted brakes
that adjust automatically through
normal use. Should power-assist fail,
you can stop by applying greater force
than normal to the brake pedal. But the
distance required to stop will be greater
than usual.
Note:
Always depress the brake pedal with
the right foot. Applying the brakes with
the unaccustomed left foot could slow
your reaction time to an emergency
situation resulting in insufficient braking
operation.
Do not drive with your foot held on the
clutch pedal or brake pedal, or hold the
clutch pedal depressed halfway
unnecessarily. Doing so could result in
the following:
The clutch and brake parts will wear
out more quickly.
The brakes can overheat and
adversely affect brake performance.
149
Page 153 of 292

screeching noise to warn that the pads
should be replaced. When you hear this
noise contact your Authorized Dealer as
soon as possible.
Brake Assist
During emergency braking situations
when it is necessary to depress the
brake pedal with greater force, the
brake assist system provides braking
assistance, thus enhancing braking
performance. When the brake pedal is
depressed hard or depressed more
quickly, the brakes apply more firmly.
Note:
When the brake pedal is depressed
hard or depressed more quickly, the
pedal will feel softer but the brakes will
apply more firmly. This is a normal
effect of the brake assist operation and
does not indicate a malfunction.
When the brake pedal is depressed
hard or depressed more quickly, a
motor/pump operation noise may be
heard. This is a normal effect of the
brake assist and does not indicate a
malfunction.
The brake assist equipment does
not supersede the functionality of the
vehicle's main braking system.
MANUAL
TRANSMISSION
Manual Transmission
Warning!
You or others could be injured if you leave
the vehicle unattended without having the
park brake fully applied. The park brake
should always be applied when the driver
is not in the vehicle, especially on an
incline.
Caution!
Never drive with your foot resting on the
clutch pedal, or attempt to hold the vehicle
on a hill with the clutch pedal partially
engaged, as this will cause abnormal wear
on the clutch.
To engage the gears, press the clutch
pedal fully and put the gear selector
into the required position. The diagram
for gear engagement is shown on the
knob. Depress the clutch pedal all the way
down while shifting, then release it
slowly.
Your vehicle is equipped with a device
to prevent shifting to REVERSE (R) by
mistake. Push the gear selector
downward and shift to REVERSE (R).
A natural driving posture can be
achieved by lightly gripping the gear
selector from the side without having to
rest your elbow on the center console.
If shifting to REVERSE (R) is difficult,
shift back into neutral, release the
clutch pedal, and try again.
With Parking Sensor System
When the gear selector is shifted to the
REVERSE (R) position with the ignition
placed in the ON mode, the parking
sensor system is activated an audible
sound is heard.
05210101-12A-001Gear Selector
151
Page 163 of 292

Caution!
If the rear bumper receives a severe
impact, the system may no longer operate
normally. Stop the system immediately and
contact an authorized dealer.
The detection ability of the radar
sensors has limitations. In the following
cases, the detection ability may lower
and the system may not operate
normally:
The rear bumper near the radar
sensors has become deformed.
Snow, ice or mud adheres to the
radar sensors on the rear bumper.
Under bad weather conditions such
as rain, snow and fog.
Note: Under the following conditions,
the radar sensors cannot detect target
objects or it may be difficult to detect
them:
Stationary objects on a road or a
road side such as small, two-wheeled
vehicles, bicycles, pedestrians,
animals, and shopping carts.
Vehicle shapes which do not reflect
radar waves well such as empty trailers
with a low vehicle height and sports
cars. Vehicles are shipped with the direction
of the radar sensors adjusted for each
vehicle to a loaded vehicle condition so
that the radar sensors detect
approaching vehicles correctly. If the
direction of the radar sensors has
changed, contact an authorized dealer.
The radar sensors are regulated by the
relevant radio wave laws of the country
in which the vehicle is driven. If the
vehicle is driven abroad, authorization
from the country in which the vehicle is
driven may be required.
Note:
For repairs or replacement of the
radar sensors, bumper repairs, paint
work, or replacement near the radar
sensors, consult an authorized dealer.
Turn off the system while pulling a
trailer or while an accessory such as a
bicycle carrier is installed to the rear of
the vehicle. Otherwise, the radio waves
emitted by the radar will be blocked
causing the system to not operate
normally.
REAR PARK ASSIST
— IF EQUIPPED
Rear Park Assist
Warning!
Do not rely completely on the parking
sensor system and be sure to confirm the
safety around your vehicle visually when
driving. This system can assist the driver in
operating the vehicle in the forward and
backward directions while parking. The
detection ranges of the sensors are limited,
therefore, driving the vehicle while relying
only on the system may cause an accident.
Always confirm the safety around your
vehicle visually when driving.
Parking and other potentially dangerous
manoeuvres are, however, always the
driver’s responsibility. When performing
these operations, always make sure that
there are no other people (especially
children) or animals on the route you want
to drive into. The parking sensors are an
aid for the driver, but the driver must never
allow their attention to lapse during
potentially dangerous manoeuvres, even
those executed at low speeds.
The rear park assist system uses four
ultrasonic sensors (two rear sensors
and two rear corner sensors) to detect
obstructions around the vehicle while
parking the vehicle in a garage or
during parallel parking when the gear
selector is in REVERSE (R).
161
Page 164 of 292

The system is equipped with an assist
device to notify the driver of the
approximate distance from the vehicle
to the surrounding obstruction using a
audible alert.
Note:
Do not install any accessories within
the detection ranges of the sensors. It
may affect the system operation.
Depending on the type of obstruction
and the surrounding conditions, the
detection range of a sensor may narrow,
or the sensors may not be able to
detect obstructions.
The system may not operate
normally under the following
conditions:
Mud, ice, or snow is adhering to the
sensor area (returns to normal
operation when removed).
The sensor area is frozen (returns to
normal operation when the ice is
thawed).
The sensor is covered by a hand or
excessively shocked.
The vehicle is excessively tilted.
Under extremely hot or cold
weather conditions.
The vehicle is driven on bumps,
inclines, gravel, or grass covered
roads.
Anything which generates
ultrasound is near the vehicle, such as
another vehicle's horn, the engine
sound of a motorcycle, the air brakes
of a large-sized vehicle, or another
vehicle's sensors.
The vehicle is driven in heavy rain or
in road conditions causing
water-splash.
A antenna for a radio transmitter is
installed to the vehicle.
The vehicle is moving towards a tall
or square curbstone.
An obstruction is too close to the
sensor.
The following types of obstructions
may not be detected:
Thin objects such as wire or rope.
Things which absorb sonic waves
easily such as rain or snow.
Angular shaped objects.
Very tall objects, and those which
are wide at the top.
Small, short objects.
Obstructions under the bumper
may not be detected. Obstructions
that are lower than the bumper or thin
which may have been initially detected
but are no longer detected as the
vehicle approaches more closely.
Always have the system inspected
by an authorized dealer if any shock is
applied to the bumpers, even in a
minor accident. If the sensors are
deviated, they cannot detect
obstructions.
The system may have a malfunction
if the audible signal does not operate.
Contact an authorized dealer.
The beeper which indicates a
system malfunction may not be heard
if the ambient temperature is extremely
cold, or mud, ice, or snow adheres to
the sensor area. Remove any foreign
material from the sensor area.
When installing a trailer hitch,
contact an authorized dealer.
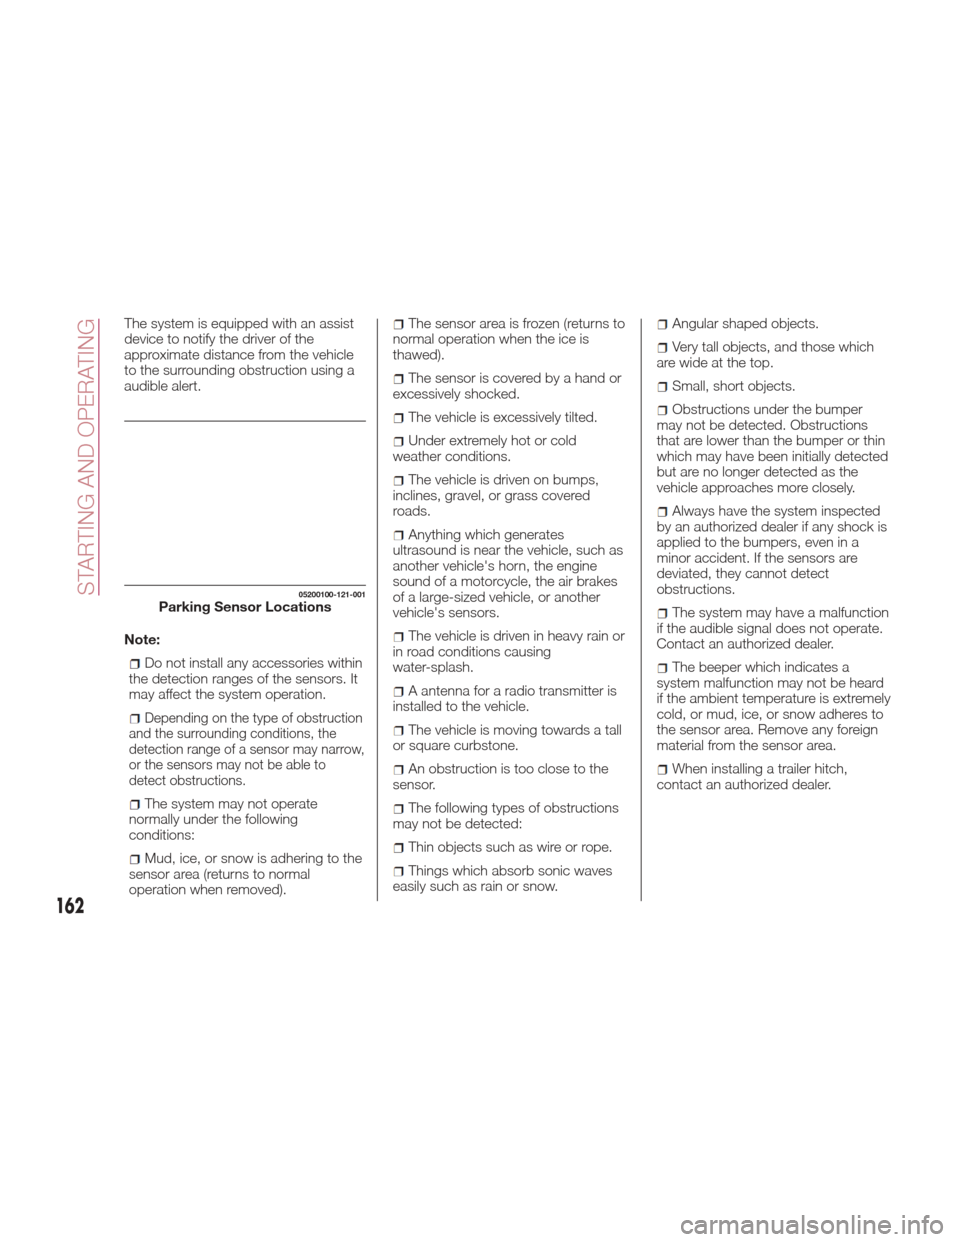
05200100-121-001Parking Sensor Locations
162
STARTING AND OPERATING
Page 175 of 292

therefore, you should ask your gasoline
retailer whether the gasoline contains
MMT. MMT is prohibited in Federal and
California reformulated gasoline.
Materials Added To Fuel
Besides using unleaded gasoline with
the proper octane rating, gasolines that
contain detergents, corrosion and
stability additives are recommended.
Using gasolines that have these
additives will help improve fuel
economy, reduce emissions, and
maintain vehicle performance.Designated TOP TIER
Detergent Gasoline
contains a higher level
of detergents to further
aide in minimizing
engine and fuel system
deposits. When
available, the usage of Top Tier
Detergent gasoline is recommended.
Visit www.toptiergas.com for a list of
TOP TIER Detergent Gasoline Retailers.
Indiscriminate use of fuel system
cleaning agents should be avoided.
Many of these materials intended for
gum and varnish removal may contain
active solvents or similar ingredients.
These can harm fuel system gasket and
diaphragm materials.
Fuel System Cautions
Caution!
Follow these guidelines to maintain your
vehicle’s performance:
The use of leaded gasoline is prohibited
by Federal law. Using leaded gasoline can
impair engine performance and damage
the emissions control system.
An out-of-tune engine or certain fuel or
ignition malfunctions can cause the
catalytic converter to overheat. If you notice
a pungent burning odor or some light
smoke, your engine may be out of tune or
malfunctioning and may require immediate
service. Contact your authorized dealer for
service assistance.
The use of fuel additives, which are now
being sold as octane enhancers, is not
recommended. Most of these products
contain high concentrations of methanol.
Fuel system damage or vehicle
performance problems resulting from the
use of such fuels or additives is not the
responsibility of the manufacturer and may
void or not be covered under the New
Vehicle Limited Warranty.
Note:
Intentional tampering with the
emissions control system can result in
civil penalties being assessed against
you.
Carbon Monoxide
Warnings
Warning!
Carbon monoxide (CO) in exhaust gases is
deadly. Follow the precautions below to
prevent carbon monoxide poisoning:
Do not inhale exhaust gases. They
contain carbon monoxide, a colorless and
odorless gas, which can kill. Never run the
engine in a closed area, such as a garage,
and never sit in a parked vehicle with the
engine running for an extended period. If
the vehicle is stopped in an open area with
the engine running for more than a short
period, adjust the ventilation system to
force fresh, outside air into the vehicle.
Guard against carbon monoxide with
proper maintenance. Have the exhaust
system inspected every time the vehicle is
raised. Have any abnormal conditions
repaired promptly. Until repaired, drive with
all side windows fully open.
Refueling Procedure
Fuel Filler Door
Note: Always use only a designated
FCA fuel filler cap or an approved
equivalent, available at your Authorized
Dealer. The wrong cap can result in a
serious malfunction of the fuel and
emission control systems.
173