2017 DODGE GRAND CARAVAN radio
[x] Cancel search: radioPage 15 of 530
NOTE:When having the Sentry Key Immobilizer system
serviced, bring all vehicle key fobs with you to the autho-
rized dealer.
Customer Key Fob Programming
Programming key fobs may be performed at an authorized
dealer.
General Information
The following regulatory statement applies to all radio
frequency (RF) devices equipped in this vehicle:
This device complies with Part 15 of the FCC Rules and
with Industry Canada license-exempt RSS standard(s).
Operation is subject to the following two conditions:
1. This device may not cause harmful interference, and
2. This device must accept any interference received, in- cluding interference that may cause undesired opera-
tion.
NOTE: Changes or modifications not expressly approved
by the party responsible for compliance could void the
user ’s authority to operate the equipment.
VEHICLE SECURITY ALARM — IF EQUIPPED
The Vehicle Security Alarm monitors the vehicle doors for
unauthorized entry and the ignition switch for unauthor-
ized operation. When the alarm is activated, the interior
switches for door locks, power sliding doors and power
liftgate are disabled. The Vehicle Security Alarm provides
both audible and visible signals. For the first three minutes,
the headlights will turn on, the park lamps and/or turn
signals will flash and Vehicle Security Light will flash
repeatedly and the horn will sound. For an additional 15
minutes, only the headlights, park lamps and/or turn
signals and Vehicle Security Light will flash.
Rearming Of The System
The Vehicle Security Alarm will rearm itself after the 15
additional minutes of headlights and Vehicle Security Light
flashing, if the Vehicle Security Alarm has not been dis-
abled. If the condition which initiated the alarm is still
present, the Vehicle Security Alarm will ignore that condi-
tion and monitor the remaining doors and ignition.
2
THINGS TO KNOW BEFORE STARTING YOUR VEHICLE 13
Page 17 of 530
remain armed when the battery is reconnected; the exterior
lights will flash, and the horn will sound. If this occurs,
disarm the Vehicle Security Alarm.
Tamper Alert
If something has triggered the Vehicle Security Alarm in
your absence, the horn will sound three times and the
exterior lights blink three times when you unlock the
doors. Check the vehicle for tampering.
Security System Manual Override
The Vehicle Security Alarm will not arm if you lock the
doors using the manual door lock plunger.
ILLUMINATED APPROACH
The courtesy lights will turn on when you use the key fob
to unlock the doors or open any door.
This feature also turns on the approach lighting in the
outside mirrors (if equipped). Refer to “Mirrors” in “Un-
derstanding The Features Of Your Vehicle” for further
information.The lights will fade to off after approximately 30 seconds,
or they will immediately fade to off once the ignition
switch is turned to ON/RUN from the OFF position.
The front courtesy overhead console and door courtesy
lights will not turn off if the dimmer control is in the
“Dome ON” position (rotate horizontal thumb wheel on
the bottom of the switch to the far right detent position).
The illuminated entry system will not operate if the
dimmer control is in the “Dome OFF” position (rotate
horizontal thumb wheel on the bottom of the switch to the
far left detent position).
NOTE:
If your vehicle is equipped with illuminated ap-
proach lights under the outside mirrors, they can be turned
off by using the Instrument Cluster Display controls or the
Uconnect radio (if equipped with a touchscreen radio).
Refer to “Instrument Cluster Display” or “Uconnect Set-
tings” in “Understanding Your Instrument Panel” for fur-
ther information.
2
THINGS TO KNOW BEFORE STARTING YOUR VEHICLE 15
Page 21 of 530
and release. When the Panic Alarm is on, the headlights
and park lights will flash, the horn will pulse on and off,
and the interior lights will turn on.
The Panic Alarm will stay on for three minutes unless you
turn it off by pushing the PANIC button a second time or
if the vehicle is driven above 5 mph (8 km/h).
NOTE:
•When you turn off the Panic Alarm by pushing the
PANIC button a second time, you may have to move
closer to the vehicle due to the Radio Frequency (RF)
noises of the system.
• The Panic Alarm cannot be activated if the engine is
running.
Power Open/Close Power Liftgate — If Equipped
Push the LIFTGATE button twice on the key fob within five
seconds to Open/Close the Power Liftgate. If the button is
pushed while the liftgate is being power closed, the liftgate
will reverse to the full open position.
The power liftgate may also be opened and closed by
pushing the LIFTGATE button located on the overhead
console. If equipped with a rear interior switch on the left rear pillar,
pushing this switch once will close the liftgate only. The
liftgate cannot be opened from this switch.
If the vehicle is locked and Vehicle Security Alarm is
armed, using the key fob to open the power liftgate does
not unlock the vehicle or disarm the Vehicle Security
Alarm.
Power Open/Close Left Power Sliding Door — If
Equipped
Push the LEFT Power Sliding Door button twice on the key
fob within five seconds to Power Open/Close the Left
Power Sliding Door. If the button on the key fob is pushed
while the door is being power-closed, the door will reverse
to the full open position.
If the vehicle is locked and the Vehicle Security Alarm is
armed, pushing the LEFT Power Sliding Door button twice
unlocks the power sliding door and disarms Vehicle Secu-
rity Alarm.
Power Open/Close Right Power Sliding Door — If
Equipped
Push the RIGHT Power Sliding Door button twice on the
key fob within five seconds to Power Open/Close the
2
THINGS TO KNOW BEFORE STARTING YOUR VEHICLE 19
Page 25 of 530
General Information
The following regulatory statement applies to all Radio
Frequency (RF) devices equipped in this vehicle:
This device complies with Part 15 of the FCC Rules and
with Industry Canada license-exempt RSS standard(s).
Operation is subject to the following two conditions:
1. This device may not cause harmful interference, and
2. This device must accept any interference received, in-cluding interference that may cause undesired opera-
tion.
NOTE: Changes or modifications not expressly approved
by the party responsible for compliance could void the
user ’s authority to operate the equipment.
REMOTE STARTING SYSTEM — IF EQUIPPED
This system uses the Remote Keyless Entry key fob
to start the engine conveniently from outside the
vehicle while still maintaining security. The sys-
tem has a range of approximately 300 ft (91 m).
NOTE:
• The vehicle must be equipped with an automatic trans-
mission to be equipped with Remote Start.
• Obstructions between the vehicle and the key fob may
reduce this range.
How To Use Remote Start
All of the following conditions must be met before the
engine will Remote Start:
•Gear selector in PARK
• Doors closed
• Hood closed
• Liftgate closed
• Hazard switch off
• Brake switch inactive (brake pedal not pushed)
• Ignition key removed from ignition switch
• Battery at an acceptable charge level
• PANIC button not pushed
• System not disabled from previous remote start event
2
THINGS TO KNOW BEFORE STARTING YOUR VEHICLE 23
Page 28 of 530
When To Reset Remote Start
The vehicle can be started remotely up to a maximum of
two times. The vehicle is also allowed a maximum of one
failed start, where the Remote Starting sequence was
initiated but the engine stopped cranking without starting.
After either of these conditions, or if the Vehicle Security
Alarm system is alarming, or if the PANIC button was
pushed, the vehicle must be reset. Insert the key fob into
the ignition switch and turn the switch to the ON/RUN
position.
General Information
The following regulatory statement applies to all Radio
Frequency (RF) devices equipped in this vehicle:
This device complies with Part 15 of the FCC Rules and
with Industry Canada license-exempt RSS standard(s).
Operation is subject to the following two conditions:
1. This device may not cause harmful interference, and
2. This device must accept any interference received, in-cluding interference that may cause undesired opera-
tion. NOTE:
Changes or modifications not expressly approved
by the party responsible for compliance could void the
user ’s authority to operate the equipment.
DOOR LOCKS
Manual Door Locks
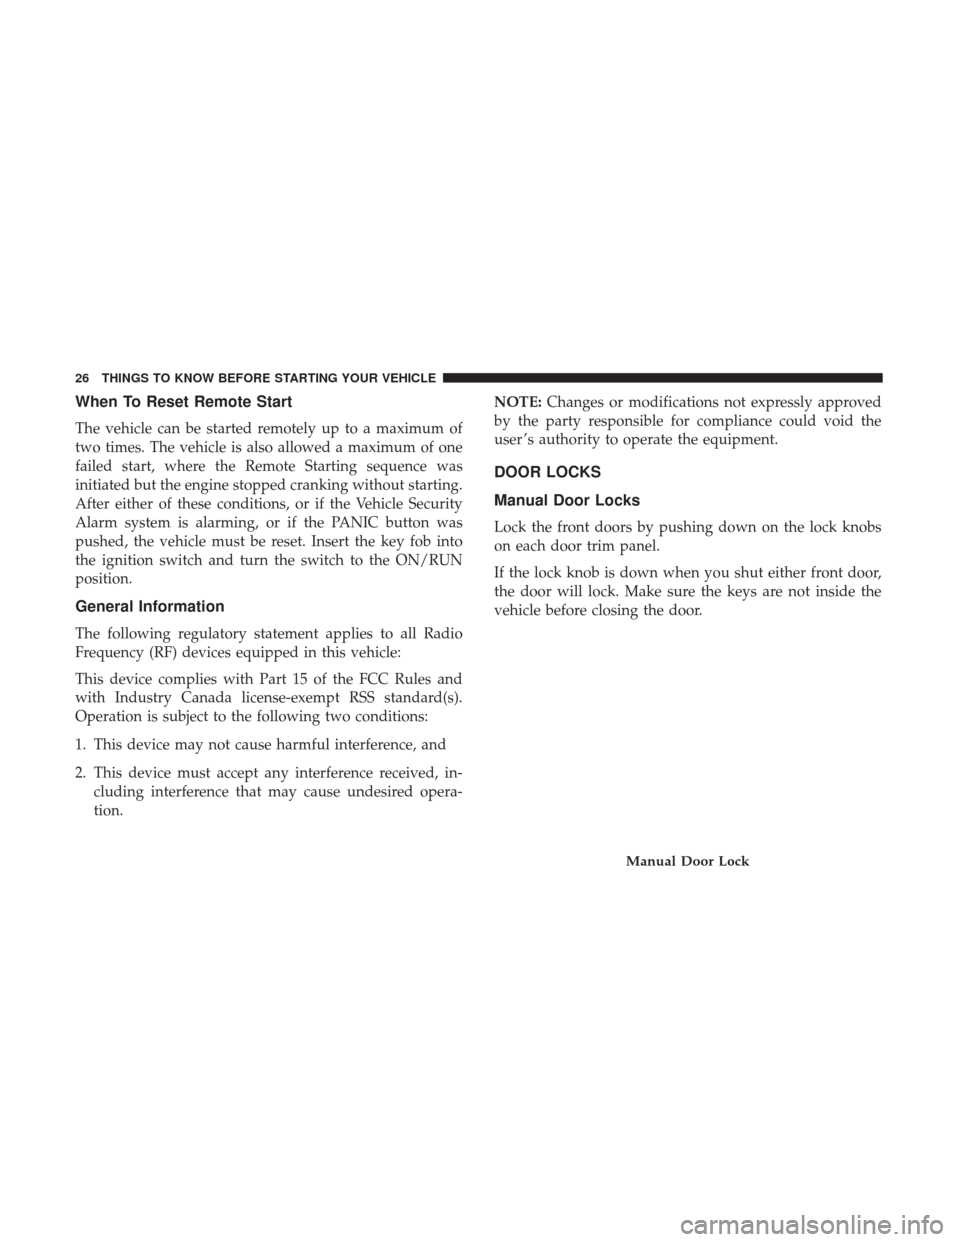
Lock the front doors by pushing down on the lock knobs
on each door trim panel.
If the lock knob is down when you shut either front door,
the door will lock. Make sure the keys are not inside the
vehicle before closing the door.
Manual Door Lock
26 THINGS TO KNOW BEFORE STARTING YOUR VEHICLE
Page 65 of 530
Seat belts are necessary for your protection in all collisions,
and also are needed to help keep you in position, away
from an inflating air bag.
When the ORC detects a collision requiring the front air
bags, it signals the inflator units. A large quantity of
non-toxic gas is generated to inflate the front air bags.
The steering wheel hub trim cover and the upper right side
of the instrument panel separate and fold out of the way as
the air bags inflate to their full size. The front air bags fully
inflate in less time than it takes to blink your eyes. The
front air bags then quickly deflate while helping to restrain
the driver and front passenger.
Knee Impact Bolsters
The Knee Impact Bolsters help protect the knees of the
driver and front passenger, and position the front occu-
pants for improved interaction with the front air bags.
WARNING!
•Do not drill, cut, or tamper with the knee impact
bolsters in any way.
• Do not mount any accessories to the knee impact
bolsters such as alarm lights, stereos, citizen band
radios, etc.
Supplemental Driver Knee Air Bag
This vehicle is equipped with a Supplemental Driver Knee
Air Bag mounted in the instrument panel below the
steering column. The Supplemental Driver Knee Air Bag
provides enhanced protection during a frontal impact by
working together with the seat belts, pretensioners, and
front air bags.
2
THINGS TO KNOW BEFORE STARTING YOUR VEHICLE 63
Page 109 of 530
NOTE:
•The BSM system does NOT alert the driver about
rapidly approaching vehicles that are outside the detec-
tion zones.
• The BSM system detection zone DOES NOT change if
your vehicle is towing a trailer. Therefore, visually verify
the adjacent lane is clear for both your vehicle and trailer
before making a lane change. If the trailer or other object
(i.e., bicycle, sports equipment) extends beyond the side
of your vehicle, this may result in the BSM warning light
remaining illuminated the entire time the vehicle is in a
forward gear.
The area on the rear fascia where the radar sensors are
located must remain free of snow, ice, and dirt/road
contamination so that the BSM system can function prop-
erly. Do not block the area of the rear fascia where the radar
sensors are located with foreign objects (bumper stickers,
bicycle racks, etc.).
The BSM system notifies the driver of objects in the
detection zones by illuminating the BSM warning light
located in the outside mirrors in addition to sounding an
audible (chime) alert and reducing the radio volume. Refer
to “Modes Of Operation” for further information. The BSM system monitors the detection zone from three
different entry points (side, rear, front) while driving to see
if an alert is necessary. The BSM system will issue an alert
during these types of zone entries.
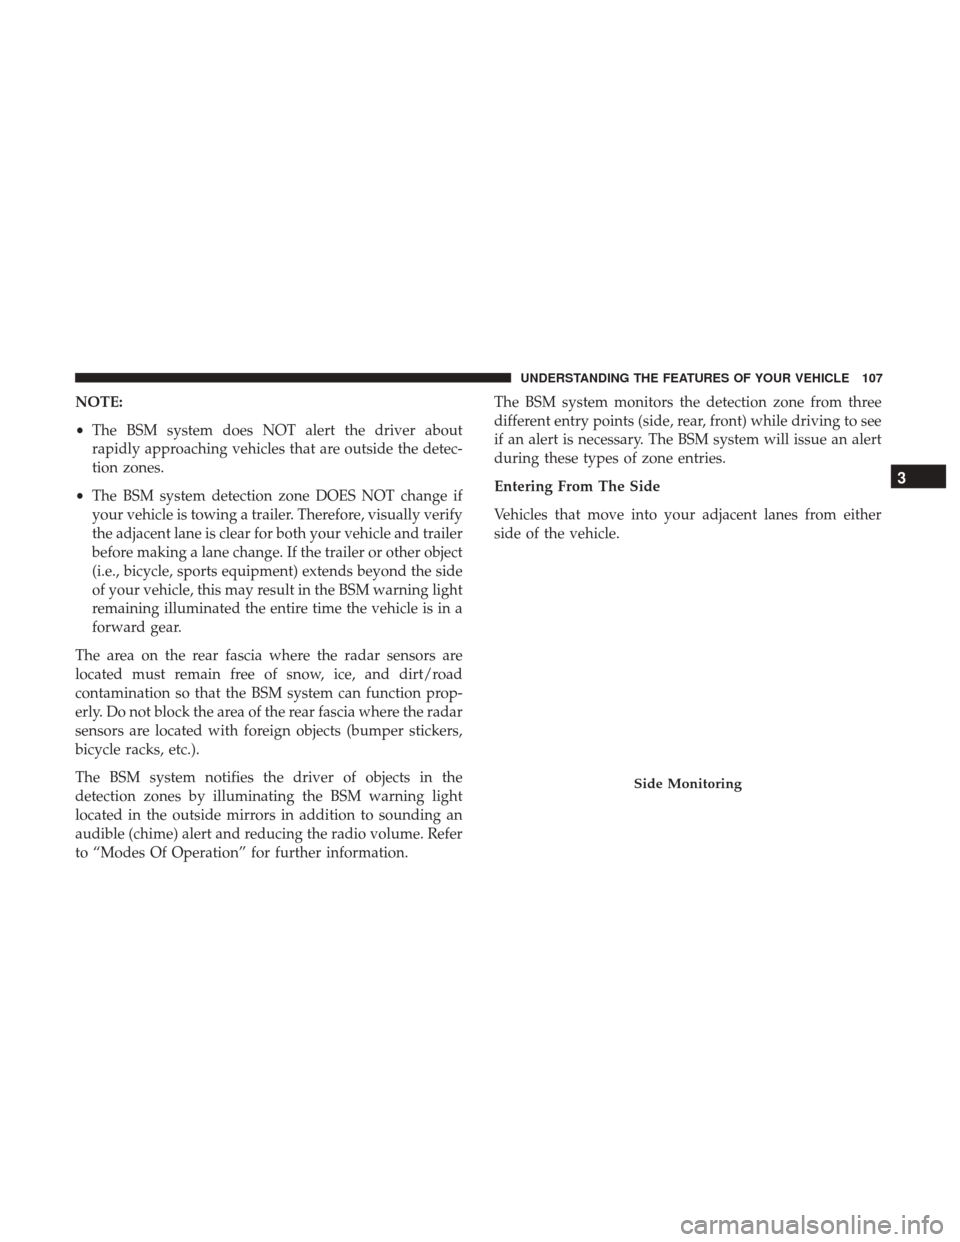
Entering From The Side
Vehicles that move into your adjacent lanes from either
side of the vehicle.
Side Monitoring
3
UNDERSTANDING THE FEATURES OF YOUR VEHICLE 107
Page 113 of 530
RCP monitors the rear detection zones on both sides of the
vehicle, for objects that are moving toward the side of the
vehicle with a minimum speed of approximately 3 mph
(5 km/h), to objects moving a maximum of approximately
20 mph (32 km/h), such as in parking lot situations.
NOTE:In a parking lot situation, oncoming vehicles can be
obscured by vehicles parked on either side. If the sensors
are blocked by other structures or vehicles, the system will
not be able to alert the driver.
When RCP is on and the vehicle is in REVERSE, the driver
is alerted using both the visual and audible alarms, includ-
ing reducing the radio volume.
WARNING!
RCP is not a back up aid system. It is intended to be
used to help a driver detect an oncoming vehicle in a
parking lot situation. Drivers must be careful when
backing up, even when using RCP. Always check
carefully behind your vehicle, look behind you, and be
sure to check for pedestrians, animals, other vehicles,
obstructions, and blind spots before backing up. Fail-
ure to do so can result in serious injury or death.
Modes Of Operation
Modes Of Operation With Instrument Cluster Display
Three selectable modes of operation are available in the
Instrument Cluster Display. Refer to “Instrument Cluster
Display/Personal Settings (Customer-Programmable Fea-
tures)” in “Understanding Your Instrument Panel” for
further information.
Blind Spot Alert Lights Only
When operating in Blind Spot Alert mode, the BSM system
will provide a visual alert in the appropriate side view
mirror based on a detected object. However, when the
system is operating in RCP, the system will respond with
both visual and audible alerts when a detected object is
present. Whenever an audible alert is requested, the radio
volume is reduced.
Blind Spot Alert Lights/Chime
When operating in Blind Spot Alert Lights/Chime mode,
the BSM system will provide a visual alert in the appro-
priate side view mirror based on a detected object. If the
turn signal is then activated, and it corresponds to an alert
present on that side of the vehicle, an audible chime will
also be sounded. Whenever a turn signal and detected
object are present on the same side at the same time, both
3
UNDERSTANDING THE FEATURES OF YOUR VEHICLE 111