Page 159 of 530
Quad Seats — If Equipped
Both Quad seats are adjustable forward or rearward. The
manual seat adjustment handle is located under the seat
cushion at the front edge of each seat.
While sitting in the seat, pull up on the handle and slide the
seat forward or rearward. Release the bar once you have
reached the desired position. Then, using body pressure,
move forward and rearward on the seat to be sure that the
seat adjusters have latched.
WARNING!
•Adjusting a seat while driving may be dangerous.
Moving a seat while driving could result in loss of
control which could cause a collision and serious
injury or death.
• Seats should be adjusted before fastening the seat
belts and while the vehicle is parked. Serious injury
or death could result from a poorly adjusted seat belt.
Manual Recline
To recline, lean forward slightly, lift the lever, then push
back to the desired position and release the lever. Lean
forward and lift the lever to return the seatback to its
normal position. Using body pressure, lean forward and
rearward on the seat to be sure the seatback has latched.
Manual Seat Adjuster
3
UNDERSTANDING THE FEATURES OF YOUR VEHICLE 157
Page 178 of 530
Multifunction Lever
The multifunction lever is located on the left side of the
steering column.
The multifunction lever controls the:
•Turn Signals
• Headlight Beams Low/High
• Flash-To-Pass
• Front and Rear Wipers — Washer Functions
Turn Signals
Move the multifunction lever up or down and the arrows
on each side of the instrument cluster display will flash to
show proper operation of the front and rear turn signal
lights.
NOTE: If either light remains on and does not flash, or
there is a very fast flash rate, check for a defective outside
light bulb. If an indicator fails to light when the lever is
moved, it would suggest that the indicator bulb is defec-
tive.
Turn Signal Warning
If the vehicle electronics sense that the vehicle has traveled
at over 18 mph (29 km/h) for about 1 mile (1.6 km) with the
turn signals on, a chime will sound to alert the driver.
Lane Change Assist
Tap the lever up or down once, without moving beyond
the detent, and the turn signal (right or left) will flash three
times then automatically turn off.
High/Low Beam Switch
When the headlights are turned on, pushing the multifunc-
tion lever toward the instrument panel will switch from
Multifunction Lever
176 UNDERSTANDING THE FEATURES OF YOUR VEHICLE
Page 184 of 530
ELECTRONIC SPEED CONTROL — IF EQUIPPED
When engaged, the Electronic Speed Control takes over
accelerator operations at speeds greater than 25 mph
(40 km/h).
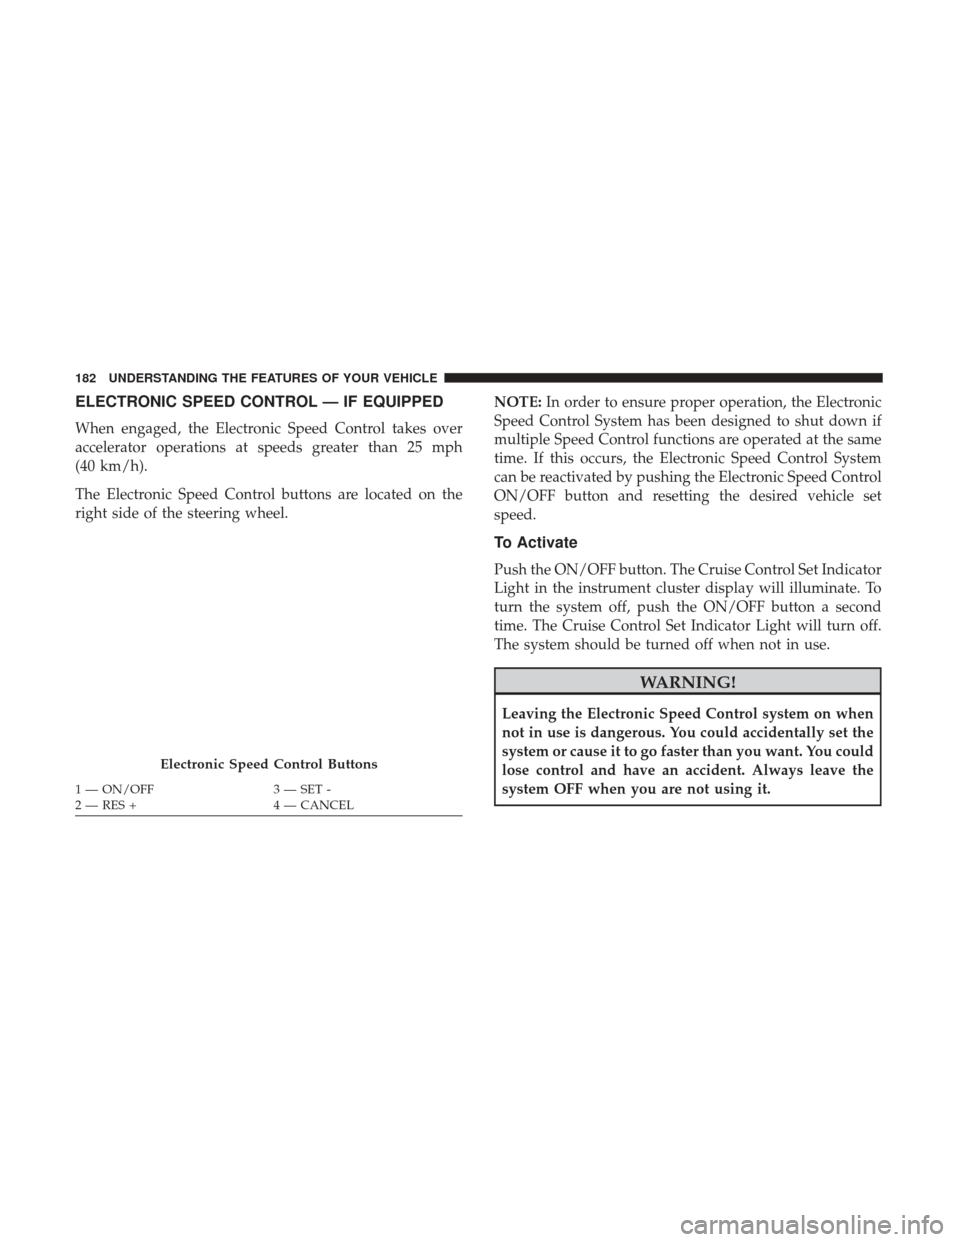
The Electronic Speed Control buttons are located on the
right side of the steering wheel.NOTE:
In order to ensure proper operation, the Electronic
Speed Control System has been designed to shut down if
multiple Speed Control functions are operated at the same
time. If this occurs, the Electronic Speed Control System
can be reactivated by pushing the Electronic Speed Control
ON/OFF button and resetting the desired vehicle set
speed.
To Activate
Push the ON/OFF button. The Cruise Control Set Indicator
Light in the instrument cluster display will illuminate. To
turn the system off, push the ON/OFF button a second
time. The Cruise Control Set Indicator Light will turn off.
The system should be turned off when not in use.
WARNING!
Leaving the Electronic Speed Control system on when
not in use is dangerous. You could accidentally set the
system or cause it to go faster than you want. You could
lose control and have an accident. Always leave the
system OFF when you are not using it.
Electronic Speed Control Buttons
1 — ON/OFF 3 — SET -
2 — RES + 4 — CANCEL
182 UNDERSTANDING THE FEATURES OF YOUR VEHICLE
Page 195 of 530
WARNING!
Drivers must be careful when backing up even when
using the ParkView Rear Back Up Camera. Always
check carefully behind your vehicle, and be sure to
check for pedestrians, animals, other vehicles, obstruc-
tions, or blind spots before backing up. You are re-
sponsible for the safety of your surroundings and must
continue to pay attention while backing up. Failure to
do so can result in serious injury or death.
CAUTION!
•To avoid vehicle damage, ParkView should only be
used as a parking aid. The ParkView camera is
unable to view every obstacle or object in your drive
path.
• To avoid vehicle damage, the vehicle must be driven
slowly when using ParkView to be able to stop in
time when an obstacle is seen. It is recommended
that the driver look frequently over his/her shoulder
when using ParkView. NOTE:
If snow, ice, mud, or any foreign substance builds
up on the camera lens, clean the lens, rinse with water, and
dry with a soft cloth. Do not cover the lens.
OVERHEAD CONSOLES
Front Overhead Console
Two versions of the overhead console are available. The
base front overhead console model featured fixed incan-
descent courtesy/reading lights, flip-down sunglass stor-
age and conversation mirror. The premium front overhead
console model features a LED focused light that illumi-
nates the instrument panel cupholders, two swiveling LED
lights, flip-down sunglass storage, conversation mirror,
optional power sliding door switches and an optional
power liftgate switch.
3
UNDERSTANDING THE FEATURES OF YOUR VEHICLE 193
Page 211 of 530

WARNING!
To avoid serious injury or death:
•Only devices designed for use in this type of outlet
should be inserted into any 12 Volt outlet.
• Do not touch with wet hands.
• Close the lid when not in use and while driving the
vehicle.
• If this outlet is mishandled, it may cause an electric
shock and failure.
CAUTION!
•Many accessories that can be plugged in draw power
from the vehicle’s battery, even when not in use (i.e.,
cellular phones, etc.). Eventually, if plugged in long
enough, the vehicle’s battery will discharge suffi-
ciently to degrade battery life and/or prevent the
engine from starting.
• Accessories that draw higher power (i.e., coolers,
vacuum cleaners, lights, etc.), will degrade the bat-
tery even more quickly. Only use these intermit-
tently and with greater caution.
(Continued)
Power Outlet Fuses
1 — M7 Fuse 20 A Yellow Power Outlet Center Seat (Opt) or with
Console Rear
2 — M6 Fuse 20 A Yellow Cigar Lighter Instrument Panel or with
Console Front
3 — M36 Fuse 20 A Yellow Power Outlet Instrument Panel or with
Console Center
3
UNDERSTANDING THE FEATURES OF YOUR VEHICLE 209
Page 221 of 530
Cargo Area Storage
The liftgate sill plate has a raised line with the statement
“Load To This Line”. This line indicates how far rearward
cargo can be placed without interfering with liftgate clos-
ing.
NOTE:With all rear seats stowed or removed,4x8foot
sheets of building material will fit on the vehicle floor with
the liftgate closed. The front seats must be moved slightly
forward of the rearmost position.
CONSOLE FEATURES
There are three consoles available: Basic, Premium and
Super.
WARNING!
Do not operate this vehicle with a console compart-
ment lid in the open position. Driving with the console
compartment lid open may result in injury in a colli-
sion.
Basic Console
Basic Console features consist of the following:
• The basic console profile allows vehicle occupants to
easily pass through the first row to the second.
• Four cupholders accept up to extra large size beverage
cups or 20 oz (.6 L) plastic bottles. Cupholders are
dishwasher safe for cleaning.
• The cupholders are removable to access a large storage
bin.
• The basic console is removable from the vehicle for
additional floor space by removing the cap and clip at
the console base.
Rear Cargo Area Loading Limit
3
UNDERSTANDING THE FEATURES OF YOUR VEHICLE 219
Page 222 of 530
To Remove The Basic Floor Console
1. Remove the front anchor cup plug and clip.
2. Slide the console base forward while lifting slightly toclear the rear load floor hook.
3. Remove the console.
To Reinstall The Basic Floor Console
1. Position the console at a slight angle (front slightly higher than the rear).
2. Slide the console rearward into the floor bracket/hook.
3. Align the console until the front anchor cup plug hole is centered on the winch hole.
4. Reinstall the clip first and then while pushing down- ward on the console with slight pressure, reinstall the
cover plug.
5. Pull up on the console to be sure it is firmly latched.
WARNING!
In an accident, serious injury could result if the remov-
able floor console is not properly installed. Always be
sure the removable floor console is fully latched.
Premium Console — If Equipped
The three-compartment console with sliding storage bin,
sliding upper tray with storage and large console storage
bin offers multiple configurations.
• Four cupholders with dishwasher safe liners for clean-
ing. The cupholders can accept plastic bottles, large cups
or mugs with handles
• Top tray storage
• Upper storage bin can hold nine regular or 18 thin CDs
or other items
• Large console center storage will store headphones for
the available rear DVD entertainment system or other
items
• 12 Volt DC power outlet provides continuous power
inside the console for cell phones or other electronics
• Rear occupant accessible
• Multiple adjustments
• Removable from vehicle for additional floor space
The top and center console sections slide forward and
rearward to provide added user comfort. A one-piece cup
220 UNDERSTANDING THE FEATURES OF YOUR VEHICLE
Page 225 of 530
To Reinstall The Premium Floor Console:
1. Position the console at a slight angle (rear slightly higherthan the front).
2. Slide the console forward into the floor bracket.
3. Rotate the rear of the console down until it is resting on the floor bracket.
4. Push down on the rear of the console until it is seated in the rear floor bracket.
5. Pull up on the console to be sure it is firmly latched.
WARNING!
In an accident, serious injury could result if the remov-
able floor console is not properly installed. Always be
sure the removable floor console is fully latched.
Super Console — If Equipped
The Super Console contains multiple storage areas, front
lower pass through, top forward bin, top rearward bin and
rear pull out drawer.
The Super Console contains a pass through storage area
accessible for both the driver and front passenger.
The Super Console tambour doors are opened by pushing
down on the finger tabs and sliding the door. The front
tambour door slides forward, the rear tambour door slides
rearward.
Front Lower Pass Through
3
UNDERSTANDING THE FEATURES OF YOUR VEHICLE 223