2017 DODGE GRAND CARAVAN spare tire
[x] Cancel search: spare tirePage 446 of 530

WARNING!
To avoid the risk of forcing the vehicle off the jack, do
not tighten the wheel nuts fully until the vehicle has
been lowered. Failure to follow this warning may
result in serious injury.
NOTE: Do not install the wheel cover on the compact
spare.
7. Lower the vehicle by turning the jack screw to the left.
8. Finish tightening the lug nuts. Push down on the wrench while at the end of the handle for increased
leverage. Tighten the lug nuts in a star pattern until each
nut has been tightened twice. For correct lug nut torque
refer to Torque Specifications in this section. If in doubt
about the correct tightness, have them checked with a
torque wrench by your Authorized Dealer or at a service
station.
9. Lower the jack to its fully-closed position.
WARNING!
A loose tire or jack thrown forward in a collision or
hard stop could endanger the occupants of the vehicle.
Always stow the jack parts and the spare tire in the
places provided. Have the deflated (flat) tire repaired
or replaced immediately.
10. Place the deflated (flat) tire and compact spare tire cover assembly in the rear cargo area. Do not stow the
deflated tire in the compact spare tire location. Have
the full-sized tire repaired or replaced, as soon as
possible.
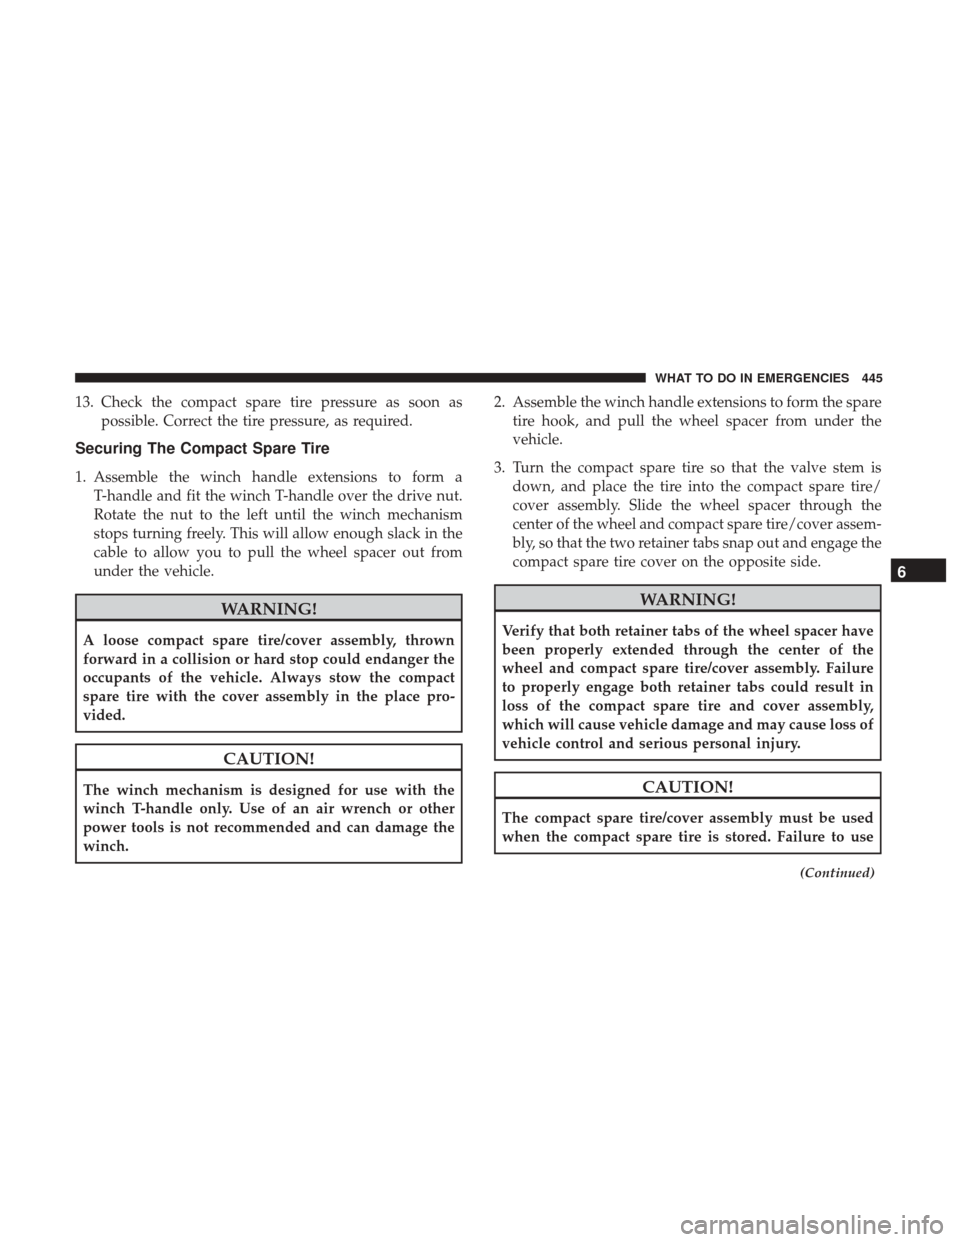
11. Stow the cable and wheel spacer before driving the vehicle. Reassemble the winch handle extensions to
form a “T” and fit the winch T-handle over the drive
nut. Rotate the nut to the right until the winch mecha-
nism clicks at least three times.
NOTE: Refer to the “Spare Tire Tools” section for instruc-
tions on assembling the T-handle.
12. Stow the jack, jack handle and winch handle tools back in the stowage compartment.
444 WHAT TO DO IN EMERGENCIES
Page 447 of 530

13. Check the compact spare tire pressure as soon aspossible. Correct the tire pressure, as required.
Securing The Compact Spare Tire
1. Assemble the winch handle extensions to form aT-handle and fit the winch T-handle over the drive nut.
Rotate the nut to the left until the winch mechanism
stops turning freely. This will allow enough slack in the
cable to allow you to pull the wheel spacer out from
under the vehicle.
WARNING!
A loose compact spare tire/cover assembly, thrown
forward in a collision or hard stop could endanger the
occupants of the vehicle. Always stow the compact
spare tire with the cover assembly in the place pro-
vided.
CAUTION!
The winch mechanism is designed for use with the
winch T-handle only. Use of an air wrench or other
power tools is not recommended and can damage the
winch. 2. Assemble the winch handle extensions to form the spare
tire hook, and pull the wheel spacer from under the
vehicle.
3. Turn the compact spare tire so that the valve stem is down, and place the tire into the compact spare tire/
cover assembly. Slide the wheel spacer through the
center of the wheel and compact spare tire/cover assem-
bly, so that the two retainer tabs snap out and engage the
compact spare tire cover on the opposite side.
WARNING!
Verify that both retainer tabs of the wheel spacer have
been properly extended through the center of the
wheel and compact spare tire/cover assembly. Failure
to properly engage both retainer tabs could result in
loss of the compact spare tire and cover assembly,
which will cause vehicle damage and may cause loss of
vehicle control and serious personal injury.
CAUTION!
The compact spare tire/cover assembly must be used
when the compact spare tire is stored. Failure to use
(Continued)
6
WHAT TO DO IN EMERGENCIES 445
Page 448 of 530

CAUTION!(Continued)
this cover could drastically reduce the life of the
compact spare tire.
4. Using the winch T-handle, rotate the drive nut to the right until the compact spare tire/cover assembly is
drawn into place against the underside of the vehicle.
5. Continue to rotate the nut to the right until you hear the winch mechanism click three times. It cannot be over-
tightened. Check under the vehicle to ensure the com-
pact spare tire/cover assembly is positioned correctly
against the underside of the vehicle.
CAUTION!
The winch mechanism is designed specifically to stow
a compact spare tire only. Do not attempt to use the
winch to stow the full size deflated tire, or any other
full-size tire, as the tire may not be held securely.
Vehicle damage may result.
Road Tire Installation
Vehicles Equipped With Wheel Covers
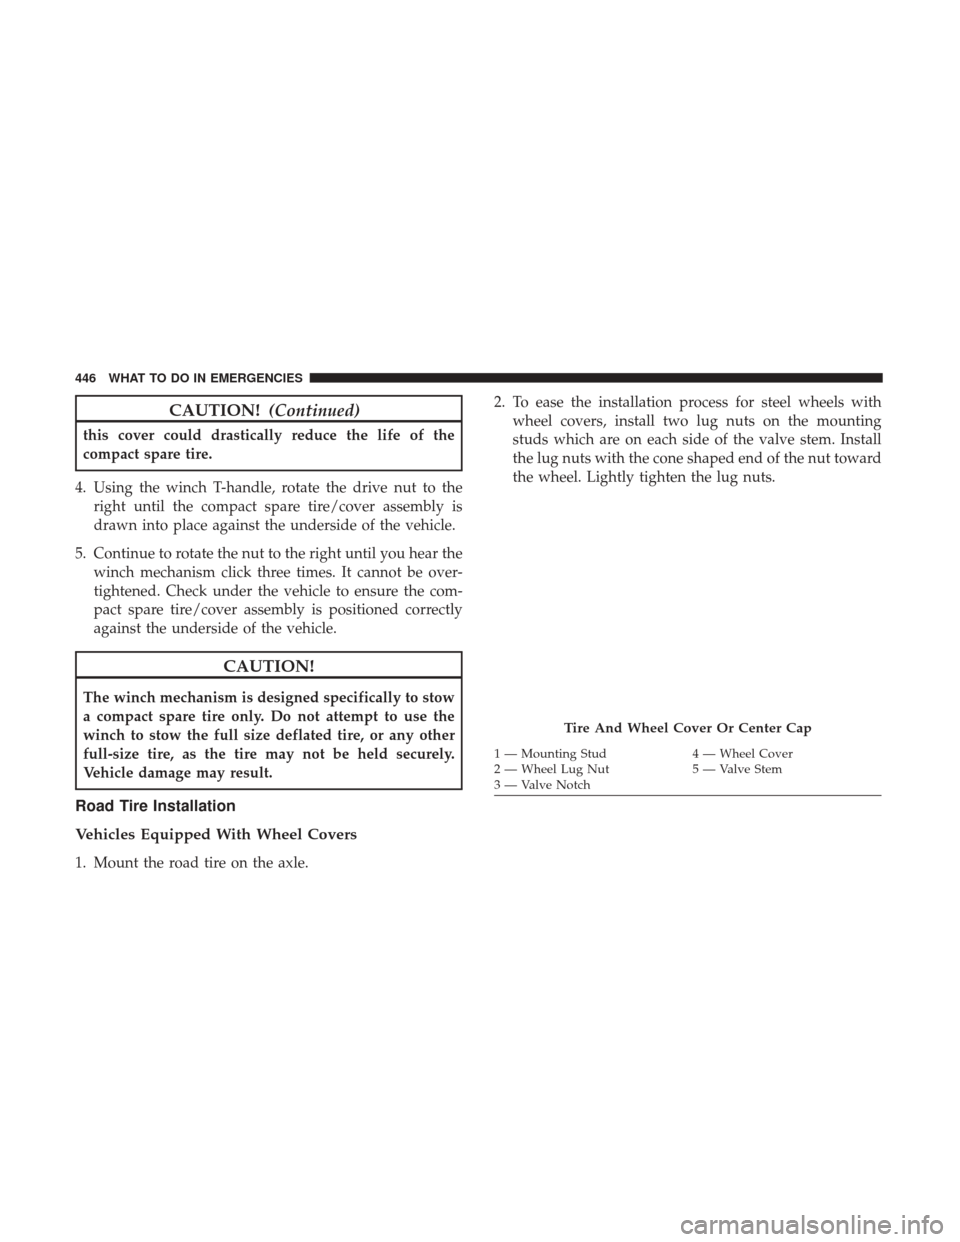
1. Mount the road tire on the axle. 2. To ease the installation process for steel wheels with
wheel covers, install two lug nuts on the mounting
studs which are on each side of the valve stem. Install
the lug nuts with the cone shaped end of the nut toward
the wheel. Lightly tighten the lug nuts.
Tire And Wheel Cover Or Center Cap
1 — Mounting Stud 4 — Wheel Cover
2 — Wheel Lug Nut 5 — Valve Stem
3 — Valve Notch
446 WHAT TO DO IN EMERGENCIES
Page 516 of 530

Child RestraintsBooster Seats ............................75
Child Restraints ..........................71
Child Seat Installation ...................85, 87
How To Stow An Unused ALR Seat Belt .........84
Infants And Child Restraints .................73
Locating The LATCH Anchorages ..............81
Lower Anchors And Tethers For Children ........77
Older Children And Child Restraints ...........74
Seating Positions ..........................76
Using The Top Tether Anchorage ..............90
Child Safety Locks ..........................36
Clean Air Gasoline ........................ .399
Climate Control ............................323
Clock ............................... .276, 284
Coat Hook ...............................218
Coin Holder ............................. .219
Cold Weather Operation ..................... .343
Compact Disc (CD) Maintenance ................322
Compact Spare Tire ........................ .384
Compass .................................267
Compass Calibration ........................267
Compass Variance ..........................268
Computer, Trip/Travel .......................265 Connector
UCI ..................................295
Universal Consumer Interface (UCI) ...........295
Conserving Fuel .......................... .264
Console .................................219
Console, Floor ............................ .219
Console, Overhead ........................ .193
Console, Removable ........................ .222
Contract, Service .......................... .508
Coolant Pressure Cap (Radiator Cap) .............475
Cooling System ............................472
Adding Coolant (Antifreeze) .................473
Coolant Capacity ........................ .495
Coolant Level ........................472, 475
Disposal Of Used Coolant ..................475
Drain, Flush,
And Refill ....................473
Inspection ............................. .475
Points To Remember ..................... .476
Pressure Cap ............................475
Radiator Cap .......................... .475
Selection Of Coolant (Antifreeze) .......473, 495, 496
Corrosion Protection ........................479
Cruise Light ............................. .258
Cupholders ...........................211,484
514 INDEX
Page 525 of 530

Seat Belts............................. .43, 93
Adjustable Shoulder Belt ....................48
Adjustable Upper Shoulder Anchorage ..........48
Child Restraint ...........................71
Extender ...............................53
Front Seat ........................ .43, 44, 46
Inspection ..............................93
Operating Instructions ......................46
Pregnant Women .........................54
Pretensioners ............................54
Rear Seat ...............................44
Reminder ............................. .242
Untwisting Procedure ......................48
Seats ............................... .141, 142
Adjustment ..................... .141, 142, 146
Fold in Floor (Stow nGo) ..................151
Memory ...............................167
Power ............................... .141
Reclining ............................. .147
Stow N Go (Fold in Floor) ..................151
Security Alarm ..........................13, 247
Selection Of Coolant (Antifreeze) ...............496
SENTRY KEY Key Programming .........................13
Sentry Key (Immobilizer) ......................11 Sentry Key Replacement
......................12
Service Assistance ..........................506
Service Contract .......................... .508
Service Manuals .......................... .510
Settings, Personal ..........................269
Setting The Clock .......................276, 284
Shift Lever Override ........................452
Shoulder Belts .............................44
Signals, Turn .....................95, 176, 256, 493
Sliding Door ...............................33
Snow Chains (Tire Chains) ....................388
Snow Tires ...............................382
Spare Tire ..................... .383, 384, 385, 434
Spark Plugs ............................. .496
Speed Contr
ol
Accel/Decel ............................184
Cancel ............................... .183
Resume ...............................183
Speed Control (Cruise Control) .................182
Starting .................................342
Automatic Transmission ....................342
Cold Weather .......................... .343
Engine Fails To Start ..................... .343
Remote ................................23
Starting And Operating ..................... .342
10
INDEX 523
Page 526 of 530

Starting Procedures........................ .342
Steering Power ............................... .356
Tilt Column ............................180
Wheel, Heated ..........................181
Wheel, Tilt ............................ .180
Steering Wheel Audio Controls .................321
Steering Wheel Mounted Sound System Controls . . . .321
Storage ................................. .490
Storage Bin ...............................214
Storage, Vehicle ........................337, 490
Storing Your Vehicle ........................490
Stow N Go (Fold in Floor) Seats ................151
Sunglasses Storage ..........................195
Sun Roof ............................... .204
Supplemental Restraint System - Air Bag ...........60
Sway Control, Trailer ........................368
Synthetic Engine Oil ........................465
System, Remote Starting ......................23
Telescoping Steering Column ..................180
Temperature Control, Automatic (ATC) ...........329
Tilt Steering Column ........................180
Tire And Loading Information Placard ........374, 375
Tire Markings ............................ .368Tires..........................
.95, 379, 383, 390
Aging (Life Of Tires) ..................... .387
Air Pressure ........................ .374, 379
Chains ............................... .388
Changing ............................. .433
Compact Spare ..........................384
General Information ...................379, 383
High Speed ............................ .381
Inflation Pressures ........................380
Jacking ............................433, 439
Life Of Tires ............................387
Load Capacity .......................374, 376
Pr
essure Monitor System (TPMS) .............391
Pressure Warning Light ....................254
Quality Grading ........................ .390
Radial ............................... .381
Replacement ............................387
Rotation ...............................389
Safety ............................ .368, 379
Sizes .................................370
Snow Tires ............................ .382
Spare Tire .......................383, 385, 434
Spinning ...............................386
Trailer Towing .......................... .415
Tread Wear Indicators .....................386
524 INDEX