Page 436 of 530
Spare Tire Removal
The spare tire is stowed inside a protective cover located
under the center of the vehicle between the front doors by
means of a cable winch mechanism. The “spare tire drive”
nut is located on the floor, under a plastic cap at the front
of the floor console or under front super console forward
bin liner.
To Access Spare Tire Winch Drive Nut
To access the spare tire winch drive nut and lower the spare
tire, you will need to refer to one of the following center
console configurations.
Super Console
For vehicles equipped with the Super Console, the spare
tire winch assembly drive nut is located beneath the
console.
1. Pull the lower drawer out from the rear of the floorconsole to gain clear access of the tire winch drive nut.
Spare Tire Location
Super Console
1 — Lower Drawer
2 — Front Drawer
3 — Front Drawer Liner
434 WHAT TO DO IN EMERGENCIES
Page 437 of 530
2. Open the front drawer to expose the storage compart-ment.
3. Remove the liner from the console’s storage compart- ment to access the spare tire winch drive nut.Premium/Base/Cargo Center Console
Pull the Winch Cover assembly plug (if equipped) to access
the winch drive nut.
Drive Nut Access
Winch Cover Assembly Plug (If Equipped)
6
WHAT TO DO IN EMERGENCIES 435
Page 438 of 530
Spare Tire Tools
The tool pouch contains three pieces and can be assembled
into a spare tire hook; to remove the compact spare
tire/cover assembly from under the vehicle, or a Winch
T-handle; to raise/lower the compact spare tire/cover
assembly.
Assembled T-handle
1 — Spare Tire Hook/T-handle
2 — Extension 1
3 — Extension 2
Assembling The Spare Tire Hook
1 — Spare Tire Hook/T-handle
2 — Extension 1
3 — Extension 2
436 WHAT TO DO IN EMERGENCIES
Page 439 of 530
Spare Tire Removal Instructions
The spare tire is located under the vehicle beneath the
center console area.
1. Assemble the spare tire tools into a T-handle and placethe square end over the spare tire winch drive nut.
2. Rotate the nut to the left until the winch mechanism stops turning freely. This will allow enough slack in the
cable to allow you to pull the spare tire out from
underneath the vehicle.
CAUTION!
The winch mechanism is designed for use with the
winch T-handle only. Use of an air wrench or other
power tools is not recommended and can damage the
winch.
3. To remove the compact spare tire/cover assembly, as- semble the winch T-handle extensions to form a spare
tire hook, and pull the spare tire out from under the
vehicle.
Spare Tire And Cover
Pulling Spare Tire
6
WHAT TO DO IN EMERGENCIES 437
Page 440 of 530

NOTE:If either front tire is flat it may be necessary to jack
up the vehicle to remove the compact spare tire/cover
assembly from under the vehicle.
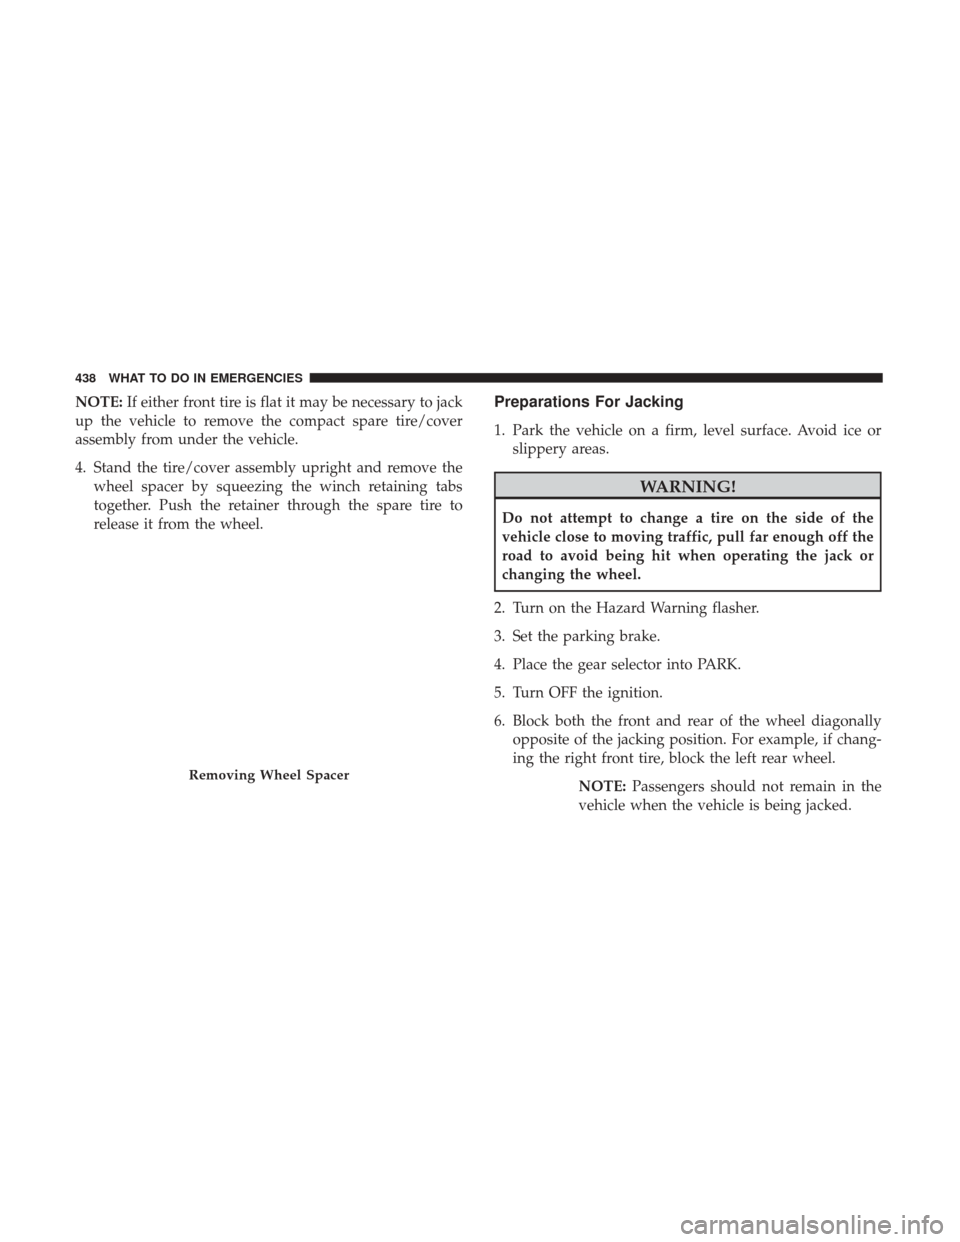
4. Stand the tire/cover assembly upright and remove the wheel spacer by squeezing the winch retaining tabs
together. Push the retainer through the spare tire to
release it from the wheel.Preparations For Jacking
1. Park the vehicle on a firm, level surface. Avoid ice orslippery areas.
WARNING!
Do not attempt to change a tire on the side of the
vehicle close to moving traffic, pull far enough off the
road to avoid being hit when operating the jack or
changing the wheel.
2. Turn on the Hazard Warning flasher.
3. Set the parking brake.
4. Place the gear selector into PARK.
5. Turn OFF the ignition.
6. Block both the front and rear of the wheel diagonally opposite of the jacking position. For example, if chang-
ing the right front tire, block the left rear wheel.
NOTE:Passengers should not remain in the
vehicle when the vehicle is being jacked.
Removing Wheel Spacer
438 WHAT TO DO IN EMERGENCIES
Page 441 of 530

Jacking Instructions
WARNING!
Carefully follow these tire changing warnings to help
prevent personal injury or damage to your vehicle:
•Always park on a firm, level surface as far from the
edge of the roadway as possible before raising the
vehicle.
• Turn on the Hazard Warning flasher.
• Block the wheel diagonally opposite the wheel to be
raised.
• Set the parking brake firmly and set an automatic
transmission in PARK; a manual transmission in
REVERSE.
• Never start or run the engine with the vehicle on a
jack.
• Do not let anyone sit in the vehicle when it is on a
jack.
• Do not get under the vehicle when it is on a jack. If
you need to get under a raised vehicle, take it to a
service center where it can be raised on a lift.
• Only use the jack in the positions indicated and for
lifting this vehicle during a tire change.
(Continued)
WARNING! (Continued)
•If working on or near a roadway, be extremely
careful of motor traffic.
• To assure that compact spare tires, flat or inflated, are
securely stowed, compact spares must be stowed
with the valve stem facing the ground.
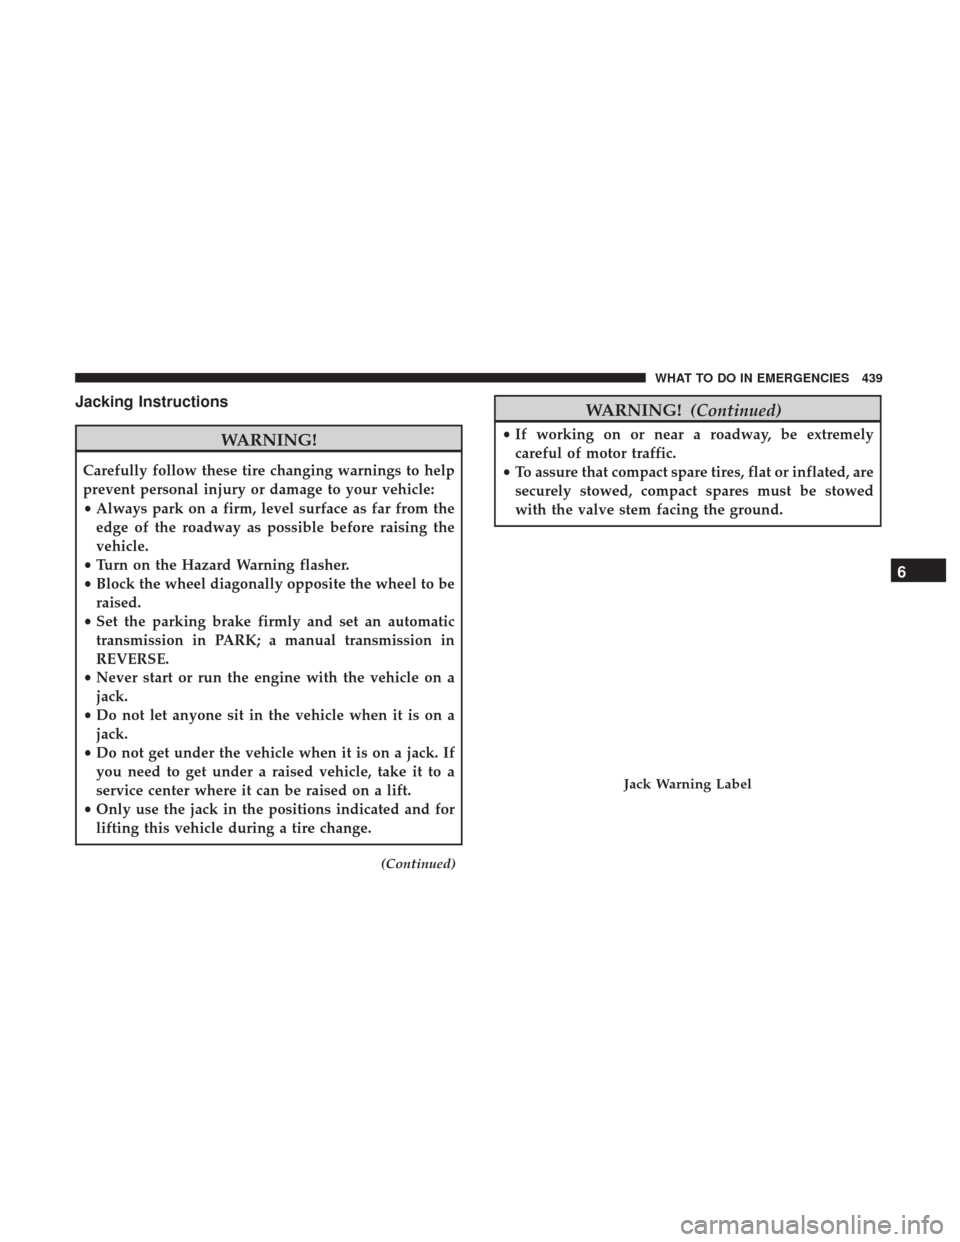
Jack Warning Label
6
WHAT TO DO IN EMERGENCIES 439
Page 442 of 530
CAUTION!
Do not attempt to raise the vehicle by jacking on
locations other than those indicated in the Jacking
Instructions for this vehicle.
NOTE: Refer to the “Compact Spare Tire” section of “Tires
– General Information” for information about the compact
spare tire, its use, and operation.
1. Loosen (but do not remove) the wheel lug nuts by turning them to the left one turn while the wheel is still
on the ground.
2. There are two jack engagement locations on each side of the vehicle body. These locations are on the sill flange of
the vehicle body.
Jack Locations
Jack Location
440 WHAT TO DO IN EMERGENCIES
Page 445 of 530

WARNING!(Continued)
under a raised vehicle, take it to a service center where
it can be raised on a lift.
3. Place the wrench on the jack screw and turn to the right until the jack head is properly engaged in the described
location. Do not raise the vehicle until you are sure the
jack is securely engaged.
4. Raise the vehicle by turning the jack screw to the right, using the swivel wrench. Raise the vehicle only until the
tire just clears the surface and enough clearance is
obtained to install the compact spare tire. Minimum tire
lift provides maximum stability.
WARNING!
Raising the vehicle higher than necessary can make the
vehicle less stable. It could slip off the jack and hurt
someone near it. Raise the vehicle only enough to
remove the tire.
5.
Remove the wheel lug nuts, for vehicles with wheel covers,
remove the cover from the wheel by hand. Do not pry the
wheel cover off. Then pull the wheel off the hub.
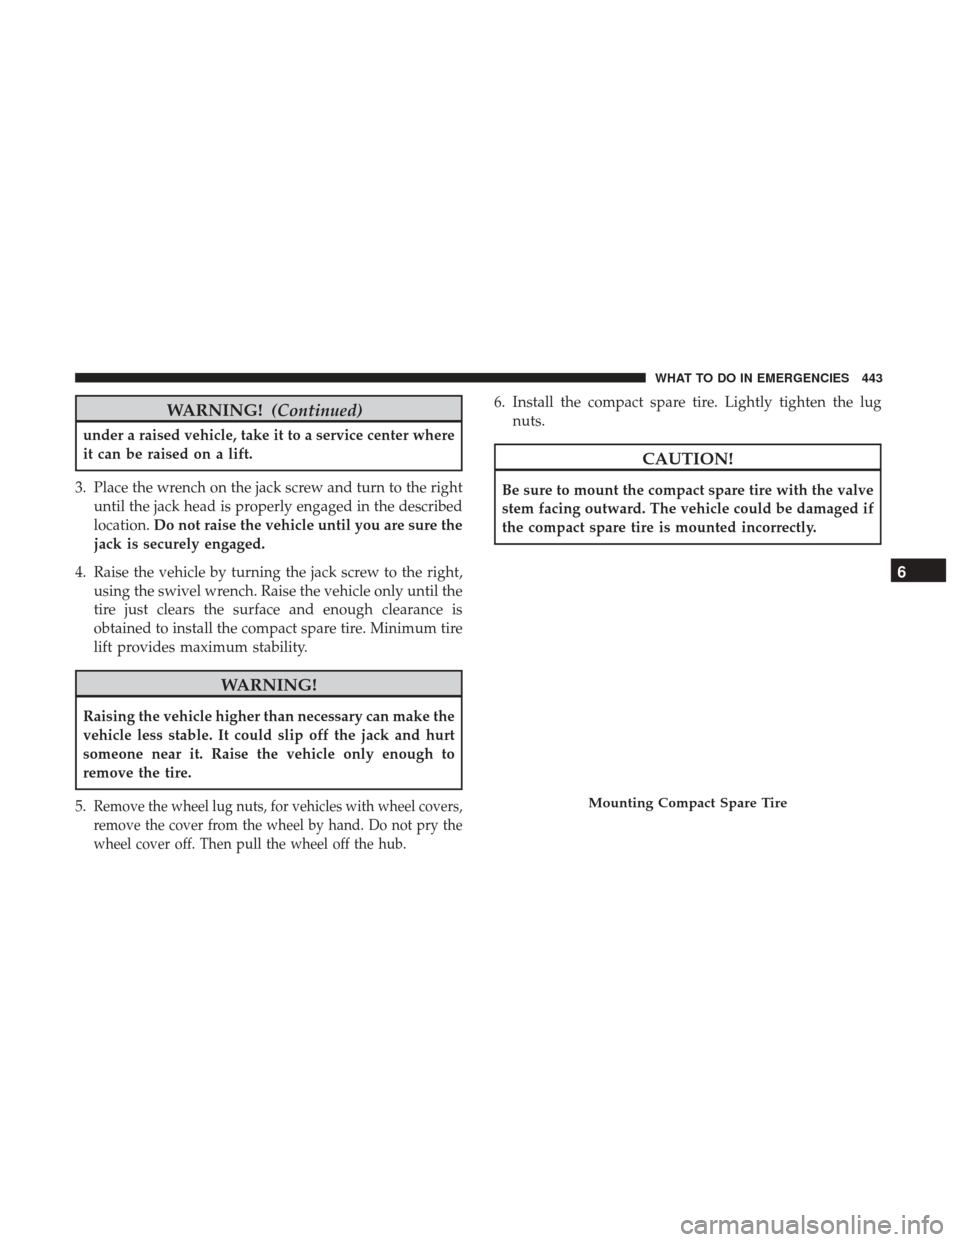
6. Install the compact spare tire. Lightly tighten the lug nuts.
CAUTION!
Be sure to mount the compact spare tire with the valve
stem facing outward. The vehicle could be damaged if
the compact spare tire is mounted incorrectly.
Mounting Compact Spare Tire
6
WHAT TO DO IN EMERGENCIES 443