2017 DODGE GRAND CARAVAN light
[x] Cancel search: lightPage 448 of 530

CAUTION!(Continued)
this cover could drastically reduce the life of the
compact spare tire.
4. Using the winch T-handle, rotate the drive nut to the right until the compact spare tire/cover assembly is
drawn into place against the underside of the vehicle.
5. Continue to rotate the nut to the right until you hear the winch mechanism click three times. It cannot be over-
tightened. Check under the vehicle to ensure the com-
pact spare tire/cover assembly is positioned correctly
against the underside of the vehicle.
CAUTION!
The winch mechanism is designed specifically to stow
a compact spare tire only. Do not attempt to use the
winch to stow the full size deflated tire, or any other
full-size tire, as the tire may not be held securely.
Vehicle damage may result.
Road Tire Installation
Vehicles Equipped With Wheel Covers
1. Mount the road tire on the axle. 2. To ease the installation process for steel wheels with
wheel covers, install two lug nuts on the mounting
studs which are on each side of the valve stem. Install
the lug nuts with the cone shaped end of the nut toward
the wheel. Lightly tighten the lug nuts.
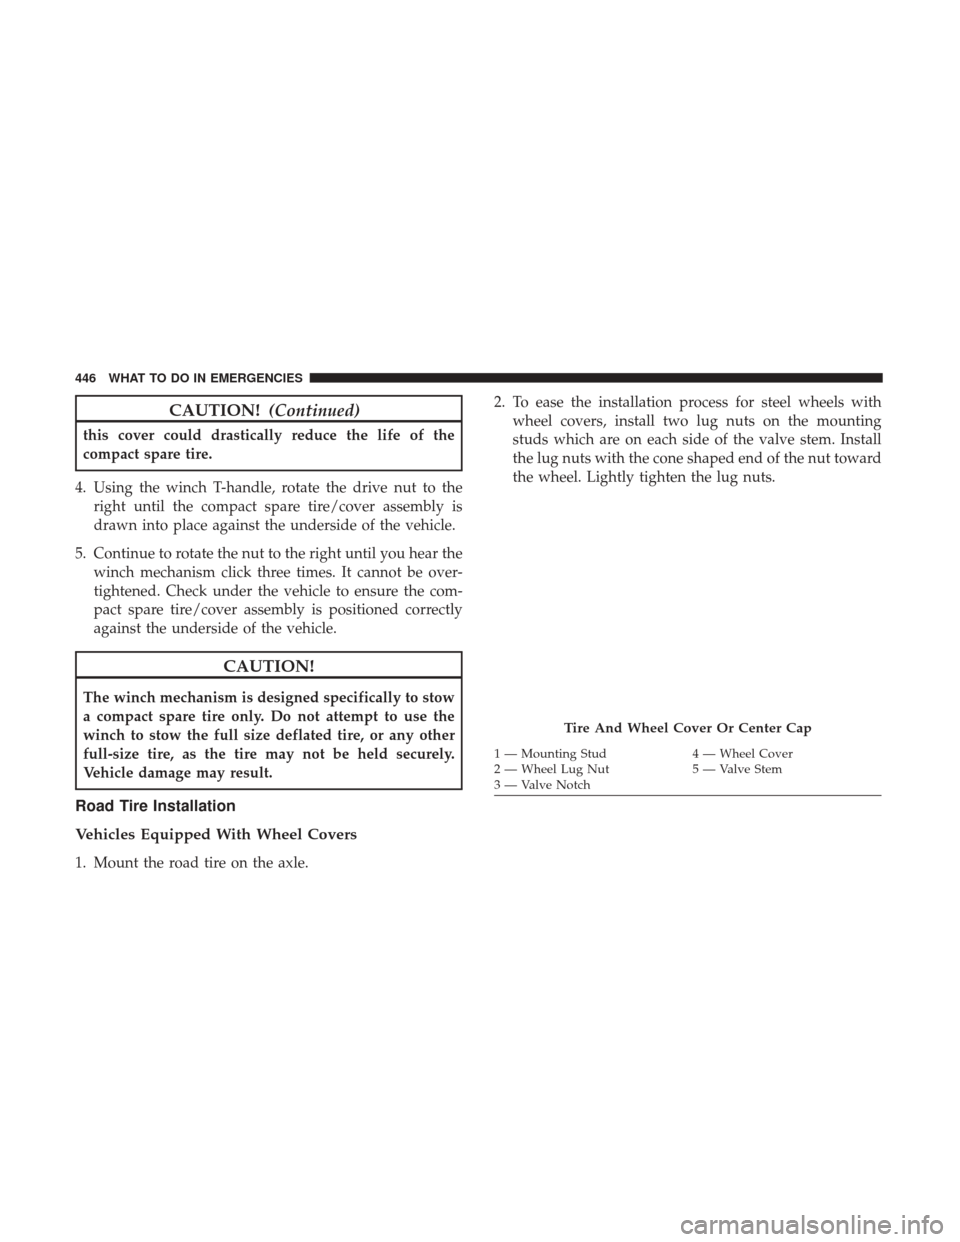
Tire And Wheel Cover Or Center Cap
1 — Mounting Stud 4 — Wheel Cover
2 — Wheel Lug Nut 5 — Valve Stem
3 — Valve Notch
446 WHAT TO DO IN EMERGENCIES
Page 449 of 530

3. Align the valve notch in the wheel cover with the valvestem on the wheel. Install the cover by hand, snapping
the cover over the two lug nuts. Do not use a hammer or
excessive force to install the cover.
4. Install the remaining lug nuts with the cone shaped end of the nut toward the wheel. Lightly tighten the lug
nuts.
WARNING!
To avoid the risk of forcing the vehicle off the jack, do
not tighten the wheel nuts fully until the vehicle has
been lowered. Failure to follow this warning may
result in serious injury.
5. Lower the vehicle to the ground by turning the jack handle counterclockwise.
6. Finish tightening the lug nuts. Push down on the wrench while at the end of the handle for increased
leverage. Tighten the lug nuts in a star pattern until each
nut has been tightened twice. For correct lug nut torque
refer to Torque Specifications in this section. If in doubt
about the correct tightness, have them checked with a
torque wrench by your Authorized Dealer or at a service
station.. 7. After 25 miles (40 km) check the lug nut torque with a
torque wrench to ensure that all lug nuts are properly
seated against the wheel.
Vehicles Without Wheel Covers
1. Mount the road tire on the axle.
2. Install the remaining lug nuts with the cone shaped endof the nut toward the wheel. Lightly tighten the lug
nuts.
WARNING!
To avoid the risk of forcing the vehicle off the jack, do
not tighten the wheel nuts fully until the vehicle has
been lowered. Failure to follow this warning may
result in serious injury.
3. Lower the vehicle to the ground by turning the jack handle counterclockwise.
4. Finish tightening the lug nuts. Push down on the wrench while at the end of the handle for increased
leverage. Tighten the lug nuts in a star pattern until each
nut has been tightened twice. For correct lug nut torque
refer to Torque Specifications in this section. If in doubt
6
WHAT TO DO IN EMERGENCIES 447
Page 462 of 530

ONBOARD DIAGNOSTIC SYSTEM — OBD II
Your vehicle is equipped with a sophisticated Onboard
Diagnostic system called OBD II. This system monitors the
performance of the emissions, engine, and automatic trans-
mission control systems. When these systems are operating
properly, your vehicle will provide excellent performance
and fuel economy, as well as engine emissions well within
current government regulations.
If any of these systems require service, the OBD II system
will turn on the “Malfunction Indicator Light (MIL).” It
will also store diagnostic codes and other information to
assist your service technician in making repairs. Although
your vehicle will usually be drivable and not need towing,
see your authorized dealer for service as soon as possible.
CAUTION!
•Prolonged driving with the MIL on could cause
further damage to the emission control system. It
could also affect fuel economy and driveability. The
vehicle must be serviced before any emissions tests
can be performed.
• If the MIL is flashing while the engine is running,
severe catalytic converter damage and power loss
will soon occur. Immediate service is required.
Onboard Diagnostic System (OBD II) Cybersecurity
Your vehicle is required to have an Onboard Diagnostic
system (OBD II) and a connection port to allow access to
information related to the performance of your emissions
controls. Authorized service technicians may need to ac-
cess this information to assist with the diagnosis and
service of your vehicle and emissions system.
WARNING!
•ONLY an authorized service technician should con-
nect equipment to the OBD II connection port in
order to diagnose or service your vehicle.
• If unauthorized equipment is connected to the OBD
II connection port, such as a driver-behavior tracking
device, it may:
• Be possible that vehicle systems, including safety
related systems, could be impaired or a loss of
vehicle control could occur that may result in an
accident involving serious injury or death.
• Access, or allow others to access, information
stored in your vehicle systems, including personal
information.
For further information, refer to “Cybersecurity” in the
“Understanding Your Instrument Panel” section.
460 MAINTAINING YOUR VEHICLE
Page 463 of 530

Loose Fuel Filler Cap Message
If the vehicle diagnostic system determines that the fuel
filler cap is loose, improperly installed, or damaged, a
“gASCAP” message will display in the odometer or a
“CHECK GASCAP” message will be displayed in the
instrument cluster display. Refer to “Instrument Cluster
Display” in “Understanding Your Instrument Panel” for
further information. Tighten the gas cap until a “clicking”
sound is heard. This is an indication that the gas cap is
properly tightened.
Push the odometer reset button to turn the message off. If
the problem persists, the message will appear the next time
the vehicle is started. This might indicate a damaged cap. If
the problem is detected twice in a row, the system will turn
on the MIL. Resolving the problem will turn the MIL light
off.
EMISSIONS INSPECTION AND MAINTENANCE
PROGRAMS
In some localities, it may be a legal requirement to pass an
inspection of your vehicle’s emissions control system.
Failure to pass could prevent vehicle registration.For states that require an Inspection and Mainte-
nance (I/M), this check verifies the “Malfunction
Indicator Light (MIL)” is functioning and is not on
when the engine is running, and that the OBD II system is
ready for testing.
Normally, the OBD II system will be ready. The OBD II
system may notbe ready if your vehicle was recently
serviced, recently had a dead battery or a battery replace-
ment. If the OBD II system should be determined not ready
for the I/M test, your vehicle may fail the test.
Your vehicle has a simple ignition actuated test, which you
can use prior to going to the test station. To check if your
vehicle’s OBD II system is ready, you must do the follow-
ing:
1. Cycle the ignition switch to the ON position, but do not crank or start the engine.
NOTE: If you crank or start the engine, you will have to
start this test over.
2. As soon as you cycle the ignition switch to the ON position, you will see the “Malfunction Indicator Light
(MIL)” symbol come on as part of a normal bulb check.
7
MAINTAINING YOUR VEHICLE 461
Page 473 of 530

also be given to hood latching components to ensure
proper function. When performing other underhood ser-
vices, the hood latch, release mechanism and safety catch
should be cleaned and lubricated.
The external lock cylinders should be lubricated twice a
year, preferably in the Fall and Spring. Apply a small
amount of a high quality lubricant, such as MOPAR Lock
Cylinder Lubricant directly into the lock cylinder.
Windshield Wiper Blades
Clean the rubber edges of the wiper blades and the
windshield periodically with a sponge or soft cloth and a
mild nonabrasive cleaner. This will remove accumulations
of salt or road film.
Operation of the wipers on dry glass for long periods may
cause deterioration of the wiper blades. Always use washer
fluid when using the wipers to remove salt or dirt from a
dry windshield.
Avoid using the wiper blades to remove frost or ice from
the windshield. Keep the blade rubber out of contact with
petroleum products such as engine oil, gasoline, etc.NOTE:
Life expectancy of wiper blades varies depending
on geographical area and frequency of use. Poor perfor-
mance of blades may be present with chattering, marks,
water lines or wet spots. If any of these conditions are
present, clean the wiper blades or replace as necessary.
Adding Washer Fluid
The fluid reservoir for the windshield washers and the rear
window washer is shared. It is located in the engine
compartment and should be checked at regular intervals.
Fill the reservoir with windshield washer solvent (not
radiator antifreeze) and operate the system for a few
seconds to flush out any residual water.
The washer fluid reservoir will hold a full gallon of fluid
when the Low Washer Fluid Light illuminates.
WARNING!
Commercially available windshield washer solvents
are flammable. They could ignite and burn you. Care
must be exercised when filling or working around the
washer solution.
7
MAINTAINING YOUR VEHICLE 471
Page 479 of 530

WARNING!
Riding the brakes can lead to brake failure and possi-
bly a collision. Driving with your foot resting or riding
on the brake pedal can result in abnormally high brake
temperatures, excessive lining wear, and possible
brake damage. You would not have your full braking
capacity in an emergency.
Master Cylinder — Brake Fluid Level Check
The fluid level in the master cylinder should be checked
when performing underhood services, or immediately if
the “Brake System Warning Light” indicates system failure.
Clean the top of the master cylinder area before removing
the cap. Add fluid to bring the level up to the top of the
“FULL” mark on the side of the master cylinder reservoir.
Overfilling of fluid is not recommended because it may
cause leaking in the system.
Add enough fluid to bring the level up to the requirements
described on the brake fluid reservoir. With disc brakes,
fluid level can be expected to fall as the brake pads wear.
However, low fluid level may be caused by a leak and a
checkup may be needed.Use only manufacturer’s recommended brake fluid. Refer
to “Fluids, Lubricants, And Genuine Parts” in “Maintain-
ing Your Vehicle” for further information.
WARNING!
•
Use only manufacturer’s recommended brake fluid.
Refer to “Fluids, Lubricants, And Genuine Parts” in
“Maintaining Your Vehicle” for further information.
Using the wrong type of brake fluid can severely
damage your brake system and/or impair its perfor-
mance. The proper type of brake fluid for your
vehicle is also identified on the original factory
installed hydraulic master cylinder reservoir.
• To avoid contamination from foreign matter or mois-
ture, use only new brake fluid or fluid that has been
in a tightly closed container. Keep the master cylin-
der reservoir cap secured at all times. Brake fluid in
a open container absorbs moisture from the air
resulting in a lower boiling point. This may cause it
to boil unexpectedly during hard or prolonged brak-
ing, resulting in sudden brake failure. This could
result in a collision.
(Continued)
7
MAINTAINING YOUR VEHICLE 477
Page 485 of 530

Cleaning Headlights
Your vehicle is equipped with plastic headlights and fog
lights that are lighter and less susceptible to stone breakage
than glass headlights.
Plastic is not as scratch resistant as glass and therefore
different lens cleaning procedures must be followed.
To minimize the possibility of scratching the lenses and
reducing light output, avoid wiping with a dry cloth. To
remove road dirt, wash with a mild soap solution followed
by rinsing.
Do not use abrasive cleaning components, solvents, steel
wool or other aggressive material to clean the lenses.
Glass Surfaces
All glass surfaces should be cleaned on a regular basis with
MOPAR Glass Cleaner, or any commercial household-type
glass cleaner. Never use an abrasive type cleaner. Use
caution when cleaning the inside rear window equipped
with electric defrosters or windows equipped with radio
antennas. Do not use scrapers or other sharp instrument
that may scratch the elements.When cleaning the rear view mirror, spray cleaner on the
towel or cloth that you are using. Do not spray cleaner
directly on the mirror.
Cleaning Plastic Instrument Cluster Lenses
The lenses in front of the instruments in this vehicle are
molded in clear plastic. When cleaning the lenses, care
must be taken to avoid scratching the plastic.
1. Clean with a wet soft cloth. A mild soap solution may be
used, but do not use high alcohol content or abrasive
cleaners. If soap is used, wipe clean with a clean damp
cloth.
2. Dry with a soft cloth.
Seat Belt Maintenance
Do not bleach, dye, or clean the belts with chemical
solvents or abrasive cleaners. This will weaken the fabric.
Sun damage can also weaken the fabric.
If the belts need cleaning, use MOPAR Total Clean, a mild
soap solution, or lukewarm water. Do not remove the belts
from the vehicle to wash them. Dry with a soft cloth.
Replace the belts if they appear frayed or worn or if the
buckles do not work properly.
7
MAINTAINING YOUR VEHICLE 483
Page 489 of 530

Cavity Cartridge FuseMini-FuseDescription
J11 30 Amp Pink –Power Sliding Door Module/Anti–Theft Module
– If Equipped
J12 30 Amp Pink –HVAC Rear Blower, Radiator Fan Motor
J13 60 Amp Yellow –Ignition Off Draw (IOD) – Main
J14 40 Amp Green –Rear Window Defogger
J15 40 Amp Green – Front Blower
J17 40 Amp Green –Starter Solenoid
J18 20 Amp Blue –Powertrain Control Module Trans Range
J19 60 Amp Yellow – Radiator Fan
J20 30 Amp Pink –Front Wiper LO/HI
J21 20 Amp Blue –Front/Rear Washer
J22 25 Amp Clear –Sunroof Module
M1 –15 Amp Blue Rear Center Brake Lamp/Brake Switch
M2 –20 Amp Yellow Front Fog Lamps
M3 –20 Amp Yellow Vacuum Pump Motor
M5 –25 Amp Clear Inverter
M6 –20 Amp Yellow Power Outlet #1 (ACC), Rain Sensor, Cigar
Lighter (Instrument Panel or with Console Rear)
M7 –20 Amp Yellow Power Outlet #2 (BATT/ACC SELECT) – Center
Seat or with Console Rear
7
MAINTAINING YOUR VEHICLE 487