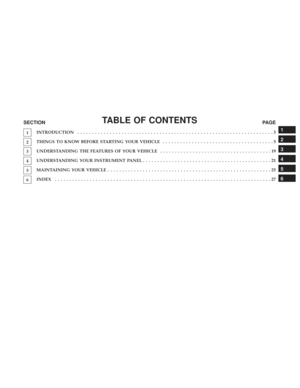
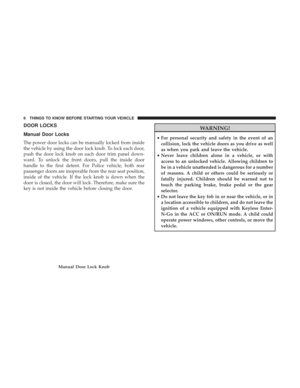
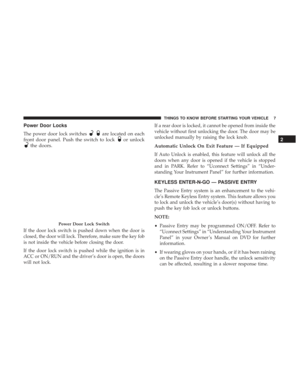
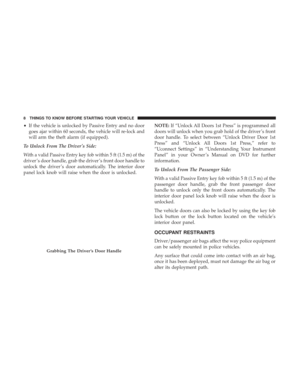
Page 25 of 32
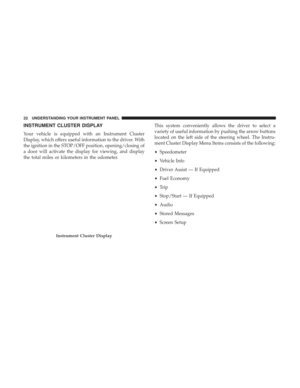
The system allows the driver to select information by
pushing the following buttons mounted on the steering
wheel:
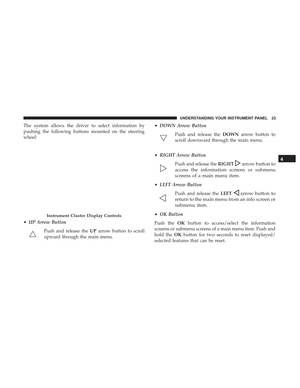
•UP Arrow Button
Push and release the UParrow button to scroll
upward through the main menu. •
DOWN Arrow Button
Push and release the DOWNarrow button to
scroll downward through the main menu.
• RIGHT Arrow Button
Push and release the RIGHT
arrow button to
access the information screens or submenu
screens of a main menu item.
• LEFT Arrow Button
Push and release the LEFT
arrow button to
return to the main menu from an info screen or
submenu item.
• OK Button
Push the OKbutton to access/select the information
screens or submenu screens of a main menu item. Push and
hold the OKbutton for two seconds to reset displayed/
selected features that can be reset.Instrument Cluster Display Controls
4
UNDERSTANDING YOUR INSTRUMENT PANEL 23
Page 26 of 32
Page 27 of 32
MAINTAINING YOUR VEHICLE
CONTENTS
�MAINTENANCE PROCEDURES .............26
5
Page 28 of 32

MAINTENANCE PROCEDURES
Police and fleet vehicles are equipped with heavy-duty
parts that are designed specifically for the varying de-
mands and unique requirements under which they are
operated. This booklet illustrates and describes the opera-
tion of unique features and equipment that are either
standard or optional on this vehicle. A description of
features and equipment no longer available, or not ordered
on this vehicle, may also be included. Please disregard any
features and equipment described in this manual that is not
on this vehicle.
Failure to maintain your vehicle properly may reduce
vehicle performance and operational capabilities, ad-
versely affect the safety of you and your passengers, as
well as restrict your warranty coverage. Refer to the
“Maintenance Schedule” in the Owner ’s Manual for the
proper maintenance intervals.
The manufacturer reserves the right to make changes in
design and specifications, and/or make additions to or
improvements to its products, without imposing any obli-
gation upon itself to install them on products previously
manufactured.
26 MAINTAINING YOUR VEHICLE
Page 29 of 32
Page 30 of 32
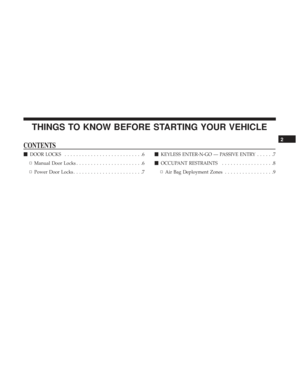
Door Locks................................6
Door Locks ..............................7
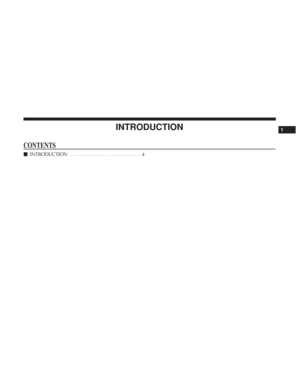
Introduction ................................4
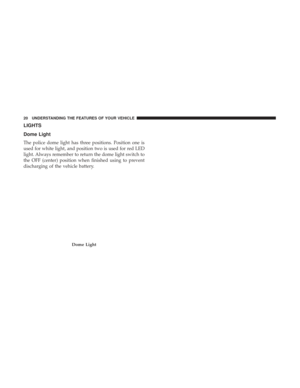
Lights ...................................20
Dome .................................20
Maintenance Procedures ......................26
Occupant Restraints ..........................8
Uconnect Settings Customer Programmable Features ..............7
Passive Entry Programming ...................7
28 INDEX
Page 31 of 32

INSTALLATION OF RADIO TRANSMITTING
EQUIPMENT
Special design considerations are incorporated into this
vehicle’s electronic system to provide immunity to radio
frequency signals. Mobile two-way radios and telephone
equipment must be installed properly by trained person-
nel. The following must be observed during installation.
The positive power connection should be made directly
to the battery and fused as close to the battery as possible.
The negative power connection should be made to body
sheet metal adjacent to the negative battery connection.
This connection should not be fused.
Antennas for two-way radios should be mounted on the
roof or the rear area of the vehicle. Care should be used
in mounting antennas with magnet bases. Magnets may
affect the accuracy or operation of the compass on
vehicles so equipped.The antenna cable should be as short as practical and
routed away from the vehicle wiring when possible. Use
only fully shielded coaxial cable.
Carefully match the antenna and cable to the radio to
ensure a low Standing Wave Ratio (SWR).
Mobile radio equipment with output power greater than
normal may require special precautions.
All installations should be checked for possible interfer-
ence between the communications equipment and the
vehicle’s electronic systems.
Page 32 of 32
Durango
SPECIAL SERVICE SUPPLEMENT
First Edition
Printed in the U.S.A.
17WD01-226-AA
©2016 FCA US LLC. All Rights Reserved.
Dodge is a registered trademark of FCA US LLC.
2017
STICK WITH THE SPECIALISTS®