Page 606 of 774
This key will enable you to identify the special features of your vehicle:
Feel
Shine
Business Lounge
Business
Key
Locations for child seats secured with a
seat belt
In line with European legislation, the table indicates the options for installing child seats secured using a seat belt and universally approved (a) for the weight of the child and the seat in the vehicle.
This document contains the latest updates to the handbook for your vehicle. This information completes or cancels and replaces the information in the handbook. First refer to the handbook for your vehicle.
Page 610 of 774
6
Safety
Comp _Spacetourer_01_16_EN
Key
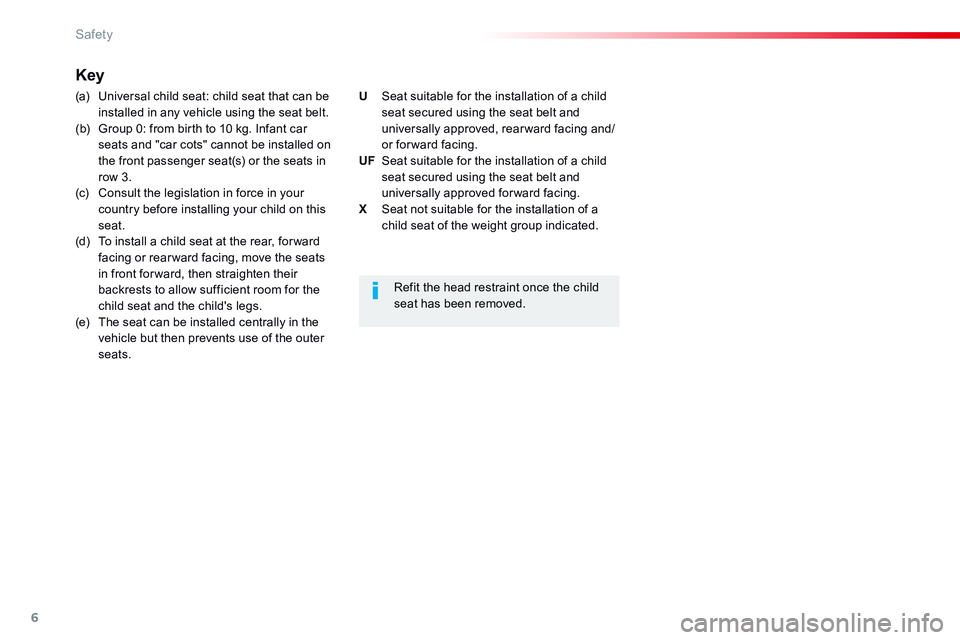
(a) Universal child seat: child seat that can be installed in any vehicle using the seat belt. (b) Group 0: from birth to 10 kg. Infant car seats and "car cots" cannot be installed on the front passenger seat(s) or the seats in row 3. (c) Consult the legislation in force in your country before installing your child on this seat. (d) To install a child seat at the rear, for ward facing or rear ward facing, move the seats in front for ward, then straighten their backrests to allow sufficient room for the child seat and the child's legs. (e) The seat can be installed centrally in the vehicle but then prevents use of the outer seats.
Refit the head restraint once the child seat has been removed.
U Seat suitable for the installation of a child seat secured using the seat belt and universally approved, rearward facing and/or for ward facing. UF Seat suitable for the installation of a child seat secured using the seat belt and universally approved for ward facing. X Seat not suitable for the installation of a child seat of the weight group indicated.
Page 617 of 774
13
5
Safety
Comp _Spacetourer_01_16_EN
Key
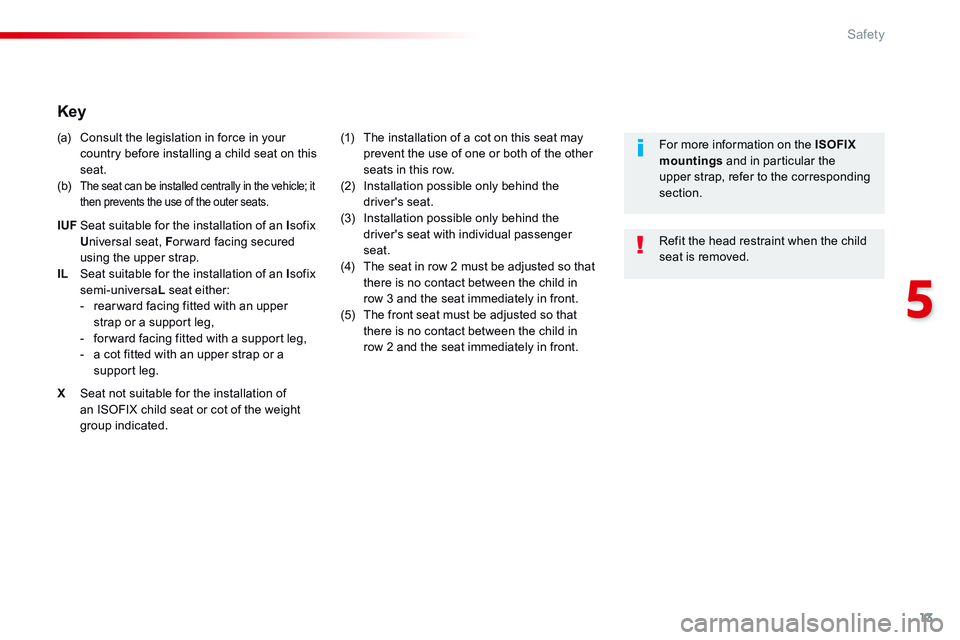
(a) Consult the legislation in force in your country before installing a child seat on this seat. (b) The seat can be installed centrally in the vehicle; it then prevents the use of the outer seats.
IUF Seat suitable for the installation of an I sofix U niversal seat, F or ward facing secured using the upper strap. IL Seat suitable for the installation of an I sofix semi-universa L seat either: - rear ward facing fitted with an upper strap or a support leg, - for ward facing fitted with a support leg, - a cot fitted with an upper strap or a support leg.
X Seat not suitable for the installation of an ISOFIX child seat or cot of the weight group indicated.
(1) The installation of a cot on this seat may prevent the use of one or both of the other seats in this row. (2) Installation possible only behind the driver's seat. (3) Installation possible only behind the
driver's seat with individual passenger seat. (4) The seat in row 2 must be adjusted so that there is no contact between the child in row 3 and the seat immediately in front. (5) The front seat must be adjusted so that there is no contact between the child in row 2 and the seat immediately in front.
Refit the head restraint when the child seat is removed.
For more information on the ISOFIX mountings and in particular the upper strap, refer to the corresponding section.
Page 627 of 774
2
12:13
18,5 21,5
23 °CFirst steps
With the engine running, a press
mutes the sound.
With the ignition off, a press turns
the system on.
Adjustment of the volume.
Use the buttons either side of or below the
touch screen for access to the menus, then
press the virtual buttons in the touch screen.
Depending on the model, use the "Source" or
"Menu" buttons on the left of the touch screen
for access to the menus, then press the virtual
buttons in the touch screen.
You can display the menus at any time by
pressing the screen briefly with three fingers.
All of the touch areas of the screen are white.
Press the cross to go back a level.
Press "OK" to confirm. The touch screen is of the "capacitive"
type.
To clean the screen, use a soft, non-
abrasive cloth (spectacles cloth) with no
additional product.
Do not use sharp objects on the screen.
Do not touch the screen with wet hands.
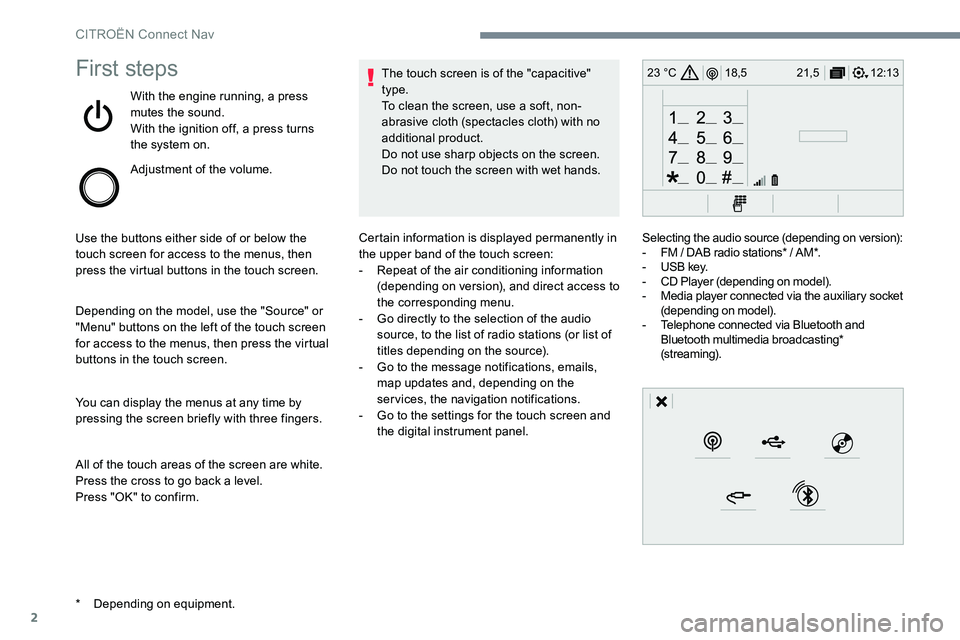
* Depending on equipment. Certain information is displayed permanently in
the upper band of the touch screen:
-
Repeat of the air conditioning information
(depending on version), and direct access to
the corresponding menu.
- Go directly to the selection of the audio
source, to the list of radio stations (or list of
titles depending on the source).
- Go to the message notifications, emails,
map updates and, depending on the
services, the navigation notifications.
- Go to the settings for the touch screen and
the digital instrument panel. Selecting the audio source (depending on version):
-
FM / DAB radio stations* / AM*.
- USB key.
- CD Player (depending on model).
- Media player connected via the auxiliary socket
(depending on model).
- Telephone connected via Bluetooth and
Bluetooth multimedia broadcasting*
(streaming).
CITROËN Connect Nav
Page 637 of 774
12
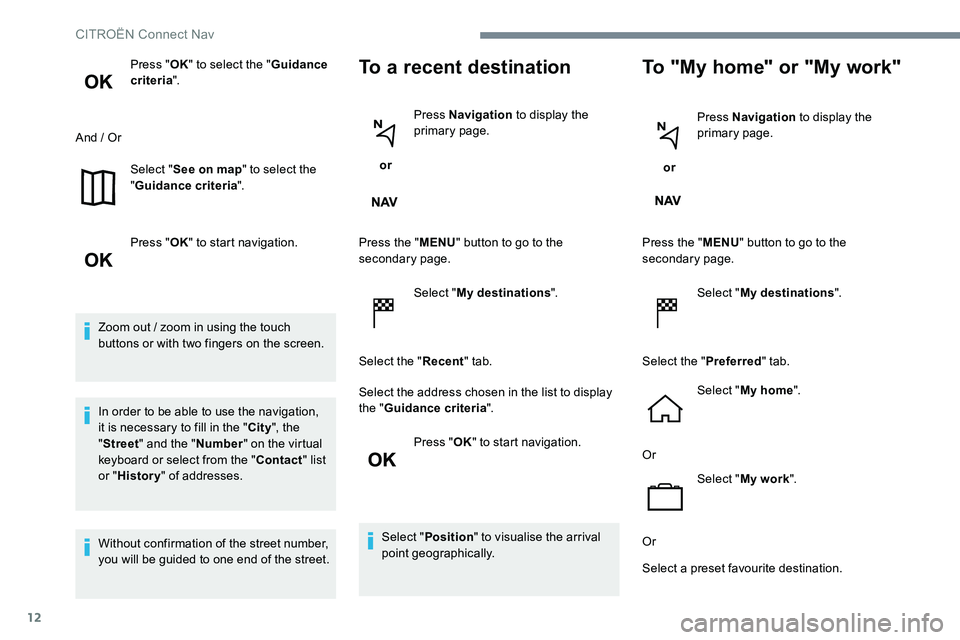
Press "OK" to select the " Guidance
criteria ".
And / Or Select "See on map " to select the
" Guidance criteria ".
Press " OK" to start navigation.
Zoom out / zoom in using the touch
buttons or with two fingers on the screen.
In order to be able to use the navigation,
it is necessary to fill in the " City", the
" Street " and the " Number" on the virtual
keyboard or select from the " Contact" list
or " History " of addresses.
Without confirmation of the street number,
you will be guided to one end of the street.To a recent destination
or Press Navigation
to display the
primary page.
Press the " MENU" button to go to the
secondary page.
Select "My destinations ".
Select the " Recent" tab.
Select the address chosen in the list to display
the " Guidance criteria ".
Press " OK" to start navigation.
Select " Position " to visualise the arrival
point geographically.
To "My home" or "My work"
or Press Navigation
to display the
primary page.
Press the " MENU" button to go to the
secondary page.
Select "My destinations ".
Select the " Preferred" tab.
Select " My home ".
Or Select "My work ".
Or
Select a preset favourite destination.
CITROËN Connect Nav
Page 639 of 774
14
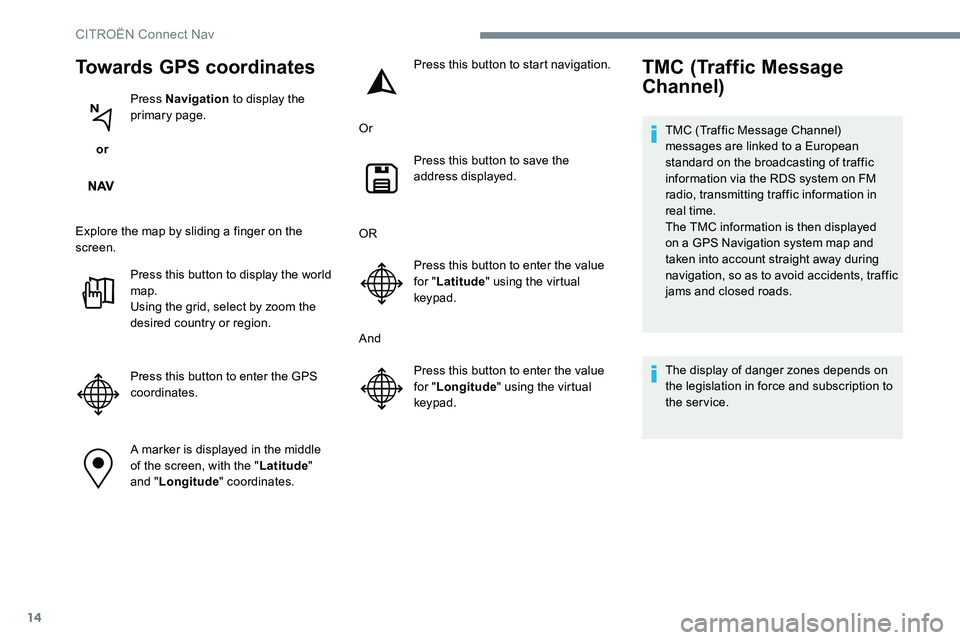
Towards GPS coordinates
or Press Navigation
to display the
primary page.
Explore the map by sliding a finger on the
screen. Press this button to display the world
map.
Using the grid, select by zoom the
desired country or region.
Press this button to enter the GPS
coordinates.
A marker is displayed in the middle
of the screen, with the " Latitude"
and " Longitude " coordinates. Press this button to start navigation.
Or Press this button to save the
address displayed.
OR Press this button to enter the value
for "Latitude " using the virtual
keypad.
And Press this button to enter the value
for "Longitude " using the virtual
keypad.
TMC (Traffic Message
Channel)
TMC (Traffic Message Channel)
messages are linked to a European
standard on the broadcasting of traffic
information via the RDS system on FM
radio, transmitting traffic information in
real time.
The TMC information is then displayed
on a GPS Navigation system map and
taken into account straight away during
navigation, so as to avoid accidents, traffic
jams and closed roads.
The display of danger zones depends on
the legislation in force and subscription to
the service.
CITRO
Page 642 of 774
17
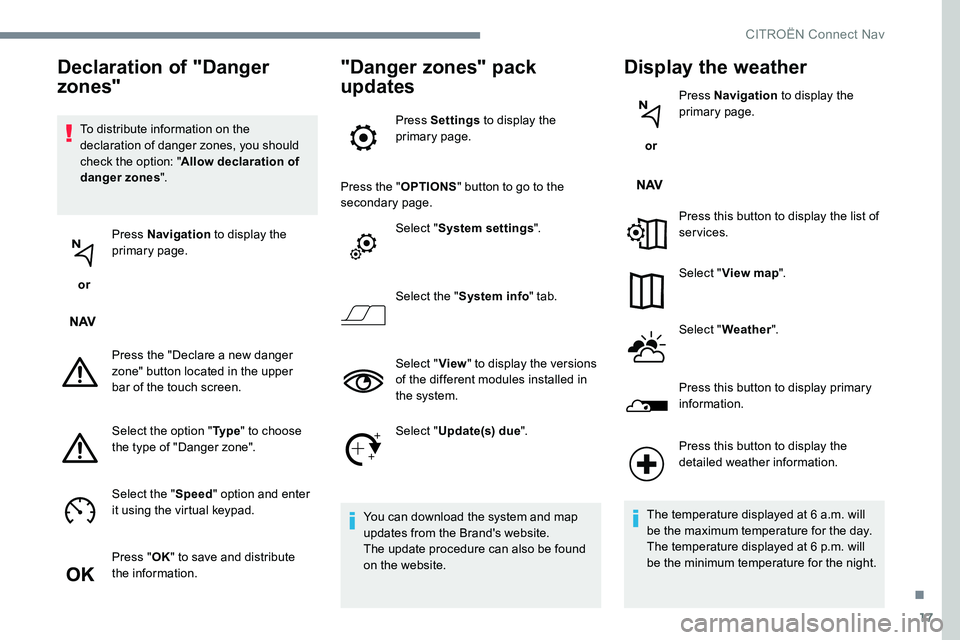
To distribute information on the
declaration of danger zones, you should
check the option: "Allow declaration of
danger zones ".
or Press Navigation
to display the
primary page.
Press the "Declare a new danger
zone" button located in the upper
bar of the touch screen.
Select the option " Ty p e" to choose
the type of "Danger zone".
Select the " Speed" option and enter
it using the virtual keypad.
Press " OK" to save and distribute
the information.
"Danger zones" pack
updates
Press Settings to display the
primary page.
Press the " OPTIONS" button to go to the
secondary page.
Select "System settings ".
Select the " System info " tab.
Select " View" to display the versions
of the different modules installed in
the system.
Select " Update(s) due ".
You can download the system and map
updates from the Brand's website.
The update procedure can also be found
on the website.
Display the weather
or Press Navigation
to display the
primary page.
Press this button to display the list of
services.
Select " View map ".
Select " Weather ".
Press this button to display primary
information.
Declaration of "Danger
zones"
Press this button to display the
detailed weather information.
The temperature displayed at 6 a.m. will
be the maximum temperature for the day.
The temperature displayed at 6 p.m. will
be the minimum temperature for the night.
.
CITROËN Connect Nav
Page 647 of 774
22
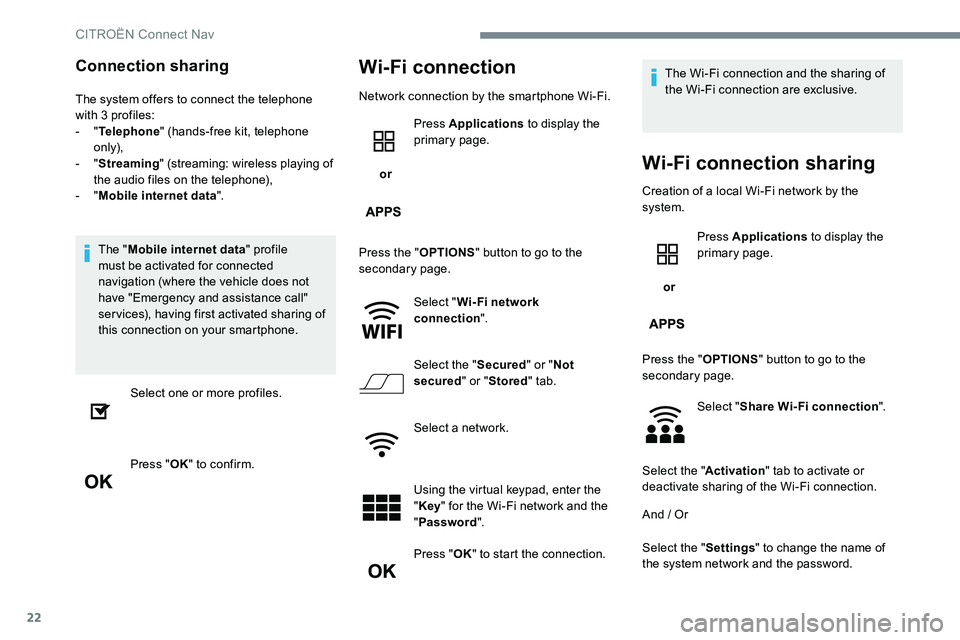
Connection sharing
The system offers to connect the telephone
with 3 profiles:
- "Telephone " (hands-free kit, telephone
only),
- " Streaming " (streaming: wireless playing of
the audio files on the telephone),
- " Mobile internet data ".
The " Mobile internet data " profile
must be activated for connected
navigation (where the vehicle does not
have "Emergency and assistance call"
services), having first activated sharing of
this connection on your smartphone.
Select one or more profiles.
Press " OK" to confirm.
Wi-Fi connection
Network connection by the smartphone Wi-Fi.
or Press Applications
to display the
primary page.
Press the " OPTIONS" button to go to the
secondary page.
Select "Wi- Fi network
connection ".
Select the " Secured" or "Not
secured " or "Stored " tab.
Select a network.
Using the virtual keypad, enter the
" Key " for the Wi-Fi network and the
" Password ".
Press " OK" to start the connection. The Wi-Fi connection and the sharing of
the Wi-Fi connection are exclusive.
Wi-Fi connection sharing
Creation of a local Wi-Fi network by the
system.
or Press Applications
to display the
primary page.
Press the " OPTIONS" button to go to the
secondary page.
Select "Share Wi-Fi connection ".
Select the " Activation" tab to activate or
deactivate sharing of the Wi-Fi connection.
And / Or
Select the " Settings" to change the name of
the system network and the password.
CITRO