Page 541 of 774
107
1
2
3
4
5
Transversal-Citroen_en_Chap02_RCC-2-2-0_ed01-2016
Level 1Level 2 Comments
Radio Media SOURCES Radio
Select change of source.
Bluetooth
CD
AUX
USB
iPod
Radio Media
Frequency FM / DAB / AM
Display the current radio station.
Radio Media List Update the list according to the stations received.
Preset Make a short press to preset the station.
Radio Media
Preset Select a preset station or preset a station.
Radio Media OPTIONS AM band / DAB band / FM band
Press the Band button to change waveband.
Audio settings Configure the audio settings.
News
Activate or deactivate the options.
TA
RDS
FM-DAB Follow-up
Radio Media
8 7. 5 M H z Enter a frequency of the FM and AM bands on the
virtual keypad.
.
Audio and Telematics
Page 546 of 774
112
4
5
Transversal-Citroen_en_Chap02_RCC-2-2-0_ed01-2016
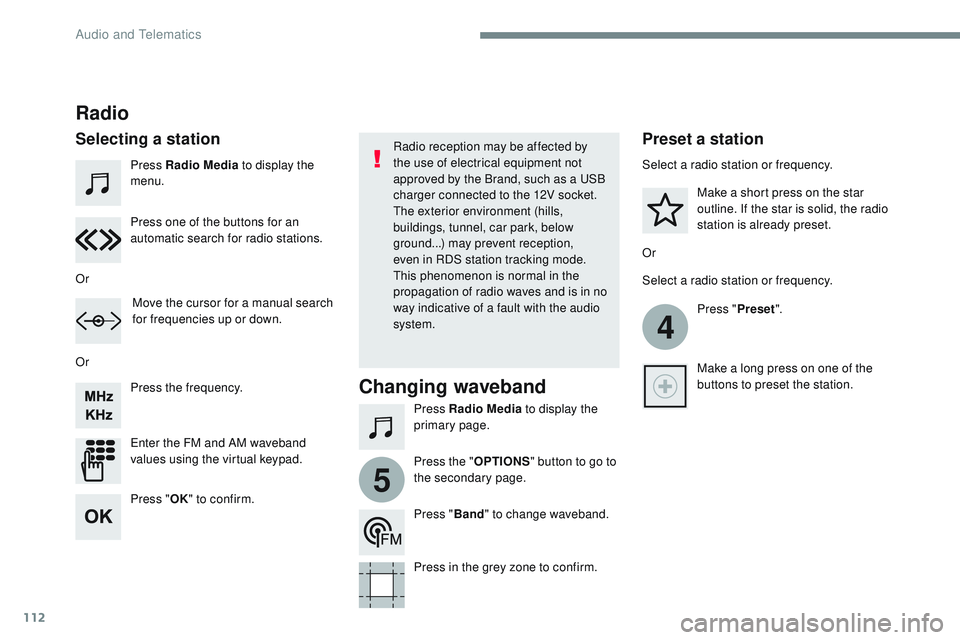
Press Radio Media to display the
menu.
Press Radio Media to display the
primary page.
Press the frequency.
Enter the FM and AM waveband
values using the virtual keypad. Press one of the buttons for an
automatic search for radio stations.
Radio
Selecting a stationRadio reception may be affected by
the use of electrical equipment not
approved by the Brand, such as a USB
charger connected to the 12V socket.
The exterior environment (hills,
buildings, tunnel, car park, below
ground...) may prevent reception,
even in RDS station tracking mode.
This phenomenon is normal in the
propagation of radio waves and is in no
way indicative of a fault with the audio
system.
Or
Or
Or Move the cursor for a manual search
for frequencies up or down. Select a radio station or frequency.
Select a radio station or frequency.
Press "Preset".
Press the " OPTIONS" button to go to
the secondary page. Make a short press on the star
outline. If the star is solid, the radio
station is already preset.
Make a long press on one of the
buttons to preset the station.
Press " Band" to change waveband.
Press in the grey zone to confirm.Preset a station
Changing waveband
Press " OK" to confirm.
Audio and Telematics
Page 553 of 774
119
1
2
3
4
Transversal-Citroen_en_Chap02_RCC-2-2-0_ed01-2016
Level 1Level 2 Level 3 Comments
Telephone Bluetooth search
PHONE Bluetooth connection
Search
Start the search for a device to be connected.
Delete Delete one or more devices.
MirrorLink Open the MirrorLink function.
CarPlay Open the CarPlay function.
Telephone
Bluetooth search
Keypad Enter a telephone number.
Telephone Bluetooth search
Recent calls All
View the calls according to the presentation
selected.
Select a contact to make the call.
Outgoing
Missed
Incoming
Telephone Bluetooth search
Contacts Search
ConfirmSearch for a contact in the contacts directory.
Telephone Go to the details of the contact sheet.
.
Audio and Telematics
Page 564 of 774
130
1
Transversal-Citroen_en_Chap02_RCC-2-2-0_ed01-2016
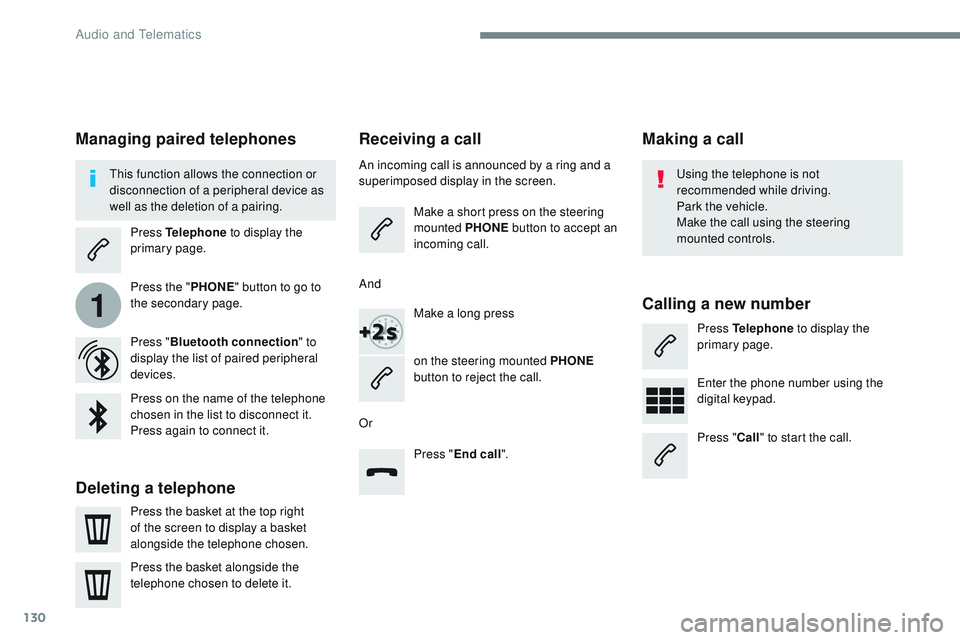
Receiving a call
An incoming call is announced by a ring and a
superimposed display in the screen.Make a short press on the steering
mounted PHONE button to accept an
incoming call.
Make a long press
on the steering mounted PHONE
button to reject the call.
Or And
Press "End call".
Press on the name of the telephone
chosen in the list to disconnect it.
Press again to connect it.
Press the basket at the top right
of the screen to display a basket
alongside the telephone chosen.
Press the basket alongside the
telephone chosen to delete it.
Managing paired telephones
This function allows the connection or
disconnection of a peripheral device as
well as the deletion of a pairing.
Press Telephone to display the
primary page.
Press the " PHONE" button to go to
the secondary page.
Press " Bluetooth connection " to
display the list of paired peripheral
devices.
Deleting a telephone
Using the telephone is not
recommended while driving.
Park the vehicle.
Make the call using the steering
mounted controls.
Making a call
Calling a new number
Press Telephone to display the
primary page.
Enter the phone number using the
digital keypad.
Press " Call" to start the call.
Audio and Telematics
Page 574 of 774
140
1
Transversal-Citroen_en_Chap02_RCC-2-2-0_ed01-2016
Press Settings to display the primary
page.
Profile settings Adjust the brightness
Press "OK" to save.
Select "
Profile 1 " or "Profile 2 " or
" Profile 3 " or "Common profile ".
Press "
Profiles ".
Press this button to enter a name for
the profile using the virtual keypad
As a safety measure and because it
requires the sustained attention of the
driver, changes to settings must only be
done with the vehicle stationary
.Press this button to activate the
profile.
Press this button to initialise the
profile selected. Press Settings
to display the primary
page.
Move the cursor to adjust the brightness
of the screen and/or of the instrument
panel (according to version).
Press Brightness .
Press in the grey zone to confirm.
Press the back arrow to confirm. Press the back arrow again to
confirm.
Audio and Telematics
Page 576 of 774
142
15
14
Transversal-Citroen_en_Chap02_RCC-2-2-0_ed01-2016
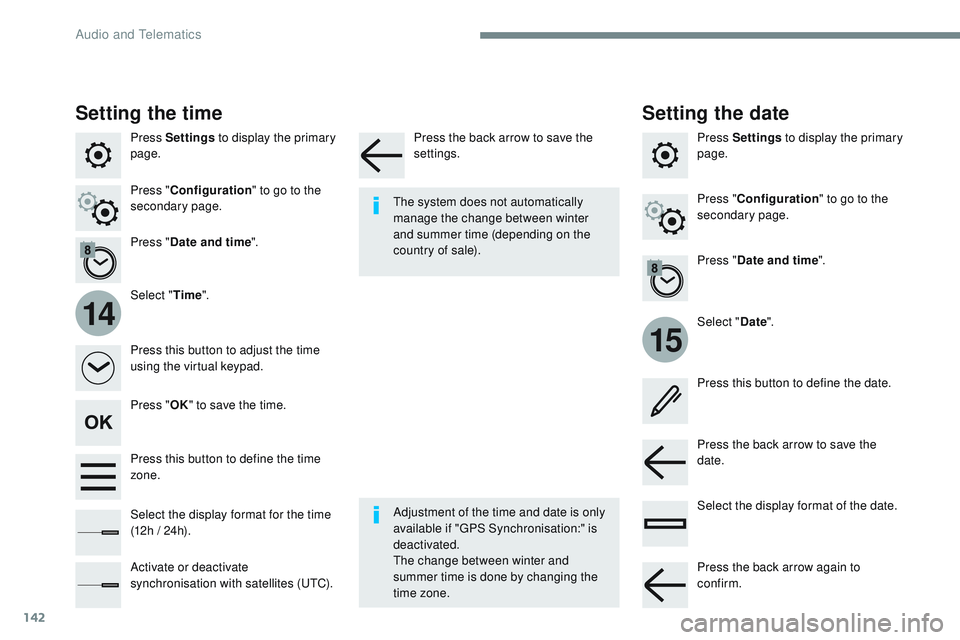
Press Settings to display the primary
page.
Select "Date".
Select "
Time".
Press "
Date and time ".
Adjustment of the time and date is only
available if "GPS Synchronisation:" is
deactivated.
The change between winter and
summer time is done by changing the
time zone. The system does not automatically
manage the change between winter
and summer time (depending on the
country of sale).
Setting the time
Press this button to define the date.
Press this button to adjust the time
using the virtual keypad.
Press the back arrow to save the
date.
Press this button to define the time
zone.
Select the display format of the date.
Select the display format for the time
(12h / 24h).
Activate or deactivate
synchronisation with satellites (UTC). Press Settings
to display the primary
page.
Press " Date and time ".
Setting the date
Press "Configuration " to go to the
secondary page. Press "
Configuration " to go to the
secondary page.
Press " OK" to save the time. Press the back arrow to save the
settings.
Press the back arrow again to
confirm.
Audio and Telematics
Page 593 of 774
159
Transversal-Citroen_en_Chap03_RD6_ed01-2016
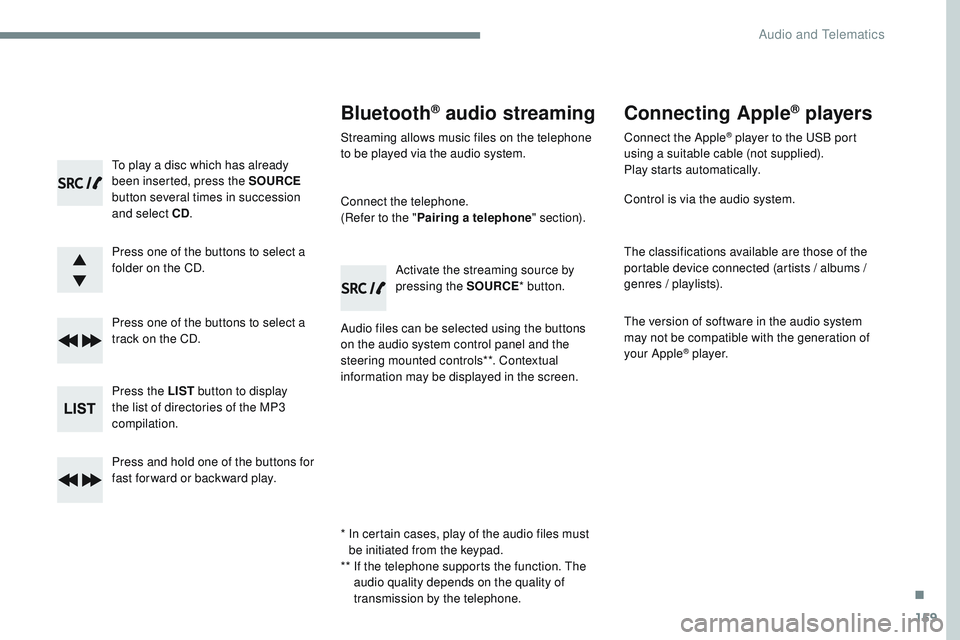
To play a disc which has already
been inserted, press the SOURCE
button several times in succession
and select CD .
Press one of the buttons to select a
folder on the CD.
Press one of the buttons to select a
track on the CD.
Press the LIST button to display
the list of directories of the MP3
compilation.
Press and hold one of the buttons for
fast for ward or backward play.
Bluetooth® audio streaming
Streaming allows music files on the telephone
to be played via the audio system.
Connect the telephone.
(Refer to the " Pairing a telephone " section).
Audio files can be selected using the buttons
on the audio system control panel and the
steering mounted controls**. Contextual
information may be displayed in the screen. Activate the streaming source by
pressing the SOURCE
* button.
Connecting Apple® players
Connect the Apple® player to the USB port
using a suitable cable (not supplied).
Play starts automatically.
Control is via the audio system.
The classifications available are those of the
portable device connected (artists / albums /
genres / playlists).
The version of software in the audio system
may not be compatible with the generation of
your Apple
® p l aye r.
*
I
n certain cases, play of the audio files must
be initiated from the keypad.
**
I
f the telephone supports the function. The
audio quality depends on the quality of
transmission by the telephone.
.
Audio and Telematics
Page 598 of 774
164
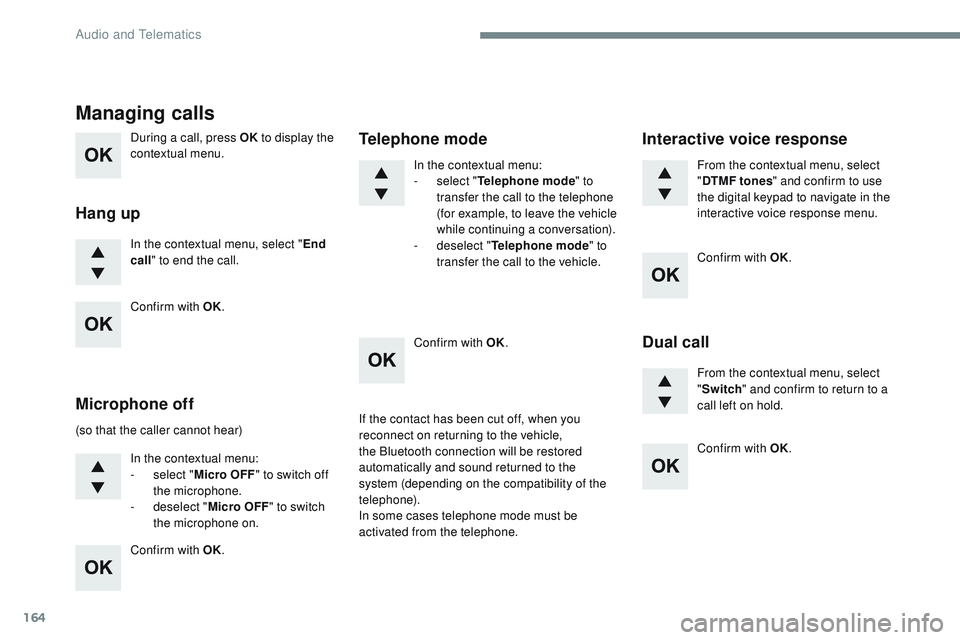
During a call, press OK to display the
contextual menu.
In the contextual menu, select " End
call " to end the call.
Managing calls
Hang up
(so that the caller cannot hear)
In the contextual menu:
-
s
elect "Micro OFF " to switch off
the microphone.
-
d
eselect "Micro OFF " to switch
the microphone on. In the contextual menu:
-
s
elect "
Telephone mode " to
transfer the call to the telephone
(for example, to leave the vehicle
while continuing a conversation).
-
d
eselect "
Telephone mode " to
transfer the call to the vehicle.
Microphone off Telephone modeIf the contact has been cut off, when you
reconnect on returning to the vehicle,
the Bluetooth connection will be restored
automatically and sound returned to the
system (depending on the compatibility of the
telephone).
In some cases telephone mode must be
activated from the telephone. From the contextual menu, select
"
DTMF tones " and confirm to use
the digital keypad to navigate in the
interactive voice response menu.
From the contextual menu, select
" Switch " and confirm to return to a
call left on hold.
Interactive voice response
Dual call
Confirm with OK.
Confirm with OK. Confirm with OK.
Confirm with OK.
Confirm with OK.
Audio and Telematics