Page 37 of 488

together to minimize the buffeting. If the buffeting occurs
with the sunroof open, adjust the sunroof opening to
minimize the buffeting.
TRUNK LOCK AND RELEASE
The trunk lid can be released from inside the vehicle by
pushing the trunk release button located on the instrument
panel to the left of the steering wheel.
NOTE:The transmission must be in PARK before the
button will operate.
The trunk lid can be released from
outside the vehicle by pushing the
trunk button on the key fob twice
within five seconds or by using the
external release switch located on
the underside of the decklid over-
hang. The release feature will func-
tion only when the vehicle is in the
unlock condition. With the ignition in the ON/RUN position, the trunk open
symbol will display in the instrument cluster indicating
that the trunk is open. The odometer display will reappear
once the trunk is closed.
With the ignition in the OFF position, the trunk open
symbol will display until the trunk is closed.
Refer to “Keyless Enter-N-Go — Passive Entry” in “Things
To Know Before Starting Your Vehicle” for further infor-
mation on trunk operation with the Passive Entry feature.
TRUNK SAFETY WARNING
WARNING!
Do not allow children to have access to the trunk,
either by climbing into the trunk from outside, or
through the inside of the vehicle. Always close the
trunk lid when your vehicle is unattended. Once in the
trunk, young children may not be able to escape, even
if they entered through the rear seat. If trapped in the
trunk, children can die from suffocation or heat stroke.
Trunk Release
Button
2
THINGS TO KNOW BEFORE STARTING YOUR VEHICLE 35
Page 127 of 488
Ambient Light Control
Rotate the right dimmer control upward or downward to
increase or decrease the brightness of the door handle
lights and ambient light located in the overhead console.
Dome Light Position
Rotate the dimmer control completely upward to the
second detent to turn on the interior lights. The interior
lights will remain on when the dimmer control is in this
position.
Interior Light Defeat (Off)
Rotate the left dimmer control downward to the O (off)
position. The interior lights will remain off when the doors
are open.
Parade Mode (Daytime Brightness Feature)
Rotate the instrument panel dimmer control upward to the
first detent. This feature brightens all text displays such as
the odometer, instrument cluster display, and radio when
the position lights or headlights are on.
Door Handle/Ambient Light Dimmer
3
UNDERSTANDING THE FEATURES OF YOUR VEHICLE 125
Page 239 of 488

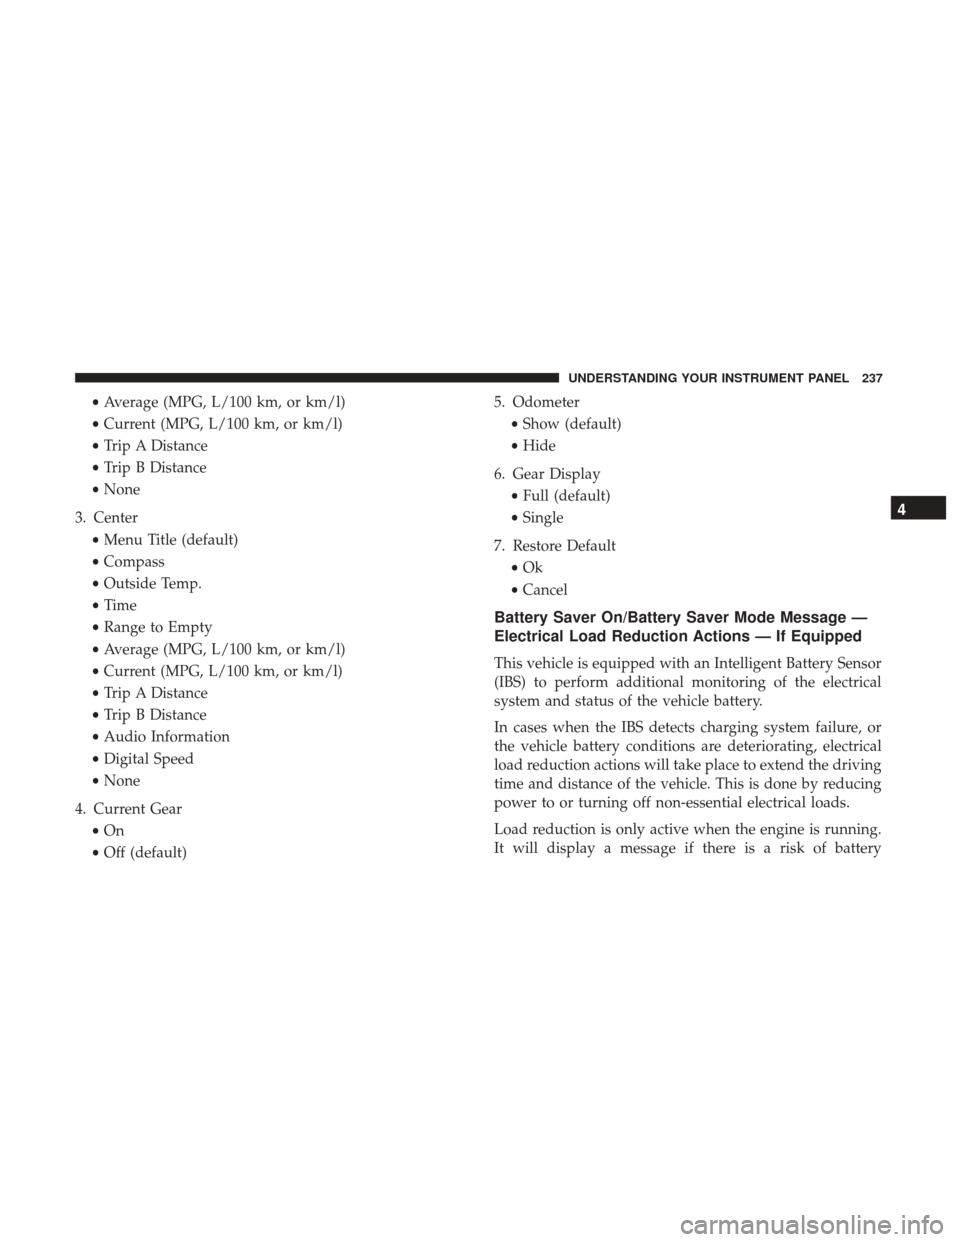
•Average (MPG, L/100 km, or km/l)
• Current (MPG, L/100 km, or km/l)
• Trip A Distance
• Trip B Distance
• None
3. Center •Menu Title (default)
• Compass
• Outside Temp.
• Time
• Range to Empty
• Average (MPG, L/100 km, or km/l)
• Current (MPG, L/100 km, or km/l)
• Trip A Distance
• Trip B Distance
• Audio Information
• Digital Speed
• None
4. Current Gear •On
• Off (default) 5. Odometer
•Show (default)
• Hide
6. Gear Display •Full (default)
• Single
7. Restore Default •Ok
• Cancel
Battery Saver On/Battery Saver Mode Message —
Electrical Load Reduction Actions — If Equipped
This vehicle is equipped with an Intelligent Battery Sensor
(IBS) to perform additional monitoring of the electrical
system and status of the vehicle battery.
In cases when the IBS detects charging system failure, or
the vehicle battery conditions are deteriorating, electrical
load reduction actions will take place to extend the driving
time and distance of the vehicle. This is done by reducing
power to or turning off non-essential electrical loads.
Load reduction is only active when the engine is running.
It will display a message if there is a risk of battery
4
UNDERSTANDING YOUR INSTRUMENT PANEL 237
Page 350 of 488

It is recommended you contact your authorized tire dealer
or original equipment dealer with any questions you may
have on tire specifications or capability. Failure to use
equivalent replacement tires may adversely affect the
safety, handling, and ride of your vehicle.
WARNING!
•Do not use a tire, wheel size or rating other than that
specified for your vehicle. Some combinations of
unapproved tires and wheels may change suspen-
sion dimensions and performance characteristics,
resulting in changes to steering, handling, and brak-
ing of your vehicle. This can cause unpredictable
handling and stress to steering and suspension com-
ponents. You could lose control and have a collision
resulting in serious injury or death. Use only the tire
and wheel sizes with load ratings approved for your
vehicle.
• Never use a tire with a smaller load index or capacity,
other than what was originally equipped on your
vehicle. Using a tire with a smaller load index could
result in tire overloading and failure. You could lose
control and have a collision.
(Continued)
WARNING! (Continued)
•Failure to equip your vehicle with tires having ad-
equate speed capability can result in sudden tire
failure and loss of vehicle control.
CAUTION!
Replacing original tires with tires of a different size
may result in false speedometer and odometer read-
ings.
TIRE CHAINS (TRACTION DEVICES)
Use of traction devices require sufficient tire-to-body clear-
ance. Follow these recommendations to guard against
damage.
• Traction device must be of proper size for the tire, as
recommended by the traction device manufacturer.
• Install on Rear Tires Only.
• Due to limited clearance for a Rear Wheel Drive (RWD)
vehicle, on P215/65R17, P225/60R18 and P235/55R18
tires with a Security Chain Company (SCC) Super Z6
low profile traction device or equivalent is recom-
mended.
348 STARTING AND OPERATING