2017 Alfa Romeo Giulia ABS
[x] Cancel search: ABSPage 166 of 268
If the obstacle is detected in the rear left
and/or right area, a single flashing arc
will be shown in the corresponding area
on the display and the system will emit
an acoustic signal, either at frequent
intervals or constantly.
In general, the vehicle is closer to the
obstacle when a single flashing arc is
shown on the display and the acoustic
signal becomes continuous.
If several obstacles are detected
simultaneously in the rear area, the
display will show all of them, regardless
of the area in which they were detected.
The color on the display depends on
the distance from and position of the
obstacle.
It is possible to exit from the display
screen by pressing the Rotary Pad,
however, the acoustic alert will remain
active.
Fault Indication
Parking sensor faults, if any, will be
indicated when REVERSE is engaged
by a message on the instrument cluster
display. Refer to "Warning Lights And
Messages" in "Getting To Know Your
Instrument Panel".
Messages On The Display
In case of system failure, a dedicated
message appears on the instrument
cluster for about 5 seconds.Cleaning The Front Sensors:Ifthe
display shows a message requiring the
sensors to be cleaned, make sure that
the outer surface and the underside of
the rear bumper is free of debris (e.g.
snow, mud, ice, etc.). Once these areas
are clear, place the ignition in STOP
mode. Then, return it to ON mode. If
the message is still displayed, contact
an authorized dealer.
Audio System Not Available :Ifthe
display shows a message that the
audio system is not available, it means
that the acoustic signal will be emitted
by the instrument panel, and not
through the vehicles speakers.
Note: Some conditions may influence
the performance of the ParkSense
system:
Reduced sensor sensitivity could
be due to the presence of ice, snow,
mud, or thick paint on the surface of
the sensor.
The sensors may detect a false
obstacle (echo interference) due to
mechanical interference, for example
when washing the vehicle or in
extreme weather.
The signals sent by the sensors can
be altered by the presence of
ultrasonic systems (e.g. pneumatic
brake systems of trucks or pneumatic
drills) near the vehicle.
System performance can be
influenced by the position of the
sensors. For example, due to a change
in the ride setting (caused by wear to
the shock absorbers or suspension),
by changing tires, overloading the
vehicle or operations that require the
vehicle to be lowered.
Be sure not to place bumper
stickers or other adhesives over the
sensors as this will affect system
performance.
Warning!
Drivers must be careful when backing up
even when using the Parking Sensor
system. Always check carefully behind your
vehicle, and be sure to check for
pedestrians, animals, other vehicles,
obstructions, or blind spots before backing
up. You are responsible for the safety of
your surroundings and must continue to
pay attention while backing up. Failure to
do so can result in serious injury or death.
164
STARTING AND OPERATING
Page 169 of 268
System performance can be
influenced by the position of the
sensors. For example, due to a change
in the ride setting (caused by wear to
the shock absorbers or suspension),
by changing tires, overloading the
vehicle or operations that require the
vehicle to be lowered.
Be sure not to place bumper
stickers or other adhesives over the
sensors as this will affect system
performance.
Warning!
Drivers must be careful when backing up
even when using the Parking Sensor
system. Always check carefully behind your
vehicle, and be sure to check for
pedestrians, animals, other vehicles,
obstructions, or blind spots before backing
up. You are responsible for the safety of
your surroundings and must continue to
pay attention while backing up. Failure to
do so can result in serious injury or death.
Caution!
The Parking Sensor system is only a
parking aid and it is unable to recognize
every obstacle, including small obstacles.
Parking curbs might be temporarily
detected or not detected at all. Obstacles
located above or below the sensors will not
be detected when they are in close
proximity
The vehicle must be driven slowly when
using the Parking Sensor system in order
to be able to stop in time when an obstacle
is detected. It is recommended that the
driver looks over his/her shoulder when
using the Parking Sensor system.
LANE DEPARTURE
WARNING (LDW)
SYSTEM
Description
The Lane Departure Warning system
uses a forward looking camera located
on the windshield to detect lane
markings and measure vehicle position
within the lane boundaries.
When one or both lane limits are
detected and the vehicle passes over
one without the an activated turn signal,
the system emits an acoustic signal.
If the vehicle continues to go beyond
the line of the lane without any
intervention from the driver, the
surpassed line will light up on the
display (left or right) to urge the driver to
bring the vehicle back into the limits of
the lane.
167
Page 170 of 268
Caution!
Do not tamper with nor operate on the
camera. Do not close the openings in the
aesthetic cover located under the interior
rear view mirror. In the event of a failure of
the camera, contact an authorized dealer.
The camera may have limited or absent
operation due to weather conditions such
as: heavy rain, hail, thick fog, heavy snow,
formation of ice layers on the windshield.
Camera operation may also be
compromised by the presence of dust,
condensation, dirt or ice on the windshield,
by traffic conditions (e.g. vehicles that are
driving not aligned with yours, vehicle
driving in a transverse or opposite way on
the same lane, bend with a small radius of
curvature), by road surface conditions and
by driving conditions (e.g. off-road driving).
Make sure the windshield is always clean.
Use specific detergents and clean cloths to
avoid scratching the windshield. The
camera operation may also be limited or
absent in some driving, traffic and road
surface conditions.
If the windshield must be replaced due
to scratches, chipping or breakage,
contact exclusively an authorized dealer.
Do not replace the windshield on your own.
It is advisable to replace the windshield if it
is damaged in the area of the camera.
System Activation/
Deactivation
The system is activated/deactivated by
pushing the button located on the end
of the turn signal lever.
Note: When the engine is started the
system is always activated.
Activation Conditions
The system becomes active only if the
following conditions are met:
The vehicle speed is above 37 mph
(60 km/h).
The lane limit lines are visible at least
on one side.
There are suitable visibility conditions.
The road is straight or with wide
radius bends.
A suitable distance is kept from the
vehicle in front.
The turn signal is not active.
Symbols And Messages
On The Display
The Lane Departure Warning system
advises the driver when the vehicle
leaves the driving lane by showing
symbols and messages on the
instrument cluster display.
07226S0001EMLane Departure Warning System Activation/Deactivation Button
07226S0002EMVehicle Changing Lanes
168
STARTING AND OPERATING
Page 179 of 268

broken, damaged, worn or have moved
from their correct fitting position. If any
of these things occur, contact your
authorized dealer.
Open welding or loose connections
may permit exhaust gas to enter the
passenger compartment.
Check the exhaust system each time
the vehicle is raised for lubrication or oil
change operations. Replace the
components if necessary, contact your
authorized dealer.
Performance
This vehicle is equipped with an engine
capable of delivering exceptionally fast
acceleration and speed:
Peak power: 505 HP at 6500 rpm.
Peak torque: 443 ft-lbs at
2500–5000 rpm.
Top speed: 190 mph (307 km/h).
Acceleration from 0 to 60 mph (0 to
100 km/h): 3.9 seconds.
For safe driving, it is essential,
particularly during the first days of use,
to get to know the car by driving
carefully and gradually discovering its
performance.
Brakes
The car braking system may be
available with four carbon-ceramic
material brake discs, one on each
wheel. In order to guarantee the maximum
braking capacity for the first use, Alfa
Romeo performs a "run-in" procedure
for discs and pads directly at the
factory.
The use of carbon-ceramic material
brake discs guarantees braking features
(better deceleration/pedal load ratio,
braking distances, fading resistance)
proportional to the dynamic features of
the car in addition to considerably
decreasing the unsprung component
weight.
The materials used and the structural
features of the system could generate
unusual noises which have absolutely
no adverse effect on correct operation
and reliability of the braking system.
Greater pressure may need to be
applied to the brake pedal the first time
to keep the same braking capacities in
presence of condensation or salt on the
braking surfaces, for example after
washing or if the car is not used for a
long time.
Note:
Given the high technological
level of this system, any servicing on it
must be performed by your authorized
dealer which exclusively has the skills
needed for the repair operations. In case of intensive, high-performance
use of the car, have the efficiency of the
carbon-ceramic material braking
system inspected as shown on the
Maintenance Plan at your authorized
dealer.
Driving On Race Tracks
Before driving on a track using a racing
style, it is necessary to:
Attend a race track driving course.
Check the liquid levels in the engine
compartment. For more information,
see the “Checking Levels” section in
the “Servicing And Maintenance”
chapter.
Have the car inspected at your
authorized dealer.
Remember that the car was not
designed to be driven exclusive on the
race track and that this use increases
stress and component wear.
177
Page 180 of 268
Preheating the carbon ceramic
material brake discs
The brake discs must be warmed up to
make them fully efficient. You are
advised to perform the following
procedure:
Brake nine times from 80 mph to
18 mph (130 km/h to 30 km/h) with
deceleration equal to 0.7g (the
longitudinal acceleration value is shown
on the instrument panel display by
setting RACE mode and selecting the
“Performance” page) with 20 second
intervals between brake applications;
keep the car at a speed comprised
between 37 mph and 62 mph (60 km/h
and 100 km/h) and do not brake for
4 minutes to allow the brakes to cool
down;
Then brake three times from
124 mph to 18 mph (200 km/h to
30 km/h) with deceleration equal to
1.1g (ABS operation) with 30 second
intervals between brake applications;
keep the car at a speed comprised
between 37 mph and 62 mph (60 km/h
and 100 km/h) and do not brake for
5 minutes to allow the brakes to cool
down.
178
STARTING AND OPERATING
Page 188 of 268

FUSES
General Information
The fuses protect electrical systems
against excessive current.
When a device does not work, you
must check the electrical circuit inside
of the fuse for a break/melt.
Also, please be aware that using power
outlets for extended periods of time
with the engine off may result in vehicle
battery discharge.Fuse Extracting Pliers
To replace a fuse, use the pliers hooked
to the fuse box.Grab the pliers from the upper tabs,
press them, and extract the pliers
pulling upwards.
The pliers have two different ends, both
of which are specifically designed to
remove the different types of fuses
present in the vehicle:
After use, return the pliers to their
proper position by following the below
procedures:
Grasp the pliers from the upper tabs
and insert them into their housing.
Push downward on the pliers into
their housing until they click into place.
2
3
1
GUID-0726067916Blade Fuses
1 — Electrical Circuit
2 — Blade Fuse With Good Electrical
Circuit
3 — Blade Fuse With Bad Electrical
Circuit
08036S0002EMJ-CASE Fuse
1 — Electrical Circuit
2 — Case Fuse With Good Electrical
Circuit
3 — Case Fuse With Bad Electrical Cir-
cuit
08036S0053EMFuse Box
08036S0005EMFuse Extracting Pliers
1 — MINI fuse
2 — J-CASE fuse
186
IN CASE OF EMERGENCY
Page 195 of 268
Inflation Procedure
Warning!
Do not attempt to seal a tire on the side
of the vehicle closest to traffic. Pull far
enough off the road to avoid the danger of
being hit when using the Tire Service Kit.
Do not use Tire Service Kit or drive the
vehicle under the following circumstances:
If the puncture in the tire tread is
approximately 1/4 inch (6 mm) or larger.
If the tire has any sidewall damage.
If the tire has any damage from driving
with extremely low tire pressure.
If the tire has any damage from driving
on a flat tire.
If the wheel has any damage.
If you are unsure of the condition of the
tire or the wheel.
Keep Tire Service Kit away from open
flames or heat sources.
A loose Tire Service Kit thrown forward
in a collision or hard stop could endanger
the occupants of the vehicle. Always stow
the Tire Service Kit in the place provided.
Failure to follow these warnings can result
in injuries that are serious or fatal to you,
your passengers, and others around you.
Take care not to allow the contents of
Tire Service Kit to come in contact with
hair, eyes, or clothing. Tire Service Kit
sealant is harmful if inhaled, swallowed, or
absorbed through the skin. It causes skin,
eye, and respiratory irritation. Flush
immediately with plenty of water if there is
any contact with eyes or skin. Change
clothing as soon as possible, if there is any
contact with clothing.
Tire Service Kit Sealant solution contains
latex. In case of an allergic reaction or rash,
consult a physician immediately. Keep Tire
Service Kit out of reach of children. If
swallowed, rinse mouth immediately with
plenty of water and drink plenty of water.
Do not induce vomiting! Consult a
physician immediately.
To use your Tire Repair Kit, proceed as
follows:
1. Engage the electric parking brake.
2. Insert the sealant cartridge
containing the sealing liquid in the
proper compressor holder, pushing
down hard. Unscrew the tire valve cap,
take out the filler tube and tighten the
ring nut on the tire valve. 3. Make sure the power switch of the
compressor is in the off position (O).
4. Insert the plug into the power outlet
in the center console, then start the
engine.
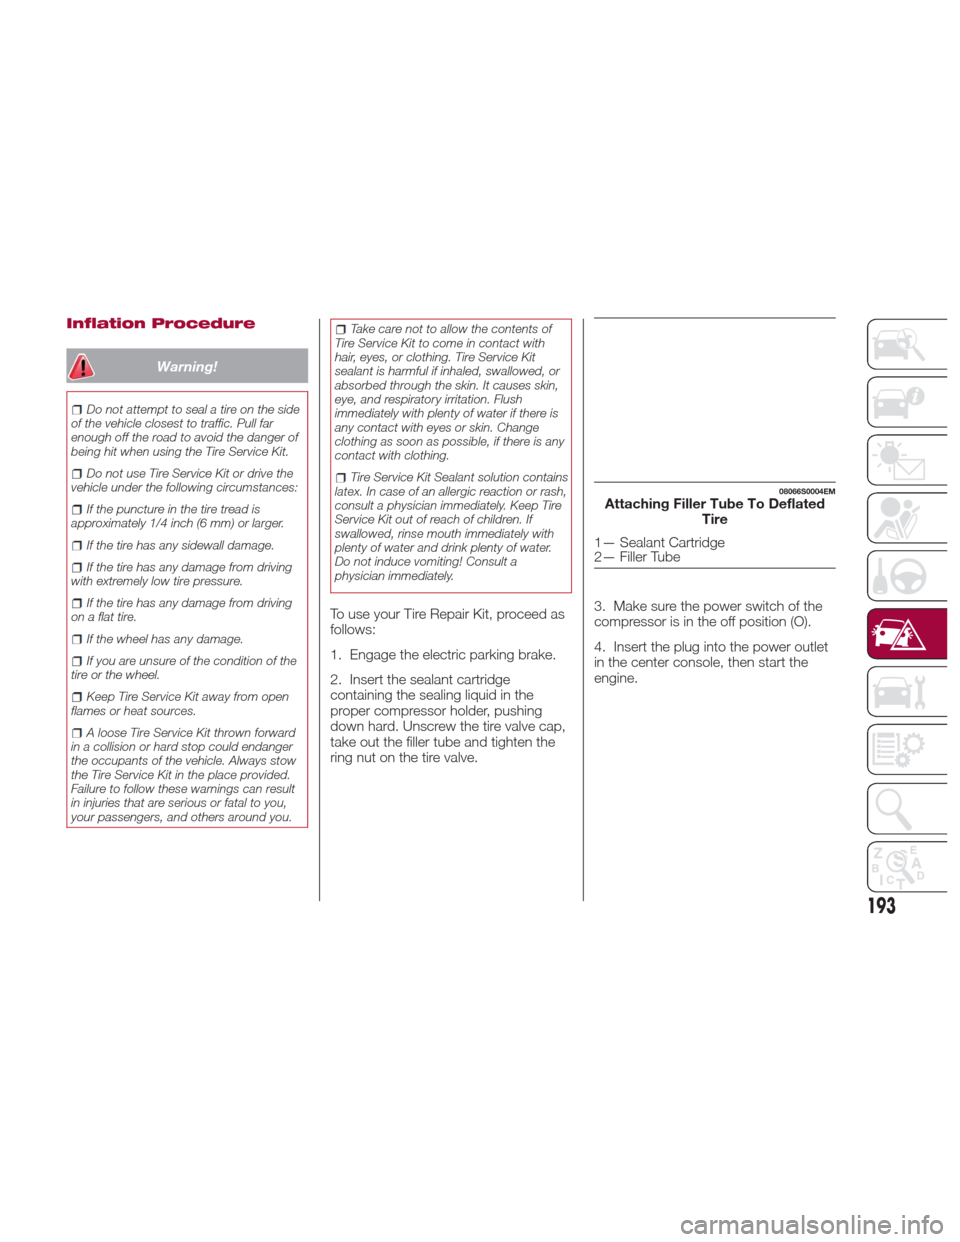
08066S0004EMAttaching Filler Tube To Deflated
Tire
1— Sealant Cartridge
2— Filler Tube
193
Page 221 of 268
With engine and system cold, do
not top up with coolant beyond the
maximum level indicated on the
reservoir in the engine compartment.
Braking System
In order to guarantee the efficiency of
the braking system, periodically check
its components; for this operation,
contact an authorized dealer.
See the "Maintenance Plan" for the
correct servicing intervals.
Note: Driving with your foot resting on
the brake pedal may compromise its
efficiency, increasing the risk of
accidents. When driving, never keep
your foot on the brake pedal and don’t
put unnecessary strain on it to prevent
the brakes from overheating: excess
pad wear may cause damage to the
braking system.
When an insufficient oil level is
detected, contact an authorized dealer
to have the system checked.
Always keep the cap of the brake
fluid reservoir (in the engine
compartment) completely closed.
Warning!
Use only manufacturer's recommended
brake fluid. Refer to “Fluids And Lubricants”
in “Technical Specifications” for further
information. Using the wrong type of brake
fluid can severely damage your brake
system and/or impair its performance. The
proper type of brake fluid for your vehicle is
also identified on the original factory
installed hydraulic master cylinder reservoir.
To avoid contamination from foreign
matter or moisture, use only new brake
fluid or fluid that has been in a tightly
closed container. Keep the master cylinder
reservoir cap secured at all times. Brake
fluid in a open container absorbs moisture
from the air resulting in a lower boiling
point. This may cause it to boil
unexpectedly during hard or prolonged
braking, resulting in sudden brake failure.
This could result in a collision.
Overfilling the brake fluid reservoir can
result in spilling brake fluid on hot engine
parts, causing the brake fluid to catch fire.
Brake fluid can also damage painted and
vinyl surfaces, care should be taken to
avoid its contact with these surfaces.
Do not allow petroleum based fluid to
contaminate the brake fluid. Brake seal
components could be damaged, causing
partial or complete brake failure. This could
result in a collision.
Automatic Transmission
Use only a transmission oil with the
same characteristics as those indicated
in the "Fluids and Lubricants" table (see
"Technical Specifications" chapter).
Special Additives
Do not use any type of additive with the
automatic transmission oil. The
automatic transmission oil is a product
designed specially for this vehicle and
its performance may be compromised
through the use of further additives.
Caution!
Do not use chemical flushes in your
transmission as the chemicals can damage
your transmission components. Such
damage is not covered by the New Vehicle
Limited Warranty.
219