Page 217 of 449

216
uuAudio Error Messages*uiPod/USB Flash Drive
Features
iPod/USB Flash Drive
If an error occurs while playing an iPod or USB flash drive, you may see the following
error messages. If you cannot clear the error message, contact a dealer.
Error MessageSolution
USB ErrorAppears when there is a problem with the USB adapter unit. Check if the device is compatible with the
USB adapter unit.
Bad USB Device Please Check
Owners Manual.Appears when an incompatible device is connected. Disconnect the device. Then turn the audio system
off, and turn it on again. Do not reco nnect the device that caused the error.
No SongAppears when the iPod is empty. Check that compatible files are stored on the device.
Unsupported VerAppears when an unsupported iPod is connected. If it appears when a supported iPod is connected,
update the iPod software to the newer version.
Retry ConnectionAppears when the system does not acknowledge the iPod. Reconnect the iPod.
Unplayable FileAppears when the files in the USB flash drive are DRM or an unsupported format. This error message
appears for about 3 seconds, then plays the next song.
No DataAppears when the USB flash drive is empty or ther e are no MP3, WMA, or AAC files in the USB flash
drive. Check that compatible fi les are stored on the device.
UnsupportedAppears when an unsupported device is connect ed. If it appears when a supported device is
connected, reconnect the device.
Page 218 of 449
217
uuAudio Error Messages*uPandora ®
Features
Pandora ®
If an error occurs while playing Pandora ®, you may see the following error messages.
If you cannot clear the error message, contact a dealer.
Error MessageSolution
PANDORA No StationAppears when there is no station list on the device. Use the device to create a station.
PANDORA Requires UpdateAppears when Pandora version is not supported. Please update the device application.
PANDORA UnavailableAppears when Pandora is performing sy stem maintenance. Try again later.
PANDORA Cannot ConnectAppears when Pandora is unable to play music. Check your device.
PANDORA Loading...Appears when Pandora is loading.
U.S. models
Page 219 of 449

218
Features
General Information on the Audio System*
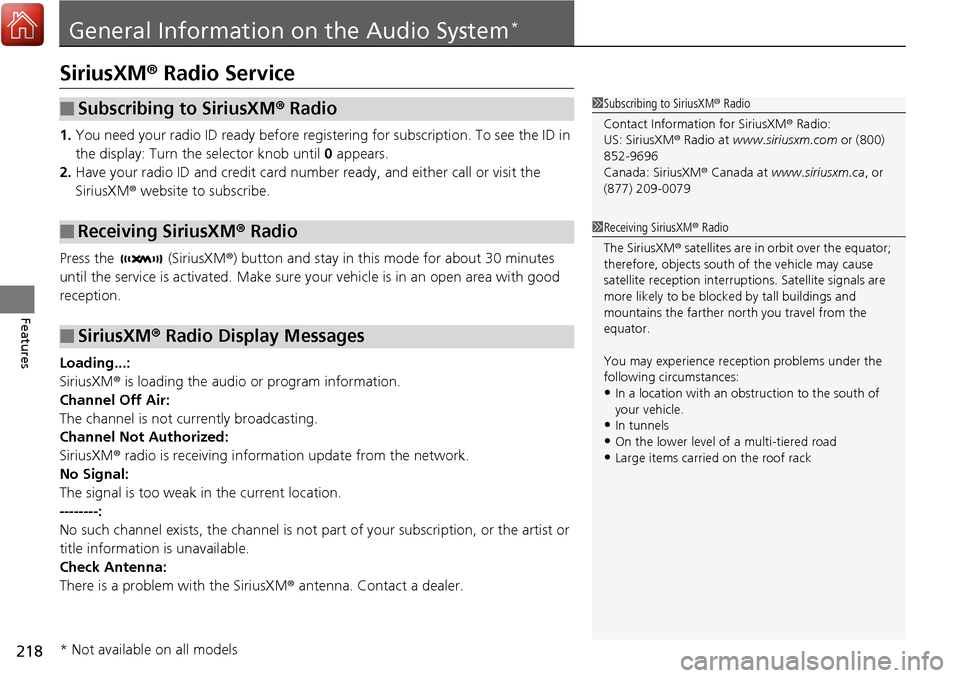
SiriusXM® Radio Service
1. You need your radio ID ready before registering for subscription. To see the ID in
the display: Turn the selector knob until 0 appears.
2. Have your radio ID and credit card num ber ready, and either call or visit the
SiriusXM ® website to subscribe.
Press the (SiriusXM ®) button and stay in this mode for about 30 minutes
until the service is activated. Make sure yo ur vehicle is in an open area with good
reception.
Loading...:
SiriusXM ® is loading the audio or program information.
Channel Off Air:
The channel is not currently broadcasting.
Channel Not Authorized:
SiriusXM ® radio is receiving information update from the network.
No Signal:
The signal is too weak in the current location.
--------:
No such channel exists, the channel is not pa rt of your subscription, or the artist or
title information is unavailable.
Check Antenna:
There is a problem with the SiriusXM ® antenna. Contact a dealer.
■Subscribing to SiriusXM® Radio
■Receiving SiriusXM® Radio
■SiriusXM® Radio Display Messages
1 Subscribing to SiriusXM ® Radio
Contact Information for SiriusXM ® Radio:
US: SiriusXM ® Radio at www.siriusxm.com or (800)
852-9696
Canada: SiriusXM ® Canada at www.siriusxm.ca, or
(877) 209-0079
1 Receiving SiriusXM ® Radio
The SiriusXM ® satellites are in orbit over the equator;
therefore, objects south of the vehicle may cause
satellite reception interruptions. Sa tellite signals are
more likely to be blocked by tall buildings and
mountains the farther north you travel from the
equator.
You may experience rece ption problems under the
following circumstances:
•In a location with an obstruction to the south of
your vehicle.
•In tunnels•On the lower level of a multi-tiered road
•Large items carried on the roof rack
* Not available on all models
Page 220 of 449
219
uuGeneral Information on the Audio System*uRecommended CDs
Continued
Features
Recommended CDs
• Use only high-quality CD-R or CD-RW discs labeled for audio use.
• Use only CD-R or CD-RW discs on wh ich the recordings are closed.
• Play only standard round-shaped CDs.
• Some software files may not allow for audio play or text data display.
• Some versions of MP3, WMA or AAC formats may be unsupported.1Recommended CDs
A Dual-disc cannot play on this audio unit. If recorded
under certain conditions, a CD-R or CD-RW may not
play either.
■CDs with MP3, WMA or AAC files
The CD packages or jackets should have one of these marks.
Page 221 of 449
uuGeneral Information on the Audio System*uRecommended CDs
220
Features
■Protecting CDs
Follow these precautions when handling or storing CDs:
• Store a CD in its case when it is not being played.
• When wiping a CD, use a soft clean clot h from the center to the outside edge.
• Handle a CD by its edge. Never touch either surface.
• Never insert foreign objects into the CD player.
• Keep CDs out of direct sunlight and extreme heat.
• Do not place stabilizer ri ngs or labels on the CD.
• Avoid fingerprints, liquids, and felt-tip pens on the CD.1Protecting CDs
NOTICE
Do not insert a damaged CD. It may be stuck inside
and damage the audio unit.
Examples:●Bubbled, wrinkled, labeled, and
excessively thick CDs
Bubbled/
Wrinkled With Label/
Sticker
Using
Printer Label
Kit
Sealed With Plastic Ring
●Poor quality
CDs●Damaged CDs
Chipped/
Cracked Warped
Burrs
●Small CDs
3-inch (8-cm) CD
Page 222 of 449

221
uuGeneral Information on the Audio System*uCompatible iPod, iPhone, and USB Flash Drives
Features
Compatible iPod, iPhone , and USB Flash Drives
•Use a recommended USB flash drive of 256 MB or higher.
• Some digital audio players may not be compatible.
• Some USB flash drives (e.g., a device with security lockout) may not work.
• Some software files may not allow for audio play or text data display.
• Some versions of MP3, WMA, or AAC formats may be unsupported.
■iPod and iPhone Model Compatibility
Model
iPod (5th generation)
iPod classic 80GB/160GB (launch in 2007)
iPod classic 120GB (launch in 2008)
iPod classic 160GB (launch in 2009)
iPod nano (1st to 7th generation*) *launch in 2012
iPod touch (1st to 5th generation*) *launch in 2012
iPhone 3G/iPhone 3GS/iPhone 4/iPho ne 4s/iPhone 5/iPhone 5s/iPhone 5c
■USB Flash Drives
1iPod and iPhone Model Compatibility
This system may not work with all software versions
of these devices.
1USB Flash Drives
Files on the USB flash drive are played in their stored
order. This order may be different from the order
displayed on your PC or device.
Page 223 of 449

222
Features
HomeLink® Universal Transceiver
The HomeLink ® Universal Transceiver can be pr ogrammed to operate up to three
remote controlled devices around your home, such as garage doors, lighting, or
home security systems.
Refer to the safety information that came wi th your garage door opener to test that
the safety features are functioning properly. If you do not have the safety
information, contact the manufacturer.
Before programming HomeLink, make sure that people and objects are out of the
way of the garage or gate to prevent potential injury or damage.
When programming a garage door opener, park just outside the garage door’s
path.
Training HomeLink
If you have not trained any of the buttons in
HomeLink before, you should erase any
previously learned codes. To do this:
• Press and hold the two outside buttons for
about 20 seconds, until the red indicator
blinks. Release the bu ttons, and proceed to
step 1.
• If you are training the second or third
button, go directly to step 1.
■Important Safety Precautions
1HomeLink ® Universal Transceiver
HomeLink® is a registered tra demark of Gentex
Corporation.
Before programming HomeLi nk to operate a garage
door opener, confirm that the opener has an external
entrapment protection system, such as an “electronic
eye,” or other safety and reverse stop features. If it
does not, HomeLink may not be able to operate it.
Red Indicator
Page 224 of 449

223
uuHomeLink ® Universal Transceiver uTraining HomeLink
Features
■Training a Button1Training HomeLink
Retraining a Button
If you want to retrain a programmed button for a
new device, you do not ha ve to erase all button
memory. You can replace the existing memory code
using this procedure:
1. Press and hold the desired HomeLink button
until the HomeLink indi cator begins to blink.
2.
Continue to hold the HomeLink button and
follow steps 1 - 3 unde r “Training a Button.”
Indicator remains on
for about 25 secs.
Standard transmitter
Indicator blinks rapidly for
2 secs, then remains on for
about 23 secs.
Rolling code transmitter
Erasing Codes
To erase all the codes, press and hold the two outside
buttons until the HomeLink i ndicator begins to blink
(about 10 to 20 secs). You should erase all codes
before selling the vehicle.
If you have any problems, see the device’s
instructions, visit www.homelink.com , or call
HomeLink at (800) 355-3515.
4.
a.3.
2.
5.a.
b.
1. Position the remote transmitter you wish to link 1 to 3 inches (3 - 8 cm) from the
HomeLink button you want to program.
Press and hold the desired HomeLink button and the button on
the remote transmitter. Does the HomeLink indicator (LED)
blink after 10 secs?
Press and hold the
programmed HomeLink
button for about a sec.
Does the device (garage
door opener) work? Press and hold the remote and the HomeLink
button at the same time. Then, while
continuing to hold the HomeLink button,
press and release the button on the remote
every 2 secs.
Does the LED blink within 20 secs?
Training
Complete Press and hold the HomeLink button again.
Press and hold the HomeLink
button again.
The remote-controlled device
should operate.
Training Complete The remote has a ro
lling code. Press the
“learn” button on the remote-controlled
device (e.g. garage door opener).
Within 30 secs, press and hold the
programmed HomeLink button for 2 secs.
HomeLink indicator blinks for 2 secs, then remains on.HomeLink LED is on.
YESNO
YES
YESNONO