Page 3 of 473

Contents
This owner’s manual should be considered a permanent part of the
vehicle and should remain with the vehicle when it is sold.
This owner’s manual covers all models of your vehicle. You may find
descriptions of equipment and features that are not on your
particular model.
Images throughout this owner’s manual (including the front cover)
represent features and equipment that are available on some, but
not all, models. Your particular mo del may not have some of these
features.
This owner’s manual is for vehicles sold in the United States and
Canada.
The information and specifications in cluded in this publication were
in effect at the time of approval for printing. Honda Motor Co., Ltd.
reserves the right, however, to discontinue or change specifications
or design at any time without notice and without incurring any
obligation.2 Safe Driving P. 31
For Safe Driving P. 32 Seat Belts P. 36 Airbags P. 43
2Instrument Panel P. 69
Indicators P. 70 Gauges and Displays P. 95
2Controls P. 103
Clock P. 104 Locking and Unlocking the Doors P. 105
Operating the Switches Around the Steering Wheel P. 127
Interior Lights/Interior Convenience Items P. 149
2 Features P. 161
Audio System P. 162 Audio System Basic Operation P. 166
Customized Features P. 232 HomeLink® Universal Transceiver P. 255
2 Driving P. 297
Before Driving P. 298 Towing a Trailer P. 308
Multi-View Rear Camera P. 356
2Maintenance P. 361
Before Performing Maintenance P. 362 Maintenance MinderTM P. 365
Checking and Maintaining Wiper Blades P. 390
Climate Control System Maintenance P. 405
2Handling the Unexpected P. 417
Tools P. 418 If a Tire Goes Flat P. 419
Overheating P. 436 Indicator, Coming On/Blinking P. 438
When You Cannot Open the Hatch P. 450
2 Information P. 453
Specifications P. 454 Identification Numbers P. 456
Emissions Testing P. 459 Warranty Coverages P. 461
17 NSX-31T6N6000.book 2 ページ 2016年4月22日 金曜日 午後3時44分
Page 24 of 473

23
Quick Reference Guide
Driving (P 297)
Electronic Gear Selector (P 314)
● Select
(P and depress the brake pedal when turning on the power.
Park
Press the
(P button.
Used when parking or before turning the power on or off.
Transmission is locked.
Reverse
Press back the
( R button.
Used when reversing.
Neutral
Press the
( N button.
Used to keep the transmission disengaged from the engine and motor.
Drive/Manual
Each time you press the button, the mode switches between D (drive) and M (manual) mode.
●Normal driving (gears change between 1st and 9th automatically)●Temporarily driving in the sequential mode
●Driving in the sequential mode
D/M
D (Drive)
M (Manual)
Gear Position Indicator/Gear
Selection Indicator
The gear position indicator, the
gear selection indicator and the
shift button indicator indicate
the current gear selection.
Gear Position Indicator Shift Button
Indicator
●
Gear selection
Gear Selection Indicator
* Not available on all models
17 NSX-31T6N6000.book 23 ページ 2016年4月22日 金曜日 午後3時44分
Page 99 of 473
98
uuGauges and Displays uDriver Information Interface
Instrument Panel
Driver Information Interface
The driver information interface shows the odometer, trip meter, outside
temperature indicator, and other gauges. It also displays important messages such
as warnings and other helpful information.
Roll the right selector wheel to change the display.
■Switching the Display
Right Selector Wheel Engine Oil LifeElapsed Time
Blank Screen
Average Speed
Range
Average Fuel Economy/
Instant Fuel Economy
Tire Pressure for
Each Tire
Turn-by-Turn
Directions
Oil Level Check Assist Compass
17 NSX-31T6N6000.book 98 ページ 2016年4月22日 金曜日 午後3時44分
Page 102 of 473

Continued101
uuGauges and Displays uDriver Information Interface
Instrument Panel
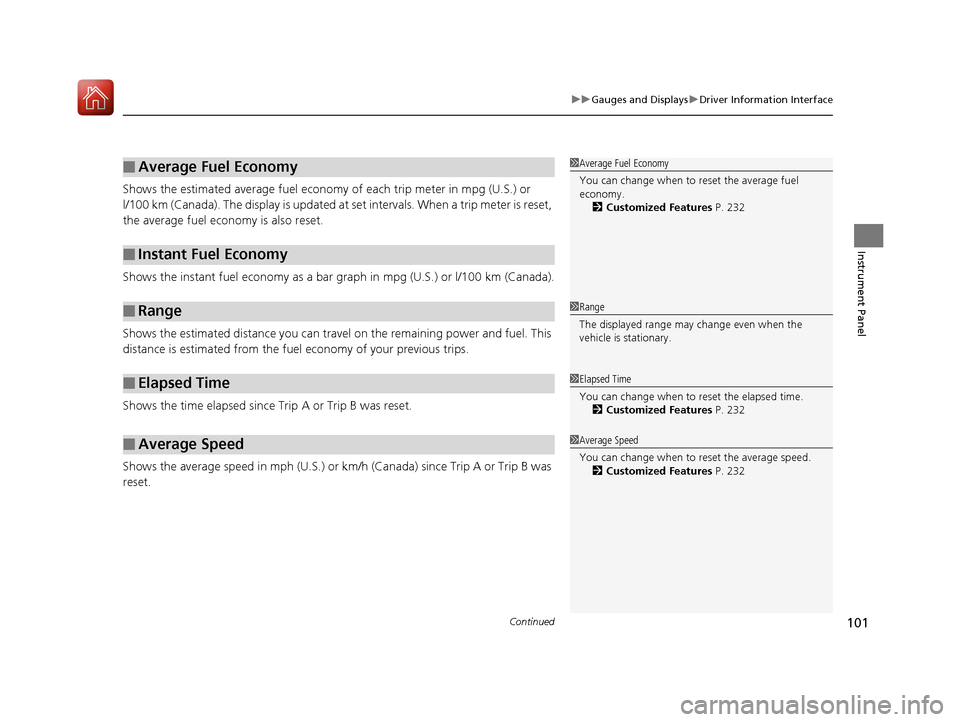
Shows the estimated average fuel econom y of each trip meter in mpg (U.S.) or
l/100 km (Canada). The display is updated at set intervals. When a trip meter is reset,
the average fuel economy is also reset.
Shows the instant fuel economy as a bar gr aph in mpg (U.S.) or l/100 km (Canada).
Shows the estimated distance you can travel on the remaining power and fuel. This
distance is estimated from the fuel economy of your previous trips.
Shows the time elapsed since Trip A or Trip B was reset.
Shows the average speed in mph (U.S.) or km/h (Canada) since Trip A or Trip B was
reset.
■Average Fuel Economy
■Instant Fuel Economy
■Range
■Elapsed Time
■Average Speed
1 Average Fuel Economy
You can change when to reset the average fuel
economy.
2 Customized Features P. 232
1Range
The displayed range may change even when the
vehicle is stationary.
1 Elapsed Time
You can change when to reset the elapsed time.
2 Customized Features P. 232
1Average Speed
You can change when to reset the average speed.
2 Customized Features P. 232
17 NSX-31T6N6000.book 101 ページ 2016年4月22日 金曜日 午後3時44分
Page 105 of 473

104
Controls
Clock
Adjusting the Clock
You can adjust the time in the clock display with the power mode in ON.
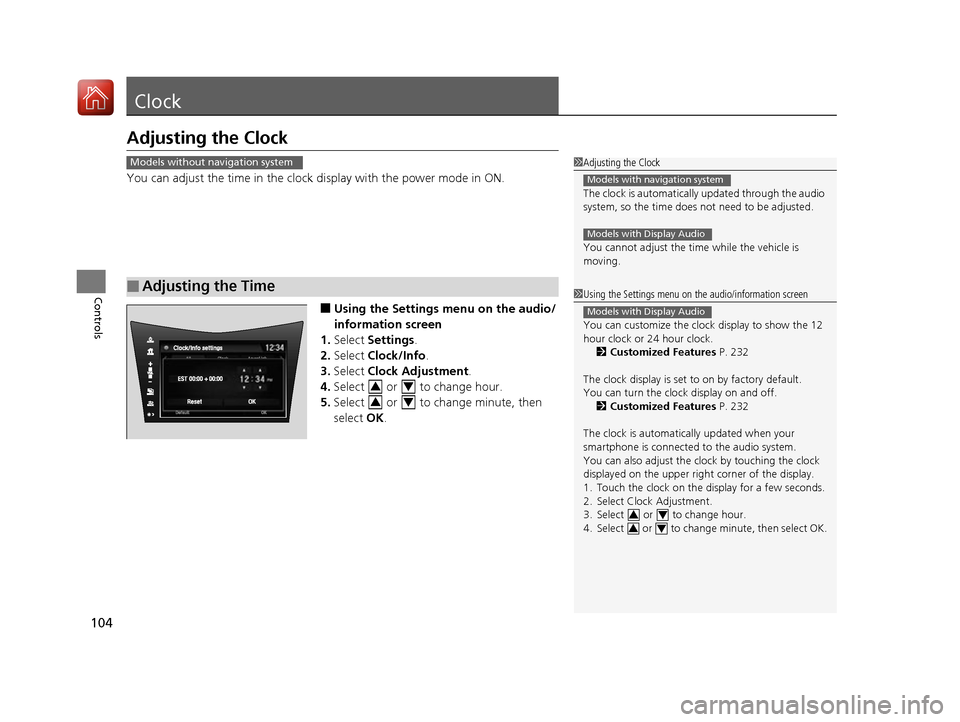
■Using the Settings menu on the audio/
information screen
1. Select Settings .
2. Select Clock/Info .
3. Select Clock Adjustment .
4. Select or to change hour.
5. Select or to change minute, then
select OK.
■Adjusting the Time
1Adjusting the Clock
The clock is automatically updated through the audio
system, so the time does not need to be adjusted.
You cannot adjust the time while the vehicle is
moving.
Models with navigation system
Models with Display Audio
Models without navigation system
1 Using the Settings menu on the audio/information screen
You can customize the clock display to show the 12
hour clock or 24 hour clock.
2 Customized Features P. 232
The clock display is set to on by factory default.
You can turn the clock display on and off. 2 Customized Features P. 232
The clock is automatica lly updated when your
smartphone is connected to the audio system.
You can also adjust the clock by touching the clock
displayed on the upper right corner of the display.
1. Touch the clock on the display for a few seconds.
2. Select Clock Adjustment.
3. Select or to change hour.
4. Select or to change minute, then select OK.
Models with Display Audio
34
34
34
34
17 NSX-31T6N6000.book 104 ページ 2016年4月22日 金曜日 午後3時44分
Page 113 of 473

uuLocking and Unlocking the Doors uLocking/Unlocking the Doors from the Outside
112
Controls
■Locking the doors
Press the lock button.
Once: u Some exterior lights flash, both doors
lock, both outer door handles pop in,
and the security system sets.
Twice (within five seco nds after the first
push):
u The beeper sounds and verifies the
security system is set.
■Using the Remote Transmitter1Using the Remote Transmitter
If you do not open a door within 30 seconds of
unlocking the vehicle with the remote transmitter,
the doors will automaticall y relock and the outer
handles of the doors will au tomatically pop back in.
You can change the relock timer setting.
2 Customized Features P. 232
If the interior light switch is in the door activated
position, the interior light s come on when you press
the unlock button.
No doors opened: The li ghts fade out after 30
seconds.
Doors relocked with the remote: The lights go off
immediately. 2 Interior Lights P. 149
The remote transmitter us es low-power signals, so
the operating range may vary depending on the
surroundings.
The remote will not lock the vehicle when a door is
open.
LED
Unlock
Button Lock
Button
17 NSX-31T6N6000.book 112 ページ 2016年4月22日 金曜日 午後3時44分
Page 124 of 473

Continued123
uuSecurity System uSecurity System Alarm
Controls
■Setting the security system alarm
The security system alarm automatically sets when the following conditions have
been met:
• The power mode is set to VEHICLE OFF (LOCK).
• The hood and hatch are closed.
• Both doors are locked from outside with the key, remote transmitter or keyless
access system.
■When the security system alarm sets
The security system indicator in the in strument panel blinks. When the blinking
interval changes after about 15 seconds, the security system is set.
■To cancel the security system alarm
The security system is canc eled when the vehicle is unlocked using the remote
transmitter, keyless access system, or th e power mode is set to ON. The security
system indicator goes off at the same time.
1Security System Alarm
Do not set the security system alarm when someone
is in the vehicle or a window is open. The system can
accidentally activate when:
•The door is unlocked with the lock tab.•The hatch is opened with the hatch release button
on the driver’s door or wi th the emergency hatch
opener.
•The gear position is shifted out of ( P.
•The hood is opened with the hood release.
If the 12-volt battery goes dead after you have set the
security system alarm, the security alarm may go off
once the 12-volt battery is recharged or replaced.
If this occurs, deactivate the security system alarm by
unlocking a door using the remote transmitter or
keyless access system.
Do not alter the system or add other devices to it.
Doing so may damage the system and make your
vehicle inoperable.
Do not open the hatch with the key unless it is an
emergency.
Opening the hatch with th e key will trigger the
security system. 2 When You Cannot Open the Hatch P. 450
17 NSX-31T6N6000.book 123 ページ 2016年4月22日 金曜日 午後3時44分
Page 131 of 473
130
uuOperating the Switches Around the Steering Wheel uTurn Signals
Controls
Turn Signals
The turn signals can be used when the power
mode is in ON.
■One-touch turn signal
When you lightly push up or down and release
the turn signal lever, th e exterior turn signals
and turn signal indicator blink three times.
This feature can be used when signaling for a
lane change.
Right Turn
Left Turn
17 NSX-31T6N6000.book 130 ページ 2016年4月22日 金曜日 午後3時44分