2016 VOLVO XC90 T8 ECO mode
[x] Cancel search: ECO modePage 143 of 546
INSTRUMENTS AND CONTROLS
}}
* Option/accessory, for more information, see Introduction.141
PositionResult
With the ignition in mode II or if the engine is running:
• In the
US: the Daytime Run-
ning Lights (DRL) will be off
• In
Canada : the Daytime Run-
ning Lights will be on
• High beam flash can be used
With the ignition in mode II or if the engine is running: A
• In the
US: the Daytime Run-
ning Lights will be off
• In
Canada : the Daytime Run-
ning Lights will be on
• High beam flash can be used
With the ignition in mode II or if the engine is running:
• The Daytime Running Lights will be
off
• The low beam headlights willbe
on
• High Beams/High Beam flash can be used
PositionResult
With the ignition in mode II or if the engine is running:
• The Daytime Running Lights will be
onB
(the low beam
headlights will automatically switch on in dark conditions orif the rear fog lights are on
• Tunnel detection
* will be acti-
vated
• Active High Beams (AHB) canbe activated
• High beam flash can be used
Active High Beams On/Off
A
The parking lights will be on in this position, even if the ignition is switched off. In dark conditions, the rear parking lights illumi-nate automatically when the tailgate is open, regardless of thecontrol's position or ignition mode.
B US models only: The use of Daytime Running Lights can beactivated/deactivated in the center display's Settings menu.
NOTE
The use of Daytime Running Lights is recom- mended in the United States and is manda-
tory in Canada .
Volvo recommends using the position
whenever possible.
WARNING
• Daytime Running Lights are a driving aid designed to help make the vehicle visibleto other roads users.
• The driver is always responsible foradapting the use of Daytime RunningLights/headlights according to ambientlighting and weather conditions.
Lighting panel
Instrument lighting
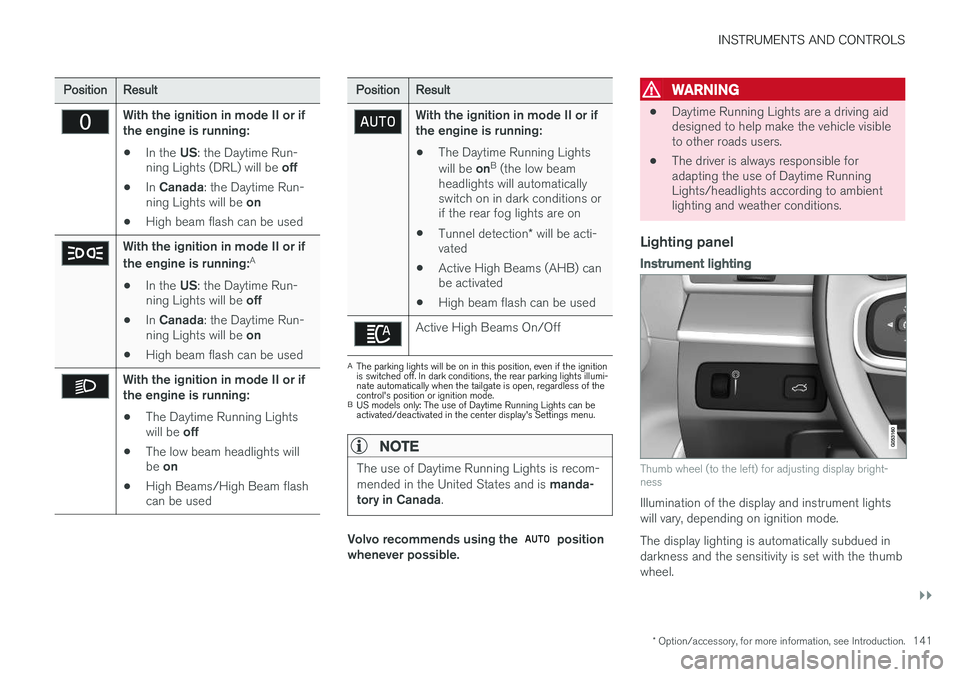
Thumb wheel (to the left) for adjusting display bright- ness
Illumination of the display and instrument lights will vary, depending on ignition mode. The display lighting is automatically subdued in darkness and the sensitivity is set with the thumbwheel.
Page 144 of 546
||
INSTRUMENTS AND CONTROLS
142
Related information
•Daytime Running Lights (DRL) (p. 142)
• High and low beam headlights (p. 143)
Low beam headlights In dark ambient lighting conditions
, the low
beams will be activated automatically when the engine is started or the ignition is in mode II and
the left-side steering wheel lever's ring is turned to the
position.
If the ring is turned to
, the low beams will
be activated automatically when the engine is started or the ignition is in mode II, regardless of
the ambient lighting conditions.
Low beams
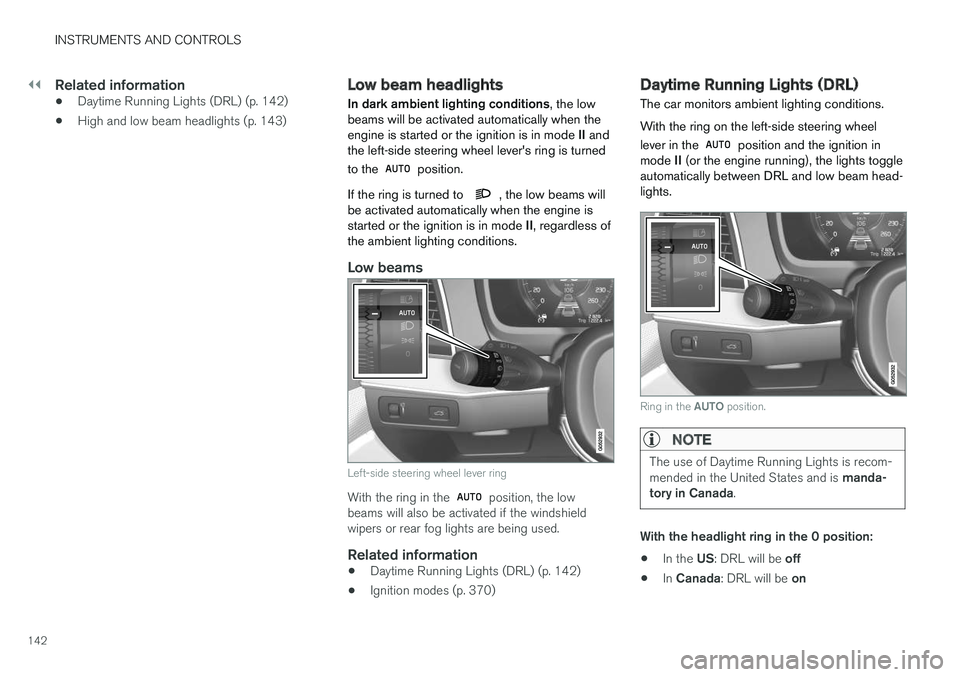
Left-side steering wheel lever ring
With the ring in the position, the low
beams will also be activated if the windshield wipers or rear fog lights are being used.
Related information
• Daytime Running Lights (DRL) (p. 142)
• Ignition modes (p. 370)
Daytime Running Lights (DRL)
The car monitors ambient lighting conditions. With the ring on the left-side steering wheel lever in the
position and the ignition in
mode II (or the engine running), the lights toggle
automatically between DRL and low beam head- lights.
Ring in the AUTO position.
NOTE
The use of Daytime Running Lights is recom- mended in the United States and is manda-
tory in Canada .
With the headlight ring in the 0 position:
• In the
US: DRL will be off
• In
Canada : DRL will be on
Page 149 of 546
INSTRUMENTS AND CONTROLS
147
Hazard warning flashers
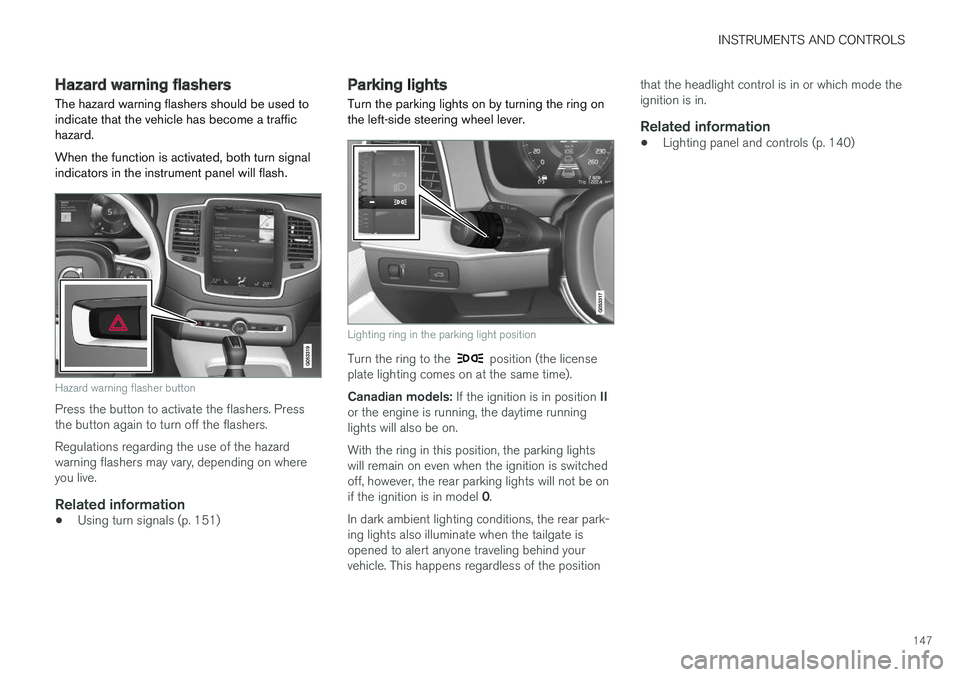
The hazard warning flashers should be used to indicate that the vehicle has become a traffichazard. When the function is activated, both turn signal indicators in the instrument panel will flash.
Hazard warning flasher button
Press the button to activate the flashers. Press the button again to turn off the flashers. Regulations regarding the use of the hazard warning flashers may vary, depending on whereyou live.
Related information
• Using turn signals (p. 151)
Parking lights Turn the parking lights on by turning the ring on the left-side steering wheel lever.
Lighting ring in the parking light position
Turn the ring to the position (the license
plate lighting comes on at the same time). Canadian models: If the ignition is in position II
or the engine is running, the daytime running lights will also be on. With the ring in this position, the parking lights will remain on even when the ignition is switchedoff, however, the rear parking lights will not be on if the ignition is in model 0.
In dark ambient lighting conditions, the rear park- ing lights also illuminate when the tailgate isopened to alert anyone traveling behind yourvehicle. This happens regardless of the position that the headlight control is in or which mode theignition is in.
Related information
•
Lighting panel and controls (p. 140)
Page 171 of 546
INSTRUMENTS AND CONTROLS
}}
* Option/accessory, for more information, see Introduction.169
Related information
•Multifunctional front seats
* (p. 165)
Rear seats
Your vehicle has three rows of seats. The sec- ond row of seats has three individual seatingpositions and the optional third row of seats hastwo individual seating positions.
Related information
• Adjusting the second row backrest tilt (p. 171)
• Adjusting the second row head restraints(p. 170)
• Folding the second row backrests (p. 172)
• Folding the third row backrests (p. 175)
• Getting into and out of the third row of seats(p. 174)
• Moving the second row seats forward/rear-ward (p. 174)
• Turning seat heating
* on and off (p. 199)
Easy access to and from the driver seat
The
Easy Ingress & Egress function can be
used to make getting into and out of the driver's seat easier.
Easy egressTo make getting out of the driver's seat easier, the seat is lowered, the side bolsters deflate andthe seat cushion retracts at the same time. The easy egress function must be activated in the center display. 1. Move the gear selector to the P position.
2. Switch off the engine.
3. Unbuckle the seat belt.
4. Open the driver's door. > The seat, side bolsters and seat cushionall move at the same time to a position that makes it easier to leave the seat.
Easy ingressThe seat remains in the easy egress positionwhen the driver leaves the vehicle. When thedriver returns to the vehicle, the seat is in a posi-tion to make sitting down easier. When the driveris seated, has buckled the seat belt and has put the ignition in at least mode 1, the seat will return
to the driver's preferred position.
Page 172 of 546

||
INSTRUMENTS AND CONTROLS
* Option/accessory, for more information, see Introduction.
170
Activating/deactivating the function1.
In the center display, select SettingsMy
Car
Seats.
2. Activate/deactivate the function by select- ing/deselecting the
Easy Ingress & Egressbox.
Related information
• Power front seats
* (p. 163)
• Ignition modes (p. 370)
Adjusting the second row head restraints
The center head restraint in the second row of seats can be adjusted to suit the height of theseat's occupant. The outboard head restraints can be folded down * for a better rear view.
Adjusting the center head restraint
Center head restraint button
The center head restraint should be adjusted up or down according to the passenger's height. Therestraint should be carefully adjusted to supportthe occupant's head. To lower the head restraint, press and hold the button (see the illustration) and push the headrestraint down carefully.
WARNING
The center rear seat head restraint should only be in its lowest position when this seat isNOT occupied. When the center position isoccupied, the head restraint should be cor-rectly adjusted to the passenger
Page 181 of 546

CLIMATE
}}
* Option/accessory, for more information, see Introduction.179
Climate system sensors The climate system's sensors help regulate the passenger compartment temperature, humiditylevel, etc.
Location of the sensors
Humidity sensor: in the rearview mirror con- sole.
Ambient temperature sensor: in the pas- senger's side door mirror.
Passenger compartment temperature sen- sor: near the center console buttons.
Sunlight sensor: on the upper side of the dashboard.
NOTE
Do not cover or block the sensors with cloth- ing or other objects.
On models equipped with the optional Interior Air Quality System, there is also an air quality sensorlocated at the climate system's air intake.
Related information
•Climate control system (p. 178)
• Perceived temperature (p. 178)
• Interior Air Quality System (IAQS)
* (p. 186)
Parking climate (preconditioning)
The climate in the passenger compartment can be preconditioned and maintained, even whenthe vehicle is parked. For full functionality, the
vehicle's charging cable must be connected .
Parking climate/preconditioning and maintaining pas- senger compartment climate comfort is controlled from the Parking climate tab in the center display's Climate
view.
Page 214 of 546
LOADING AND STORAGE
* Option/accessory, for more information, see Introduction.
212
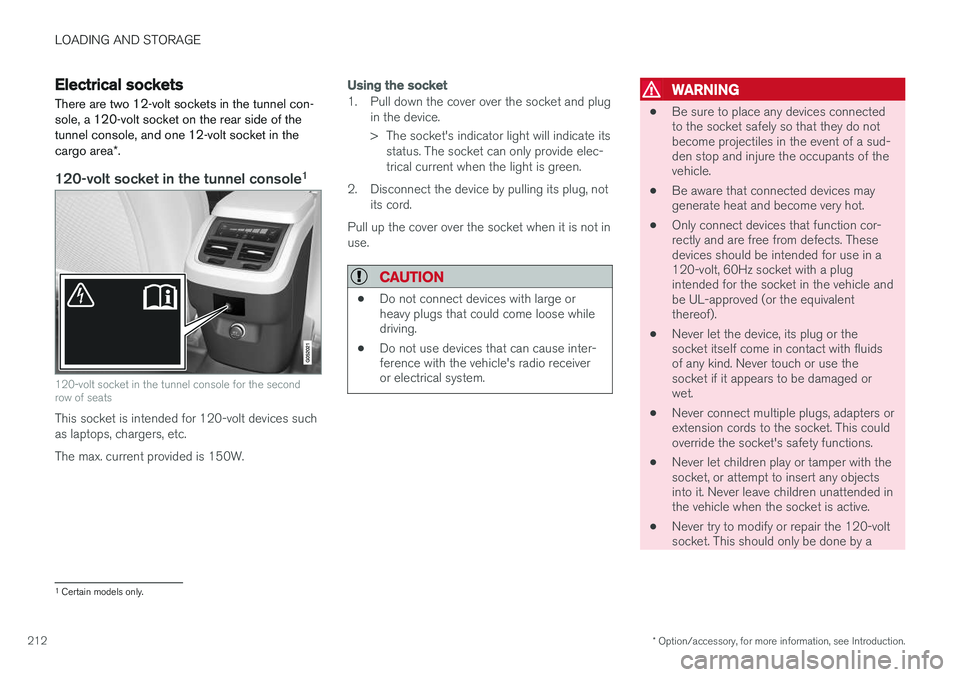
Electrical sockets There are two 12-volt sockets in the tunnel con- sole, a 120-volt socket on the rear side of thetunnel console, and one 12-volt socket in the cargo area *.
120-volt socket in the tunnel console 1
120-volt socket in the tunnel console for the second row of seats
This socket is intended for 120-volt devices such as laptops, chargers, etc. The max. current provided is 150W.
Using the socket
1. Pull down the cover over the socket and plug
in the device.
> The socket's indicator light will indicate itsstatus. The socket can only provide elec- trical current when the light is green.
2. Disconnect the device by pulling its plug, not its cord.
Pull up the cover over the socket when it is not inuse.
CAUTION
• Do not connect devices with large or heavy plugs that could come loose whiledriving.
• Do not use devices that can cause inter-ference with the vehicle's radio receiveror electrical system.
WARNING
• Be sure to place any devices connected to the socket safely so that they do notbecome projectiles in the event of a sud-den stop and injure the occupants of thevehicle.
• Be aware that connected devices maygenerate heat and become very hot.
• Only connect devices that function cor-rectly and are free from defects. Thesedevices should be intended for use in a120-volt, 60Hz socket with a plugintended for the socket in the vehicle andbe UL-approved (or the equivalentthereof).
• Never let the device, its plug or thesocket itself come in contact with fluidsof any kind. Never touch or use thesocket if it appears to be damaged orwet.
• Never connect multiple plugs, adapters orextension cords to the socket. This couldoverride the socket's safety functions.
• Never let children play or tamper with thesocket, or attempt to insert any objectsinto it. Never leave children unattended inthe vehicle when the socket is active.
• Never try to modify or repair the 120-voltsocket. This should only be done by a
1
Certain models only.
Page 216 of 546
||
LOADING AND STORAGE
214
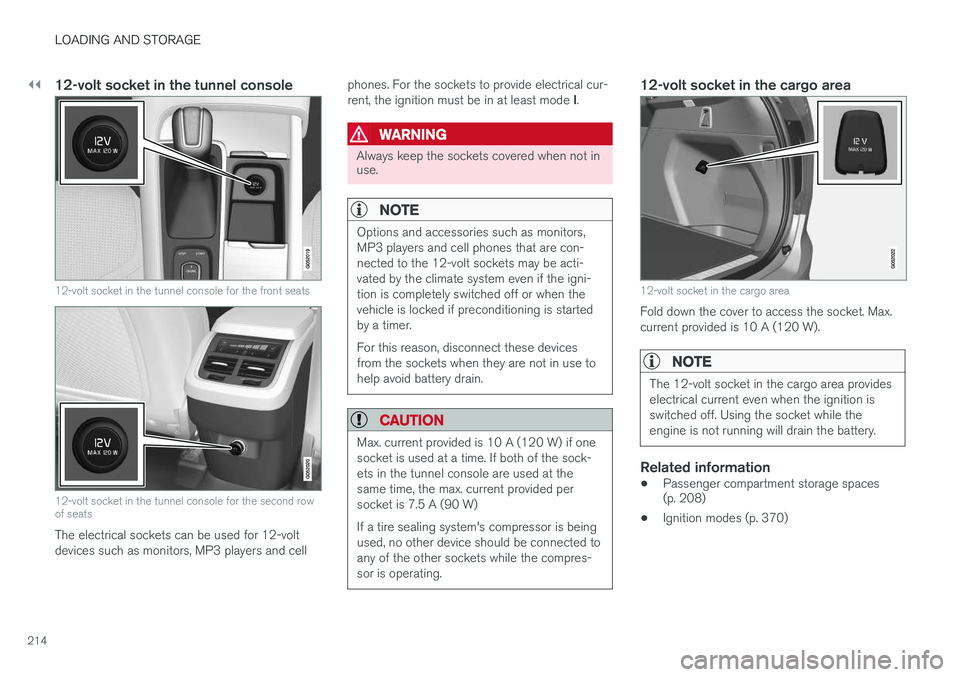
12-volt socket in the tunnel console
12-volt socket in the tunnel console for the front seats
12-volt socket in the tunnel console for the second row of seats
The electrical sockets can be used for 12-volt devices such as monitors, MP3 players and cellphones. For the sockets to provide electrical cur- rent, the ignition must be in at least mode
I.
WARNING
Always keep the sockets covered when not in use.
NOTE
Options and accessories such as monitors, MP3 players and cell phones that are con-nected to the 12-volt sockets may be acti-vated by the climate system even if the igni-tion is completely switched off or when thevehicle is locked if preconditioning is startedby a timer. For this reason, disconnect these devices from the sockets when they are not in use tohelp avoid battery drain.
CAUTION
Max. current provided is 10 A (120 W) if one socket is used at a time. If both of the sock-ets in the tunnel console are used at thesame time, the max. current provided persocket is 7.5 A (90 W) If a tire sealing system's compressor is being used, no other device should be connected toany of the other sockets while the compres-sor is operating.
12-volt socket in the cargo area
12-volt socket in the cargo area
Fold down the cover to access the socket. Max. current provided is 10 A (120 W).
NOTE
The 12-volt socket in the cargo area provides electrical current even when the ignition isswitched off. Using the socket while theengine is not running will drain the battery.
Related information
• Passenger compartment storage spaces (p. 208)
• Ignition modes (p. 370)