Page 203 of 546
CLIMATE
* Option/accessory, for more information, see Introduction.201
NOTE
Seat ventilation cannot be started if the tem- perature in the passenger compartment is toolow. For use over extended periods, the setting
Low is recommended.
Related information
•Climate system controls (p. 188)
• Climate system controls in the center display (p. 189)
Air distribution
The incoming air is distributed through a number of different vents in the passenger compartment.
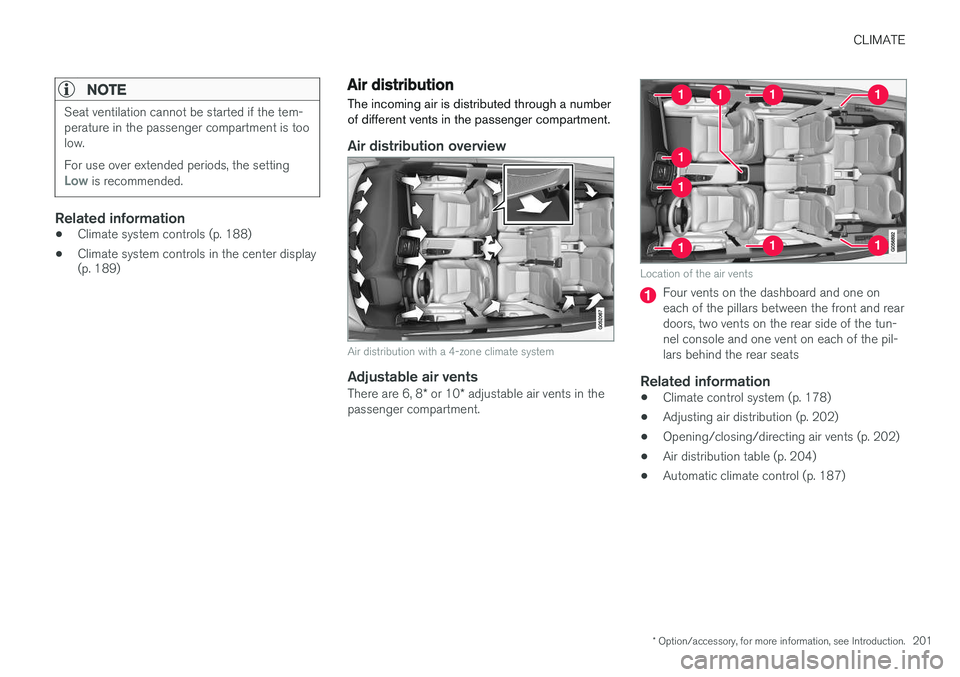
Air distribution overview
Air distribution with a 4-zone climate system
Adjustable air vents
There are 6, 8 * or 10 * adjustable air vents in the
passenger compartment.
Location of the air vents
Four vents on the dashboard and one on each of the pillars between the front and reardoors, two vents on the rear side of the tun-nel console and one vent on each of the pil-lars behind the rear seats
Related information
• Climate control system (p. 178)
• Adjusting air distribution (p. 202)
• Opening/closing/directing air vents (p. 202)
• Air distribution table (p. 204)
• Automatic climate control (p. 187)
Page 204 of 546
CLIMATE
202
Opening/closing/directing air vents
Some of the passenger compartment air vents can be open/closed/directed individually.
Direct the dashboard and door pillar outer air vents toward the side windows to defrost. Direct the vents into the passenger compartment to help maintain a comfortable temperature inwarm weather.
Opening/closing air vents
Air vent thumb wheel 6
–Turn the thumb wheel to open/close the air flow from the vent. The more of the white line on the thumb wheel that is visible, the greater the air flow.
Directing air flow
Air flow control 6
–Move the control from side to side or up/ down to direct the flow of air from the vent.
Related information
•
Air distribution (p. 201)
• Adjusting air distribution (p. 202)
• Air distribution table (p. 204)
Adjusting air distribution
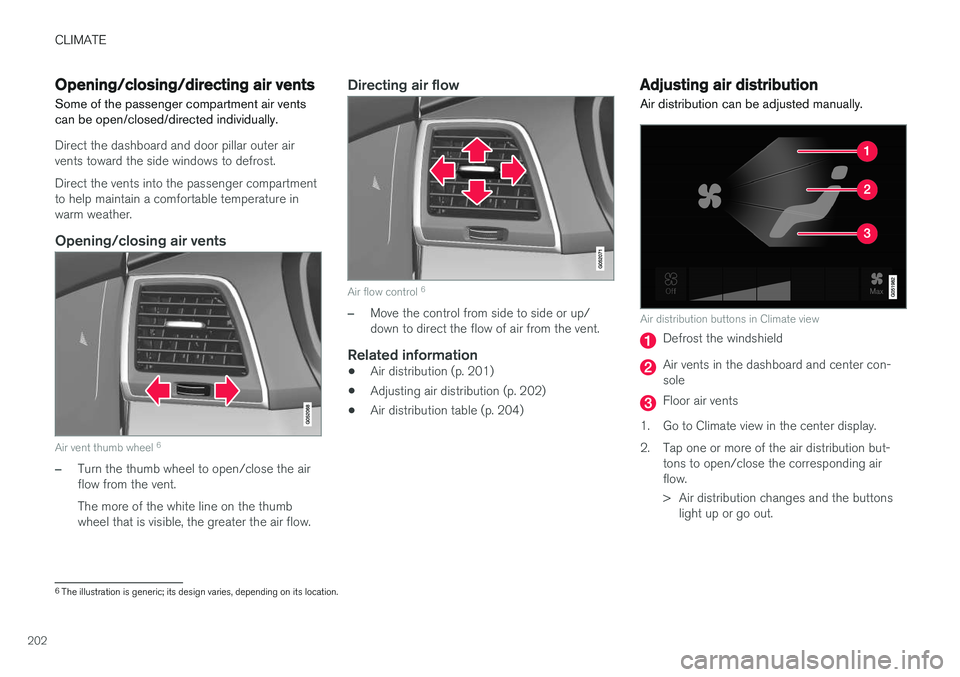
Air distribution can be adjusted manually.
Air distribution buttons in Climate view
Defrost the windshield
Air vents in the dashboard and center con- sole
Floor air vents
1. Go to Climate view in the center display.
2. Tap one or more of the air distribution but- tons to open/close the corresponding air flow.
> Air distribution changes and the buttonslight up or go out.
6The illustration is generic; its design varies, depending on its location.
Page 206 of 546
CLIMATE
204
Air distribution table
Air distribution can be adjusted manually.
Air distributionUse
If all air distribution buttons are deselected in manual mode, the climate system will revert to automatic mode.
Main air flow from the defroster vents, some flow from the other vents.To remove ice and condensation (with moderate blower speed).
Main air flow from the dashboard vents, some flow from the other vents.For best comfort in hot weather.
Main air flow from the floor vents, some flow from the other vents.For heating/cooling near the floor.
Page 207 of 546
CLIMATE
205
Air distributionUse
Main air flow from the defroster and dashboard vents, some flow from the other vents.For best comfort in hot and dry weather.
Main air flow from the defroster and floor vents, some flow from the other vents.For best comfort and defrosting in cold or humid con- ditions.
Main air flow from the dashboard and floor vents, some flow from the other vents.For good comfort in sunny, cool weather. For cooling or heat to the floor.
Main air flow from the defroster, dashboard and floor vents.For cooler air toward the floor in warm weather or warmer air upward in cold weather.
Related information
•Air distribution (p. 201)
• Opening/closing/directing air vents (p. 202) •
Climate system controls in the center display (p. 189)
• Adjusting air distribution (p. 202)
Page 229 of 546

LOCKS AND ALARM
* Option/accessory, for more information, see Introduction.227
Arming the alarm
–Lock the vehicle by pressing the remote key's lock button, pressing the outer indenta- tion for locking on one of the door handles1
or by pressing the tailgate's rubberized pres-sure plate 1
.
If the vehicle is equipped with a power tail- gate *, the button on the lower edge of the
tailgate can also be used to lock the vehicle and arm the alarm.
Disarming the alarm
–Unlock the vehicle by pressing the remote key's unlock button, pressing the pressure-sensitive area on the inside of one of the door handles 1
or by pressing the tailgate's
rubberized pressure plate 1
.
Turning off a triggered (sounding) alarm
–Press the remote key's unlock button or put the ignition in mode I by turning the start
knob to START and releasing it.
Alarm signalsThe following occurs if the alarm has been trig- gered:
• A siren will sound for 30 seconds or until the alarm is turned off
• All turn signals flash for 5 minutes or untilthe alarm is turned off If the door that triggered the alarm is left open,
the alarm cycle will be repeated 10 times.
Alarm indicatorA red indicator light on the upper side of the dashboard shows the alarm's status:
• Indicator off: the alarm is disarmed
• Indicator flashes once every two seconds: the alarm is armed
• Indicator flashes quickly after the alarm hasbeen disarmed until the ignition has been put in mode
I (turn the start knob to START and
release it): the alarm has been triggered
Related information
• Automatically arming/disarming the alarm (p. 228)
• Deactivating the alarm without a functioningremote key (p. 228)
1
Models withe the optional Passive Entry only.
Page 242 of 546
||
LOCKS AND ALARM
* Option/accessory, for more information, see Introduction.
240
Related information
• Power tailgate
* (p. 246)
• Locking/unlocking the tailgate (p. 244)
• Remote key's range (p. 235)
Locking and unlocking confirmation
The turn signals can be used to indicate that the vehicle has been locked/unlocked with theremote key. These settings can also bechanged.
Exterior confirmation
• Locking: the turn signals flash once and the door mirrors will fold in (retract) 11
• Unlocking: the turn signals flash twice andthe door mirrors will fold out 11
When the vehicle is locked, confirmation will only be given if all doors/tailgate and the hood areclosed. If the vehicle is locked while only the driver's door is closed, all doors/tailgate will lock but confirma-tion will only be given when all doors/tailgate/hood are closed.
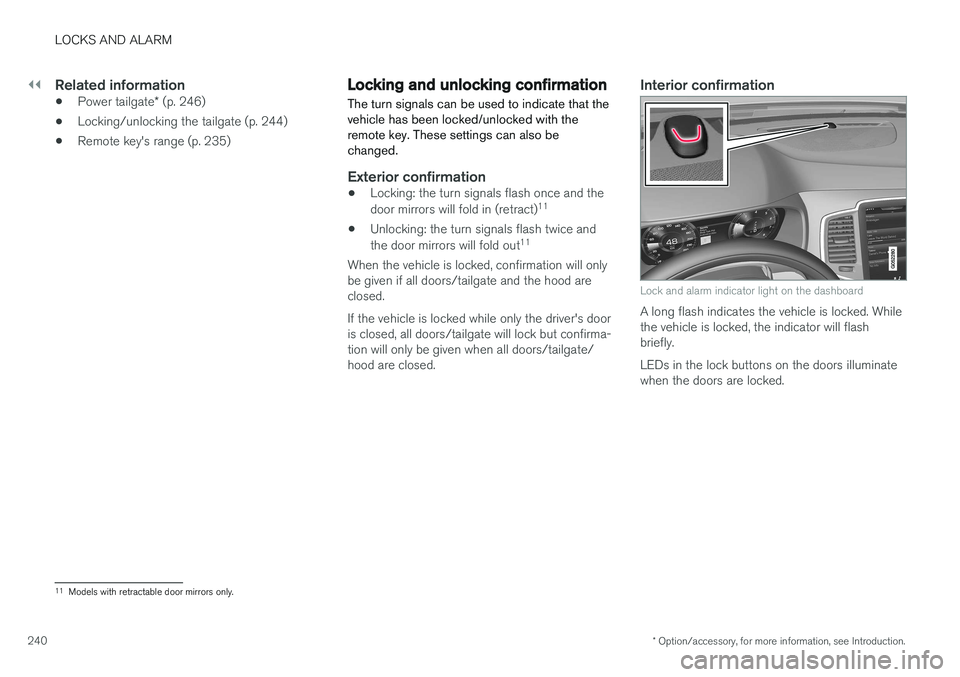
Interior confirmation
Lock and alarm indicator light on the dashboard
A long flash indicates the vehicle is locked. While the vehicle is locked, the indicator will flashbriefly. LEDs in the lock buttons on the doors illuminate when the doors are locked.
11 Models with retractable door mirrors only.
Page 246 of 546
||
LOCKS AND ALARM
* Option/accessory, for more information, see Introduction.
244
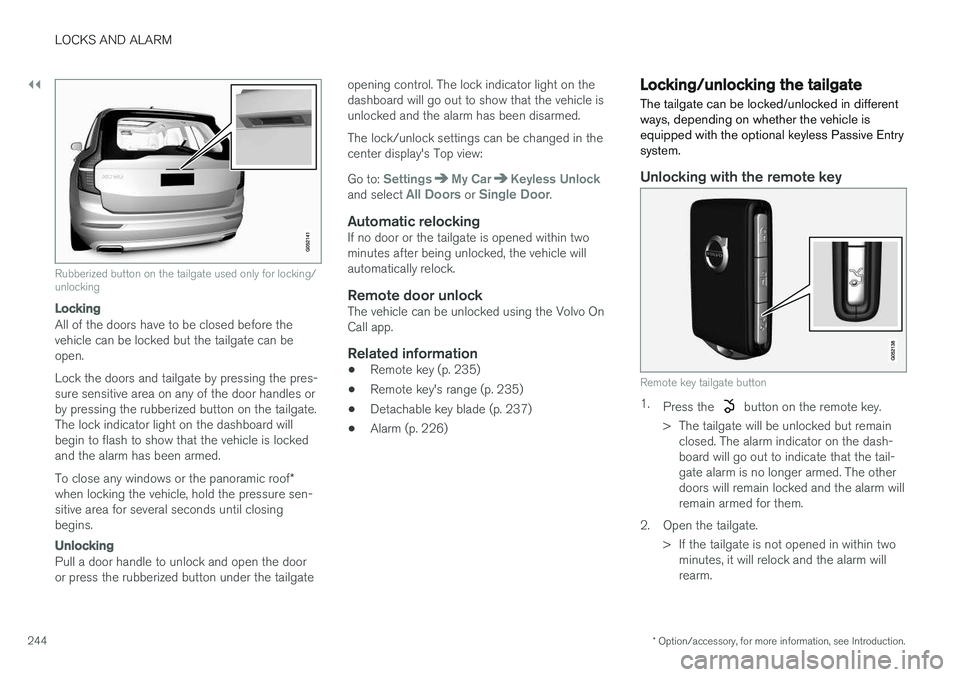
Rubberized button on the tailgate used only for locking/ unlocking
Locking
All of the doors have to be closed before the vehicle can be locked but the tailgate can beopen. Lock the doors and tailgate by pressing the pres- sure sensitive area on any of the door handles orby pressing the rubberized button on the tailgate.The lock indicator light on the dashboard willbegin to flash to show that the vehicle is lockedand the alarm has been armed. To close any windows or the panoramic roof *
when locking the vehicle, hold the pressure sen- sitive area for several seconds until closingbegins.
Unlocking
Pull a door handle to unlock and open the door or press the rubberized button under the tailgate opening control. The lock indicator light on thedashboard will go out to show that the vehicle isunlocked and the alarm has been disarmed. The lock/unlock settings can be changed in the center display's Top view: Go to:
SettingsMy CarKeyless Unlockand select All Doors or Single Door.
Automatic relockingIf no door or the tailgate is opened within two minutes after being unlocked, the vehicle willautomatically relock.
Remote door unlockThe vehicle can be unlocked using the Volvo OnCall app.
Related information
•
Remote key (p. 235)
• Remote key's range (p. 235)
• Detachable key blade (p. 237)
• Alarm (p. 226)
Locking/unlocking the tailgate The tailgate can be locked/unlocked in different ways, depending on whether the vehicle isequipped with the optional keyless Passive Entrysystem.
Unlocking with the remote key
Remote key tailgate button
1.
Press the button on the remote key.
> The tailgate will be unlocked but remain closed. The alarm indicator on the dash- board will go out to indicate that the tail-gate alarm is no longer armed. The otherdoors will remain locked and the alarm willremain armed for them.
2. Open the tailgate. > If the tailgate is not opened in within twominutes, it will relock and the alarm willrearm.
Page 247 of 546
LOCKS AND ALARM
* Option/accessory, for more information, see Introduction.245
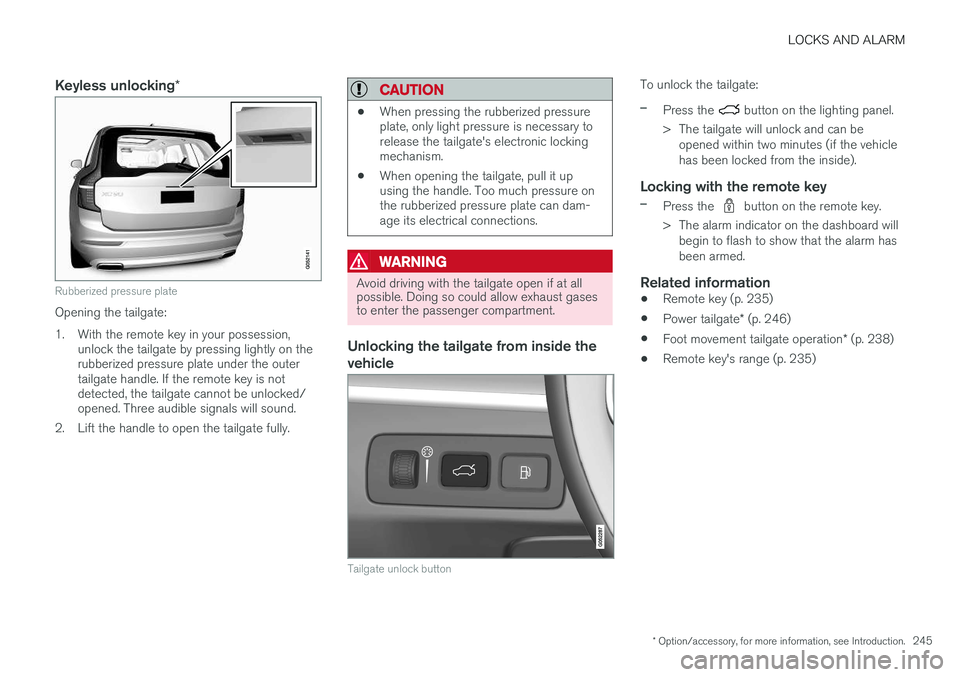
Keyless unlocking*
Rubberized pressure plate
Opening the tailgate:
1. With the remote key in your possession,
unlock the tailgate by pressing lightly on the rubberized pressure plate under the outertailgate handle. If the remote key is notdetected, the tailgate cannot be unlocked/opened. Three audible signals will sound.
2. Lift the handle to open the tailgate fully.
CAUTION
• When pressing the rubberized pressure plate, only light pressure is necessary torelease the tailgate's electronic lockingmechanism.
• When opening the tailgate, pull it upusing the handle. Too much pressure onthe rubberized pressure plate can dam-age its electrical connections.
WARNING
Avoid driving with the tailgate open if at all possible. Doing so could allow exhaust gasesto enter the passenger compartment.
Unlocking the tailgate from inside the vehicle
Tailgate unlock button
To unlock the tailgate:
–Press the button on the lighting panel.
> The tailgate will unlock and can be opened within two minutes (if the vehicle has been locked from the inside).
Locking with the remote key
–Press the button on the remote key.
> The alarm indicator on the dashboard will begin to flash to show that the alarm has been armed.
Related information
• Remote key (p. 235)
• Power tailgate
* (p. 246)
• Foot movement tailgate operation
* (p. 238)
• Remote key's range (p. 235)