Page 15 of 179
Interior Emergency ReleaseAn interior release button inside the front
trunk allows a person locked inside to get out.
This release button is active whenever
Model X is stationary.
Press the interior release button to open the
front trunk, then push up on the hood.
Note: The button glows for several hours after
a brief exposure to ambient light.
Opening with No Power
If Model X has no electrical power, or if you are
unable to open the front trunk using the touchscreen or key, follow these steps to openit:
1. Remove the tow hook cover located in the lower front of Model X. To do so, insert a
small
flat screwdriver into the slot located
along the top of the cover, then pry gently
to release the cover from the top snap.
2. Locate the two straps. One of these straps
is labeled
Page 140 of 179

Inflating with Air Only
If you have a Tesla tire repair kit, follow these
steps to
inflate a tire with air:
1. Detach the power supply connector from the rear of the compressor and plug it into
the 12V power socket located in Model X
on the front of center console.
2. Release the black air hose from the compressor.
3. Attach the air hose to the valve and press the lever down to secure it in place.
4. Ensure the compressor is lying on a level
surface with the pressure gauge facing tothe side where you can read it.
5. To add air, turn on the compressor and
inflate until the desired pressure is
reached.
6. To release air, turn
off the compressor,
then press and hold the red button until
the desired pressure is reached.
Note: For your convenience, the tire repair kit
includes a selection of adapters that allow you to
inflate other items. These adapters are
located in a compartment on the back of the
compressor.
Caution: To avoid overheating, do not use
the compressor continuously for more
than eight minutes. Allow the compressor
to cool for 15 minutes between uses.Caution: The compressor runs slowly
when overheated from excessive use. Turn
it
off and allow it to cool.Temporary Tire Repair
140Model X Owner
Page 165 of 179
Connect the Towing Eye1. Locate the towing eye in the front trunk.
2. Remove the tow hook cover. To do so, insert a small
flat screwdriver into the slot
located along the top of the cover, then
pry gently to release the cover from the
top snap.
3. Insert the towing eye.
Fully insert the towing eye into the
opening on the right side, then turn it
counter-clockwise until securely fastened.
4. Attach the winch cable to the towing eye.
Caution: Before pulling, make sure the
towing eye is securely tightened.Pull Onto the Trailer and Secure the
Wheels
Secure wheels using the eight-point tie-downmethod with basket straps or tie-down straps:
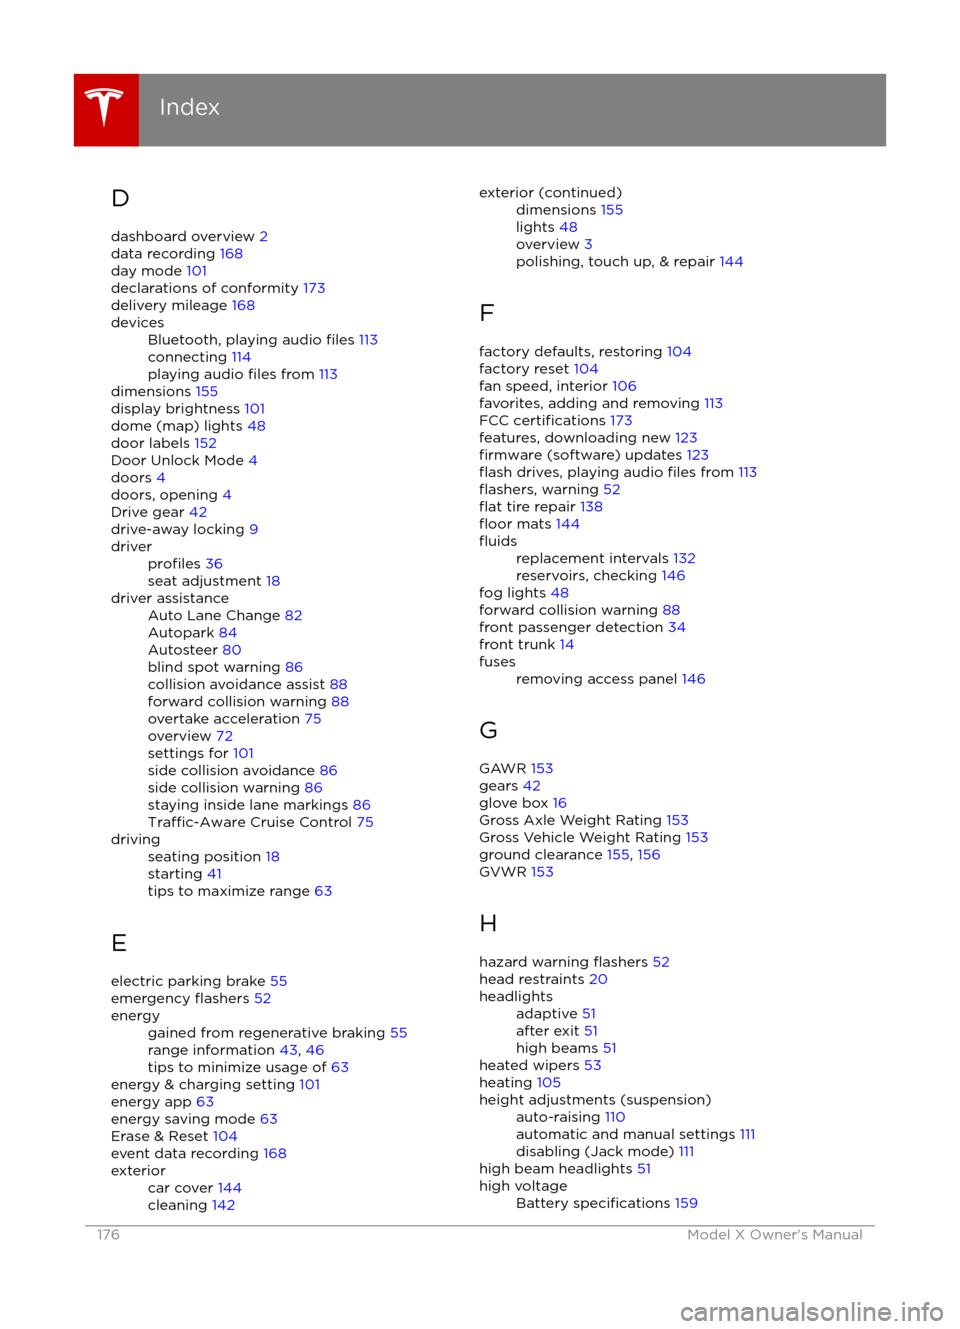
Page 176 of 179

D
dashboard overview 2
data recording 168
day mode 101
declarations of conformity 173
delivery mileage 168devicesBluetooth, playing audio files 113
connecting 114
playing audio
files from 113
dimensions 155
display brightness 101
dome (map) lights 48
door labels 152
Door Unlock Mode 4
doors 4
doors, opening 4
Drive gear 42
drive-away locking 9
driverprofiles 36
seat adjustment 18driver assistanceAuto Lane Change 82
Autopark 84
Autosteer 80
blind spot warning 86
collision avoidance assist 88
forward collision warning 88
overtake acceleration 75
overview 72
settings for 101
side collision avoidance 86
side collision warning 86
staying inside lane markings 86
Traffic-Aware Cruise Control 75
drivingseating position 18
starting 41
tips to maximize range 63
E
electric parking brake 55
emergency
flashers 52
energygained from regenerative braking 55
range information 43, 46
tips to minimize usage of 63
energy & charging setting 101
energy app 63
energy saving mode 63
Erase & Reset 104
event data recording 168
exteriorcar cover 144
cleaning 142exterior (continued)dimensions 155
lights 48
overview 3
polishing, touch up, & repair 144
F
factory defaults, restoring 104
factory reset 104
fan speed, interior 106
favorites, adding and removing 113
FCC
certifications 173
features, downloading new 123
firmware (software) updates 123flash drives, playing audio files from 113flashers, warning 52flat tire repair 138floor mats 144
fluidsreplacement intervals 132
reservoirs, checking 146
fog lights 48
forward collision warning 88
front passenger detection 34
front trunk 14
fusesremoving access panel 146
G
GAWR 153
gears 42
glove box 16
Gross Axle Weight Rating 153
Gross Vehicle Weight Rating 153
ground clearance 155, 156
GVWR 153
H hazard warning
flashers 52
head restraints 20
headlightsadaptive 51
after exit 51
high beams 51
heated wipers 53
heating 105
height adjustments (suspension)auto-raising 110
automatic and manual settings 111
disabling (Jack mode) 111
high beam headlights 51
high voltageBattery specifications 159
Index
176Model X Owner
Page 179 of 179

Tire and Loading Information label 153
tire noise 136Tire Pressure Monitoring SystemFCC certification 173
overview of 136
tire pressures, checking 133
tire pressures, when towing 67
tire repair kitinflating with air only 140inflating with sealant 139
replacing the sealant canister 141tiresall-season 135
balancing 134
chains 136
inspecting and maintaining 134
pressures, how to check 133
replacing 135
replacing a tire sensor 137
rotation 134
specification 160
summer 135
tire markings 161
tire sealant 138
winter 136
torque specifications 157
touch up body 144
touchscreenclean mode 143
cleaning 143
Controls 97
overview 93
Settings 101
software updates 123
Tow mode 164
towing 164
towing a trailer 67
towing eye, locating 165
towing instructions 164
Towing Label 152
Towing Mode 67
TPMSFCC certification 173
overview of 136
traction control 56
trademarks 166, 167
traffic alerts 113Traffic-Aware Cruise Control 75
trailer, towing 67
transmission
specifications 157
transporting 164
trip chart 63
trip information 62
trip overview 117
trip planner 117
trunk, front 14
trunk, rearchild protection lock 9
disabling interior handle 9
TuneIn 112
turn signals
51
Typical range 101
U ultrasonic sensors 72
Units & Format 101unlockingtrunk, front 14
trunk, rear 12
unlocking and locking doors 4
unlocking when key doesn