2016 SUBARU IMPREZA Tail light
[x] Cancel search: Tail lightPage 234 of 594
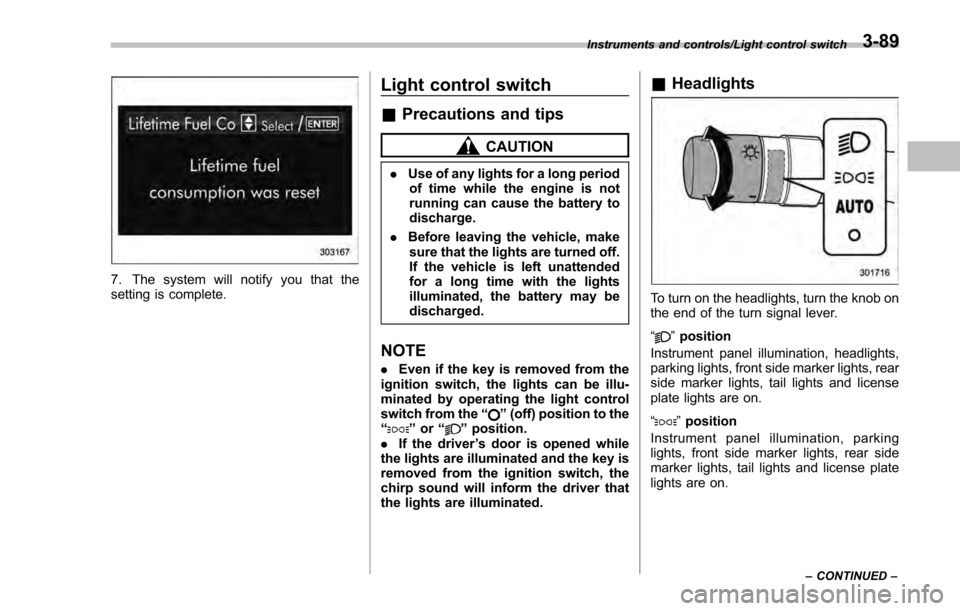
7. The system will notify you that the
setting is complete.
Light control switch
&Precautions and tips
CAUTION
. Use of any lights for a long period
of time while the engine is not
running can cause the battery to
discharge.
. Before leaving the vehicle, make
sure that the lights are turned off.
If the vehicle is left unattended
for a long time with the lights
illuminated, the battery may be
discharged.
NOTE
. Even if the key is removed from the
ignition switch, the lights can be illu-
minated by operating the light control
switch from the “
”(off) position to the
“” or “”position.
. If the driver ’s door is opened while
the lights are illuminated and the key is
removed from the ignition switch, the
chirp sound will inform the driver that
the lights are illuminated.
& Headlights
To turn on the headlights, turn the knob on
the end of the turn signal lever.
“
”position
Instrument panel illumination, headlights,
parking lights, front side marker lights, rear
side marker lights, tail lights and license
plate lights are on.
“
” position
Instrument panel illumination, parking
lights, front side marker lights, rear side
marker lights, tail lights and license plate
lights are on.
Instruments and controls/Light control switch
–CONTINUED –3-89
Page 235 of 594

Instruments and controls/Light control switch
“”position: auto on/off headlights (if
equipped)
When the ignition switch is in the “ON ”
position, the instrument panel illumination,
headlights, parking lights, front side mar-
ker lights, rear side marker lights, tail lights
and license plate lights are automatically
on or off depending on the level of the
ambient light.
“
” position
The headlights are all off.
NOTE
The sensitivity of the auto on/off head-
lights can be changed by a SUBARU
dealer. Consult your SUBARU dealer
for details. Also, for models with a multi
function display, the setting can be
changed using the display. For details,
refer to “Auto light sensor sensitivity
setting ”F 3-83.
! Welcome lighting function (if
equipped)
The welcome lighting function turns on the
low beam headlight for smooth approach-
ing to or exiting from the vehicle at night or
in a dark place.
The function is activated while all of the
following conditions are met.
. The light control switch is in the “AUTO
”position
. It is dark enough to turn on the auto on/
off headlights
When approaching:
While the welcome lighting function is
activated, the low beam headlights will
automatically illuminate when unlocking
the doors (for 5-door, including the rear
gate) by using the remote keyless entry
system.
The low beam headlights will remain
illuminated for 30 seconds
*1and then turn
off. However, if any of the following
operations is done, the low beam head-
lights will turn off.
. The doors are locked.
. The light control switch is turned to a
position other than “AUTO”.
. The ignition switch is turned to the “ON”
position.
When exiting:
While the welcome lighting function is
activated, the low beam headlights will
remain illuminated even when either of the
following operation is done.
. Thepush-buttonignitionswitchis
turned to the “OFF”status (models with
“keyless access with push-button start
system ”) .
The key is pulled out from the ignition
switch (models without “keyless access
with push-button start system ”)
The low beam headlights will turn off
under any of the following conditions.
. 3 minutes have passed since the low
beam headlights were illuminated by the
welcome lighting function.
. 30 seconds have passed since the
door is opened and closed.
*1
. The light control switch is turned to a
position other than “AUTO”.
. The locking procedure is performed
twice. When performing the unlocking
procedure after performing the locking
procedure, perform the locking procedure
twice again.
*1: The setting for the period of time in which
the low beam headlights remain on by the
welcome lighting function can be changed by a
SUBARU dealer. Contact your SUBARU dealer
for details.
3-90
Page 237 of 594

Instruments and controls/Turn signal lever
&Daytime running light system
WARNING
The brightness of the illumination of
the high beam headlights is reduced
by the daytime running light system.
The light switch must always be
turned to the “
”position when it
is dark outside.
The high beam headlights will automati-
cally illuminate at reduced brightness
when the following conditions are fulfilled.
. The engine is running.
. The parking brake is fully released.
. The light control switch is in the
“AUTO ”(if equipped), “
”or off position.
. For CVT models, the select lever is in a
position other than the “P”position.
NOTE
. When the light switch is in the “”
position, the instrument panel illumina-
tion, front side marker lights, tail lights
and license plate lights are also illumi-
nated.
. For models with the auto on/off
headlights, while the light control
switch is in the “AUTO”position and
the system is activated to the auto-on
mode depending on the ambient light level, the high beam headlights that
have illuminated at reduced brightness
turn off, and the low beam headlights
turn on alternatively. At this time, the
instrument panel illumination, front
side marker lights, tail lights and
license plate lights are also illuminated.
Turn signal lever
To activate the right turn signal, push the
turn signal lever up. To activate the left
turn signal, push the turn signal lever
down. When the turn is finished, the lever
will return automatically. If the lever does
not return after cornering, return the lever
to the neutral position by hand.
To signal a lane change, push the turn
signal lever up or down slightly and hold it
during the lane change. The turn signal
indicator lights will flash in the direction of
the turn or lane change. The lever will
return automatically to the neutral position
when you release it.
3-92
Page 238 of 594
&One-touch lane changer
To flash the turn signal and turn signal
indicator light three times, push the turn
signal lever up or down slightly and
immediately release it.
The operational/non-operational setting of
the one-touch lane changer ’s can be
changed by a SUBARU dealer. Contact
the nearest SUBARU dealer for details.
Illumination brightness con-
trol
The illumination brightness of the instru-
ment panel dims under the following
conditions.
. when the light switch is in the “
”or
“” position
. when the light control switch is in the
“AUTO ”position and the headlights illumi-
nate automatically (models with auto on/
off headlights: Refer to “Headlights”F 3-
89.)
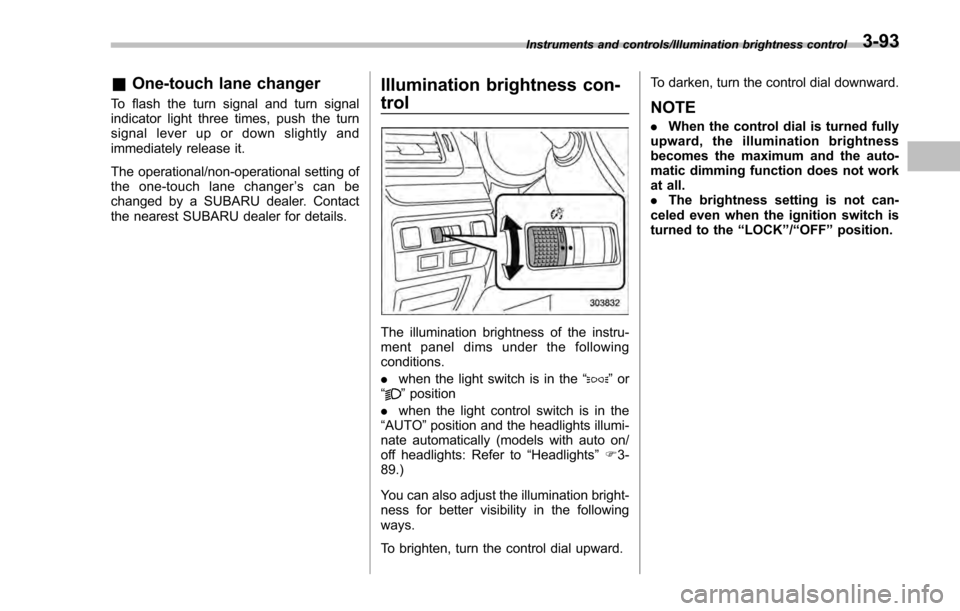
You can also adjust the illumination bright-
ness for better visibility in the following
ways.
To brighten, turn the control dial upward. To darken, turn the control dial downward.
NOTE
.
When the control dial is turned fully
upward, the illumination brightness
becomes the maximum and the auto-
matic dimming function does not work
at all.
. The brightness setting is not can-
celed even when the ignition switch is
turned to the “LOCK”/“OFF ”position.
Instruments and controls/Illumination brightness control3-93
Page 248 of 594
!Compass zone adjustment
Compass calibration zones
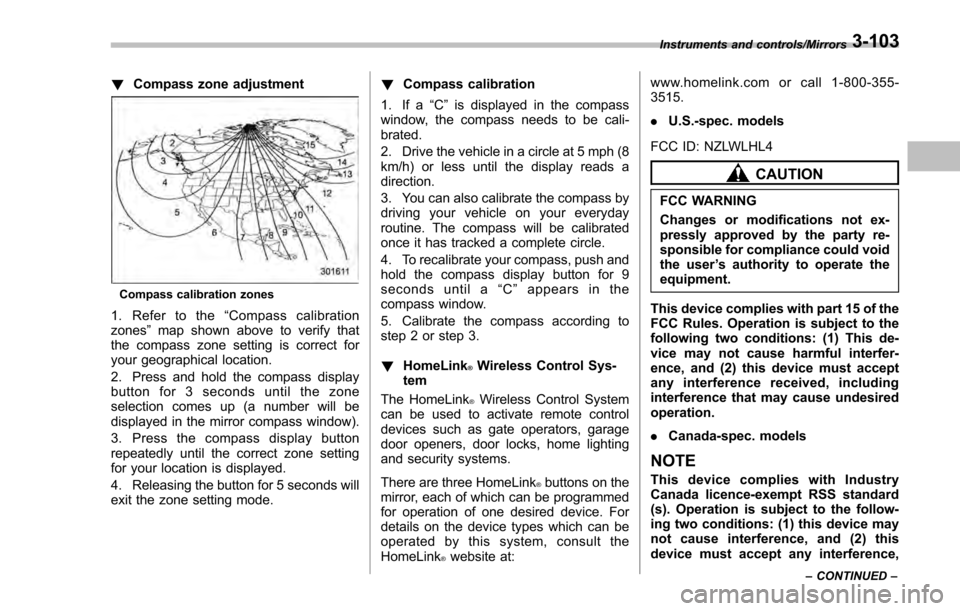
1. Refer to the “Compass calibration
zones” map shown above to verify that
the compass zone setting is correct for
your geographical location.
2. Press and hold the compass display
button for 3 seconds until the zone
selection comes up (a number will be
displayed in the mirror compass window).
3. Press the compass display button
repeatedly until the correct zone setting
for your location is displayed.
4. Releasing the button for 5 seconds will
exit the zone setting mode. !
Compass calibration
1. If a “C”is displayed in the compass
window, the compass needs to be cali-
brated.
2. Drive the vehicle in a circle at 5 mph (8
km/h) or less until the display reads a
direction.
3. You can also calibrate the compass by
driving your vehicle on your everyday
routine. The compass will be calibrated
once it has tracked a complete circle.
4. To recalibrate your compass, push and
hold the compass display button for 9
seconds until a “C ” appears in the
compass window.
5. Calibrate the compass according to
step 2 or step 3.
! HomeLink
®Wireless Control Sys-
tem
The HomeLink
®Wireless Control System
can be used to activate remote control
devices such as gate operators, garage
door openers, door locks, home lighting
and security systems.
There are three HomeLink
®buttons on the
mirror, each of which can be programmed
for operation of one desired device. For
details on the device types which can be
operated by this system, consult the
HomeLink
®website at: www.homelink.com or call 1-800-355-
3515.
.
U.S.-spec. models
FCC ID: NZLWLHL4
CAUTION
FCC WARNING
Changes or modifications not ex-
pressly approved by the party re-
sponsible for compliance could void
the user ’s authority to operate the
equipment.
This device complies with part 15 of the
FCC Rules. Operation is subject to the
following two conditions: (1) This de-
vice may not cause harmful interfer-
ence, and (2) this device must accept
any interference received, including
interference that may cause undesired
operation.
. Canada-spec. models
NOTE
This device complies with Industry
Canada licence-exempt RSS standard
(s). Operation is subject to the follow-
ing two conditions: (1) this device may
not cause interference, and (2) this
device must accept any interference,
Instruments and controls/Mirrors
–CONTINUED –3-103
Page 254 of 594
window defogger. Some models are also
equipped with an outside mirror defogger
and/or windshield wiper deicer. The de-
fogger and deicer system is activated only
when the ignition switch is in the“ON”
position.
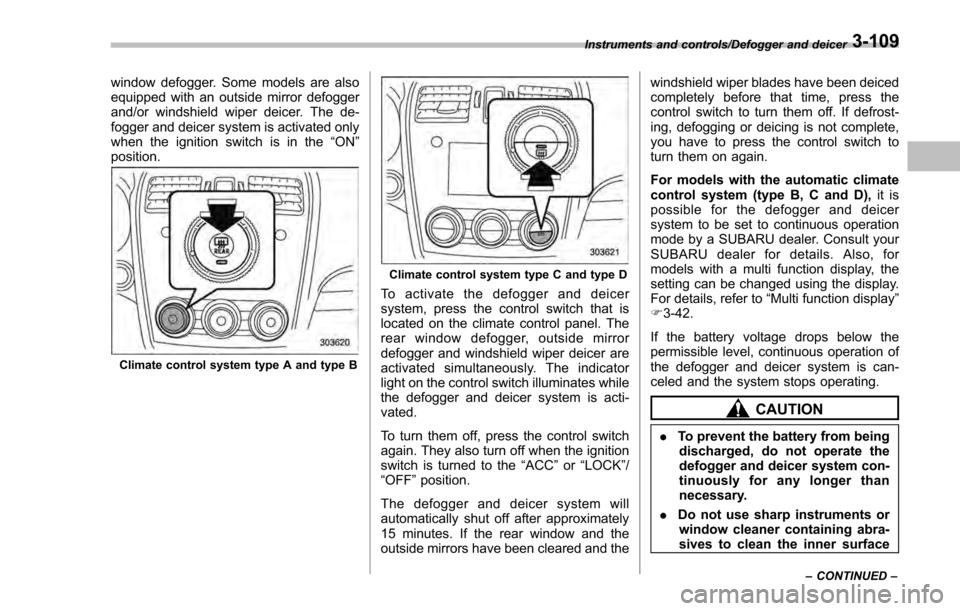
Climate control system type A and type B
Climate control system type C and type D
To activate the defogger and deicer
system, press the control switch that is
located on the climate control panel. The
rear window defogger, outside mirror
defogger and windshield wiper deicer are
activated simultaneously. The indicator
light on the control switch illuminates while
the defogger and deicer system is acti-
vated.
To turn them off, press the control switch
again. They also turn off when the ignition
switch is turned to the “ACC”or “LOCK” /
“OFF ”position.
The defogger and deicer system will
automatically shut off after approximately
15 minutes. If the rear window and the
outside mirrors have been cleared and the windshield wiper blades have been deiced
completely before that time, press the
control switch to turn them off. If defrost-
ing, defogging or deicing is not complete,
you have to press the control switch to
turn them on again.
For models with the automatic climate
control system (type B, C and D),
it is
possible for the defogger and deicer
system to be set to continuous operation
mode by a SUBARU dealer. Consult your
SUBARU dealer for details. Also, for
models with a multi function display, the
setting can be changed using the display.
For details, refer to “Multi function display”
F 3-42.
If the battery voltage drops below the
permissible level, continuous operation of
the defogger and deicer system is can-
celed and the system stops operating.
CAUTION
. To prevent the battery from being
discharged, do not operate the
defogger and deicer system con-
tinuously for any longer than
necessary.
. Do not use sharp instruments or
window cleaner containing abra-
sives to clean the inner surface
Instruments and controls/Defogger and deicer
–CONTINUED –3-109
Page 281 of 594
Audio/Audio set
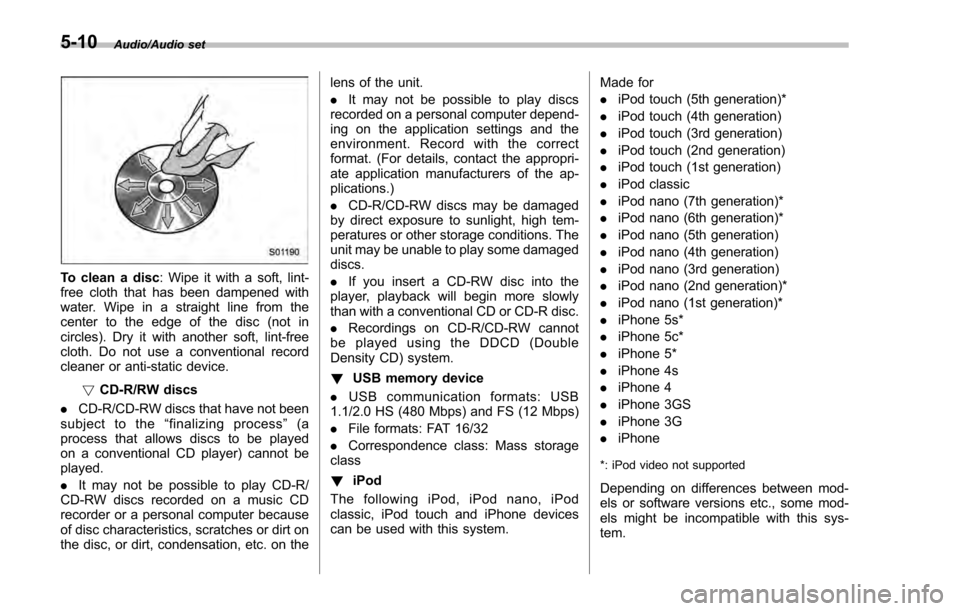
To clean a disc: Wipe it with a soft, lint-
free cloth that has been dampened with
water. Wipe in a straight line from the
center to the edge of the disc (not in
circles). Dry it with another soft, lint-free
cloth. Do not use a conventional record
cleaner or anti-static device.
!CD-R/RW discs
. CD-R/CD-RW discs that have not been
subject to the “finalizing process ”(a
process that allows discs to be played
on a conventional CD player) cannot be
played.
. It may not be possible to play CD-R/
CD-RW discs recorded on a music CD
recorder or a personal computer because
of disc characteristics, scratches or dirt on
the disc, or dirt, condensation, etc. on the lens of the unit.
.
It may not be possible to play discs
recorded on a personal computer depend-
ing on the application settings and the
environment. Record with the correct
format. (For details, contact the appropri-
ate application manufacturers of the ap-
plications.)
. CD-R/CD-RW discs may be damaged
by direct exposure to sunlight, high tem-
peratures or other storage conditions. The
unit may be unable to play some damaged
discs.
. If you insert a CD-RW disc into the
player, playback will begin more slowly
than with a conventional CD or CD-R disc.
. Recordings on CD-R/CD-RW cannot
be played using the DDCD (Double
Density CD) system.
! USB memory device
. USB communication formats: USB
1.1/2.0 HS (480 Mbps) and FS (12 Mbps)
. File formats: FAT 16/32
. Correspondence class: Mass storage
class
! iPod
The following iPod, iPod nano, iPod
classic, iPod touch and iPhone devices
can be used with this system. Made for
.
iPod touch (5th generation)*
. iPod touch (4th generation)
. iPod touch (3rd generation)
. iPod touch (2nd generation)
. iPod touch (1st generation)
. iPod classic
. iPod nano (7th generation)*
. iPod nano (6th generation)*
. iPod nano (5th generation)
. iPod nano (4th generation)
. iPod nano (3rd generation)
. iPod nano (2nd generation)*
. iPod nano (1st generation)*
. iPhone 5s*
. iPhone 5c*
. iPhone 5*
. iPhone 4s
. iPhone 4
. iPhone 3GS
. iPhone 3G
. iPhone
*: iPod video not supported
Depending on differences between mod-
els or software versions etc., some mod-
els might be incompatible with this sys-
tem.
5-10
Page 368 of 594
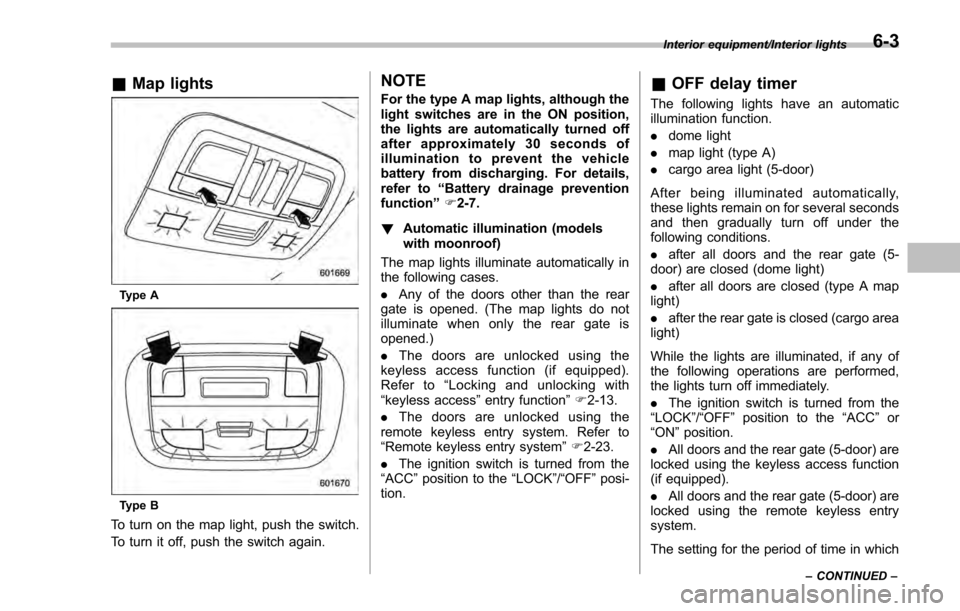
&Map lights
Type A
Type B
To turn on the map light, push the switch.
To turn it off, push the switch again.
NOTE
For the type A map lights, although the
light switches are in the ON position,
the lights are automatically turned off
after approximately 30 seconds of
illumination to prevent the vehicle
battery from discharging. For details,
refer to “Battery drainage prevention
function” F2-7.
! Automatic illumination (models
with moonroof)
The map lights illuminate automatically in
the following cases.
. Any of the doors other than the rear
gate is opened. (The map lights do not
illuminate when only the rear gate is
opened.)
. The doors are unlocked using the
keyless access function (if equipped).
Refer to “Locking and unlocking with
“keyless access” entry function”F 2-13.
. The doors are unlocked using the
remote keyless entry system. Refer to
“Remote keyless entry system ”F 2-23.
. The ignition switch is turned from the
“ACC ”position to the “LOCK”/ “OFF”posi-
tion.& OFF delay timer
The following lights have an automatic
illumination function.
. dome light
. map light (type A)
. cargo area light (5-door)
After being illuminated automatically,
these lights remain on for several seconds
and then gradually turn off under the
following conditions.
. after all doors and the rear gate (5-
door) are closed (dome light)
. after all doors are closed (type A map
light)
. after the rear gate is closed (cargo area
light)
While the lights are illuminated, if any of
the following operations are performed,
the lights turn off immediately.
. The ignition switch is turned from the
“ LOCK ”/“OFF ”position to the “ACC”or
“ON ”position.
. All doors and the rear gate (5-door) are
locked using the keyless access function
(if equipped).
. All doors and the rear gate (5-door) are
locked using the remote keyless entry
system.
The setting for the period of time in which
Interior equipment/Interior lights
–CONTINUED –6-3