Page 179 of 594
Instruments and controls/Information display
sequence.!Driving range on remaining fuel
1) U.S.-spec. models
2) Except U.S.-spec. models
The driving range indicates the distance
that can be driven taking into account the
amount of fuel remaining in the tank and
the average rate of fuel consumption.
When the low fuel warning light illumi-
nates, the driving range display flashes for
5 seconds. (The display first switches to
the driving range value if a different value
was previously displayed.)
1) U.S.-spec. models
2) Except U.S.-spec. models
If the driving range is shown as “”,
there is only a tiny amount of fuel left in the
tank. You must refuel the vehicle immedi-
ately.
NOTE
The driving range on remaining fuel is
only a guide. The indicated value may
differ from the actual driving range on
remaining fuel, so you must immedi-
ately fill the tank when the low fuel
warning light illuminates.
3-34
Page 180 of 594

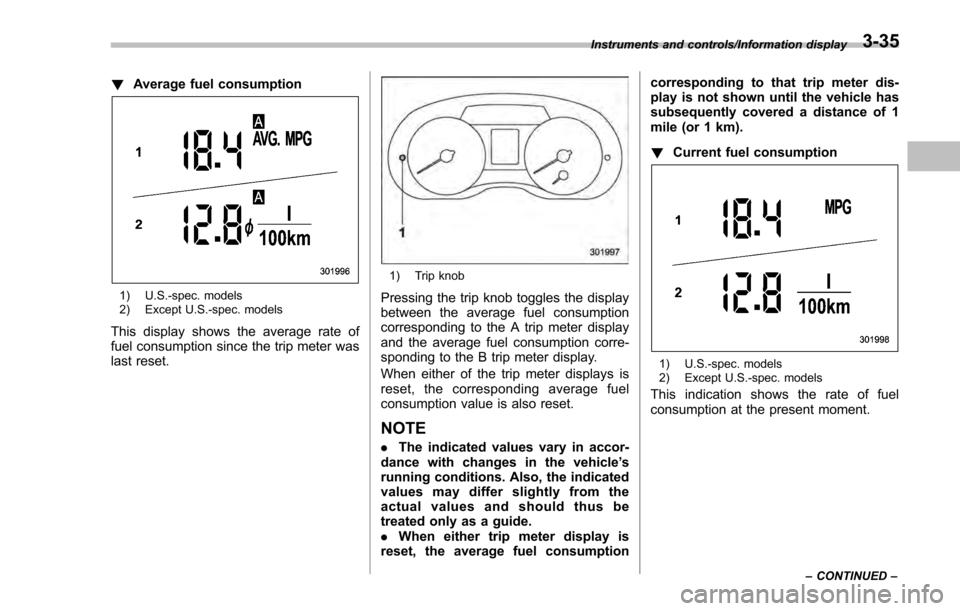
!Average fuel consumption
1) U.S.-spec. models
2) Except U.S.-spec. models
This display shows the average rate of
fuel consumption since the trip meter was
last reset.
1) Trip knob
Pressing the trip knob toggles the display
between the average fuel consumption
corresponding to the A trip meter display
and the average fuel consumption corre-
sponding to the B trip meter display.
When either of the trip meter displays is
reset, the correspon ding average fuel
consumption value is also reset.
NOTE
. The indicated values vary in accor-
dance with changes in the vehicle ’s
running conditions. Also, the indicated
values may differ slightly from the
actual values and should thus be
treated only as a guide.
. When either trip meter display is
reset, the average fuel consumption corresponding to that trip meter dis-
play is not shown until the vehicle has
subsequently covered a distance of 1
mile (or 1 km).
!
Current fuel consumption
1) U.S.-spec. models
2) Except U.S.-spec. models
This indication shows the rate of fuel
consumption at the present moment.
Instruments and controls/Information display
–CONTINUED –3-35
Page 199 of 594

Instruments and controls/Multi function display
&Selection screen
When thebutton is pushed and held, the setting screen for each menu can be displayed. Select the preferred menu by operating
the “”or “”switch.
Top menu Menu option DescriptionPage
Time/Date Time/Date Set and adjust the time and date. 12h or 24h format can be selected. 3-57
Birthday Set a birthday. 3-58
Anniversary Set an anniversary day. 3-60
Daylight Saving Time Turn the daylight saving time on or off 3-63
Go Back Return to the top menu. —
Display Contrast Adjust the contrast. +5↔−53 -6 4
Screen Off Turn the screen on or off. On or Off3-64
Beep Adjust the beep sound volume. High, Low or Off3-65
Go Back Return to the top menu. —
Screen Setting Top Display Set and customize the top display information
contents. Avg Cons, Inst Cons, Range or
Off
3-66
Cons Customize the fuel consumption information display. 3-67
Eco History Set and customize the time of logging fuel
consumption history. 30 min, 60 min or 120 min 3-68
Triple Meter Set and customize the triple meter. 3-70
Clock Select the clock format. Analog, Digital, Calendar or Off 3-71
Bypass Screen Set the bypass screen for each item. On or Off3-72
Languages Select the display language. English or French3-73
Go Back Return to the top menu. —
3-54
Page 200 of 594

Top menuMenu option DescriptionPage
Maintenance Engine Oil Set and adjust the oil maintenance notification date. 3-74
Oil Filter Set and adjust the oil filter maintenance notification date. 3-75
Tires Set and adjust the tire maintenance notification date. 3-75
Maintenance Schedule Set and adjust the vehicle maintenance notification date. 3-75
On/Off Turn on or off the self-check screen that is
activated when the ignition switch is turned to
the
“ON ”position. On or Off
3-75
Clear All Settings Clear all settings for maintenance items. Yes or No 3-76
Go Back Return to the top menu. —
Driving History Set Register and overwrite the driving record. 3-77
Go Back Return to the top menu. —
Car Setting Keyless Buzzer Volume Set the audible signal volume. 0 (OFF) to 73-79
Hazard Warning Flasher Set the hazard warning flasher. On or Off3-79
Defogger Set and customize the operation of the defogger. 15 minutes or Continuous 3-80
Interior Light Set and customize the interior light off delay
timer. 10, 20, 30 seconds or Off
3-82
Auto Light Sensor (if equipped) Set and customize the sensitivity of the auto
light sensor.
Low, Mid, High or Max
3-83
Keyless Access Setting (if
equipped) Set and customize the keyless access function. Driver
’s Door Unlock 3-84
Rear Gate Unlock 3-85
Go Back Return to top menu. —
Instruments and controls/Multi function display
–CONTINUED –
3-55
Page 208 of 594
!Daylight saving time setting
1. Perform the preparation steps accord-
ing to “Preparation for date setting ”F 3-
57.
2. Operate the “”or “”switch to
select the “Daylight Saving Time ”item.
Then push the
button.
3. The current setting will be displayed.
Push thebutton to enter the selection
mode.
4. Select “On”or“Off ”by operating the
“” or “”switch. Then push thebutton.
5. Select “Set ”by operating the “”
switch, and confirm the setting by pushing
the
button.
6. The system will notify you that the
setting is complete.
Instruments and controls/Multi function display
–CONTINUED –3-63
Page 227 of 594
Instruments and controls/Multi function display
!Interior light off delay timer setting
1. Perform the preparation steps accord-
ing to “Preparation for car settings” F3-78.
2. Operate the “”or “”switch to
select the “Interior Light” item. Then push
the
button.
3. The current setting will be displayed.
Push thebutton to enter the selection
mode.
4. Select the preferred setting by operat-
ing the “”or “”switch. Then push thebutton.
5. Select “Set ”by operating the “”
switch, and confirm the setting by pushing
the
button.
6. The system will notify you that the
setting is complete.
If the setting is not available, the following
notification will be displayed. In this case,
perform the setting procedure again.
3-82
Page 228 of 594
!Auto light sensor sensitivity setting
1. Perform the preparation steps accord-
ing to “Preparation for car settings” F3-78.
2. Operate the “”or “”switch to
select the “Auto Light Sensor ”item. Then push the
button.
3. The current setting will be displayed.
Push thebutton to enter the selection
mode.
4. Select the preferred setting by operat-
ing the “”or “”switch. Then push the
button.
5. Select “Set ”by operating the “”
switch, and confirm the setting by pushing
the
button.
6. The system will notify you that the
setting is complete.
Instruments and controls/Multi function display
–CONTINUED –3-83
Page 234 of 594

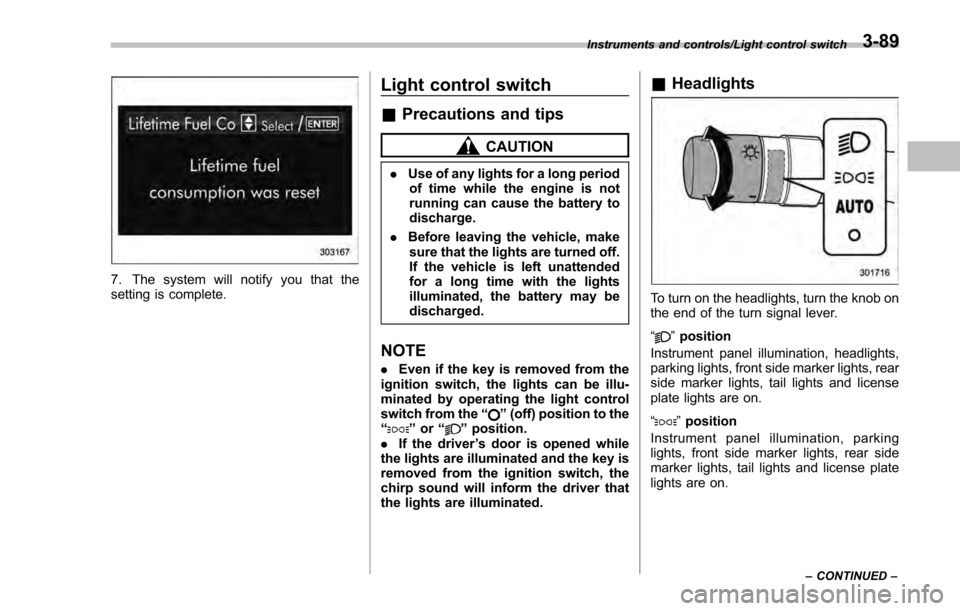
7. The system will notify you that the
setting is complete.
Light control switch
&Precautions and tips
CAUTION
. Use of any lights for a long period
of time while the engine is not
running can cause the battery to
discharge.
. Before leaving the vehicle, make
sure that the lights are turned off.
If the vehicle is left unattended
for a long time with the lights
illuminated, the battery may be
discharged.
NOTE
. Even if the key is removed from the
ignition switch, the lights can be illu-
minated by operating the light control
switch from the “
”(off) position to the
“” or “”position.
. If the driver ’s door is opened while
the lights are illuminated and the key is
removed from the ignition switch, the
chirp sound will inform the driver that
the lights are illuminated.
& Headlights
To turn on the headlights, turn the knob on
the end of the turn signal lever.
“
”position
Instrument panel illumination, headlights,
parking lights, front side marker lights, rear
side marker lights, tail lights and license
plate lights are on.
“
” position
Instrument panel illumination, parking
lights, front side marker lights, rear side
marker lights, tail lights and license plate
lights are on.
Instruments and controls/Light control switch
–CONTINUED –3-89