Page 146 of 448
Oil Pressure Warning Light
Red TelltaleLight What It Means
Oil Pressure Warning Light
This light indicates low engine oil pressure. If the light turns on while driving, stop the ve-
hicle and shut off the engine as soon as possible. A chime will sound when this light turns
on.
Do not operate the vehicle until the cause is corrected. This light does not indicate how
much oil is in the engine. The engine oil level must be checked under the hood.
144 UNDERSTANDING YOUR INSTRUMENT PANEL
Page 158 of 448
Yellow TelltaleLight What It Means
If the ABS light is on, the brake system should be serviced as soon as possible to restore the
benefits of Anti-Lock Brakes. If the ABS light does not turn on when the ignition switch is
placed in the ON/RUN position, have the light inspected by an authorized dealer.
Generic Warning Indicator Light
Yellow Telltale Light What It Means
Generic Warning Indicator Light
The Generic Warning Light will illuminate if any of the following conditions occur: Oil
Change Request, Engine Oil Pressure Sensor Failure, External Light Failure, Fuel Cut-Off
Not Available, Parking Sensor Failure, DST System Failure.
156 UNDERSTANDING YOUR INSTRUMENT PANEL
Page 167 of 448
 to select the new setting for this
submenu option.
5. Briefly push and release the MODEbutton to store the
new setting and go back to the pre")
4. Push and release the UPor DOWNbutton (by
single pushes) to select the new setting for this
submenu option.
5. Briefly push and release the MODEbutton to store the
new setting and go back to the previously selected
submenu option.
6. Push and release and hold the MODEbutton to return
to the main menu (short hold) or the main screen
(longer hold).
Change Engine Oil Indicator System
Change Engine Oil
Your vehicle is equipped with an engine oil change
indicator system. The “Change Engine Oil” message will
display in the EVIC display. The engine oil change
indicator system is duty cycle based, which means the
engine oil change interval may fluctuate, dependent
upon your personal driving style. Unless reset, this message will continue to display each
time you turn the ignition switch to the ON/RUN
position. To turn off the message temporarily, push and
release the
MENUbutton. To reset the oil change indica-
tor system (after performing the scheduled maintenance),
refer to the following procedure.
1. Turn the ignition switch to the ON position (do not start the engine).
2. Fully push the accelerator pedal slowly, three times, within 10 seconds.
3. Turn the ignition switch to the OFF/LOCK position.
NOTE: If the indicator message illuminates when you
start the vehicle, the oil change indicator system did not
reset. If necessary, repeat this procedure.
4
UNDERSTANDING YOUR INSTRUMENT PANEL 165
Page 238 of 448

Shallow Standing Water
Although your vehicle is capable of driving through
shallow standing water, consider the following Cautions
and Warnings before doing so.
WARNING!
•Driving through standing water limits your vehi-
cle’s traction capabilities. Do not exceed 5 mph
(8 km/h) when driving through standing water.
• Driving through standing water limits your vehi-
cle’s braking capabilities, which increases stopping
distances. Therefore, after driving through stand-
ing water, drive slowly and lightly press on the
brake pedal several times to dry the brakes.
• Failure to follow these warnings may result in
injuries that are serious or fatal to you, your pas-
sengers, and others around you.
CAUTION!
• Always check the depth of the standing water
before driving through it. Never drive through
standing water that is deeper than the bottom of
the tire rims mounted on the vehicle.
• Determine the condition of the road or the path
that is under water and if there are any obstacles in
the way before driving through the standing water.
• Do not exceed 5 mph (8 km/h) when driving
through standing water. This will minimize wave
effects.
• Driving through standing water may cause damage
to your vehicle’s drivetrain components. Always
inspect your vehicle’s fluids (i.e., engine oil, trans-
mission, axle, etc.) for signs of contamination (i.e.,
fluid that is milky or foamy in appearance) after
driving through standing water. Do not continue to
(Continued)
236 STARTING AND OPERATING
Page 320 of 448
 onto the
valve stem.
5. Uncoil the Power Plug (8) and insert the plug into the vehicle’s 12 Volt po")
4. Remove the cap from the valve stem and then screwthe fitting at the end of the Sealant Hose (6) onto the
valve stem.
5. Uncoil the Power Plug (8) and insert the plug into the vehicle’s 12 Volt power outlet.
NOTE: Do not remove foreign objects (e.g., screws or
nails) from the tire.
(C) Injecting Tire Service Kit Sealant Into The
Deflated Tire:
• Always start the engine before turning ON the Tire
Service Kit.
NOTE: Manual transmission vehicles must have the
parking brake engaged and the shift lever in NEUTRAL.
• After pushing the Power Button (4), the sealant (white
fluid) will flow from the Sealant Bottle (1) through the
Sealant Hose (6) and into the tire. NOTE:
Sealant may leak out through the puncture in the
tire.
If the sealant (white fluid) does not flow within0–10
seconds through the Sealant Hose (6):
1. Push the Power Button (4) to turn Off the Tire Service Kit. Disconnect the Sealant Hose (6) from the valve
stem. Make sure the valve stem is free of debris.
Reconnect the Sealant Hose (6) to the valve stem.
Check that the Mode Select Knob (5) is in the Sealant
Mode position and not Air Mode. Push the Power
Button (4) to turn On the Tire Service Kit.
2. Connect the Power Plug (8) to a different 12 Volt power outlet in your vehicle or another vehicle, if
available. Make sure the engine is running before
turning ON the Tire Service Kit.
3. The Sealant Bottle (1) may be empty due to previous use. Call for assistance.
318 WHAT TO DO IN EMERGENCIES
Page 353 of 448
MAINTAINING YOUR VEHICLE
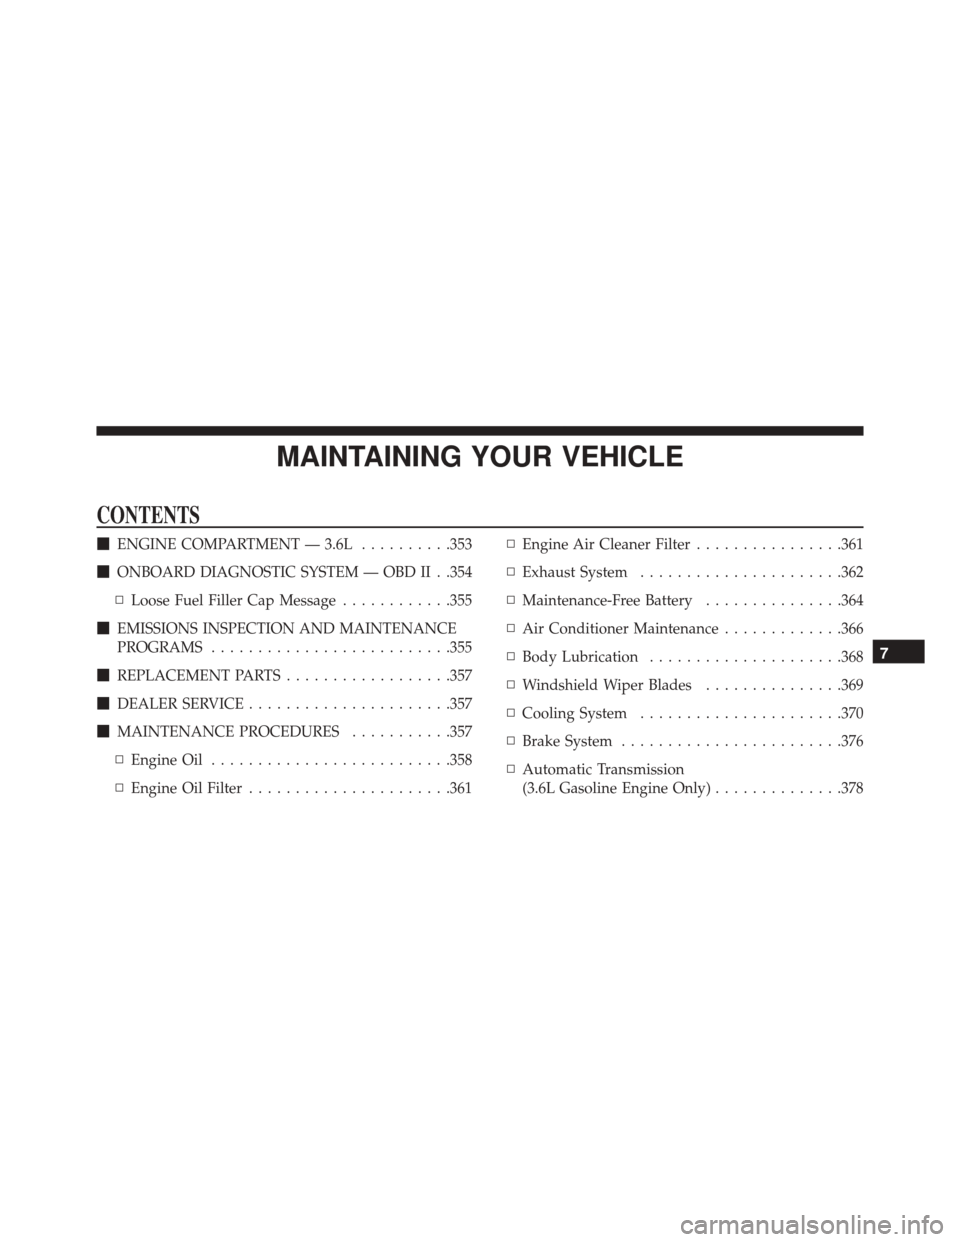
CONTENTS
�ENGINE COMPARTMENT — 3.6L ..........353
� ONBOARD DIAGNOSTIC SYSTEM — OBD II . .354
▫ Loose Fuel Filler Cap Message ............355
� EMISSIONS INSPECTION AND MAINTENANCE
PROGRAMS ......................... .355
� REPLACEMENT PARTS ..................357
� DEALER SERVICE ..................... .357
� MAINTENANCE PROCEDURES ...........357
▫ Engine Oil ......................... .358
▫ Engine Oil Filter ..................... .361▫
Engine Air Cleaner Filter ................361
▫ Exhaust System ..................... .362
▫ Maintenance-Free Battery ...............364
▫ Air Conditioner Maintenance .............366
▫ Body Lubrication .....................368
▫ Windshield Wiper Blades ...............369
▫ Cooling System ..................... .370
▫ Brake System ....................... .376
▫ Automatic Transmission
(3.6L Gasoline Engine Only) ..............378
7
Page 355 of 448
ENGINE COMPARTMENT — 3.6L
1 — Washer Solvent Reservoir
2 — Engine Oil Fill
3 — Engine Oil Dipstick
4 — Brake Fluid Reservoir5 — Power Distribution Center (Fuses)
6 — Coolant Reservoir
7 — Power Steering Reservoir
7
MAINTAINING YOUR VEHICLE 353
Page 360 of 448

Besides those maintenance items specified in the fixed
“Maintenance Schedule”, there are other components
which may require servicing or replacement in the future.
CAUTION!
•Failure to properly maintain your vehicle or per-
form repairs and service when necessary could
result in more costly repairs, damage to other
components or negatively impact vehicle perfor-
mance. Immediately have potential malfunctions
examined by an authorized dealer or qualified
repair center.
• Your vehicle has been built with improved fluids
that protect the performance and durability of your
vehicle and also allow extended maintenance inter-
vals. Do not use chemical flushes in these compo-
nents as the chemicals can damage your engine,
(Continued)
CAUTION! (Continued)
transmission, or air conditioning. Such damage is
not covered by the New Vehicle Limited Warranty.
If a flush is needed because of component malfunc-
tion, use only the specified fluid for the flushing
procedure.
Engine Oil
Checking Oil Level
To assure proper engine lubrication, the engine oil must
be maintained at the correct level. Check the oil level at
regular intervals, such as every fuel stop. The best time to
check the engine oil level is about five minutes after a
fully warmed engine is shut OFF.
Checking the oil while the vehicle is on level ground will
improve the accuracy of the oil level readings. Maintain
the oil level between the MIN and MAX markings on the
358 MAINTAINING YOUR VEHICLE


6 — Coolant Reservoir
7")