Page 116 of 380
●When cleaning the seat, never use
gasoline, benzine, thinner, or any simi-
lar materials.
● If any malfunctions are found or the
heated seat does not operate, turn the
switch off and have the system checked
by a NISSAN dealer.
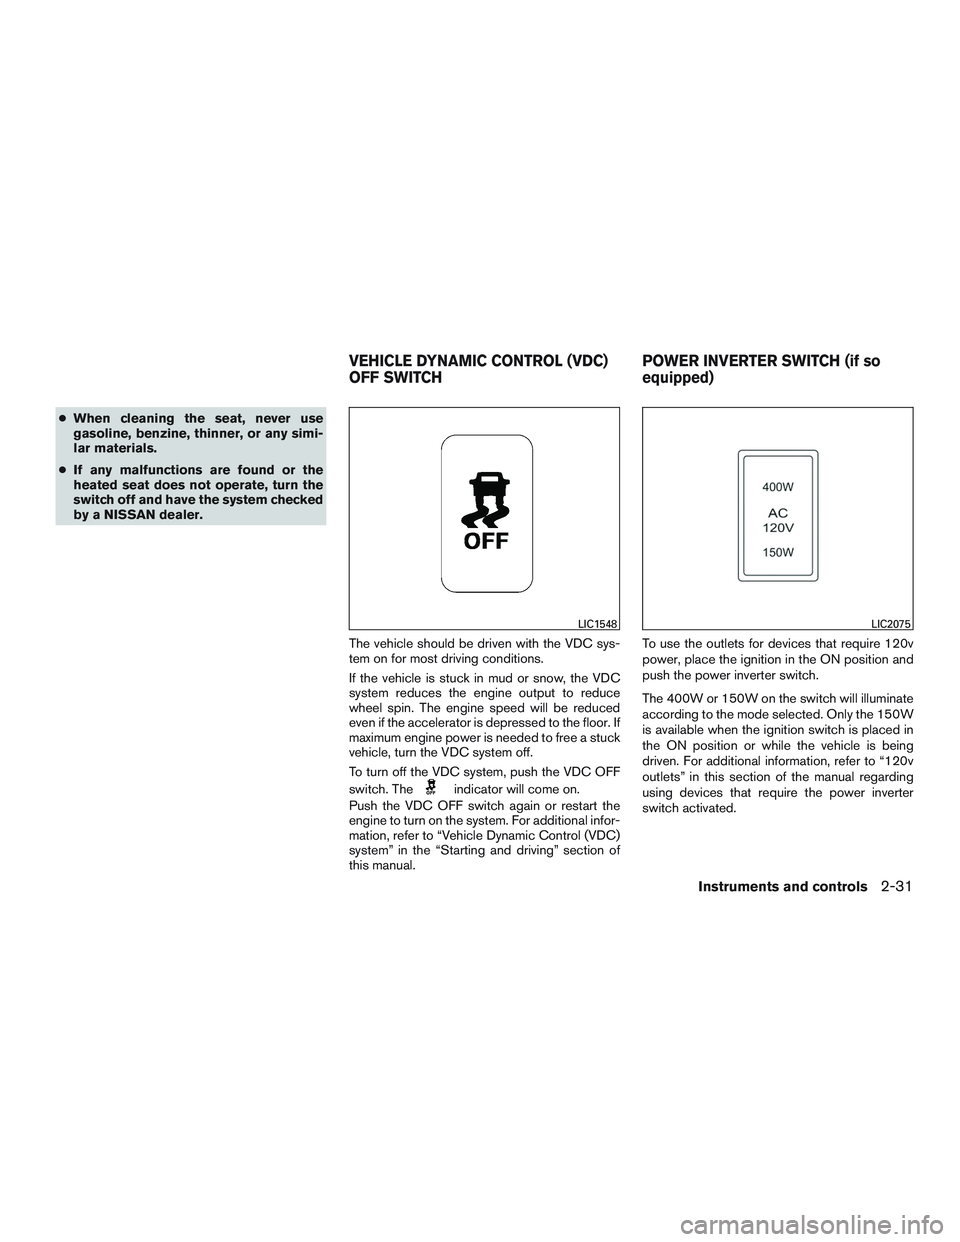
The vehicle should be driven with the VDC sys-
tem on for most driving conditions.
If the vehicle is stuck in mud or snow, the VDC
system reduces the engine output to reduce
wheel spin. The engine speed will be reduced
even if the accelerator is depressed to the floor. If
maximum engine power is needed to free a stuck
vehicle, turn the VDC system off.
To turn off the VDC system, push the VDC OFF
switch. The
indicator will come on.
Push the VDC OFF switch again or restart the
engine to turn on the system. For additional infor-
mation, refer to “Vehicle Dynamic Control (VDC)
system” in the “Starting and driving” section of
this manual. To use the outlets for devices that require 120v
power, place the ignition in the ON position and
push the power inverter switch.
The 400W or 150W on the switch will illuminate
according to the mode selected. Only the 150W
is available when the ignition switch is placed in
the ON position or while the vehicle is being
driven. For additional information, refer to “120v
outlets” in this section of the manual regarding
using devices that require the power inverter
switch activated.
LIC1548LIC2075
VEHICLE DYNAMIC CONTROL (VDC)
OFF SWITCH
POWER INVERTER SWITCH (if so
equipped)
Instruments and controls2-31
Page 117 of 380
CAUTION
●Use power outlets with the engine run-
ning to avoid discharging the vehicle
battery.
● Do not attempt to use this while driving.
● Do not use double adapters or more
than one electrical accessory, doing so
could significantly drain the battery of
your vehicle.
WARNING
The rear sonar system is a convenience
but it is not a substitute for proper back-
ing. Always turn and check that it is safe to
do so before backing up. Always back up
slowly.
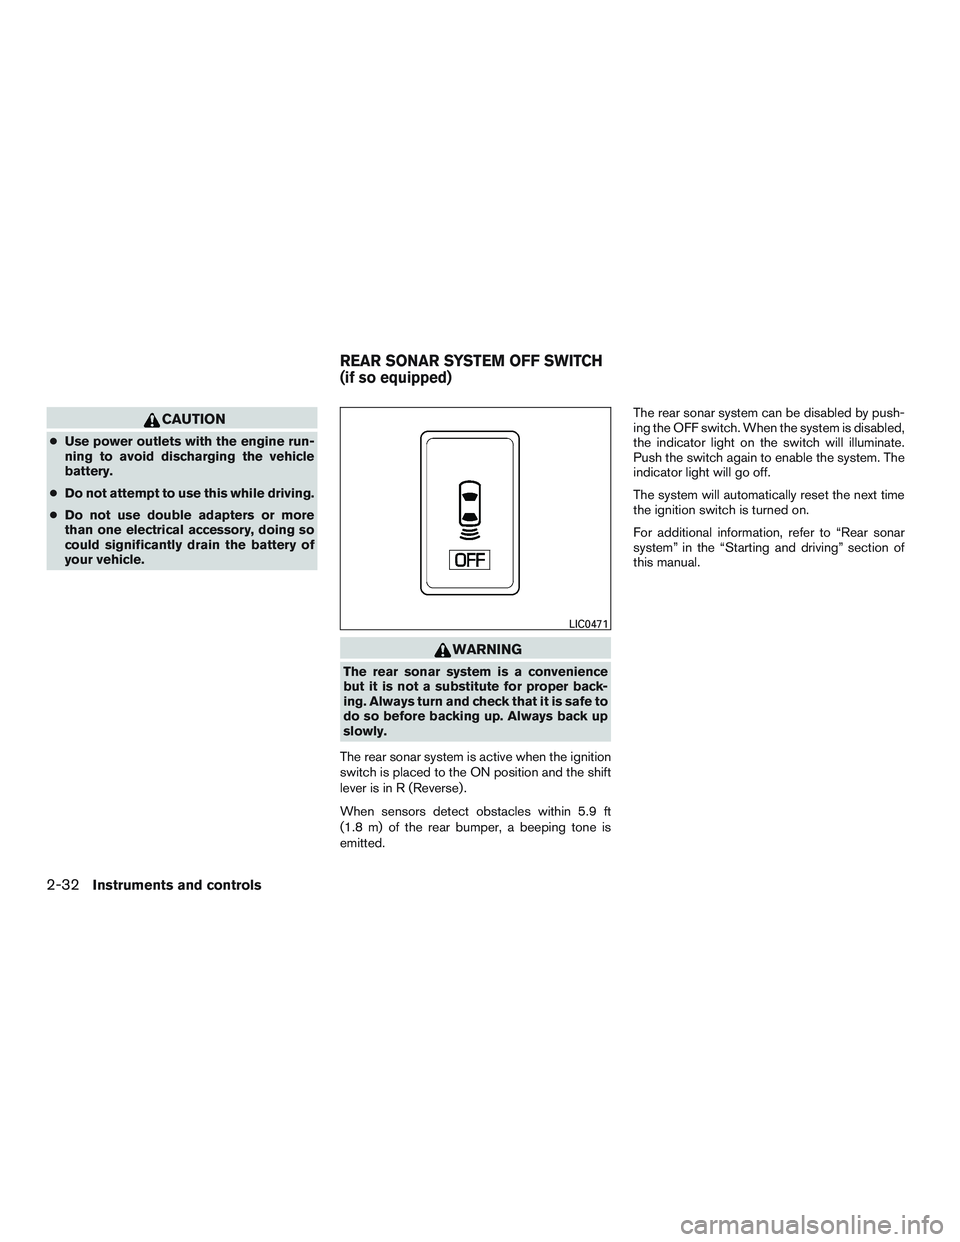
The rear sonar system is active when the ignition
switch is placed to the ON position and the shift
lever is in R (Reverse) .
When sensors detect obstacles within 5.9 ft
(1.8 m) of the rear bumper, a beeping tone is
emitted. The rear sonar system can be disabled by push-
ing the OFF switch. When the system is disabled,
the indicator light on the switch will illuminate.
Push the switch again to enable the system. The
indicator light will go off.
The system will automatically reset the next time
the ignition switch is turned on.
For additional information, refer to “Rear sonar
system” in the “Starting and driving” section of
this manual.
LIC0471
REAR SONAR SYSTEM OFF SWITCH
(if so equipped)
2-32Instruments and controls
Page 118 of 380
WARNING
●The front sonar system is a convenience
but it is not a substitute for proper
driving.
● The rear sonar system is a convenience
but it is not a substitute for proper back-
ing. Always turn and check that it is safe
to do so before backing up. Always
back up slowly. The front sonar system:
● is active when the ignition is in the ON
position and the shift lever is in a forward
gear position.
● a beeping tone is emitted when the sensors
detect obstacles within 3 ft (1.0 m) of the
front bumper.
The rear sonar system: ● is active when the ignition is in the ON
position and the shift lever is in R (Reverse) .
● a beeping tone is emitted when the sensors
detect obstacles within 5.9 ft (1.8 m) of the
rear bumper.
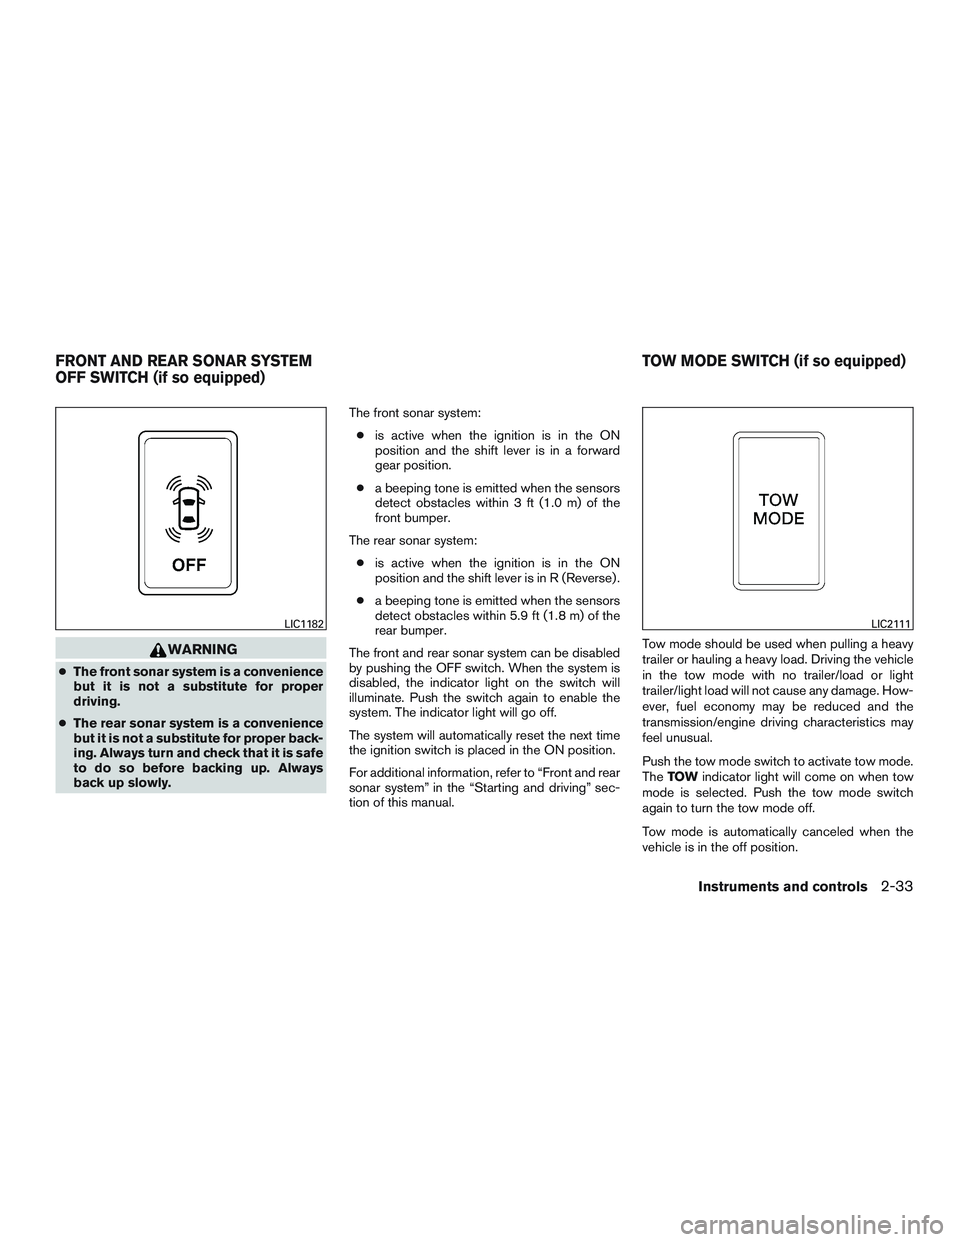
The front and rear sonar system can be disabled
by pushing the OFF switch. When the system is
disabled, the indicator light on the switch will
illuminate. Push the switch again to enable the
system. The indicator light will go off.
The system will automatically reset the next time
the ignition switch is placed in the ON position.
For additional information, refer to “Front and rear
sonar system” in the “Starting and driving” sec-
tion of this manual. Tow mode should be used when pulling a heavy
trailer or hauling a heavy load. Driving the vehicle
in the tow mode with no trailer/load or light
trailer/light load will not cause any damage. How-
ever, fuel economy may be reduced and the
transmission/engine driving characteristics may
feel unusual.
Push the tow mode switch to activate tow mode.
The
TOW indicator light will come on when tow
mode is selected. Push the tow mode switch
again to turn the tow mode off.
Tow mode is automatically canceled when the
vehicle is in the off position.
LIC1182LIC2111
FRONT AND REAR SONAR SYSTEM
OFF SWITCH (if so equipped) TOW MODE SWITCH (if so equipped)
Instruments and controls2-33
Page 119 of 380
For additional information, refer to “Tow mode” in
the “Technical and consumer information” sec-
tion of this manual.
12V OUTLET(s)
The power outlets are for powering electrical
accessories such as cellular telephones. They
are rated at 12 volt, 120W (10A) maximum.
Open the cap to use a power outlet.
The power outlet in on the instrument panel and
the 3rd row (if so equipped) are powered only
when the ignition switch is in the ACC or ON
position.
12v Instrument Panel
LIC2076
12v 3rd Row (if so equipped)
LIC2199
POWER OUTLETS
2-34Instruments and controls
Page 128 of 380
The tray located in the front of the console box is
for storing binders.Removable center console
To remove the center console:1. Stop the vehicle and place the ignition switch in the OFF position.
2. Lift out tray.
3. Unplug all accessories from the outlets. 4. Remove four bolts located inside the con-
sole and two in the front storage tray.
Binder storage tray
LIC2115
Lower half
LIC2087LIC2100
Instruments and controls2-43
Page 130 of 380
CAUTION
Properly stow and secure the console if it
is not stored outside the vehicle.
To install the center console: 1. Stop the vehicle and place the ignition switch in the OFF position.
2. Remove the six bolts from the floor mounting holes.
For customers without 120V proceed to step 5. 3. Remove the cap from the harness connector located at the bottom corner of the driver’s
seat and place the cap in the glove box for
future use.
4. Connect the harness from the console to the connector at the bottom of the driver’s seat .
This may need to be accessed from the
driver’s door side of the seat by reaching
underneath the seat.
5. Securely tighten six bolts, four bolts located inside the console and the two in the front
storage tray.
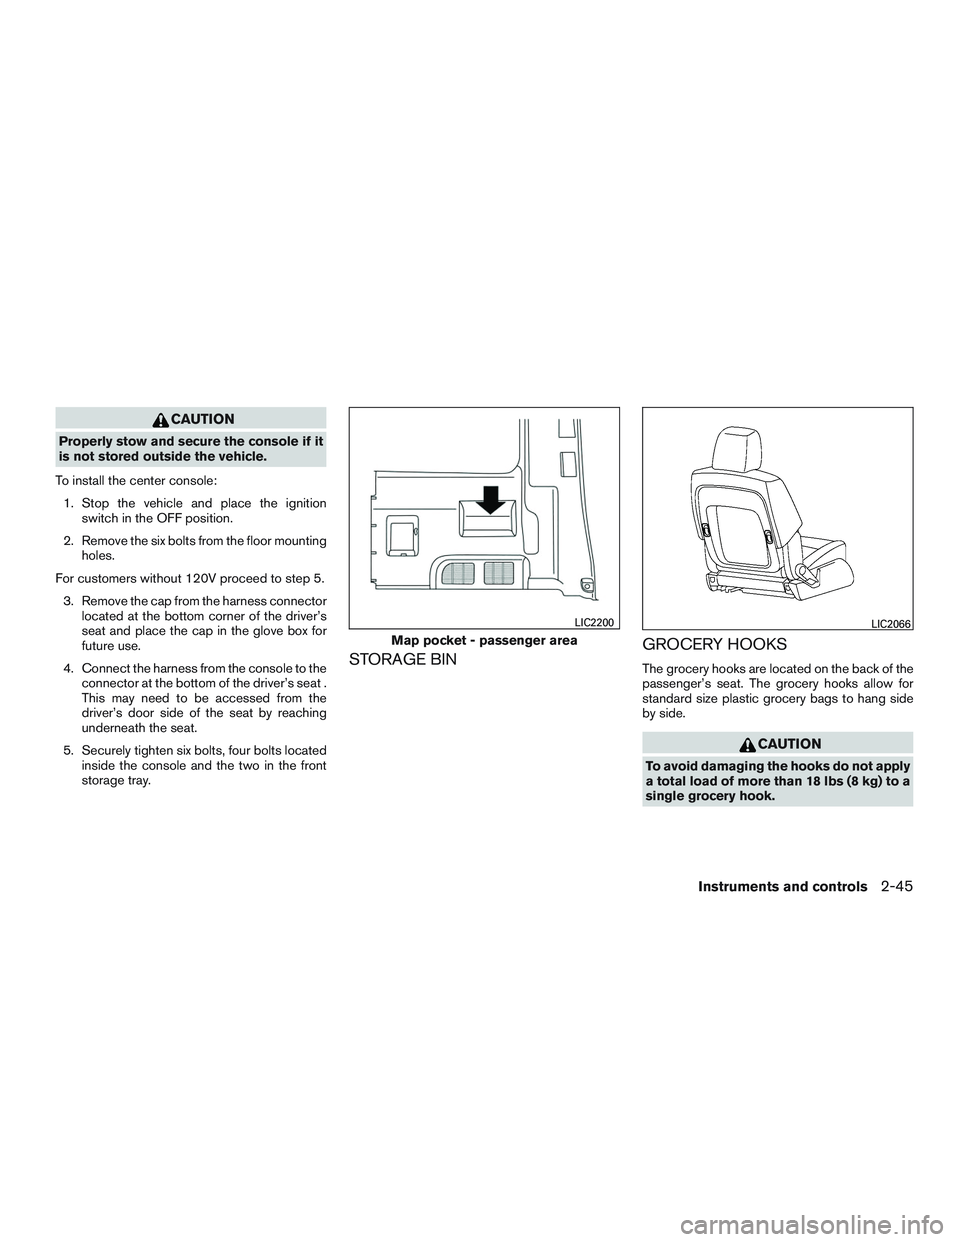
STORAGE BIN GROCERY HOOKSThe grocery hooks are located on the back of the
passenger’s seat. The grocery hooks allow for
standard size plastic grocery bags to hang side
by side.
CAUTION
To avoid damaging the hooks do not apply
a total load of more than 18 lbs (8 kg) to a
single grocery hook.
Map pocket - passenger area
LIC2200LIC2066
Instruments and controls2-45
Page 131 of 380
POWER WINDOWS (if so equipped)
WARNING
●Make sure that all passengers have
their hands, etc. inside the vehicle while
it is in motion and before closing the
windows. Use the window lock switch to
prevent unexpected use of the power
windows.
● To help avoid risk of injury or death
through unintended operation of the
vehicle and or its systems, including
entrapment in windows or inadvertent
door lock activation, do not leave chil-
dren, people who require the assistance
of others or pets unattended in your
vehicle. Additionally, the temperature
inside a closed vehicle on a warm day
can quickly become high enough to
cause a significant risk of injury or
death to people and pets.
The power windows operate when the ignition
switch is placed in the ON position, or for a
period of time after the ignition switch is placed in
the OFF position. If the driver’s or passenger’s
door is opened during this period of time, the
power to the windows is canceled.
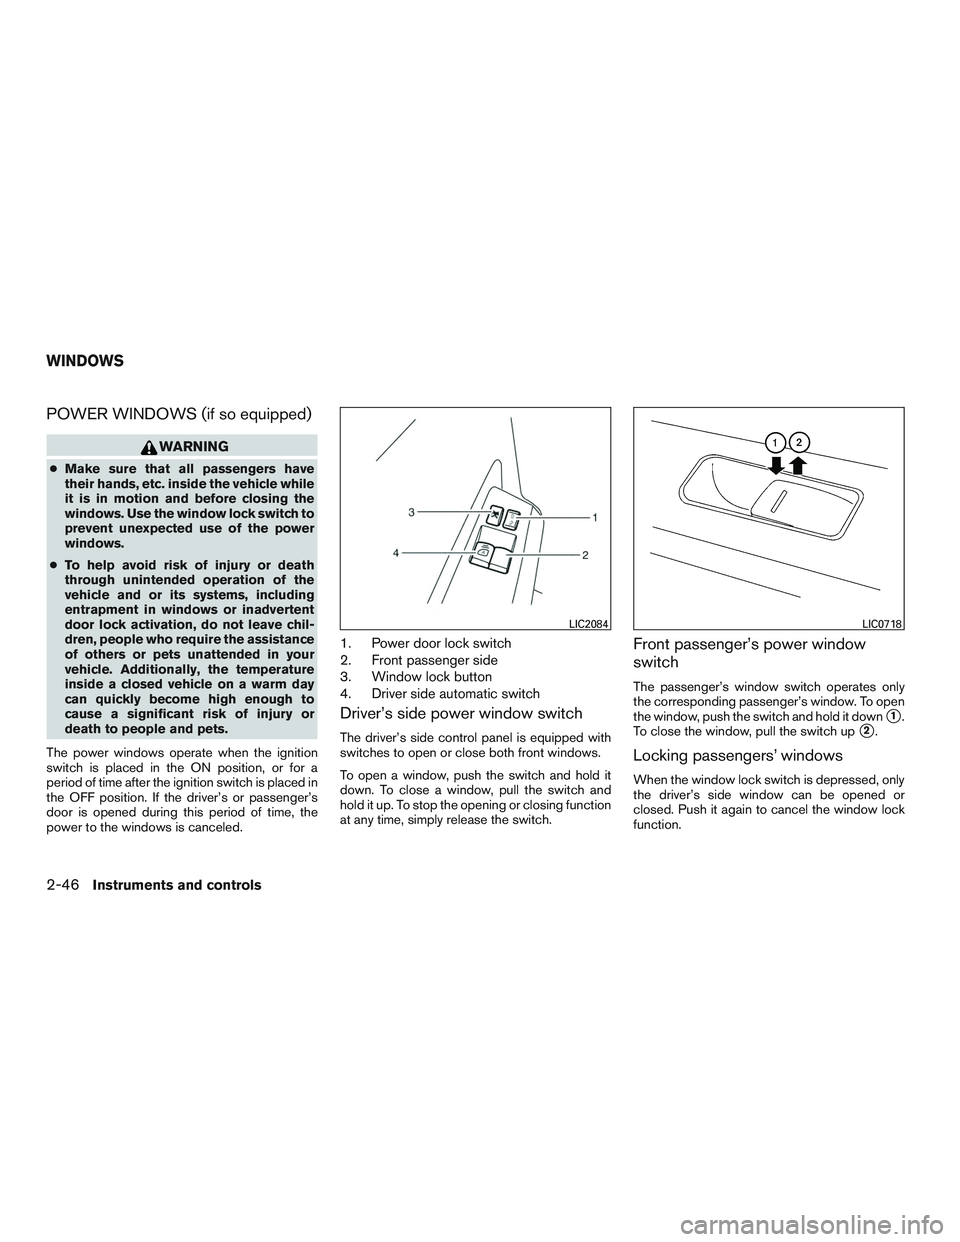
1. Power door lock switch
2. Front passenger side
3. Window lock button
4. Driver side automatic switch
Driver’s side power window switch
The driver’s side control panel is equipped with
switches to open or close both front windows.
To open a window, push the switch and hold it
down. To close a window, pull the switch and
hold it up. To stop the opening or closing function
at any time, simply release the switch.
Front passenger’s power window
switch
The passenger’s window switch operates only
the corresponding passenger’s window. To open
the window, push the switch and hold it down
�1.
To close the window, pull the switch up
�2.
Locking passengers’ windows
When the window lock switch is depressed, only
the driver’s side window can be opened or
closed. Push it again to cancel the window lock
function.
LIC2084LIC0718
WINDOWS
2-46Instruments and controls
Page 132 of 380
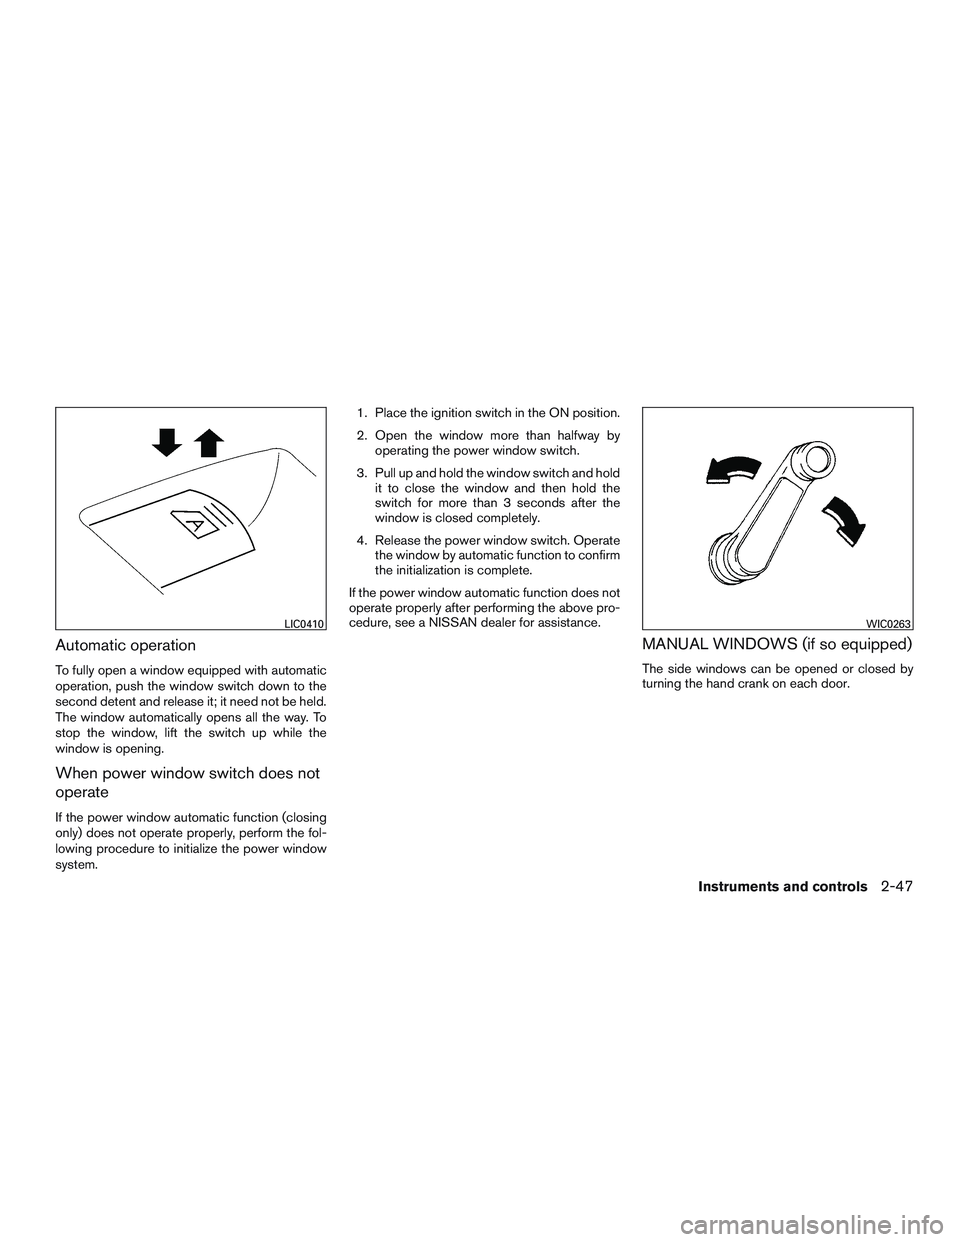
Automatic operation
To fully open a window equipped with automatic
operation, push the window switch down to the
second detent and release it; it need not be held.
The window automatically opens all the way. To
stop the window, lift the switch up while the
window is opening.
When power window switch does not
operate
If the power window automatic function (closing
only) does not operate properly, perform the fol-
lowing procedure to initialize the power window
system.1. Place the ignition switch in the ON position.
2. Open the window more than halfway by
operating the power window switch.
3. Pull up and hold the window switch and hold it to close the window and then hold the
switch for more than 3 seconds after the
window is closed completely.
4. Release the power window switch. Operate the window by automatic function to confirm
the initialization is complete.
If the power window automatic function does not
operate properly after performing the above pro-
cedure, see a NISSAN dealer for assistance.
MANUAL WINDOWS (if so equipped)
The side windows can be opened or closed by
turning the hand crank on each door.
LIC0410WIC0263
Instruments and controls2-47