2016 MERCEDES-BENZ GLS SUV fuel consumption
[x] Cancel search: fuel consumptionPage 15 of 397
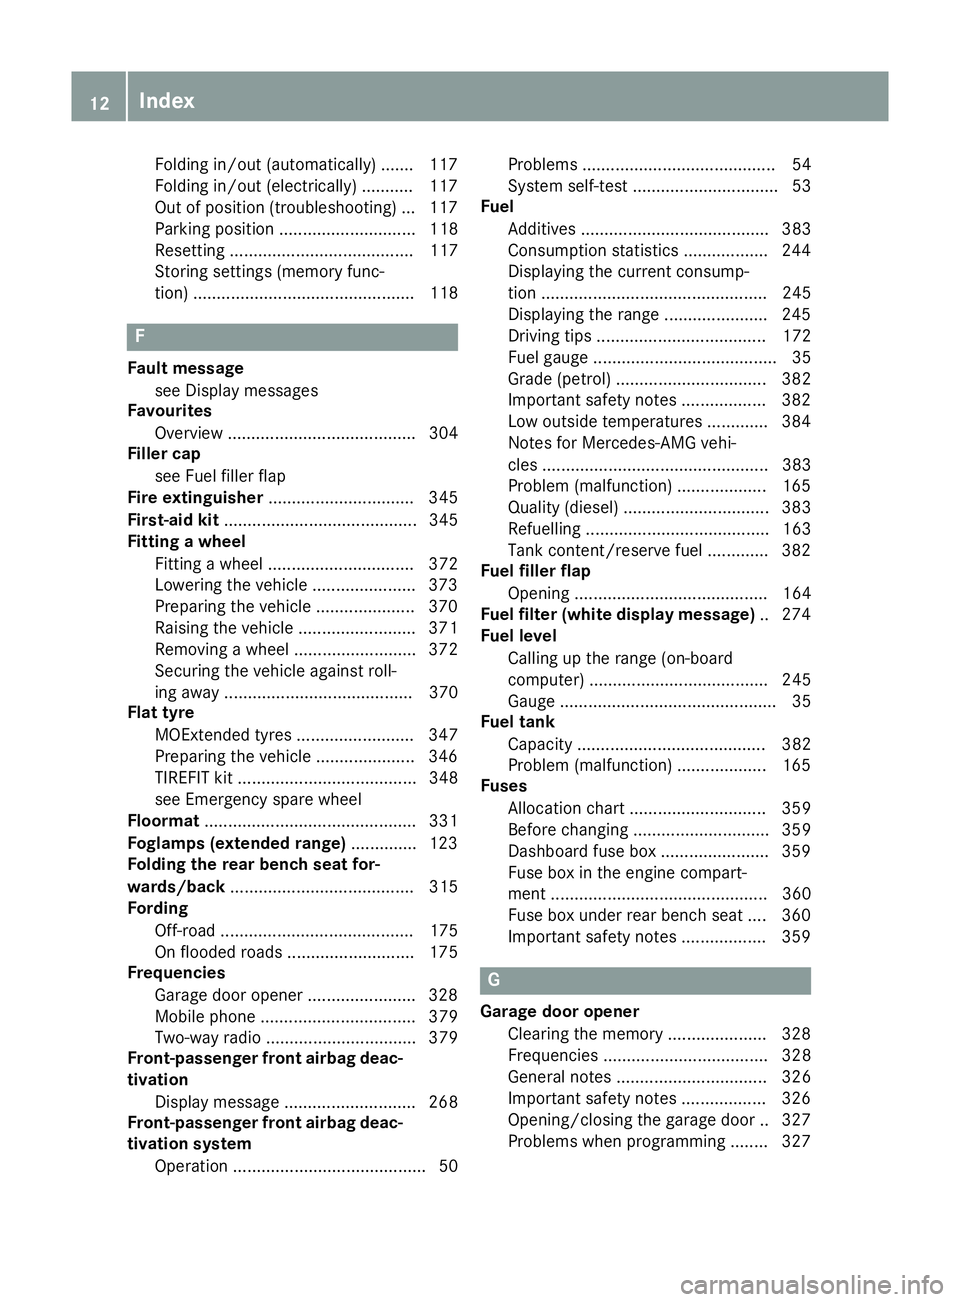
Folding in/out (automatically
)....... 117
Folding in/out (electrically) ........... 117
Out of position (troubleshooting) ... 117
Parking position ............................. 118
Resetting ....................................... 117
Storing settings (memory func-
tion) ............................................... 118 F
Fault message see Display messages
Favourites
Overview ........................................ 304
Filler cap
see Fuel filler flap
Fire extinguisher ............................... 345
First-aid kit ......................................... 345
Fitting a wheel
Fitting a wheel ............................... 372
Lowering the vehicle ...................... 373
Preparing the vehicle ..................... 370
Raising the vehicl e......................... 371
Removing a whee l.......................... 372
Securing the vehicle against roll-
ing away ........................................ 370
Flat tyre
MOExtended tyre s......................... 347
Preparing the vehicle ..................... 346
TIREFIT kit ...................................... 348
see Emergency spare wheel
Floormat ............................................. 331
Foglamps (extended range) .............. 123
Folding the rear bench seat for-
wards/back ....................................... 315
Fording
Off-road ......................................... 175
On flooded roads ........................... 175
Frequencies
Garage door opener ....................... 328
Mobile phone ................................. 379
Two-way radio ................................ 379
Front-passenger front airbag deac-
tivation
Display message ............................ 268
Front-passenger front airbag deac-
tivation system
Operation ......................................... 50 Problems ......................................... 54
System self-test ............................... 53
Fuel
Additives ........................................ 383
Consumption statistics .................. 244
Displaying the current consump-
tion ................................................ 245
Displaying the rang e...................... 245
Driving tips .................................... 172
Fuel gaug e....................................... 35
Grade (petrol) ................................ 382
Important safety notes .................. 382
Low outside temperature s............. 384
Notes for Mercedes‑AMG vehi-
cles ................................................ 383
Problem (malfunction) ................... 165
Quality (diesel )............................... 383
Refuelling ....................................... 163
Tank content/reserve fue l............. 382
Fuel filler flap
Opening ......................................... 164
Fuel filter (white display message) .. 274
Fuel level
Calling up the range (on-board
computer) ...................................... 245
Gaug e.............................................. 35
Fuel tank
Capacity ........................................ 382
Problem (malfunction) ................... 165
Fuses
Allocation chart ............................. 359
Before changing ............................. 359
Dashboard fuse box ....................... 359
Fuse box in the engine compart-
ment .............................................. 360
Fuse box under rear bench sea t.... 360
Important safety notes .................. 359 G
Garage door opener Clearing the memory ..................... 328
Frequencies ................................... 328
General notes ................................ 326
Important safety notes .................. 326
Opening/closing the garage doo r..3 27
Problems when programming ....... .327 12
Index
Page 29 of 397

Environmental protection
General notes
H
Environmental note
Daimler's declared policy is one of compre-
hensive environmental protection.
Our objectives are to use the natural resour-
ces which form the basis of our existence on
this planet sparingly and in a manner which
takes the requirements of both nature and
humanity into consideration.
You too can help to protect the environment
by operating your vehicle in an environmen-
tally-responsible manner.
Fuel consumption and the rate of engine,
transmission, brake and tyre wear depend on
the following factors:
R operating conditions of your vehicle
R your personal driving style
You can influence both factors. Therefore,
please bear the following in mind:
Operating conditions:
R avoid short trips, as these increase fuel
consumption.
R observe the correct tyre pressure.
R do not carry any unnecessary weight in the
vehicle.
R remove the roof rack once you no longer
need it.
R a regularly serviced vehicle will contribute
to environmental protection. You should
therefore adhere to the service intervals.
R all maintenance work should be carried out
at a qualified specialist workshop.
Personal driving style:
R do not depress the accelerator pedal when
starting the engine.
R do not warm up the engine when the vehicle
is stationary.
R drive carefully and maintain a safe distance
from the vehicle in front.
R avoid frequent, sudden acceleration and
braking. R
change gear in good time and use each gear
only up to Ôof its maximum engine speed.
R switch off the engine in stationary traffic.
R monitor the vehicle's fuel consumption. Returning an end-of-life vehicle
EU countries only:
Mercedes-Benz will take back your end-of-life
vehicle for environmentally-friendly disposal in
accordance with the European Union (EU) End-
Of-Life Vehicles Directive.
A network of vehicle take-back points and dis-
mantlers has been established for you to return
your vehicle. You can leave it at any of these
points free of charge. This makes an important
contribution to closing the recycling circle and
conserving resources.
For further information about the recycling and
disposal of end-of-life vehicles, and the take-
back conditions, please visit the national
Mercedes-Benz website for your country. Genuine Mercedes-Benz parts
H
Environmental note
Daimler AG also supplies reconditioned
assemblies and parts which are of the same
quality as new parts. For these, the same war-
ranty applies as for new parts.
! Airbags and seat belt tensioners, as well as
control units and sensors for these restraint
systems, may be installed in the following
areas of your vehicle:
R doors
R door pillars
R door sills
R seats
R dashboard
R instrument cluster
R centre console
Do not install accessories such as audio sys-
tems in these areas. Do not carry out repairs
or welding. You could impair the operating
efficiency of the restraint systems. 26
Introduction
Page 154 of 397
Pulling away with a trailer
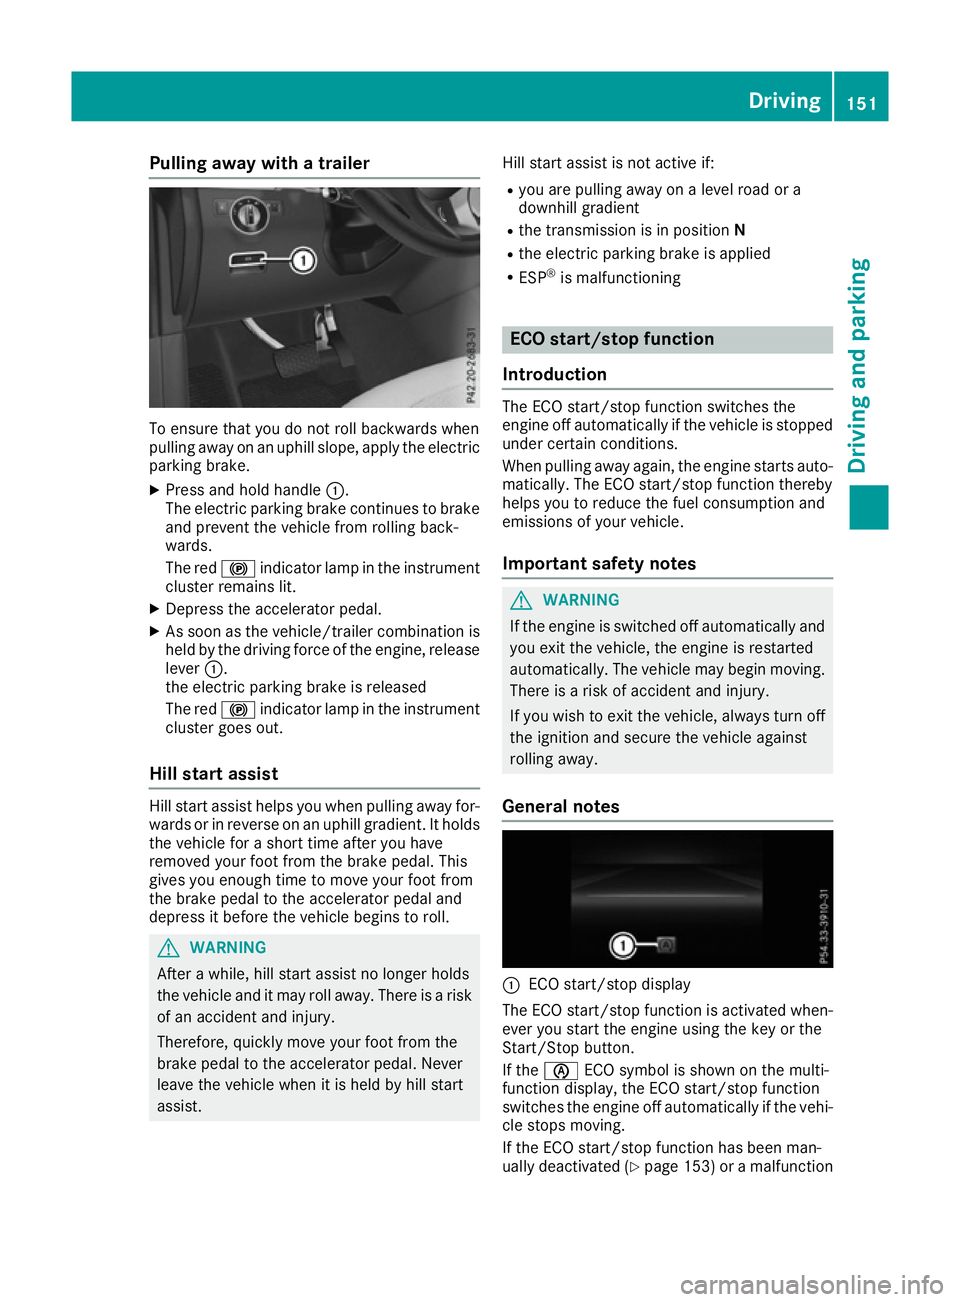
To ensure that you do not roll backwards when
pulling away on an uphill slope, apply the electric parking brake.
X Press and hold handle :.
The electric parking brake continues to brake
and prevent the vehicle from rolling back-
wards.
The red !indicator lamp in the instrument
cluster remains lit.
X Depress the accelerator pedal.
X As soon as the vehicle/trailer combination is
held by the driving force of the engine, release
lever :.
the electric parking brake is released
The red !indicator lamp in the instrument
cluster goes out.
Hill start assist Hill start assist helps you when pulling away for-
wards or in reverse on an uphill gradient. It holds the vehicle for a short time after you have
removed your foot from the brake pedal. This
gives you enough time to move your foot from
the brake pedal to the accelerator pedal and
depress it before the vehicle begins to roll. G
WARNING
After a while, hill start assist no longer holds
the vehicle and it may roll away. There is a risk of an accident and injury.
Therefore, quickly move your foot from the
brake pedal to the accelerator pedal. Never
leave the vehicle when it is held by hill start
assist. Hill start assist is not active if:
R you are pulling away on a level road or a
downhill gradient
R the transmission is in position N
R the electric parking brake is applied
R ESP ®
is malfunctioning ECO start/stop function
Introduction The ECO start/stop function switches the
engine off automatically if the vehicle is stopped
under certain conditions.
When pulling away again, the engine starts auto-
matically. The ECO start/stop function thereby
helps you to reduce the fuel consumption and
emissions of your vehicle.
Important safety notes G
WARNING
If the engine is switched off automatically and you exit the vehicle, the engine is restarted
automatically. The vehicle may begin moving. There is a risk of accident and injury.
If you wish to exit the vehicle, always turn off
the ignition and secure the vehicle against
rolling away.
General notes :
ECO start/stop display
The ECO start/stop function is activated when-
ever you start the engine using the key or the
Start/Stop button.
If the è ECO symbol is shown on the multi-
function display, the ECO start/stop function
switches the engine off automatically if the vehi- cle stops moving.
If the ECO start/stop function has been man-
ually deactivated (Y page 153) or a malfunction Driving
151Driving and parking Z
Page 162 of 397
Driving tips
Changing gear The automatic transmission shifts to the indi-
vidual gears automatically when it is in trans-
mission position
D. Gearshifting is determined
by:
R the selected drive program
R the position of the accelerator pedal
R the road speed
Accelerator pedal position Your driving style influences how the automatic
transmission shifts gear:
R little throttle: early upshifts
R more throttle: late upshifts
Kickdown Use kickdown for maximum acceleration:
X Depress the accelerator pedal beyond the
pressure point.
The automatic transmission shifts to a lower
gear depending on the engine speed.
X Ease off the accelerator pedal once the
desired speed is reached.
The automatic transmission shifts back up.
Gliding mode (diesel engines only) Gliding mode is characterised by the following:
R the combustion engine is disconnected from
the drive train
R the engine speed is equal to the engine idling
speed
R the gear indicated after the transmission
position Ddisappears in the multifunction
display (Y page 158)
Gliding mode can be activated and transmission
position Dshown in green under the following
conditions:
R you select the "ECO" setting for the drive sys-
tem within the Individualdrive program. You
can find information about this in the Digital
Owner's Manual
R the speed is within a suitable range
R the type of road is suitable, e.g. no steep uphill
or downhill gradients R
the distance to the vehicle in front is sufficient
R you are no longer depressing the accelerator
pedal
Gliding mode is deactivated under the following
conditions:
R you depress the accelerator pedal
R you depress the brake pedal
R you use the DIRECT SELECT lever to switch
the transmission position (Y page 156)
R you use the DYNAMIC SELECT controller to
change the drive program (Y page 155)
R you activate manual gearshifting
(Y page 160)
R the distance to the vehicle in front is too short
R you leave the suitable speed range
Towing a trailer X
Drive in the middle of the engine speed range
on uphill gradients.
X Depending on the uphill or downhill gradient,
use the left-hand steering wheel gearshift
paddle (Y page 160) to select a lower gear,
even if cruise control, Distance Pilot
DISTRONIC or the speed limiter are activated. Drive programs
Slippery drive program The
Slippery drive program has the following
characteristics:
R reduced engine and transmission settings for
optimum propulsion on slippery or snow-cov-
ered roads.
R optimised ESP ®
stability control on slippery
or snow-covered roads.
R the vehicle has improved driving stability on
slippery or snow-covered roads, for example.
Comfort drive program The
Comfort drive program has the following
characteristics:
R comfort-orientated engine and transmission
settings.
R optimal fuel consumption resulting from the
automatic transmission shifting up sooner. Automatic transmission
159Driving and parking Z
Page 163 of 397
R
the vehicle pulling away more gently in
forward and reverse gears unless the accel-
erator pedal is depressed fully.
R the automatic transmission shifting up
sooner. This results in the vehicle being driven
at lower engine speeds and the wheels being less likely to spin.
Sport drive program The
Sport drive program has the following char-
acteristics:
R sporty engine and transmission settings.
R the automatic transmission shifting up later.
As a result of the later automatic transmission
shift points, the fuel consumption possibly
being higher.
R the suspension exhibits sporty damping (vehi-
cles with AIRMATIC).
Drive program Sport Plus (Mercedes-
AMG vehicles) The
Sport Plus drive program has the following
characteristics:
R the vehicle exhibits particularly sporty driving
characteristics.
R the vehicle pulling away in first gear.
R the automatic transmission shifting up later.
As a result of the later automatic transmission
shift points, the fuel consumption possibly
being higher.
R the suspension exhibits particularly firm
springing and damping settings (vehicles with
AIRMATIC).
R the ECO start/stop function is deactivated, it
can, however, be activated again using the
ECO button (Y page 153).
Individual drive program In the
Individual drive program, the following
properties of the drive program can be selected:
R the drive (engine and transmission manage-
ment)
R the transmission
R the suspension
R all vehicles (except Mercedes-AMG vehicles):
the steering
R all vehicles (except Mercedes-AMG vehicles):
availability of the ECO start/stop function To select the gears in the
Individualdrive pro-
gram permanently using the steering wheel pad- dles, select the permanent manual gearshift
program.
Information about configuring the Individual
drive program with the multimedia system can
be found in the Digital Owner's Manual. Manual gearshifting
General notes You can shift gears yourself using the steering
wheel gearshift paddles. The transmission must
be in position Dto do this.
Depending on which steering wheel gearshift
paddle is pulled, the automatic transmission
immediately shifts into the next gear up or
down, if permitted.
To use manual shifting, you have two options:
R temporary setting
R permanent setting
If you activate manual gearshifting, the multi-
function display will show the current gear
instead of transmission position D.
If manual gearshifting is deactivated, the gears
will be selected automatically.
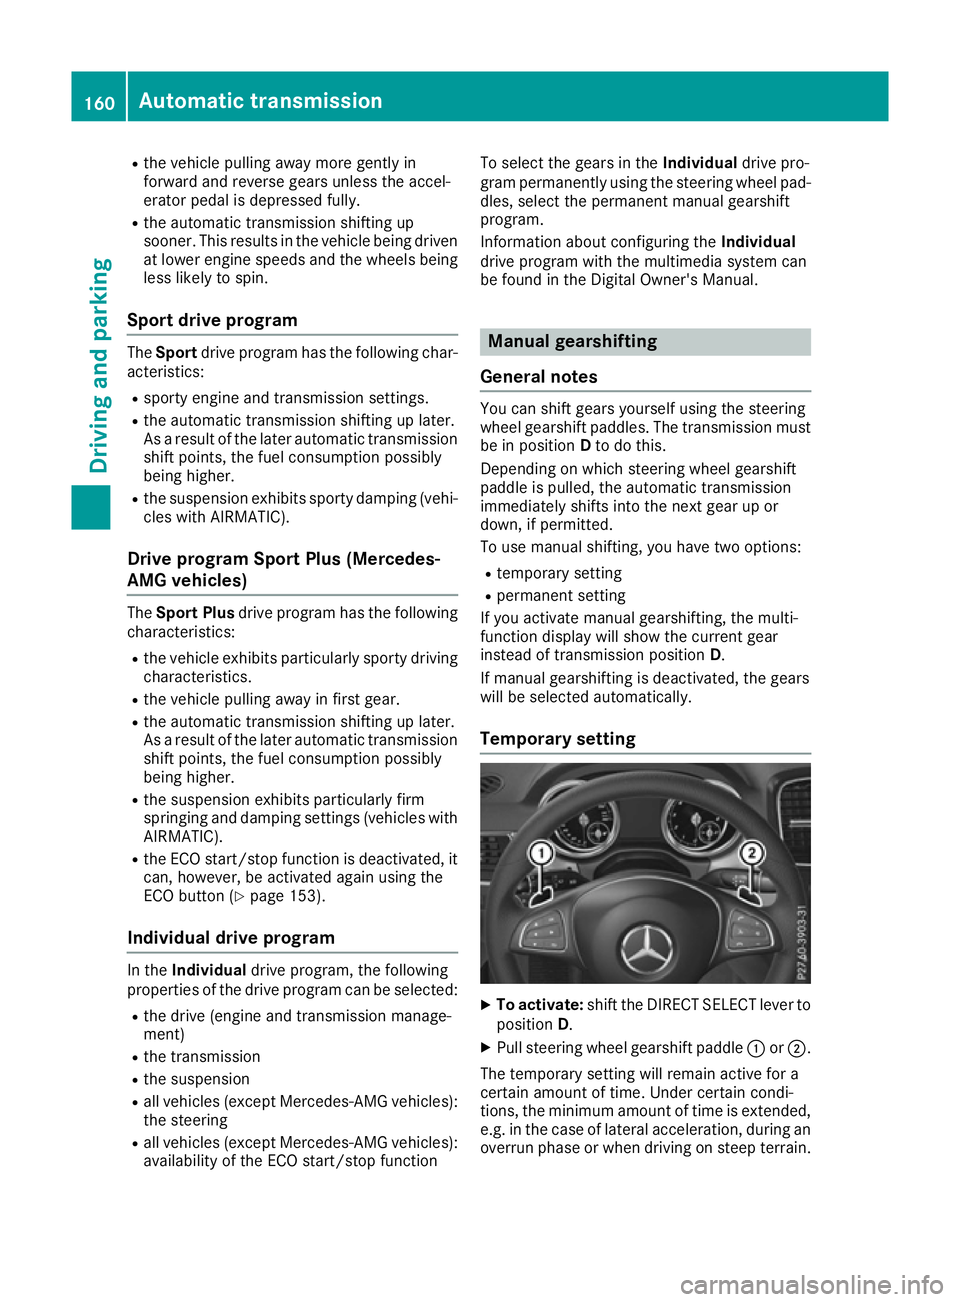
Temporary setting X
To activate: shift the DIRECT SELECT lever to
position D.
X Pull steering wheel gearshift paddle :or;.
The temporary setting will remain active for a
certain amount of time. Under certain condi-
tions, the minimum amount of time is extended, e.g. in the case of lateral acceleration, during an overrun phase or when driving on steep terrain. 160
Automatic transmissionDriving an
d parking
Page 175 of 397
Driving tips
General notes
Important safety notes G
WARNING
If you switch off the ignition while driving,
safety-relevant functions are only available
with limitations, or not at all. This could affect, for example, the power steering and the brake
boosting effect. You will require considerably
more effort to steer and brake. There is a risk of an accident.
Do not switch off the ignition while driving.
Drive sensibly – save fuel Observe the following tips to save fuel:
X The tyres should always be inflated to the rec-
ommended tyre pressure.
X Remove unnecessary loads.
X Remove roof carriers when they are not nee-
ded.
X Warm up the engine at low engine speeds.
X Avoid frequent acceleration or braking.
X Have all maintenance work carried out as
indicated by the service intervals in the Ser-
vice Booklet or by the service interval display.
Fuel consumption also increases when driving in
cold weather, in stop-start traffic, on short jour- neys and in hilly terrain. ECO display
The ECO display shows you how economical
your driving style is. The ECO display assists you in achieving the most economical driving style
for the selected settings and prevailing condi-
tions. Consumption can be significantly influ-
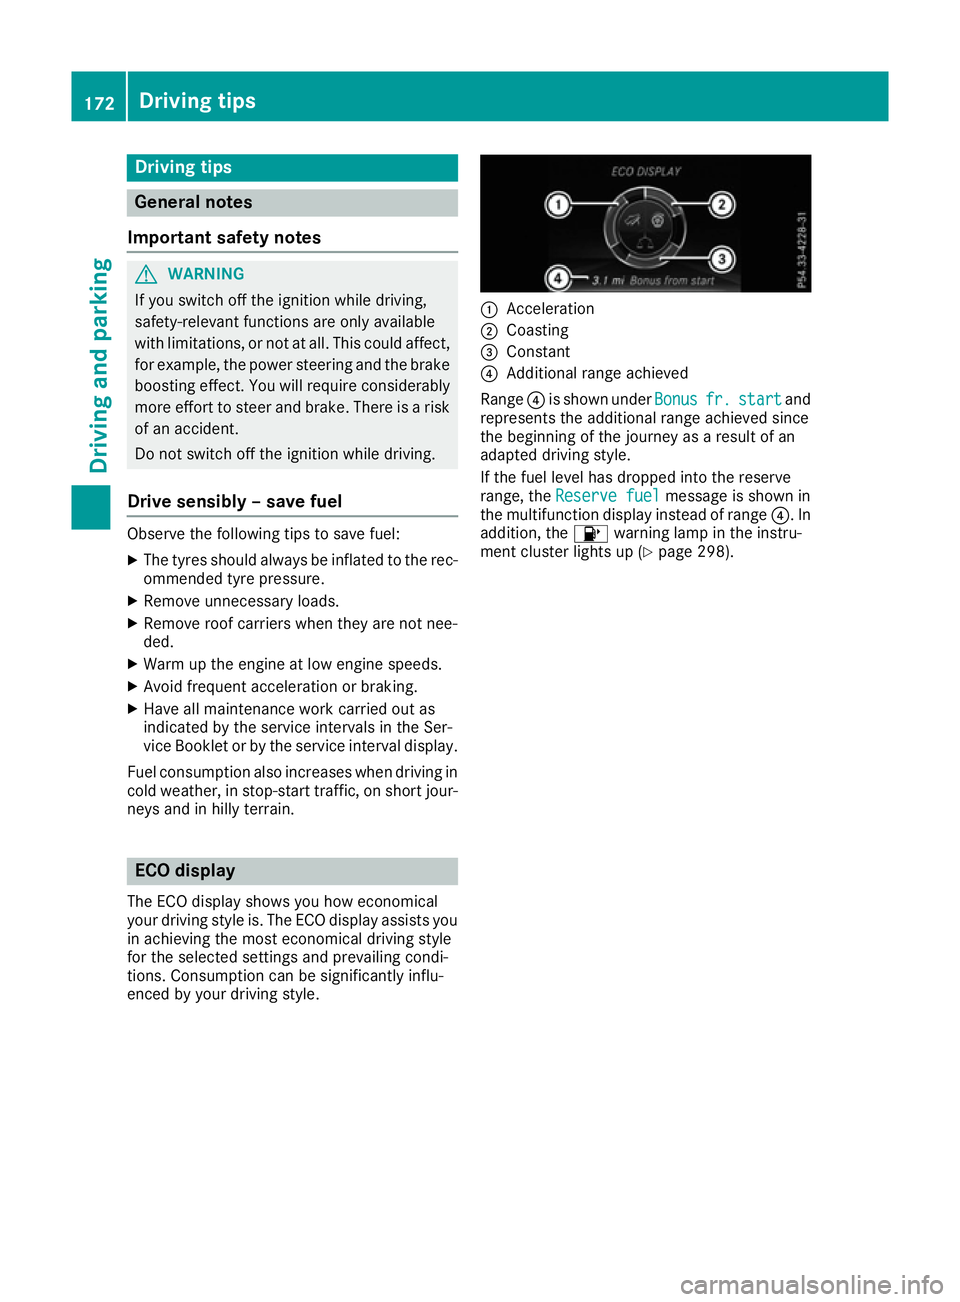
enced by your driving style. :
Acceleration
; Coasting
= Constant
? Additional range achieved
Range ?is shown under Bonus Bonusfr.
fr.start
start and
represents the additional range achieved since
the beginning of the journey as a result of an
adapted driving style.
If the fuel level has dropped into the reserve
range, the Reserve fuel Reserve fuel message is shown in
the multifunction display instead of range ?. In
addition, the 8warning lamp in the instru-
ment cluster lights up (Y page 298).172
Driving tipsDriving and pa
rking
Page 176 of 397
The ECO display consists of three sections, with
an inner and outer area. The sections corre-
spond to the following three categories: :
Acceleration
(evaluation of all accel-
eration processes):
R the outer area fills up and the inner
area lights up green: moderate
acceleration, especially at higher
speeds
R the outer area empties and the
inner area is grey: sporty acceler-
ation ;
Coasting
(evaluation of all decelera-
tion processes):
R the outer area fills up and the inner
area lights up green: anticipatory
driving, keeping your distance and
early release of the accelerator.
The vehicle can coast without use
of the brakes.
R the outer area empties and the
inner area is grey: frequent heavy
braking =
Constant
(continuous evaluation
over the entire journey):
R the outer area fills up and the inner
area lights up green: constant
speed and avoidance of unneces-
sary acceleration and deceleration
R the outer area empties and the
inner area is grey: fluctuations in
speed The three inner areas display the current driving
style and light up green as a result of a particu-
larly economical driving style. Depending on the driving situation, up to two areas may light up
simultaneously.
At the beginning of the journey, the three outer
areas are empty and fill up as a result of eco-
nomical driving. A higher level indicates a more
economical driving style. If the three outer areas
are completely filled at the same time, the driver
has adopted the most economical driving style
for the selected settings and prevailing condi-
tions. The ECO display border lights up.
The ECO display does not indicate the actual fuel consumption. The additionally achieved range
displayed under Bonus fr. start
Bonus fr. start does not
indicate a fixed consumption reduction. In addition to driving style, the actual consump-
tion is affected by other factors, such as:
R load
R tyre pressure
R cold start
R choice of route
R the use of electrical consumers
These factors are not included in the ECO dis-
play.
An economical driving style involves driving at a moderate engine speed.
To achieve a higher value in the categories
"Acceleration" and "Constant":
R observe the gearshift recommendation
R drive the vehicle in the Comfortdrive pro-
gram.
On long journeys at a constant speed, e.g. on the
motorway, only the outer area for "Constant"
will change.
The ECO display summarises the driving style
from the start of the journey to its completion.
Therefore, there are more marked changes in
the outer areas at the start of a journey. During a prolonged driving time, these changes are
smaller. For more marked changes, perform a
manual reset (Y page 245).
Further information on the ECO display
(Y page 245). Braking
Important safety notes G
WARNING
If you shift down on a slippery road surface in an attempt to increase the engine's braking
effect, the drive wheels could lose their grip.
This increases the risk of skidding and having
an accident.
Do not shift down for additional engine brak-
ing on a slippery road surface.
Downhill gradients Do not depress the brake pedal continuously
while the vehicle is in motion, e.g. never cause
the brakes to rub by constantly applying light
pressure to the pedal. This results in excessive
and premature wear to the brake pads. Driving tips
173Driving and parking Z
Page 195 of 397
Steering Pilot cannot provide assistance:
R On very sharp corners
R When you are towing a trailer
R A loss of tyre pressure or a defective tyre has
been detected and displayed
Observe the important safety notes on Distance Pilot DISTRONIC (Y page 184).
The steering interventions are carried out with a
limited steering moment. The system requires
the driver to keep his hands on the steering
wheel and to steer himself.
If you do not steer yourself or if you take your
hands off the steering wheel for a prolonged
period of time, the system will first alert you with a visual warning. A steering wheel symbol
appears in the multifunction display. If you have
still not started to steer and have not taken hold
of the steering wheel after five seconds at the
latest, a warning tone also sounds to remind you to take control of the vehicle. Steering Pilot is
then switched to passive. Distance Pilot
DISTRONIC remains active.
Activating Steering Pilot
X Activate Distance Pilot DISTRONIC with
Steering Pilot using the on-board computer
(Y page 250).
The Steering
Steering Pilot PilotOn
Onmessage appears in
the multifunction display. Steering Pilot is
activated.
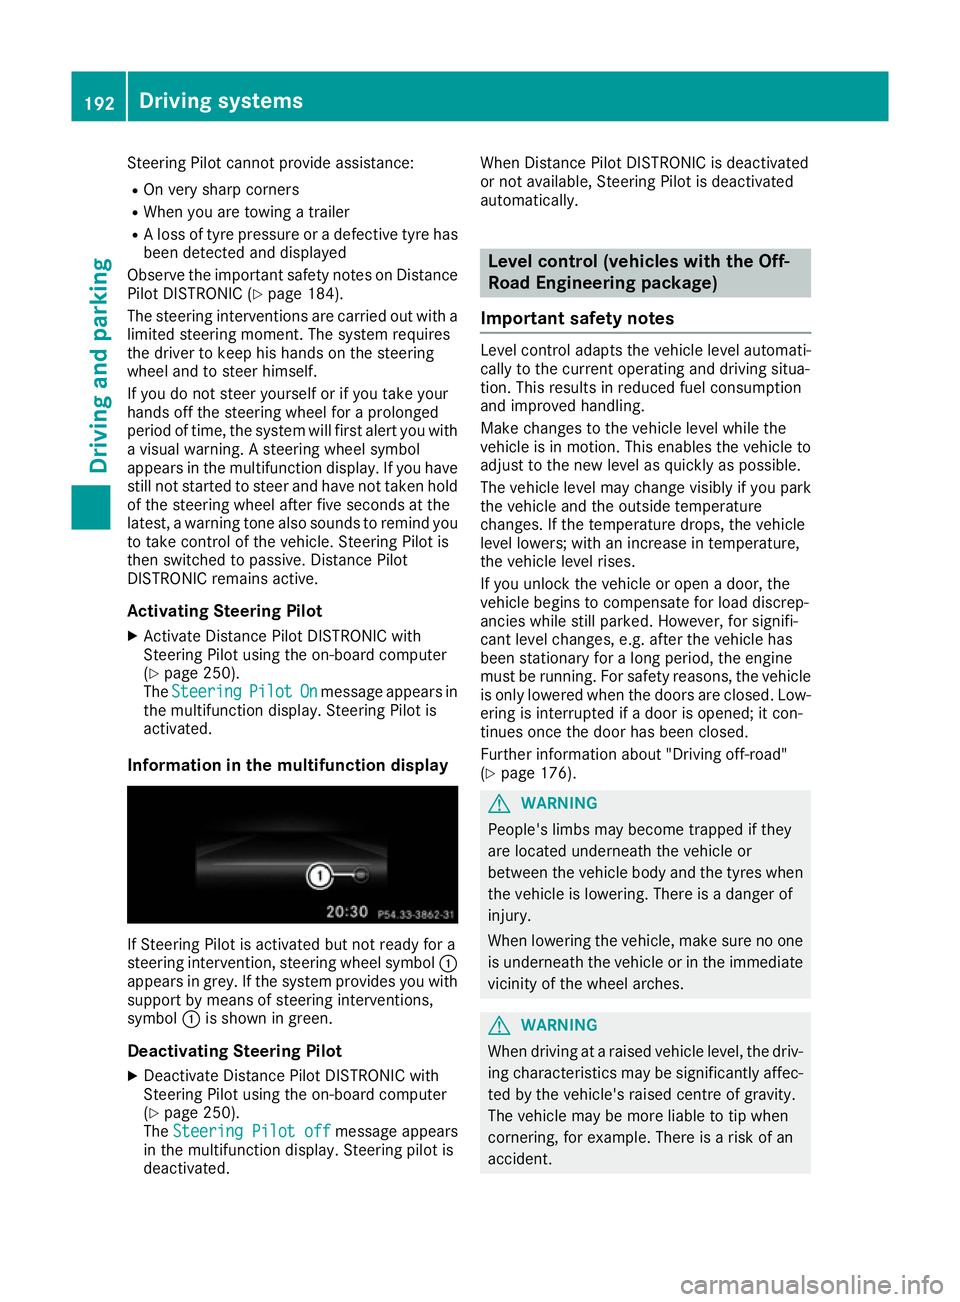
Information in the multifunction display If Steering Pilot is activated but not ready for a
steering intervention, steering wheel symbol :
appears in grey. If the system provides you with support by means of steering interventions,
symbol :is shown in green.
Deactivating Steering Pilot
X Deactivate Distance Pilot DISTRONIC with
Steering Pilot using the on-board computer
(Y page 250).
The Steering Pilot off
Steering Pilot off message appears
in the multifunction display. Steering pilot is
deactivated. When Distance Pilot DISTRONIC is deactivated
or not available, Steering Pilot is deactivated
automatically. Level control (vehicles with the Off-
Road Engineering package)
Important safety notes Level control adapts the vehicle level automati-
cally to the current operating and driving situa-
tion. This results in reduced fuel consumption
and improved handling.
Make changes to the vehicle level while the
vehicle is in motion. This enables the vehicle to adjust to the new level as quickly as possible.
The vehicle level may change visibly if you park
the vehicle and the outside temperature
changes. If the temperature drops, the vehicle
level lowers; with an increase in temperature,
the vehicle level rises.
If you unlock the vehicle or open a door, the
vehicle begins to compensate for load discrep-
ancies while still parked. However, for signifi-
cant level changes, e.g. after the vehicle has
been stationary for a long period, the engine
must be running. For safety reasons, the vehicle
is only lowered when the doors are closed. Low-
ering is interrupted if a door is opened; it con-
tinues once the door has been closed.
Further information about "Driving off-road"
(Y page 176). G
WARNING
People's limbs may become trapped if they
are located underneath the vehicle or
between the vehicle body and the tyres when the vehicle is lowering. There is a danger of
injury.
When lowering the vehicle, make sure no one
is underneath the vehicle or in the immediate vicinity of the wheel arches. G
WARNING
When driving at a raised vehicle level, the driv- ing characteristics may be significantly affec-ted by the vehicle's raised centre of gravity.
The vehicle may be more liable to tip when
cornering, for example. There is a risk of an
accident. 192
Driving systemsDriving and parking