2016 MERCEDES-BENZ GLC COUPE fuse
[x] Cancel search: fusePage 6 of 389
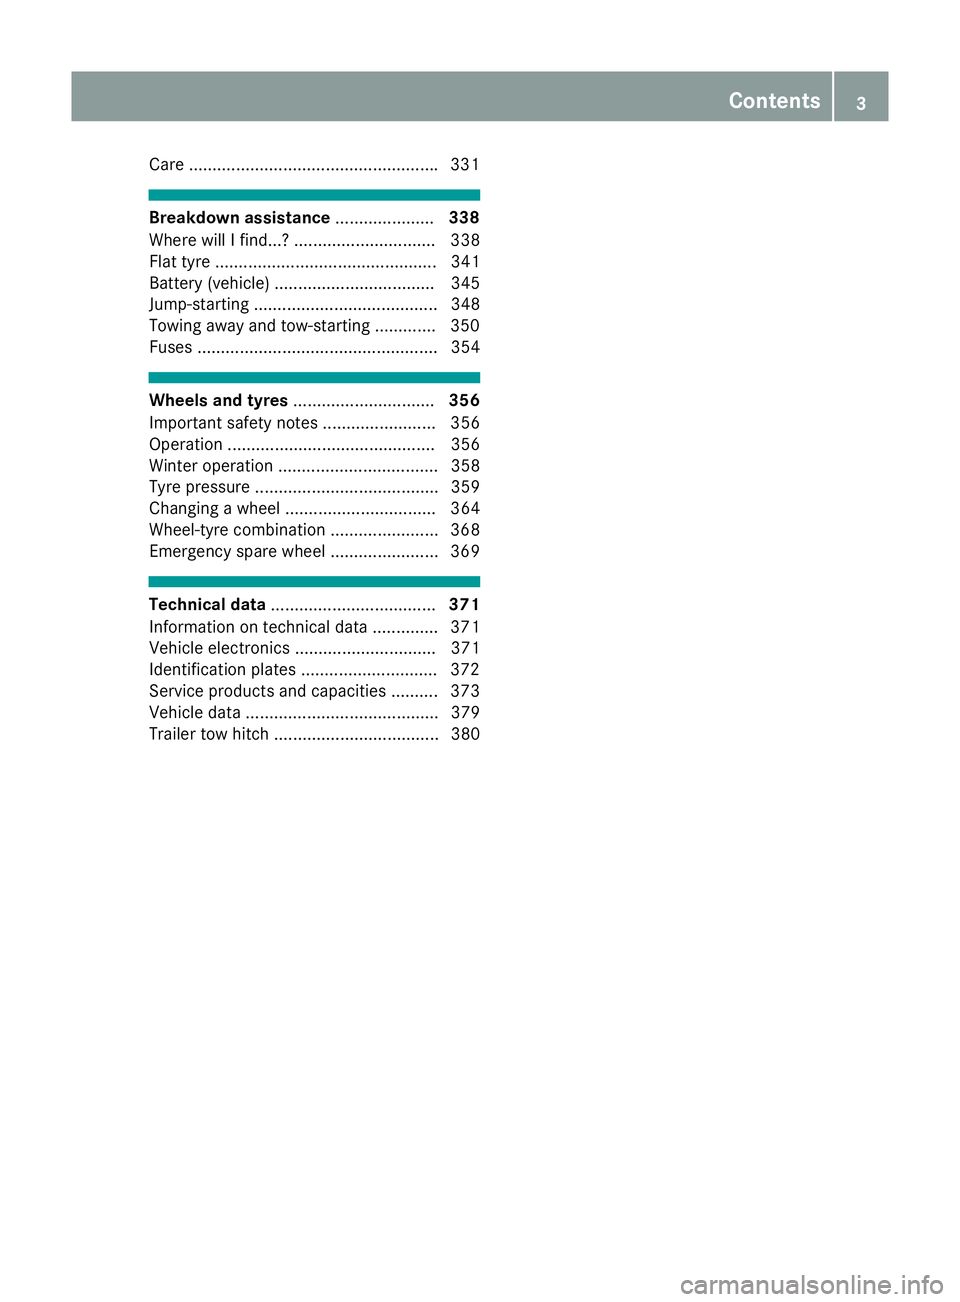
Care ....................................................
.331 Breakdown assistance
.....................338
Where will I find...? .............................. 338
Flat tyre ............................................... 341
Battery (vehicle) .................................. 345
Jump-starting ....................................... 348
Towing away and tow-starting ............. 350
Fuses ................................................... 354 Wheels and tyres
.............................. 356
Important safety notes ........................ 356
Operation ............................................ 356
Winter operation .................................. 358
Tyre pressure ....................................... 359
Changing a wheel ................................ 364
Wheel-tyre combination ....................... 368
Emergency spare wheel ....................... 369 Technical data
................................... 371
Information on technical data .............. 371
Vehicle electronics .............................. 371
Identification plates ............................ .372
Service products and capacities .......... 373
Vehicle data ......................................... 379
Trailer tow hitch ................................... 380 Contents
3
Page 15 of 389
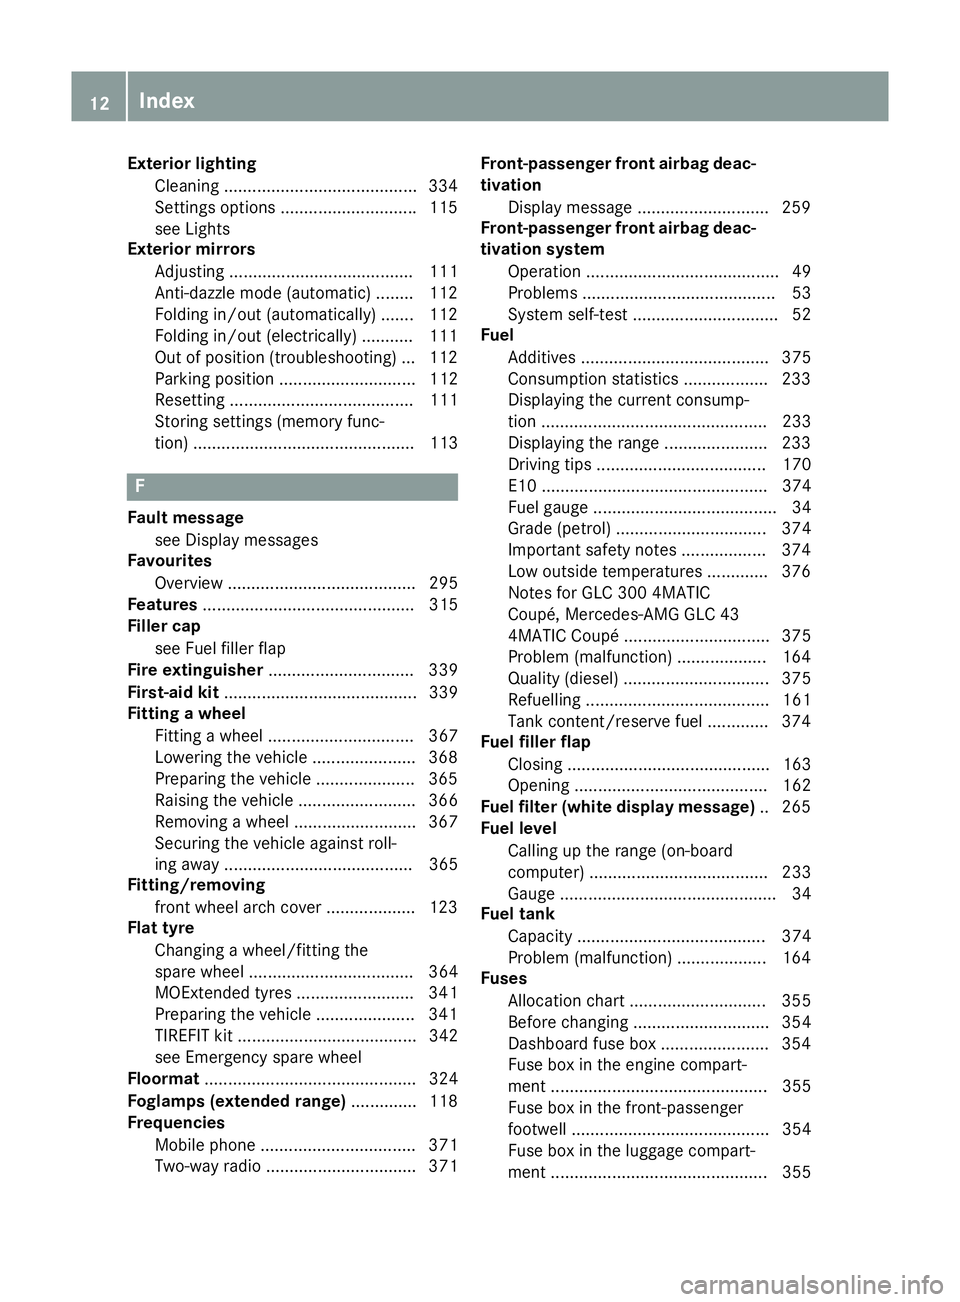
Exterior lighting
Cleaning ........................................ .334
Settings options ............................ .115
see Lights
Exterior mirrors
Adjusting ....................................... 111
Anti-dazzle mode (automatic) ....... .112
Folding in/out (automatically) ....... 112
Folding in/out (electrically) ........... 111
Out of position (troubleshooting) ... 112
Parking position ............................. 112
Resetting ....................................... 111
Storing settings (memory func-
tion) ............................................... 113 F
Fault message see Display messages
Favourites
Overview ........................................ 295
Features ............................................. 315
Filler cap
see Fuel filler flap
Fire extinguisher ............................... 339
First-aid kit ......................................... 339
Fitting a wheel
Fitting a wheel ............................... 367
Lowering the vehicle ...................... 368
Preparing the vehicle ..................... 365
Raising the vehicl e......................... 366
Removing a whee l.......................... 367
Securing the vehicle against roll-
ing away ........................................ 365
Fitting/removing
front wheel arch cover ................... 123
Flat tyre
Changing a wheel/fitting the
spare whee l................................... 364
MOExtended tyre s......................... 341
Preparing the vehicle ..................... 341
TIREFIT kit ...................................... 342
see Emergency spare wheel
Floormat ............................................. 324
Foglamps (extended range) .............. 118
Frequencies
Mobile phone ................................. 371
Two-way radio ................................ 371 Front-passenger front airbag deac-
tivation
Display message ............................ 259
Front-passenger front airbag deac-
tivation system
Operation ......................................... 49
Problems ......................................... 53
System self-test ............................... 52
Fuel
Additives ........................................ 375
Consumption statistics .................. 233
Displaying the current consump-
tion ................................................ 233
Displaying the rang e...................... 233
Driving tips .................................... 170
E10 ................................................ 374
Fuel gaug e....................................... 34
Grade (petrol) ................................ 374
Important safety notes .................. 374
Low outside temperature s............. 376
Notes for GLC 300 4MATIC
Coupé, Mercedes-AMG GLC 43
4MATIC Coup é............................... 375
Problem (malfunction) ................... 164
Quality (diesel )............................... 375
Refuelling ....................................... 161
Tank content/reserve fue l............. 374
Fuel filler flap
Closing ........................................... 163
Opening ......................................... 162
Fuel filter (white display message) .. 265
Fuel level
Calling up the range (on-board
computer) ...................................... 233
Gaug e.............................................. 34
Fuel tank
Capacity ........................................ 374
Problem (malfunction) ................... 164
Fuses
Allocation chart ............................. 355
Before changing ............................. 354
Dashboard fuse box ....................... 354
Fuse box in the engine compart-
ment .............................................. 355
Fuse box in the front-passenger
footwell .......................................... 354
Fuse box in the luggage compart-
ment .............................................. 355 12
Index
Page 134 of 389
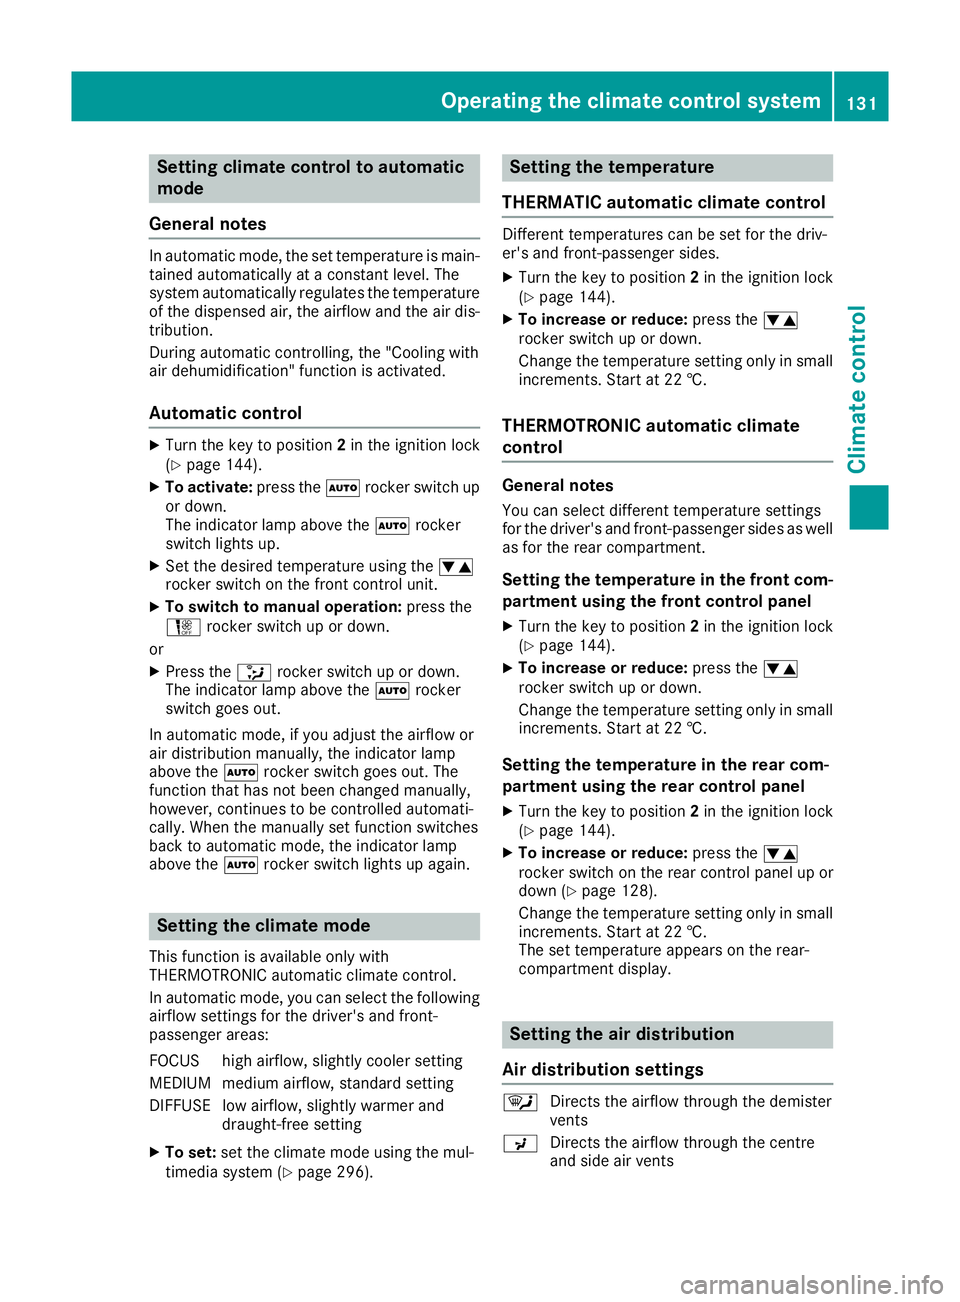
Setting climate control to automatic
mode
General notes In automatic mode, the set temperature is main-
tained automatically at a constant level. The
system automatically regulates the temperature of the dispensed air, the airflow and the air dis- tribution.
During automatic controlling, the "Cooling with
air dehumidification" function is activated.
Automatic control X
Turn the key to position 2in the ignition lock
(Y page 144).
X To activate: press theÃrocker switch up
or down.
The indicator lamp above the Ãrocker
switch lights up.
X Set the desired temperature using the w
rocker switch on the front control unit.
X To switch to manual operation: press the
H rocker switch up or down.
or
X Press the _rocker switch up or down.
The indicator lamp above the Ãrocker
switch goes out.
In automatic mode, if you adjust the airflow or
air distribution manually, the indicator lamp
above the Ãrocker switch goes out. The
function that has not been changed manually,
however, continues to be controlled automati-
cally. When the manually set function switches
back to automatic mode, the indicator lamp
above the Ãrocker switch lights up again. Setting the climate mode
This function is available only with
THERMOTRONIC automatic climate control.
In automatic mode, you can select the following airflow settings for the driver's and front-
passenger areas:
FOCUS high airflow, slightly cooler setting
MEDIUM medium airflow, standard setting
DIFFUSE low airflow, slightly warmer and draught-free setting
X To set: set the climate mode using the mul-
timedia system (Y page 296). Setting the temperature
THERMATIC automatic climate control Different temperatures can be set for the driv-
er's and front-passenger sides.
X Turn the key to position 2in the ignition lock
(Y page 144).
X To increase or reduce: press thew
rocker switch up or down.
Change the temperature setting only in small
increments. Start at 22 †.
THERMOTRONIC automatic climate
control General notes
You can select different temperature settings
for the driver's and front-passenger sides as well
as for the rear compartment.
Setting the temperature in the front com-
partment using the front control panel
X Turn the key to position 2in the ignition lock
(Y page 144).
X To increase or reduce: press thew
rocker switch up or down.
Change the temperature setting only in small
increments. Start at 22 †.
Setting the temperature in the rear com-
partment using the rear control panel X Turn the key to position 2in the ignition lock
(Y page 144).
X To increase or reduce: press thew
rocker switch on the rear control panel up or
down (Y page 128).
Change the temperature setting only in small
increments. Start at 22 †.
The set temperature appears on the rear-
compartment display. Setting the air distribution
Air distribution settings ¯
Directs the airflow through the demister
vents
P Directs the airflow through the centre
and side air vents Operating the climate control system
131Climate control
Page 184 of 389

Vehicles with COMAND Online multimedia
system: when you change lanes, DISTRONIC
PLUS monitors the right lane in the case of left-
side traffic or the left lane in the case of right-
side traffic.
Vehicles with Audio 20 multimedia system:
when you change lanes, DISTRONIC PLUS mon- itors the left lane on left-hand-drive vehicles or
the right lane on right-hand-drive vehicles.
Road and traffic conditions The following function is available only in vehi-
cles with the Driving Assistance Plus package.
The function is not operational in all countries.
DISTRONIC PLUS uses additional information
from your navigation system so that it can adapt to certain traffic situations.
This is the case if, while you are following a vehi-
cle, DISTRONIC PLUS is active and you:
R approach or drive around a roundabout
R approach a T-junction
R turn off at a motorway exit
R approach a tollgate
Even if the vehicle in front leaves the detection
range, DISTRONIC PLUS temporarily maintains
the current driving speed and does not acceler-
ate. This is based on the current map data in the navigation system.
Afterwards, the vehicle accelerates back to the
speed you set.
The system takes into account the fact that
overtaking on the right is not permitted on
motorways or high-speed major roads at speeds
of more than 80 km/h. The driving speed is
adjusted to the speed of the queue of vehicles in
the adjacent lane to the left.
Prevention of overtaking on the right applies to
countries where traffic drives on the right. In
countries where traffic drives on the left, over-
taking on the left is prevented accordingly. Stopping G
WARNING
When leaving the vehicle, even if it is braked
only by DISTRONIC PLUS, it could roll away if:
R there is a malfunction in the system or in
the voltage supply.
R DISTRONIC PLUS has been deactivated
with the cruise control lever, e.g. by a vehi-
cle occupant or from outside the vehicle.
R the electrical system in the engine com-
partment, the battery or the fuses have
been tampered with.
R the battery is disconnected.
R the accelerator pedal has been depressed,
e.g. by a vehicle occupant.
There is a risk of an accident.
If you wish to exit the vehicle, always turn off
DISTRONIC PLUS and secure the vehicle
against rolling away.
Further information on deactivating DISTRONIC PLUS (Y page 183).
If DISTRONIC PLUS detects that the vehicle in
front has stopped, it will cause your vehicle to
brake to a standstill.
Once your vehicle is stationary, it remains sta-
tionary and you do not need to depress the
brake.
After a short period, the vehicle is secured by
the electric parking brake, thus relieving the
service brake.
Depending on the specified minimum distance,
your vehicle will come to a standstill at a suffi-
cient distance behind the vehicle in front. The
specified minimum distance is set using the
control on the cruise control lever.
When DISTRONIC PLUS is activated, the trans-
mission is shifted automatically to position Pin
the following situations:
R the driver's seat belt is not fastened and the
driver's door is open
R The engine is switched off, unless it is auto-
matically switched off by the ECO start/stop
function Driving systems
181Driving and parking Z
Page 189 of 389
Information on the multifunction display
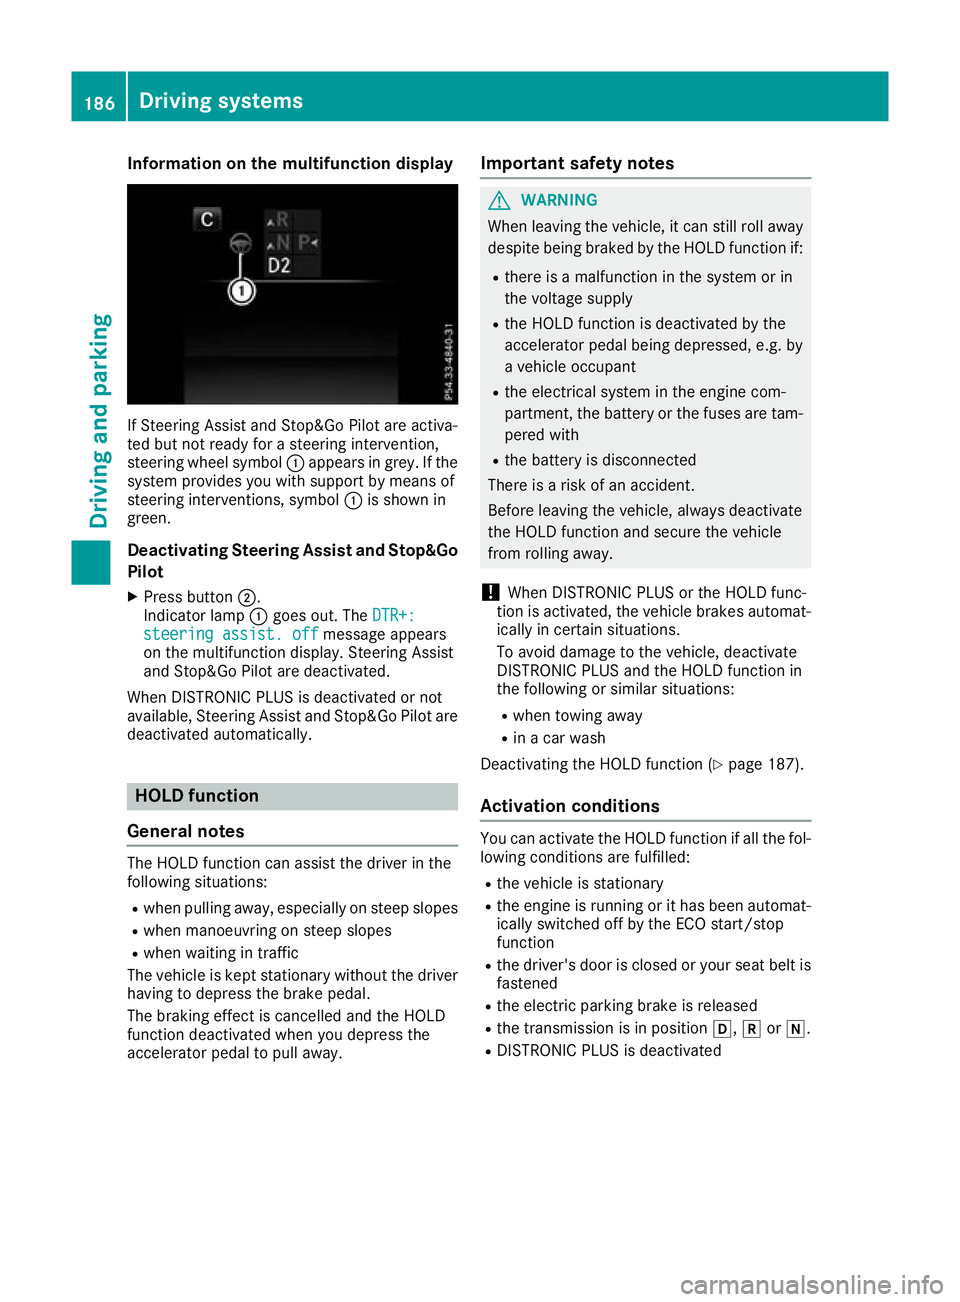
If Steering Assist and Stop&Go Pilot are activa-
ted but not ready for a steering intervention,
steering wheel symbol :appears in grey. If the
system provides you with support by means of
steering interventions, symbol :is shown in
green.
Deactivating Steering Assist and Stop&Go
Pilot
X Press button ;.
Indicator lamp :goes out. The DTR+:
DTR+:
steering assist. off
steering assist. off message appears
on the multifunction display. Steering Assist
and Stop&Go Pilot are deactivated.
When DISTRONIC PLUS is deactivated or not
available, Steering Assist and Stop&Go Pilot are deactivated automatically. HOLD function
General notes The HOLD function can assist the driver in the
following situations:
R when pulling away, especially on steep slopes
R when manoeuvring on steep slopes
R when waiting in traffic
The vehicle is kept stationary without the driver having to depress the brake pedal.
The braking effect is cancelled and the HOLD
function deactivated when you depress the
accelerator pedal to pull away. Important safety notes G
WARNING
When leaving the vehicle, it can still roll away despite being braked by the HOLD function if:
R there is a malfunction in the system or in
the voltage supply
R the HOLD function is deactivated by the
accelerator pedal being depressed, e.g. by
a vehicle occupant
R the electrical system in the engine com-
partment, the battery or the fuses are tam-
pered with
R the battery is disconnected
There is a risk of an accident.
Before leaving the vehicle, always deactivate
the HOLD function and secure the vehicle
from rolling away.
! When DISTRONIC PLUS or the HOLD func-
tion is activated, the vehicle brakes automat- ically in certain situations.
To avoid damage to the vehicle, deactivate
DISTRONIC PLUS and the HOLD function in
the following or similar situations:
R when towing away
R in a car wash
Deactivating the HOLD function (Y page 187).
Activation conditions You can activate the HOLD function if all the fol-
lowing conditions are fulfilled:
R the vehicle is stationary
R the engine is running or it has been automat-
ically switched off by the ECO start/stop
function
R the driver's door is closed or your seat belt is
fastened
R the electric parking brake is released
R the transmission is in position h,kori.
R DISTRONIC PLUS is deactivated 186
Driving systemsDriving and pa
rking
Page 199 of 389
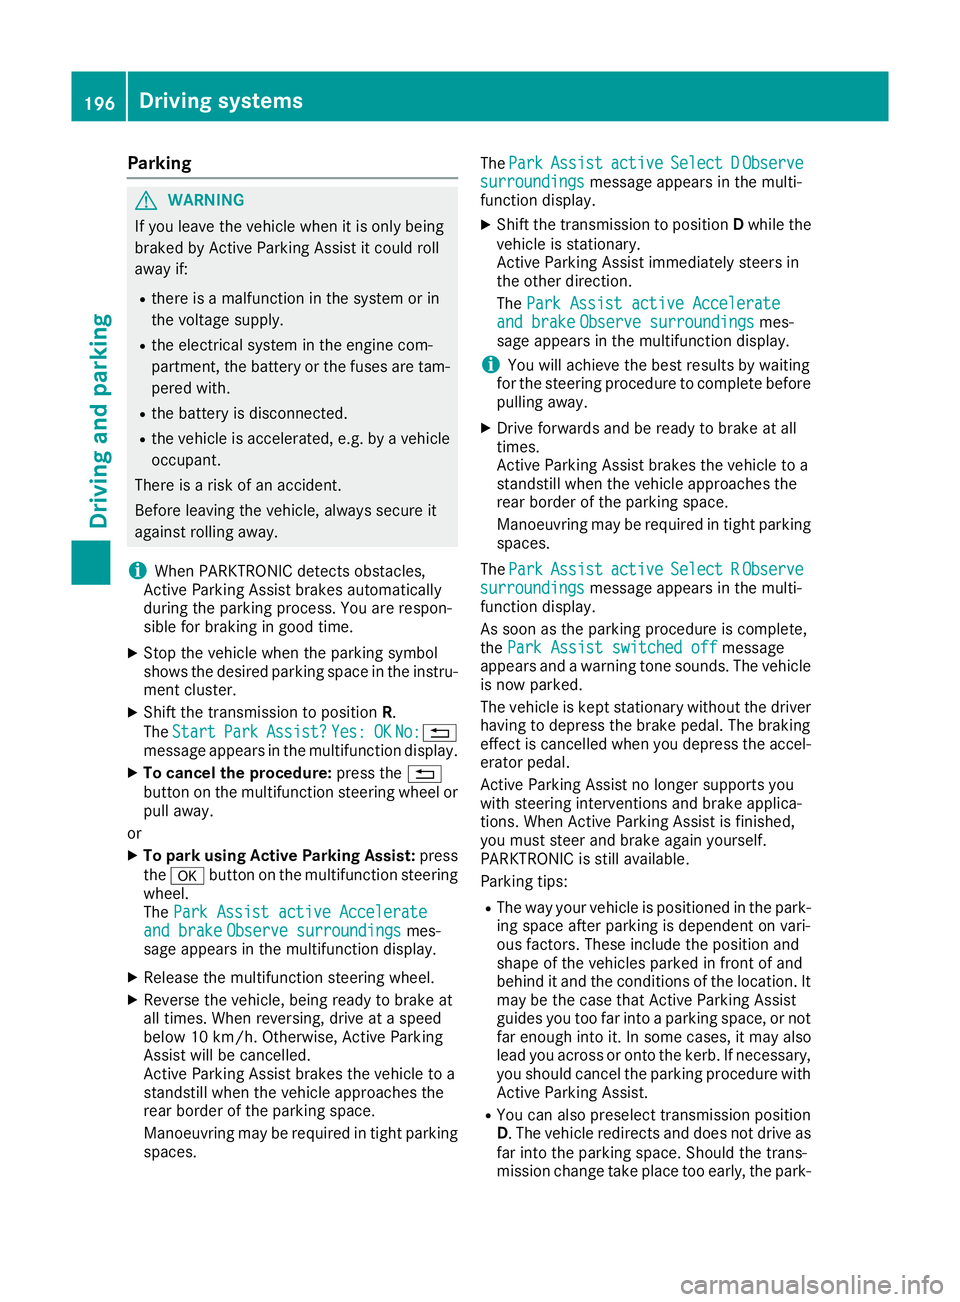
Parking
G
WARNING
If you leave the vehicle when it is only being
braked by Active Parking Assist it could roll
away if:
R there is a malfunction in the system or in
the voltage supply.
R the electrical system in the engine com-
partment, the battery or the fuses are tam-
pered with.
R the battery is disconnected.
R the vehicle is accelerated, e.g. by a vehicle
occupant.
There is a risk of an accident.
Before leaving the vehicle, always secure it
against rolling away.
i When PARKTRONIC detects obstacles,
Active Parking Assist brakes automatically
during the parking process. You are respon-
sible for braking in good time.
X Stop the vehicle when the parking symbol
shows the desired parking space in the instru-
ment cluster.
X Shift the transmission to position R.
The Start
Start Park ParkAssist?
Assist? Yes:
Yes:OK
OKNo:
No:%
message appears in the multifunction display.
X To cancel the procedure: press the%
button on the multifunction steering wheel or pull away.
or
X To park using Active Parking Assist: press
the a button on the multifunction steering
wheel.
The Park Assist active Accelerate Park Assist active Accelerate
and brake
and brake Observe surroundings
Observe surroundings mes-
sage appears in the multifunction display.
X Release the multifunction steering wheel.
X Reverse the vehicle, being ready to brake at
all times. When reversing, drive at a speed
below 10 km/h. Otherwise, Active Parking
Assist will be cancelled.
Active Parking Assist brakes the vehicle to a
standstill when the vehicle approaches the
rear border of the parking space.
Manoeuvring may be required in tight parking
spaces. The
Park
Park Assist Assist active
activeSelect D
Select D Observe
Observe
surroundings
surroundings message appears in the multi-
function display.
X Shift the transmission to position Dwhile the
vehicle is stationary.
Active Parking Assist immediately steers in
the other direction.
The Park Assist active Accelerate Park Assist active Accelerate
and brake
and brake Observe surroundings
Observe surroundings mes-
sage appears in the multifunction display.
i You will achieve the best results by waiting
for the steering procedure to complete before
pulling away.
X Drive forwards and be ready to brake at all
times.
Active Parking Assist brakes the vehicle to a
standstill when the vehicle approaches the
rear border of the parking space.
Manoeuvring may be required in tight parking
spaces.
The Park Park Assist
Assist active
activeSelect R
Select R Observe
Observe
surroundings
surroundings message appears in the multi-
function display.
As soon as the parking procedure is complete,
the Park Assist switched off
Park Assist switched off message
appears and a warning tone sounds. The vehicle
is now parked.
The vehicle is kept stationary without the driver having to depress the brake pedal. The braking
effect is cancelled when you depress the accel-
erator pedal.
Active Parking Assist no longer supports you
with steering interventions and brake applica-
tions. When Active Parking Assist is finished,
you must steer and brake again yourself.
PARKTRONIC is still available.
Parking tips:
R The way your vehicle is positioned in the park-
ing space after parking is dependent on vari-
ous factors. These include the position and
shape of the vehicles parked in front of and
behind it and the conditions of the location. It may be the case that Active Parking Assist
guides you too far into a parking space, or not
far enough into it. In some cases, it may also
lead you across or onto the kerb. If necessary,
you should cancel the parking procedure with Active Parking Assist.
R You can also preselect transmission position
D. The vehicle redirects and does not drive as
far into the parking space. Should the trans-
mission change take place too early, the park- 196
Driving systemsDriving and parking
Page 264 of 389
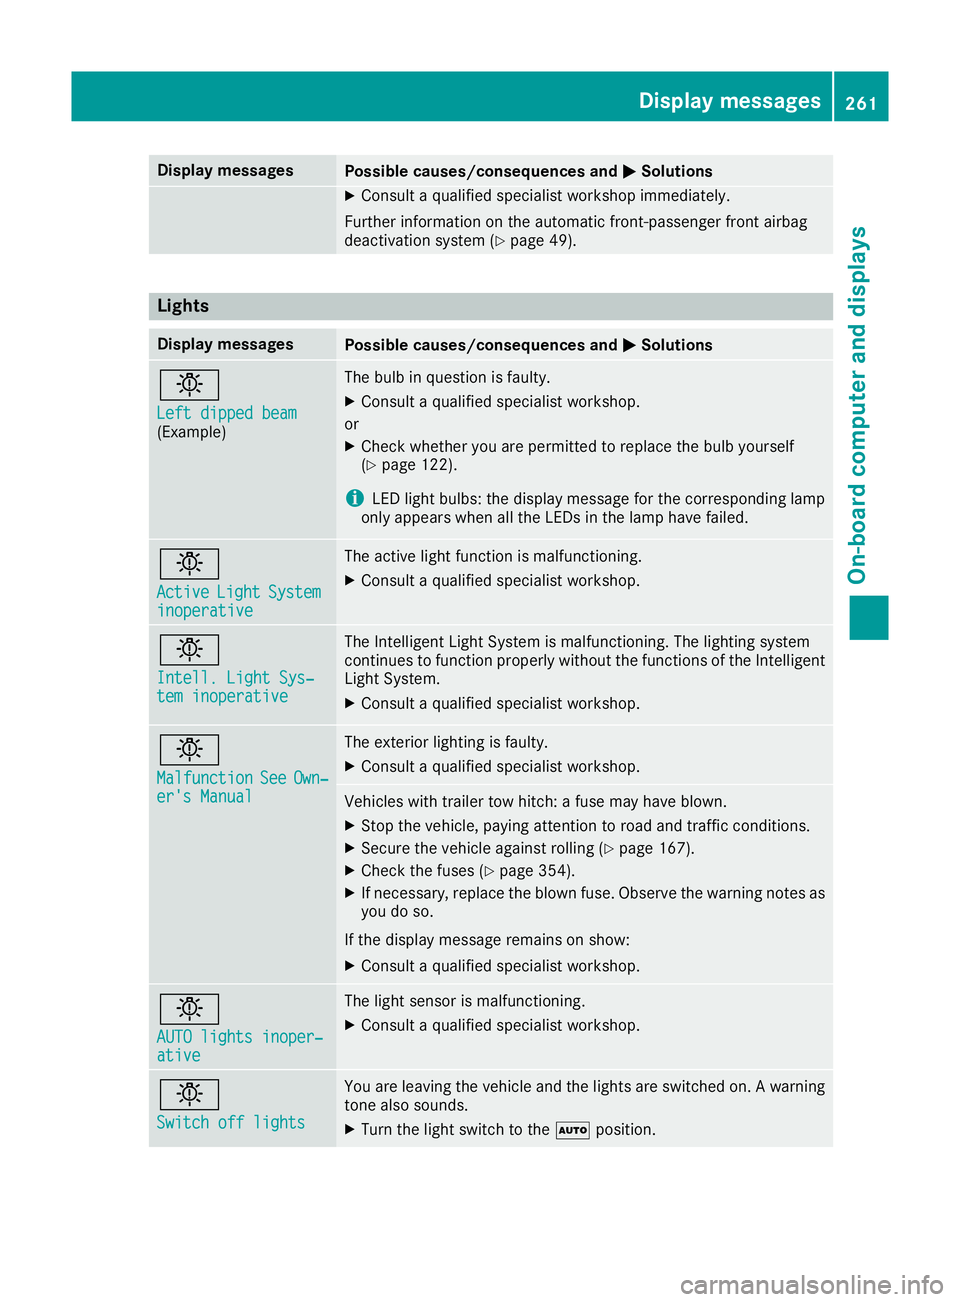
Display messages
Possible causes/consequences and
M
MSolutions X
Consult a qualified specialist workshop immediately.
Further information on the automatic front-passenger front airbag
deactivation system (Y page 49).Lights
Display messages
Possible causes/consequences and
M
MSolutions b
Left dipped beam Left dipped beam
(Example) The bulb in question is faulty.
X Consult a qualified specialist workshop.
or X Check whether you are permitted to replace the bulb yourself
(Y page 122).
i LED light bulbs: the display message for the corresponding lamp
only appears when all the LEDs in the lamp have failed. b
Active Active
Light
LightSystem
System
inoperative
inoperative The active light function is malfunctioning.
X Consult a qualified specialist workshop. b
Intell. Light Sys‐ Intell. Light Sys‐
tem inoperative tem inoperative The Intelligent Light System is malfunctioning. The lighting system
continues to function properly without the functions of the Intelligent
Light System.
X Consult a qualified specialist workshop. b
Malfunction Malfunction
See
SeeOwn‐
Own‐
er's Manual
er's Manual The exterior lighting is faulty.
X Consult a qualified specialist workshop. Vehicles with trailer tow hitch: a fuse may have blown.
X Stop the vehicle, paying attention to road and traffic conditions.
X Secure the vehicle against rolling (Y page 167).
X Check the fuses (Y page 354).
X If necessary, replace the blown fuse. Observe the warning notes as
you do so.
If the display message remains on show:
X Consult a qualified specialist workshop. b
AUTO lights inoper‐ AUTO lights inoper‐
ative ative The light sensor is malfunctioning.
X Consult a qualified specialist workshop. b
Switch off lights Switch off lights You are leaving the vehicle and the lights are switched on. A warning
tone also sounds.
X Turn the light switch to the Ãposition. Display
messages
261On-board computer and displays Z
Page 299 of 389
Climate control settings
General notes You can adjust the climate control settings
using the climate control bar or the climate con-
trol menu.
Important climate control functions can be set
in the climate control bar:
R Temperature
R Airflow
R Air distribution
The climate control bar is visible in most dis-
plays.
You can find all available climate control func-
tions in the climate control menu. You can use
the climate control bar to switch to the climate
control menu.
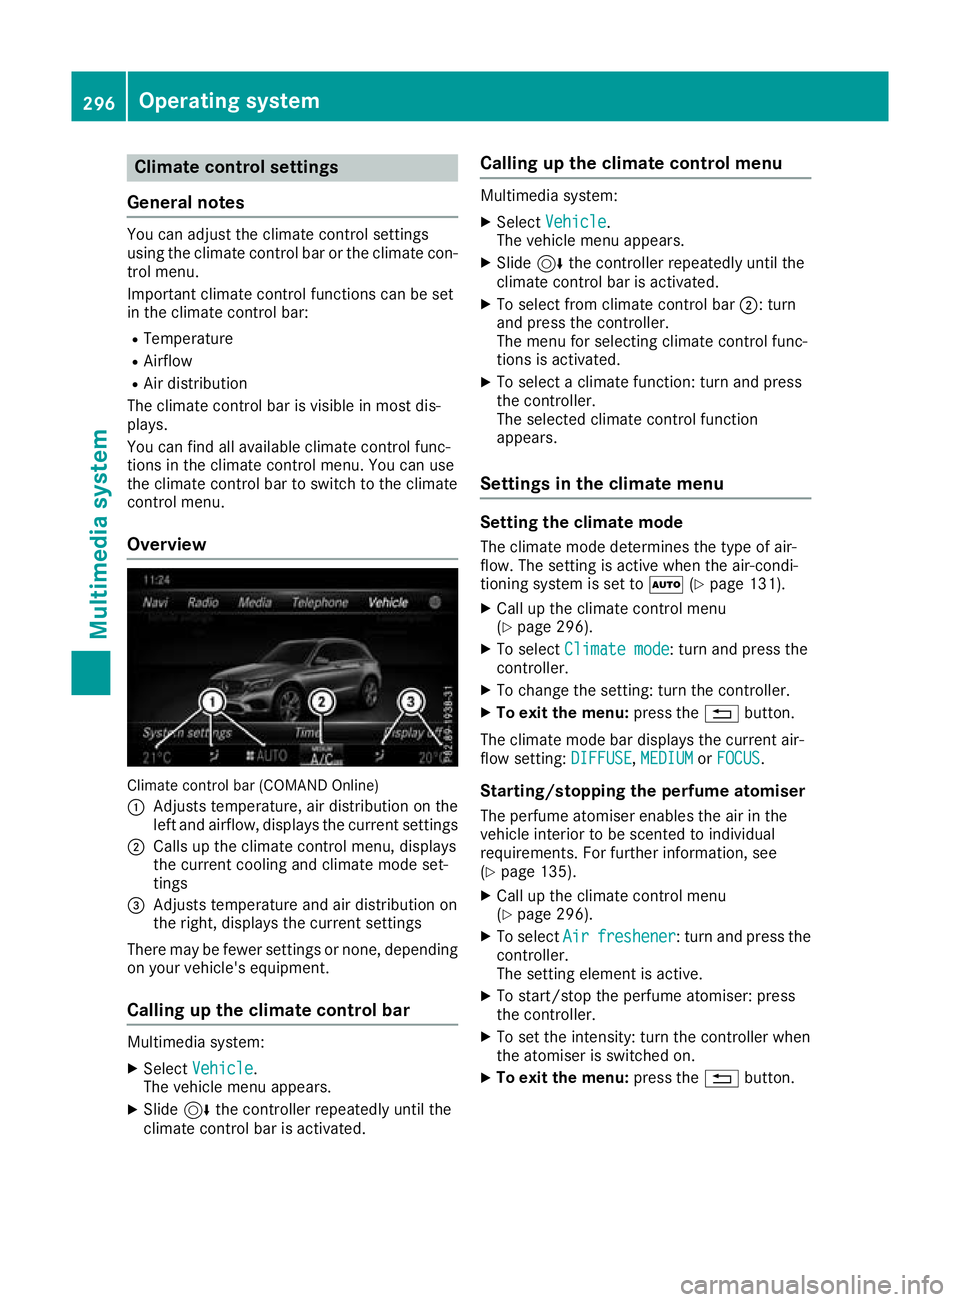
Overview Climate control bar (COMAND Online)
: Adjusts temperature, air distribution on the
left and airflow, displays the current settings
; Calls up the climate control menu, displays
the current cooling and climate mode set-
tings
= Adjusts temperature and air distribution on
the right, displays the current settings
There may be fewer settings or none, depending on your vehicle's equipment.
Calling up the climate control bar Multimedia system:
X Select Vehicle
Vehicle.
The vehicle menu appears.
X Slide 6the controller repeatedly until the
climate control bar is activated. Calling up the climate control menu Multimedia system:
X Select Vehicle Vehicle.
The vehicle menu appears.
X Slide 6the controller repeatedly until the
climate control bar is activated.
X To select from climate control bar ;: turn
and press the controller.
The menu for selecting climate control func-
tions is activated.
X To select a climate function: turn and press
the controller.
The selected climate control function
appears.
Settings in the climate menu Setting the climate mode
The climate mode determines the type of air-
flow. The setting is active when the air-condi-
tioning system is set to Ã(Ypage 131).
X Call up the climate control menu
(Y page 296).
X To select Climate mode
Climate mode: turn and press the
controller.
X To change the setting: turn the controller.
X To exit the menu: press the%button.
The climate mode bar displays the current air-
flow setting: DIFFUSE DIFFUSE,MEDIUM
MEDIUMorFOCUS
FOCUS.
Starting/stopping the perfume atomiser
The perfume atomiser enables the air in the
vehicle interior to be scented to individual
requirements. For further information, see
(Y page 135).
X Call up the climate control menu
(Y page 296).
X To select Air Airfreshener
freshener: turn and press the
controller.
The setting element is active.
X To start/stop the perfume atomiser: press
the controller.
X To set the intensity: turn the controller when
the atomiser is switched on.
X To exit the menu: press the%button. 296
Operating systemMulti
media system