2016 MERCEDES-BENZ GLC-Class USB
[x] Cancel search: USBPage 150 of 222
Rare connected with COMAND
Rfulfill the conditions for the Internet func-
tions
Rhave not yet been set up for the Internet
function
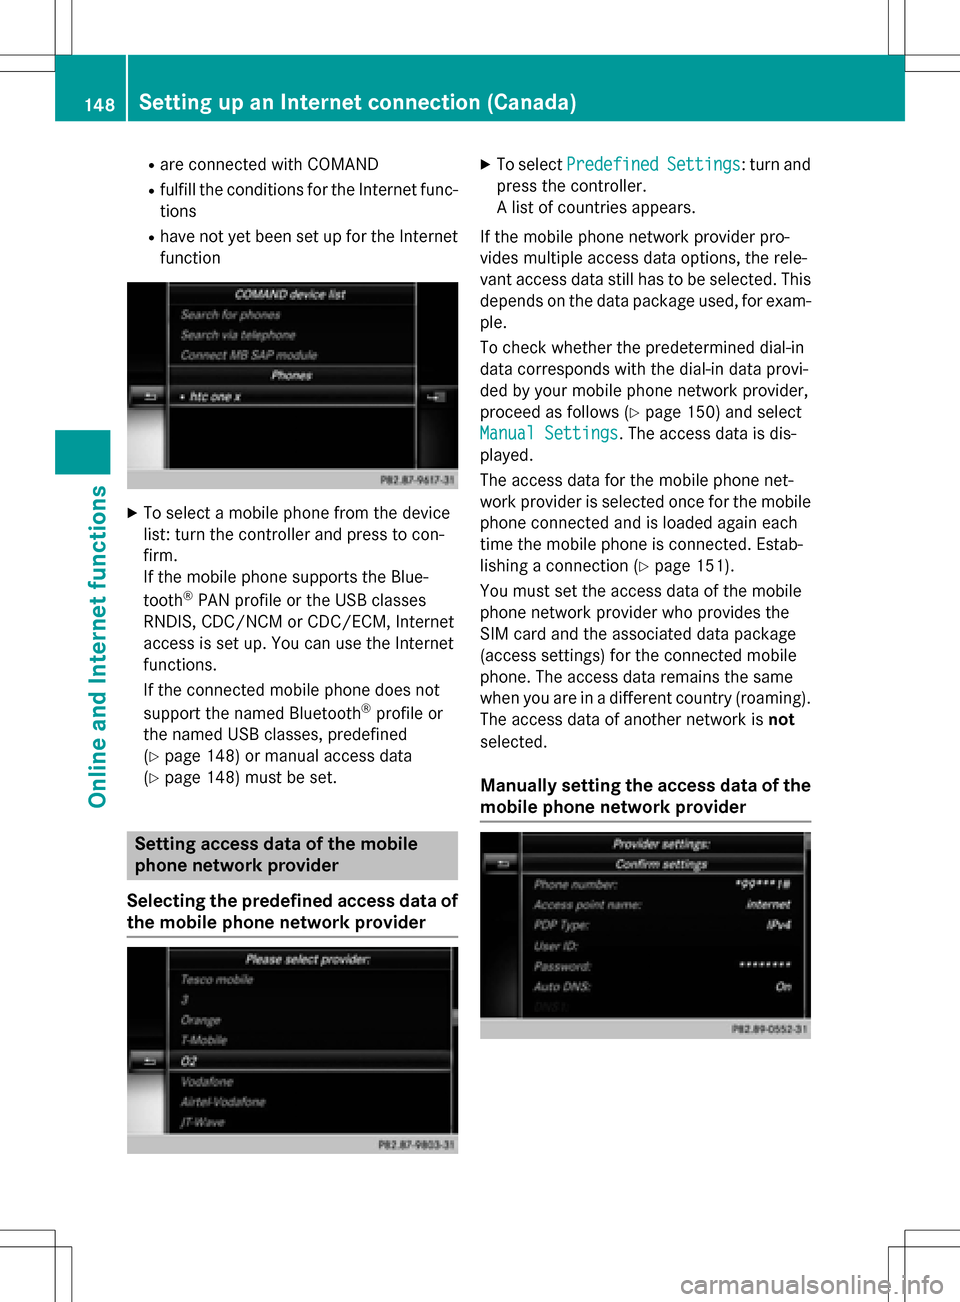
XTo select a mobile phone from the device
list: turn the controller and press to con-
firm.
If the mobile phone supports the Blue-
tooth
®PAN profile or the USB classes
RNDIS, CDC/NCM or CDC/ECM, Internet
access is set up. You can use the Internet
functions.
If the connected mobile phone does not
support the named Bluetooth
®profile or
the named USB classes, predefined
(
Ypage 148) or manual access data
(
Ypage 148) must be set.
Setting access data of the mobile
phone network provider
Selecting the predefined access data of
the mobile phone network provider
XTo select PredefinedSettings: turn and
press the controller.
A list of countries appears.
If the mobile phone network provider pro-
vides multiple access data options, the rele-
vant access data still has to be selected. This
depends on the data package used, for exam-
ple.
To check whether the predetermined dial-in
data corresponds with the dial-in data provi-
ded by your mobile phone network provider,
proceed as follows (
Ypage 150) and select
Manual Settings
. The access data is dis-
played.
The access data for the mobile phone net-
work provider is selected once for the mobile phone connected and is loaded again each
time the mobile phone is connected. Estab-
lishing a connection (
Ypage 151).
You must set the access data of the mobile
phone network provider who provides the
SIM card and the associated data package
(access settings) for the connected mobile
phone. The access data remains the same
when you are in a different country (roaming).
The access data of another network is not
selected.
Manually setting the access data of the
mobile phone network provider
148Setting up an Internet connection (Canada)
Online and Internet functions
Page 180 of 222
Your COMANDequipment
i
These operatin ginstruction sdescribe all
th estandar dan doptional equipmen tof
your COMAN Dsystem, as available at th e
time of going to print .Country-specifi cdif -
ference sare possible. Bear in min dthat
your vehicle may no tfeature all function s
described here. Thi salso applies to safety-
relevant systems an dfunctions.
iRead th einformation on qualified special-
ist workshop sin th evehicle Operator's
Manual.
Activating medi amode
General notes
There are severa lways to activat emedia
source susin gCOMAND.
The relevant section sof th eOperator's Man -
ual describe th esimples tway to activat e a
media source .Thi ssection describes all
option sfo ractivatin gmedia sources. If you
wish to play external media sources, th e
default display mus talready be turned on .
The followin gexternal media source scan be
used :
RApple®devices (e.g. iPhon e®)
RUSBdevices (e.g. US Bstick, MP3 player)
RCD
RDV Dvideo
RSD memor ycards
Rvia devices connecte dby Bluetoot h®
Button activation
XTo callup th emedia menu: press th eÕ
button.
The last media source you hav eset is dis -
played.
XPress th eÕ buttonagain .
The men uappears wit hth eavailable media
sources.
XTo selec tth emedia source :turn th econ-
trolle ran dpress to confirm .
Dependin gon th evehicle equipment, th e
followin gmedia source swill be available :
RDisc
RMemory Card
RMediaRegister
RMedi aInterfac e 1
RMediaInterfac e 2
RBluetoothAudi o
If playable music files are found ,they will be
playe dby COMAND.
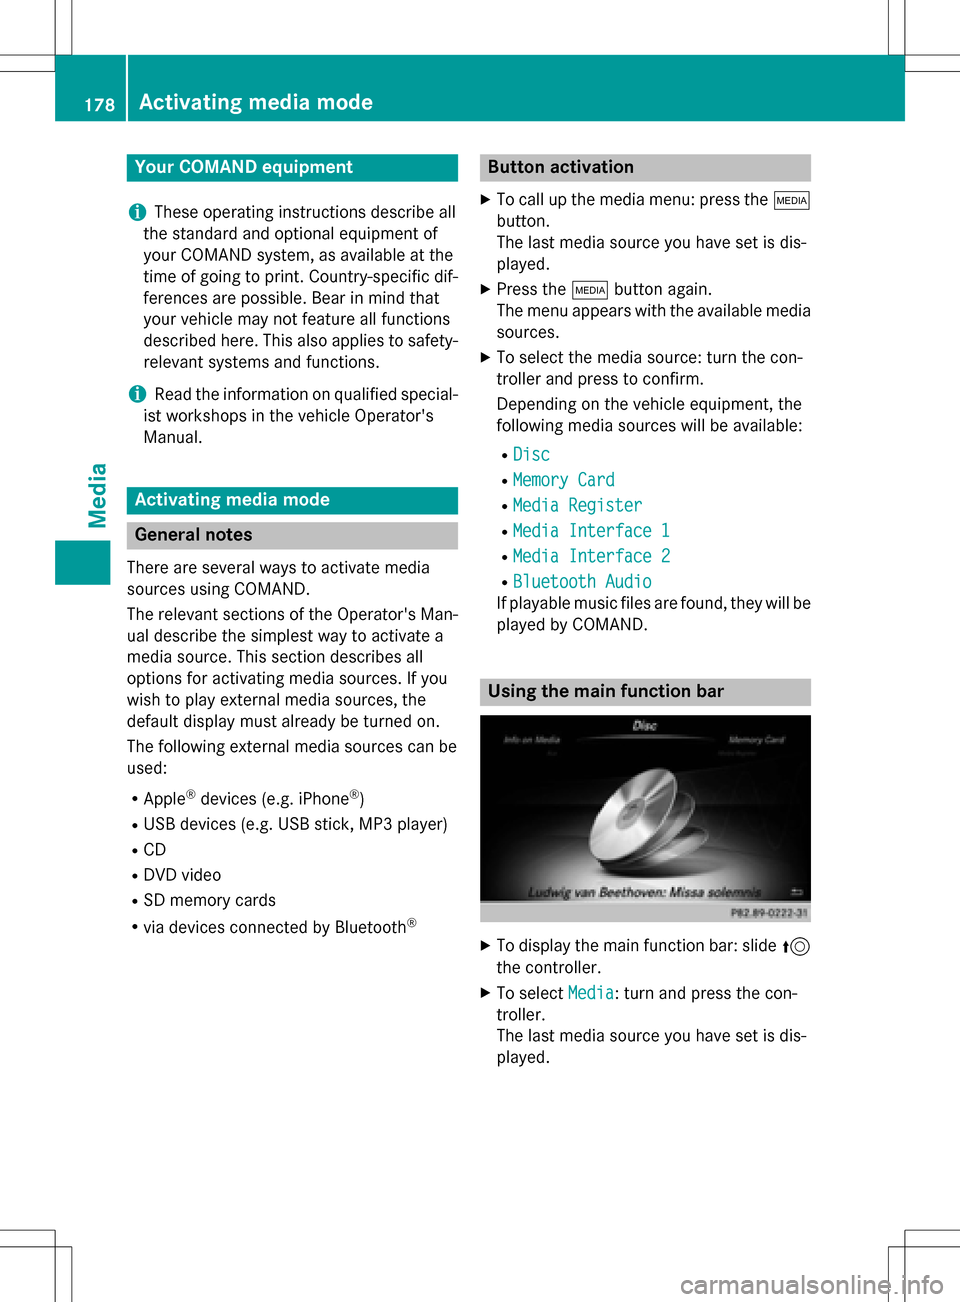
Usin gth emain function ba r
XTo display themain function bar :slid e5
th econtroller .
XTo selectMedi a:turn an dpress th econ-
troller.
The last media source you hav eset is dis -
played.
178Activating media mode
Media
Page 181 of 222
XTo selectMediain media mode: slide 5
and press the controller.
The menu appears with the available media
sources.
XTo select the media source: turn the con-
troller and press to confirm.
If the media source contains music or video
files, these will be played. The correspond-
ing basic menu will be shown.
Using the device list
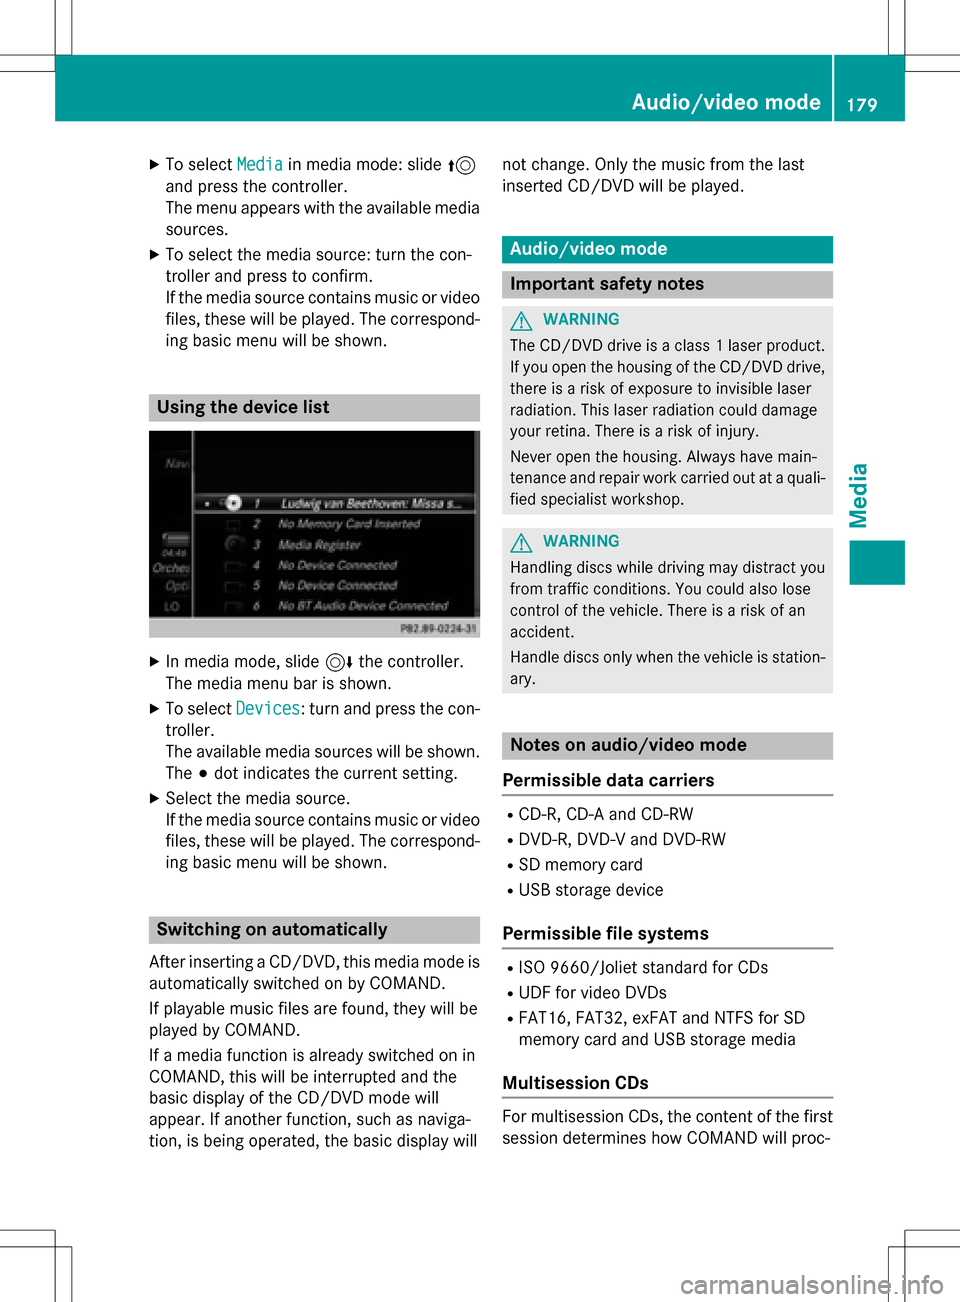
XIn media mode, slide 6the controller.
The media menu bar is shown.
XTo select Devices: turn and press the con-
troller.
The available media sources will be shown.
The #dot indicates the current setting.
XSelect the media source.
If the media source contains music or video
files, these will be played. The correspond-
ing basic menu will be shown.
Switching on automatically
After inserting a CD/DVD, this media mode is
automatically switched on by COMAND.
If playable music files are found, they will be
played by COMAND.
If a media function is already switched on in
COMAND, this will be interrupted and the
basic display of the CD/DVD mode will
appear. If another function, such as naviga-
tion, is being operated, the basic display will not change. Only the music from the last
inserted CD/DVD will be played.
Audio/video mode
Important safety notes
GWARNING
The CD/DVD drive is a class 1 laser product.
If you open the housing of the CD/DVD drive,
there is a risk of exposure to invisible laser
radiation. This laser radiation could damage
your retina. There is a risk of injury.
Never open the housing. Always have main-
tenance and repair work carried out at a quali- fied specialist workshop.
GWARNING
Handling discs while driving may distract you from traffic conditions. You could also lose
control of the vehicle. There is a risk of an
accident.
Handle discs only when the vehicle is station-
ary.
Notes on audio/video mode
Permissible data carriers
RCD-R, CD-A and CD-RW
RDVD-R, DVD-V and DVD-RW
RSD memory card
RUSB storage device
Permissible file systems
RISO 9660/Joliet standard for CDs
RUDF for video DVDs
RFAT16, FAT32, exFAT and NTFS for SD
memory card and USB storage media
Multisession CDs
For multisession CDs, the content of the first
session determines how COMAND will proc-
Audio/video mode179
Media
Z
Page 182 of 222
ess the CD. COMAND plays only one sessionand gives priority to the audio CD session.
File structure of a data carrier
When you create a disc with compressed
music files, the tracks can be organized in
folders. A folder may also contain subfolders.
The disc may contain no more than eight
directory levels. Files beyond the eighth level
will not be recognized by the system.
iCOMAND supports up to 50,000 files
from one data medium. For data media with more than 64 GB, only files in the following
folders are supported: Music, Pictures,
Video.
Track and file names
When you create a disc with compressed
music files, you can assign names to the
tracks and folders.
If MP3 or WMA files are stored in the root
directory itself, the root directory will also be
treated as a folder.
You should observe the following when
assigning track names:
Rtrack names must have at least one char-
acter.
Rtrack names must have an extension of a
supported audio/video format, e.g. mp3,
aac or m4v.
Rthere must be a dot between the track
name and the extension.
Example of a correct track name:
"Track1.mp3".
Permissible formats
COMAND supports the following audio for-
mats:
RMP3
RWMA
RCD-A
RAAC formats: .aac, .mp4, .m4a and .m4b Copy-protected iTunes
®music files with
the .m4p file extension are not supported.
COMAND supports the following video for-
mats:
RDVD-V
RMPEG
RWMV
RM4V
RAVI up to 720p.
Permissible bit and sampling rates
COMAND supports MP3 files of the following
types:
Rfixed and variable bit rates from 32 kbit/s
to 320 kbit/s
Rsampling rates of 8 kHz to 48 kHz
COMAND supports WMA files of the following
types:
Rfixed bit rates from 5 kbit/s to 384 kbit/s
Rsampling rates of 8 kHz to 48 kHz
COMAND does not support WMA files of the
following types:
RDRM (Digital Rights Management) encryp-
ted files
Rvariable bit rate
RWMA Pro
R5.1 surround sound
iOnly use tracks with a bit rate of at least
128 kbit/s and a sampling rate of at least
44.1 kHz. Lower rates can cause a notice-
able deterioration in quality. This is espe-
cially the case if you have activated a sur-
round sound function.
Selecting an active partition (USB mass
storage devices only)
You can select this function for USB storage
devices when the storage device is parti-
tioned. Up to 9 partitions (primary or logical,
FAT, FAT32 and NTFS) are supported.
180Audio/video mode
Media
Page 184 of 222
CGraphic time display
DCover view (if available)
Inserting and ejecting an SD memory
card
Important safety notes
GWAR NING
SD memory car dsare small parts. They can be
swallo wed and cause asphyxiation. This
poses an increased risk of injury or even fatal injury.
Keep SDmemory car dsout of the reach of
ch ildr en. Ifan SD memory card is swallowed,
seek immediate medical attention.
!If you are no longer using the SD memory
card, you should remove it and take it out of
the vehicle. High temperatures can dam-
age the card.
COMAND supports SD memory cards
(Secure Digital), SDHC memory cards
(Secure DigitalHigh Capacity), and SDXC
memory cards ( SecureDigital e Xtended
Capacity.
Inserting an SD memory card
XInsert the SD memory card into the SD card
slot until it engages. The side with the con- tacts must face downwards.
If the memory card has been selected as a
media source, the medium is played and
the files are loaded in the background. If
there are no supported audio/video files,
you will see a message to this effect.
XSelect the media source (Ypage 178).
Ejecting an SD memory card
XPress the memory card.
The memory card is ejected.
XRemove the memory card.
Connecting USB devices
There are two USB ports in the stowage space
under the armrest.
XConnect the USB device to the USB port.
If the corresponding media display is visi-
ble, the medium is played and the files are
loaded in the background. If there are no
supported audio/video files, you will see a
message to this effect.
iMP3 players must support Media Transfer
Protocol (MTP).
Activating media mode
Switching on automatically
After inserting a CD/DVD, this media mode is
automatically switched on by COMAND.
If playable music files are found, they will be
played by COMAND.
If a media function is already switched on in
COMAND, this will be interrupted and the
basic display of the CD/DVD mode will
appear. If another function, such as naviga-
tion, is being operated, the basic display will
not change. Only the music from the last
inserted CD/DVD will be played.
Depending on the vehicle equipment, the
default display must already be turned on
when using with USB devices or SD memory
cards.
XInsert the CDs/DVDs (Ypage 181)
or
XInsert an SD memory card: (Ypage 182)
or
XConnect a USB device: (Ypage 182)
COMAND loads the medium inserted and
starts to play it automatically.
Further options for switching on
RUsing the main function bar: (Ypage 178)
RUsing the device list: (Ypage 179)
RUsing the Õbutton: (Ypage 178)
182Audio/video mode
Media
Page 185 of 222
Playback options
XIn media mode, slide6the controller.
The media menu bar is shown.
XTo select Options: turn and press the con-
troller.
Playing similar tracks
XTo select PlayMoreLikeThis: turn and
press the controller.
COMAND automatically creates and plays
a track list with similar tracks. If there are
no comparable tracks on the data carrier,
you will see a message to this effect.
XSelect the required track.
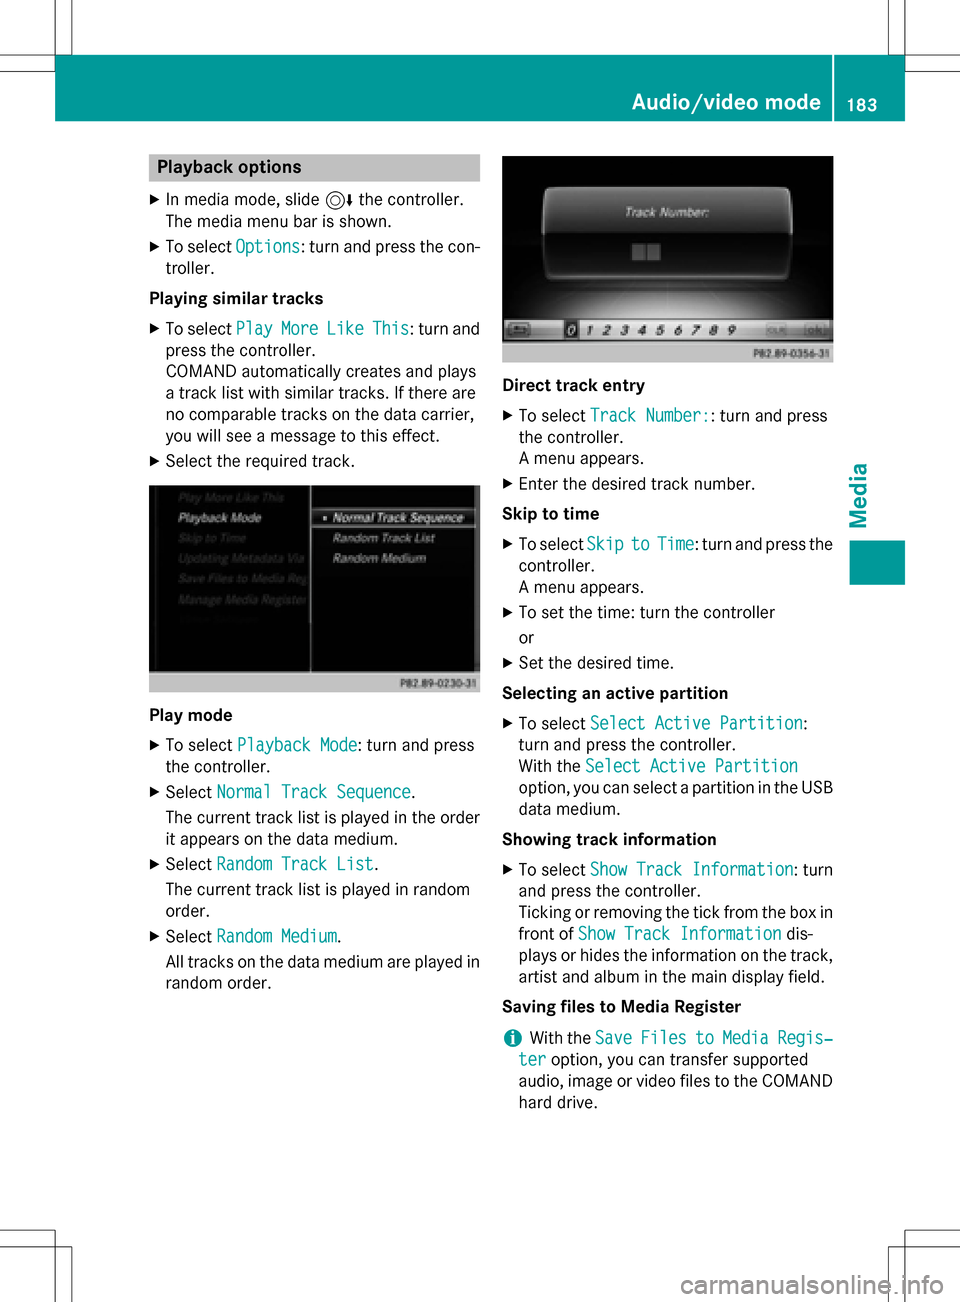
Play mode
XTo select Playback Mode: turn and press
the controller.
XSelect Normal Track Sequence.
The current track list is played in the order
it appears on the data medium.
XSelect Random Track List.
The current track list is played in random
order.
XSelect Random Medium.
All tracks on the data medium are played in
random order.
Direct track entry
XTo select Track Number:: turn and press
the controller.
A menu appears.
XEnter the desired track number.
Skip to time
XTo select SkiptoTime: turn and press the
controller.
A menu appears.
XTo set the time: turn the controller
or
XSet the desired time.
Selecting an active partition
XTo select Select Active Partition:
turn and press the controller.
With the Select Active Partition
option, you can select a partition in the USB
data medium.
Showing track information
XTo select Show Track Information: turn
and press the controller.
Ticking or removing the tick from the box in
front of Show Track Information
dis-
plays or hides the information on the track,
artist and album in the main display field.
Saving files to Media Register
iWith the SaveFilestoMediaRegis‐
teroption, you can transfer supported
audio, image or video files to the COMAND
hard drive.
Audio/video mode183
Media
Z
Page 187 of 222
XIn media mode, slide6the controller.
The media menu bar is shown.
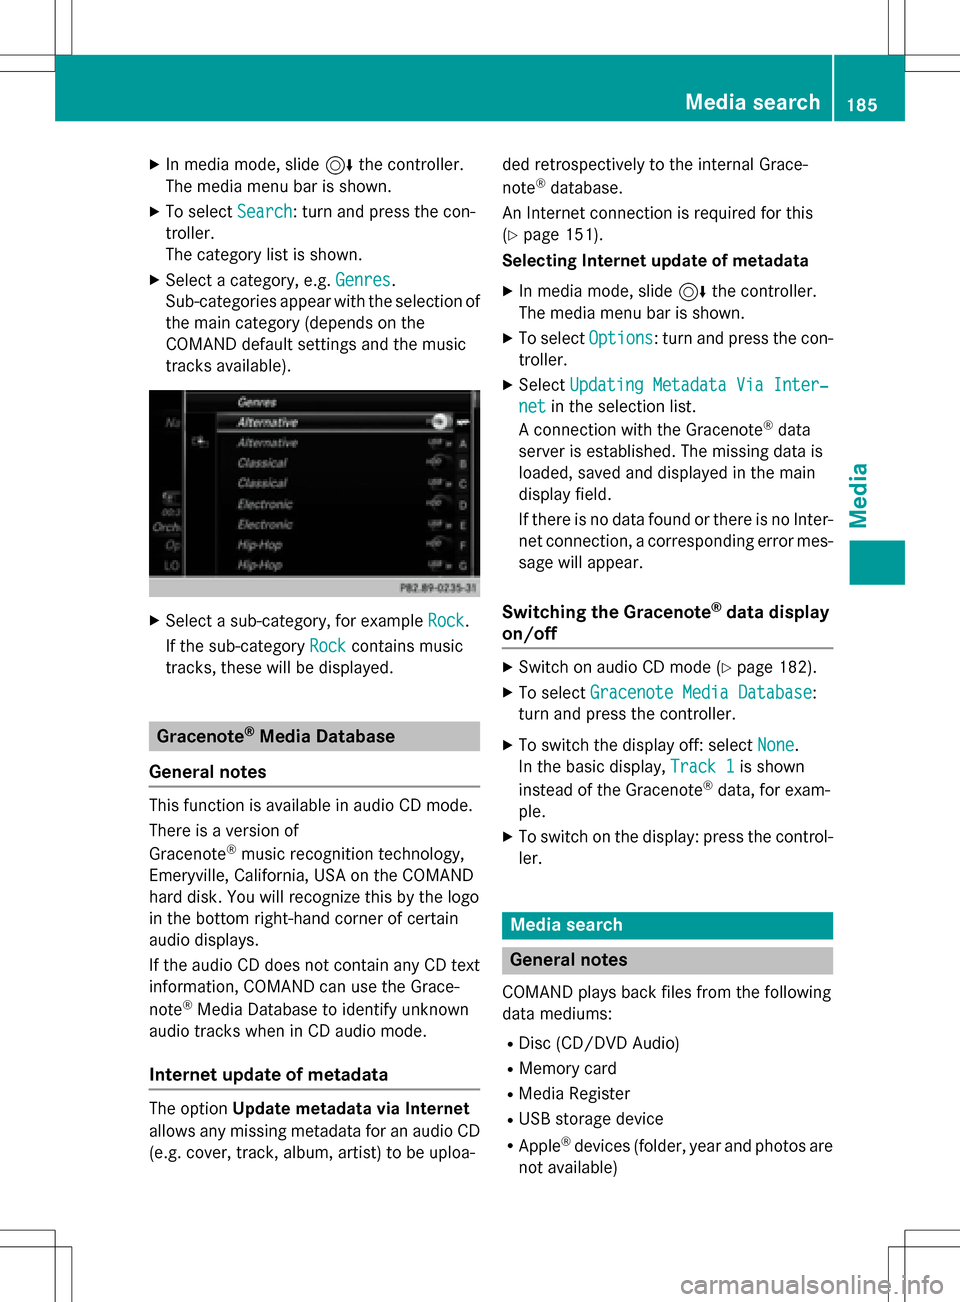
XTo select Search: turn and press the con-
troller.
The category list is shown.
XSelect a category, e.g. Genres.
Sub-categories appear with the selection of
the main category (depends on the
COMAND default settings and the music
tracks available).
XSelect a sub-category, for example Rock.
If the sub-category Rock
contains music
tracks, these will be displayed.
Gracenote®Media Database
General notes
This function is available in audio CD mode.
There is a version of
Gracenote
®music recognition technology,
Emeryville, California, USA on the COMAND
hard disk. You will recognize this by the logo
in the bottom right-hand corner of certain
audio displays.
If the audio CD does not contain any CD text
information, COMAND can use the Grace-
note
®Media Database to identify unknown
audio tracks when in CD audio mode.
Internet update of metadata
The option Update metadata via Internet
allows any missing metadata for an audio CD (e.g. cover, track, album, artist) to be uploa- ded retrospectively to the internal Grace-
note
®database.
An Internet connection is required for this
(
Ypage 151).
Selecting Internet update of metadata
XIn media mode, slide 6the controller.
The media menu bar is shown.
XTo select Options: turn and press the con-
troller.
XSelect Updating Metadata Via Inter‐
netin the selection list.
A connection with the Gracenote®data
server is established. The missing data is
loaded, saved and displayed in the main
display field.
If there is no data found or there is no Inter-
net connection, a corresponding error mes-
sage will appear.
Switching the Gracenote®data display
on/off
XSwitch on audio CD mode (Ypage 182).
XTo select Gracenote Media Database:
turn and press the controller.
XTo switch the display off: select None.
In the basic display, Track 1
is shown
instead of the Gracenote®data, for exam-
ple.
XTo switch on the display: press the control- ler.
Media search
General notes
COMAND plays back files from the following
data mediums:
RDisc (CD/DVD Audio)
RMemory card
RMedia Register
RUSB storage device
RApple®devices (folder, year and photos are
not available)
Media search185
Media
Z
Page 191 of 222
RUSB storage device
RMP3
iData can only be copied from an MP3
player if this can be configured as a mass
storage device.
Video files from DVD-V cannot be copied.
While copying, several functions will not be
available. If this is the case, you will see a
message to this effect.
1. Selecting a data medium
XIn media mode: press the Õbutton.
The menu appears with the available media
sources.
XTo select the media source: turn the con-
troller and press to confirm.
XTo switch to the menu bar: slide 6the
controller.
XTo select Options: turn and press the con-
troller.
XSelect Save Files to Media Register.
The media list appears. A data medium
from which files can be copied is selected
automatically.
iThe Save Files to Media Register
function can be reached from any media
application.
XSelect the displayed data medium.
The data medium is loaded.
If the data medium contains files that can
be copied, a selection menu appears.
2. Selecting files
XTo select AllMediaFiles: turn and press
the controller.
This command copies all files from the
selected data medium. The symbol next to
All Media Files
is filled in. All subse-
quent entries have a checkmark Obeside
them.
XSelect a folder.
A checkmark Onext to the folder entry
highlights the selection.
XTo select Continue: turn and press the
controller.
The copying menu appears.
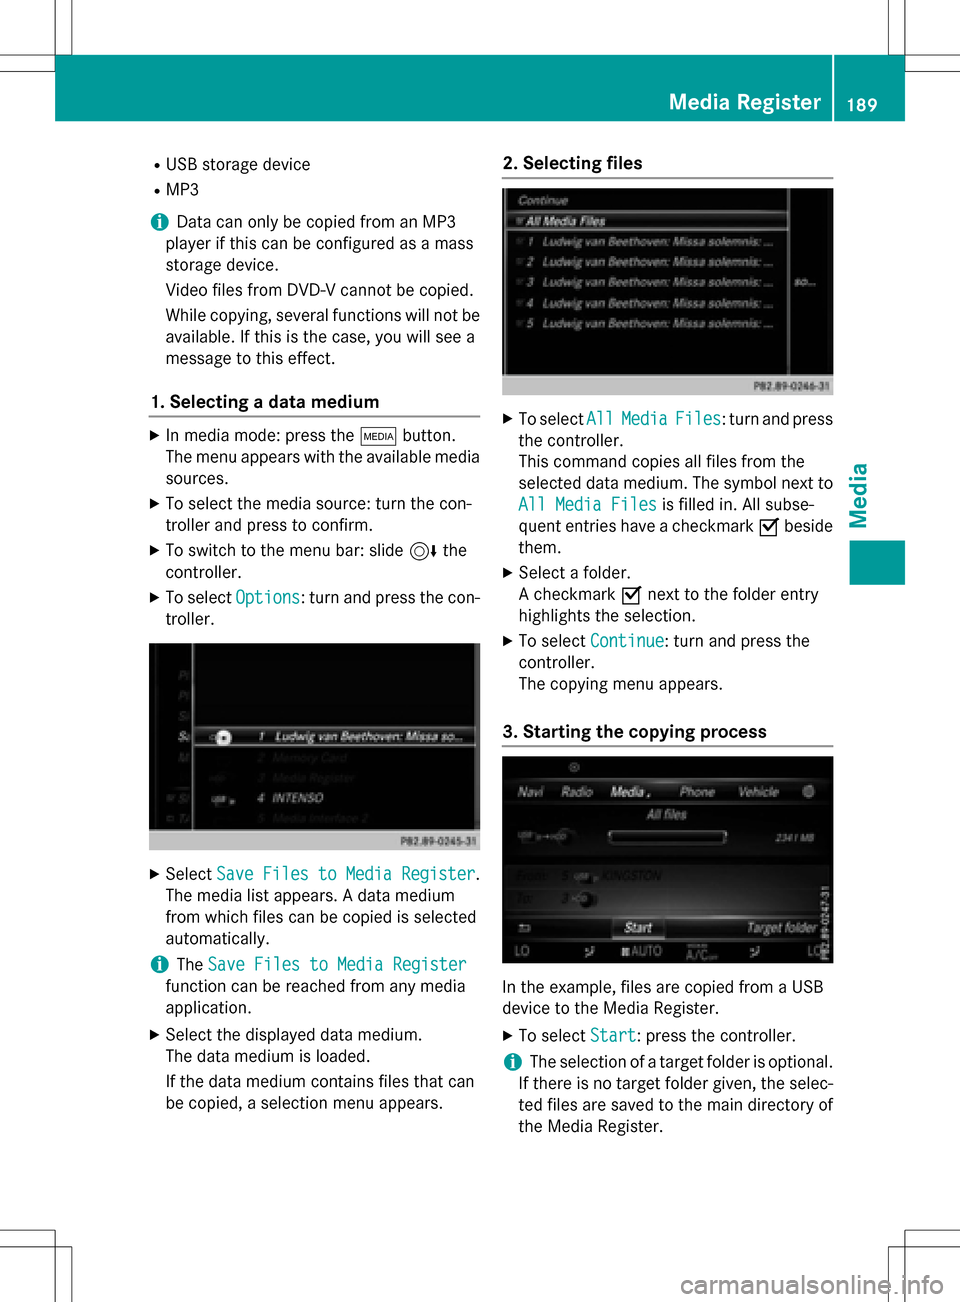
3. Starting the copying process
In the example, files are copied from a USB
device to the Media Register.
XTo select Start: press the controller.
iThe selection of a target folder is optional.
If there is no target folder given, the selec-
ted files are saved to the main directory of
the Media Register.
Media Register189
Media
Z