2016 MERCEDES-BENZ GLC-Class ad blue
[x] Cancel search: ad bluePage 47 of 222

XTo selectSystem Settings: slide6,
turn and press the controller.
A menu appears.
XTo select Activate Bluetooth: turn and
press the controller.
This switches Bluetooth
®on O or off ª.
Automatic volume adjustment
General information
With the Automatic Volume Adjustment
function, the volumes of different audio sour-
ces are adjusted for each other, to compen-
sate for relative differences in volume.
For example: changing from a relatively
quiet to a relatively loud radio station. The
volume for both stations sounds the same.
Manual readjustment of the volume is not
required.
The Automatic Volume Adjustment
func-
tion is deactivated ªwhen the vehicle leaves
the factory. Using this function, the dynamic
range of the music is slightly reduced. To
make the most of the audiophile sound qual- ity, it is recommended to leave it off.
Switching the automatic volume
adjustment on/off
XPress the Øbutton.
or
XPress Vehiclein the main function bar.
The vehicle menu is displayed.
XTo select System Settings: slide6,
turn and press the controller.
A menu appears.
XTo select Automatic Volume Adjust‐
ment: turn and press the controller.
Switch the Automatic Volume Adjust‐
mentfunction on Oor off ª.
Setting the system language
This function allows you to determine the lan-
guage for the menu displays and the naviga-
tion messages. The selected language affects
the characters available for entry.
iThe navigation announcements are not
available in all languages. If a language is
not available, the navigation announce-
ments will be in English.
iWhen you set the system language, the
language of the Voice Control System will
change accordingly. If it is not supported by
the Voice Control System, English will be
selected.
XPress the Øbutton.
or
XPress Vehiclein the main function bar.
The vehicle menu is displayed.
XTo select System Settings: slide6,
turn and press the controller.
A menu appears.
XTo select Language: turn and press the
controller.
The list of languages appears. The #dot
indicates the current setting.
XSelect the desired language.
COMAND loads the selected language and
sets it.
Calling up and editing the Favorites
function
The Favorites function can, depending on the
vehicle equipment, be called up as follows:
Rvia the System Settingsmenu
Rvia the Favorites button on the controller
(
Ypage 23)
Rvia the Favorites button on the touchpad
(
Ypage 24)
Calling up and editing the Favorites function45
System settings
Z
Page 71 of 222
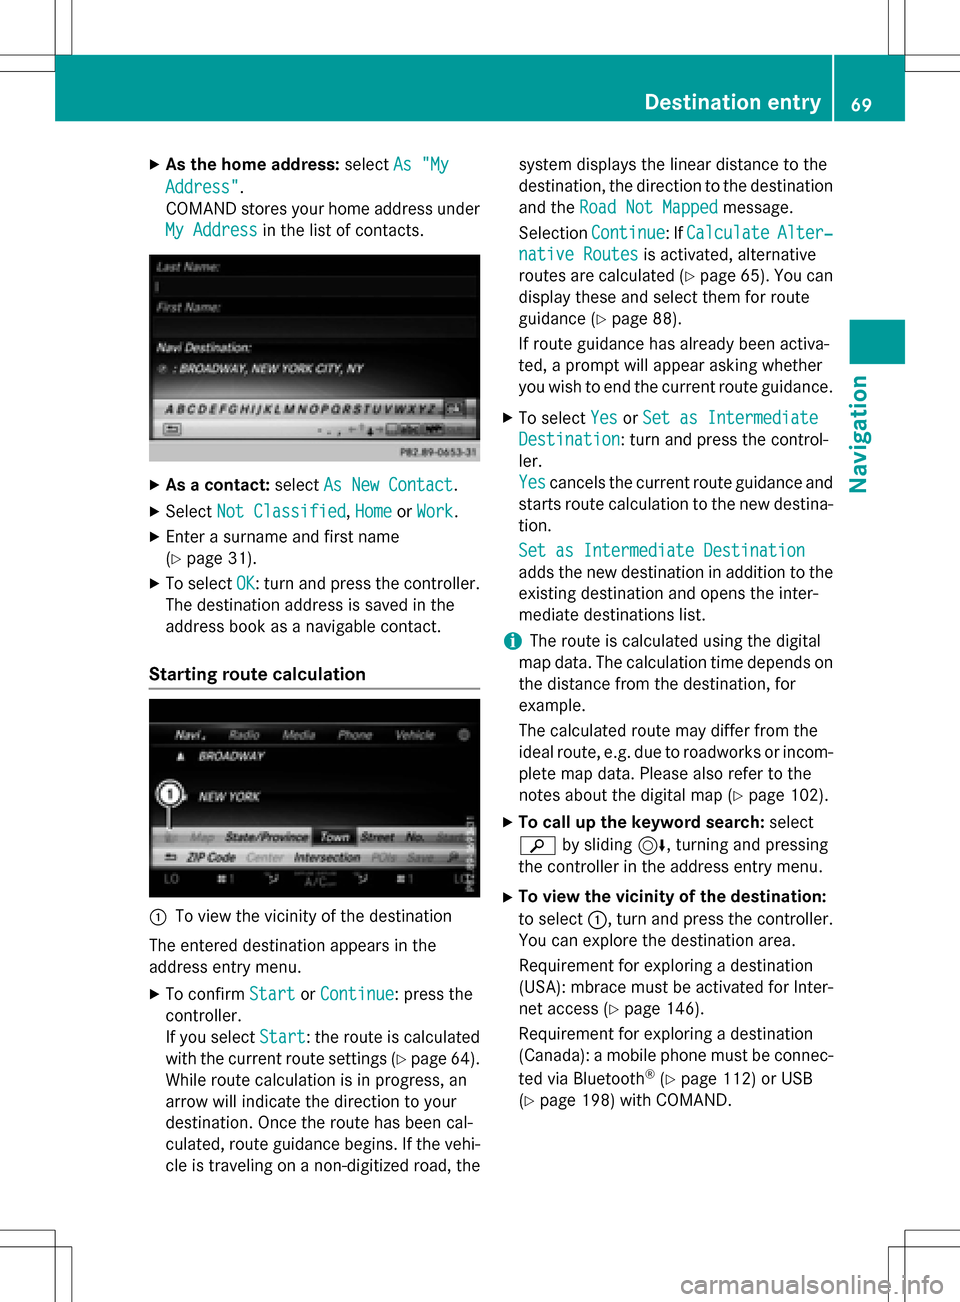
XAsthe home address: selectAs "My
Address".
COMAND stores your home address under
My Address
in the list of contacts.
XAs a contact: selectAs New Contact.
XSelect Not Classified,Homeor Work.
XEnter a surname and first name
(
Ypage 31).
XTo select OK: turn and press the controller.
The destination addressissaved inthe
addr ess book as a navigable contact.
Starting route calculation
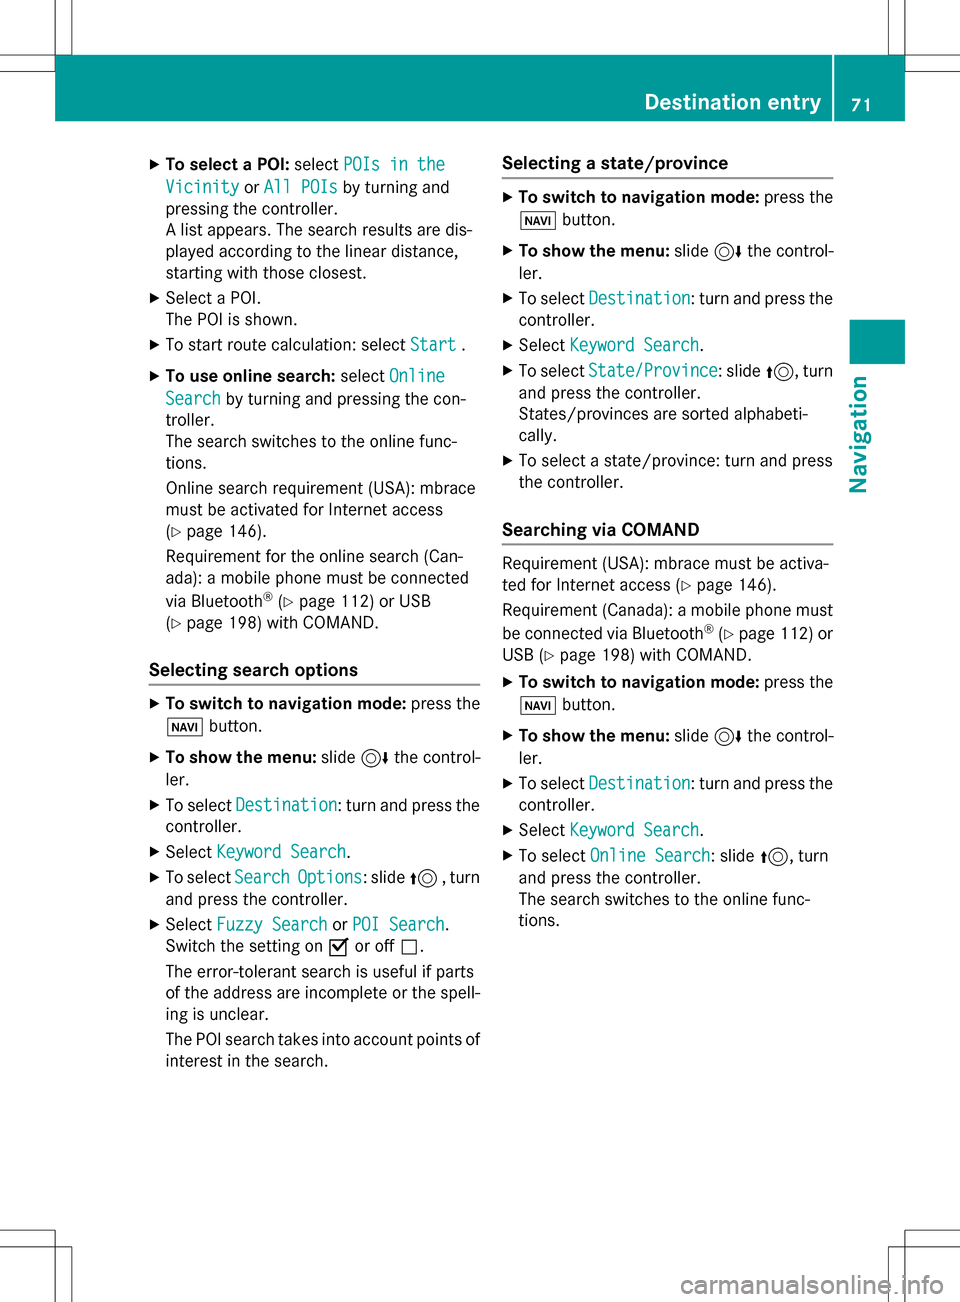
:To view the vicinity of the destination
The entered destination appears inthe
addr ess entry menu.
XTo confirm StartorContinue: press the
controller.
If you select Start
: the route is calculated
wit h the current route settings (
Ypage 64).
While route calculation is inprogress, an
arrow willindicate the direction to your
destination. Once the route has been cal-
culated, route guidance begins. Ifthe veh i-
cle istraveling on a non-digitized road, the system displays the linear
distance to the
destination, the direction to the destination
and the Road Not Mapped
message.
Se lection Continue
:If CalculateAlter‐
native Routesis act ivat ed, alternati ve
routes are calculated (
Ypage 65). You can
disp lay these and select them for route
guidance (
Ypage 88).
If route guidance has already been act iva-
te d, a prompt willappear asking whether
you wish to end the current route guidance.
XTo select YesorSet as Intermediate
Destination: turn and press the control-
ler.
Yes
cancels the current route guidance and
starts route calculation to the new destina-
tion.
Set as Intermediate Destination
adds the new destination inaddition to the
existing destination and opens the inter-
mediate destinations list.
iThe route iscalculated using the digital
map data. The calculation time depends on the distance from the destination, for
example.
The calculated route may differ from the
ideal route, e.g. due to roadworks or incom-
plet e map data. Please also refer to the
notes about the digital map (
Ypage 102).
XTo call up the keyword search: select
è bysliding 6, turning and pressing
the controller inthe address entry menu.
XTo view the vicinity of the destination:
to select :, turn and press the controller.
You can explor e the destination area.
Requir ement for explor ing a destination
(USA): mbrace must beact ivat ed for Inter-
net access (
Ypage 146).
Requirement for explor ing a destination
(Can ada): a mobile phone must beconnec-
ted via Bluetooth
®(Ypage 112) or USB
(
Ypage 198) with COMAND.
Destination entry69
Navigation
Z
Page 73 of 222
XTo select a POI:selectPOIs in the
VicinityorAll POIsby turning and
pressing the controller.
A list appears. The search results are dis-
played according to the linear distance,
starting with those closest.
XSelect a POI.
The POI is shown.
XTo start route calculation: select Start.
XTo use online search:selectOnline
Searchby turning and pressing the con-
troller.
The search switches to the online func-
tions.
Online search requirement (USA): mbrace
must be activated for Internet access
(
Ypage 146).
Requirement for the online search (Can-
ada): a mobile phone must be connected
via Bluetooth
®(Ypage 112) or USB
(
Ypage 198) with COMAND.
Selecting search options
XTo switch to navigation mode: press the
Ø button.
XTo show the menu: slide6the control-
ler.
XTo select Destination: turn and press the
controller.
XSelect Keyword Search.
XTo select SearchOptions: slide5, turn
and press the controller.
XSelect Fuzzy SearchorPOI Search.
Switch the setting on Oor off ª.
The error-tolerant search is useful if parts
of the address are incomplete or the spell-
ing is unclear.
The POI search takes into account points of interest in the search.
Selecting a state/province
XTo switch to navigation mode: press the
Ø button.
XTo show the menu: slide6the control-
ler.
XTo select Destination: turn and press the
controller.
XSelect Keyword Search.
XTo select State/Province: slide5, turn
and press the controller.
States/provinces are sorted alphabeti-
cally.
XTo select a state/province: turn and press
the controller.
Searching via COMAND
Requirement (USA): mbrace must be activa-
ted for Internet access (
Ypage 146).
Requirement (Canada): a mobile phone must be connected via Bluetooth
®(Ypage 112) or
USB (
Ypage 198) with COMAND.
XTo switch to navigation mode: press the
Ø button.
XTo show the menu: slide6the control-
ler.
XTo select Destination: turn and press the
controller.
XSelect Keyword Search.
XTo select Online Search: slide5, turn
and press the controller.
The search switches to the online func-
tions.
Destination entry71
Navigation
Z
Page 77 of 222
Requirementsfor "Viewin gth evicinit yof th e
destination "and "Loadin gdat afrom th eInter-
net" (Canada): amobile phone mus tbe con-
nected via Bluetoot h
®(Ypage 112) or USB
(
Ypage 198) wit hCOMAND .
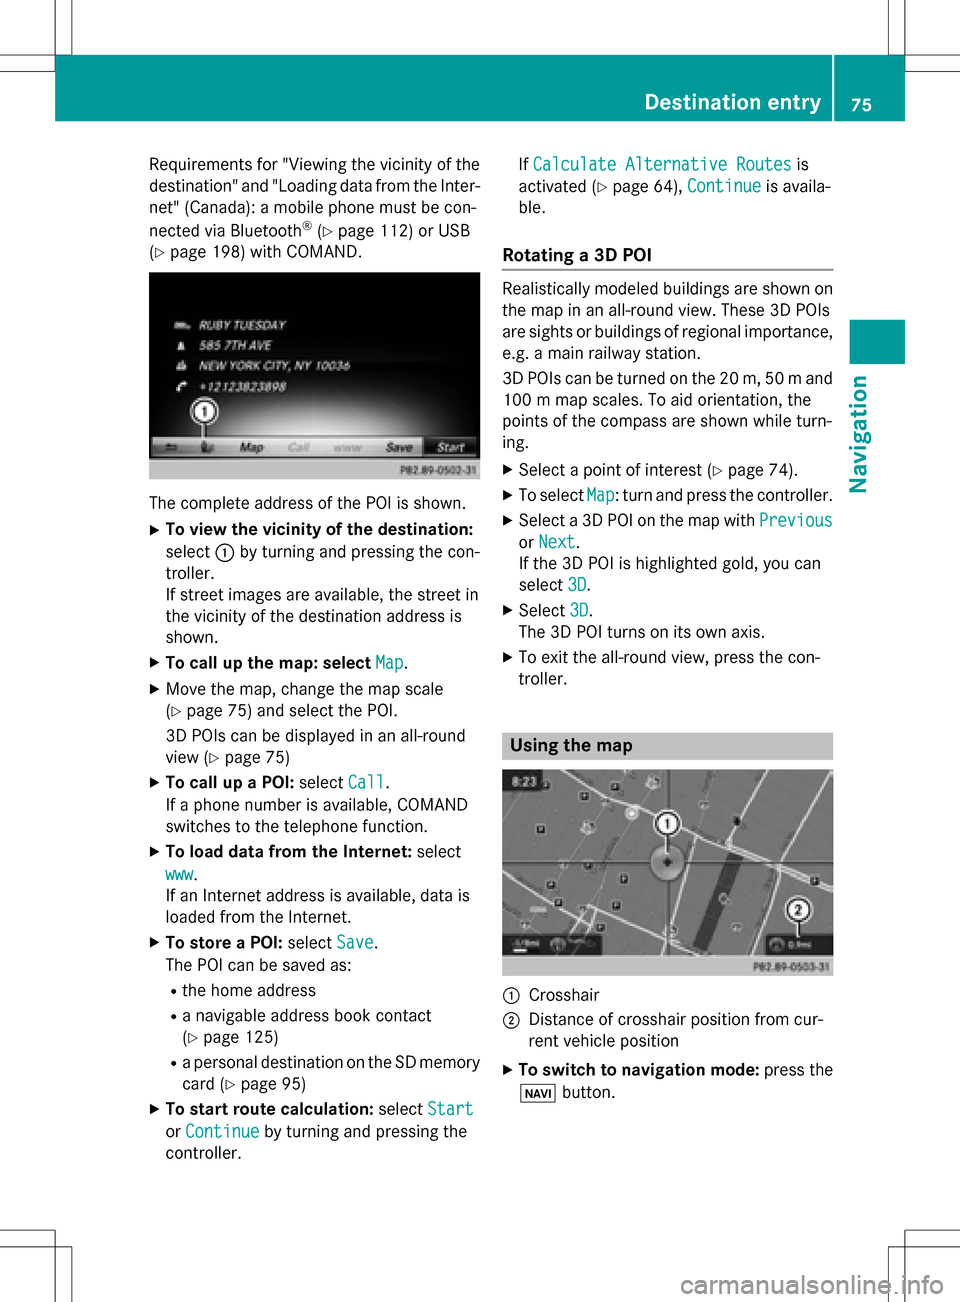
The complet eaddress of th ePOI is shown.
XTo view th evicinit yof th edestination:
select :by turning and pressing th econ-
troller.
If stree timages are available, th estree tin
th evicinit yof th edestination address is
shown.
XTo call up th emap: select Map.
XMoveth emap, chang eth emap scale
(
Ypage 75) and select th ePOI .
3D POI scan be displayed in an all-roun d
vie w (
Ypage 75 )
XTo call up aPOI: select Call.
If aphone number is available, COMAND
switches to th etelephon efunction .
XTo load data from th eInternet :select
www
.
If an Internet address is available, dat ais
loade dfrom th eInternet .
XTo store aPOI: select Save.
The POI can be saved as:
Rth ehom eaddress
Ranavigabl eaddress boo kcontact
(
Ypage 125)
Ra personal destination on th eSD memory
car d (
Ypage 95)
XTo star trout ecalculation: selectStart
orContinueby turning and pressing th e
controller . If
Calculate Alternative Routes
is
activated (
Ypage 64), Continueis availa-
ble.
Rotating a3D POI
Realisticall ymodeled building sare shown on
th emap in an all-roun dview. These 3D POI s
are sights or building sof regional importance,
e.g. amain railway station .
3D POI scan be turne don th e20 m, 50 mand
10 0 m map scales. To aid orientation ,th e
points of th ecompas sare shown while turn-
ing.
XSelec t apoin tof interes t (Ypage 74).
XTo selectMap:tur nand press th econtroller .
XSelect a3D POI on th emap wit hPrevious
or Nex t.
If th e3D POI is highlighte dgold ,you can
select 3D
.
XSelect3D.
The 3D POI turns on it sown axis.
XTo exit th eall-roun dview, press th econ-
troller.
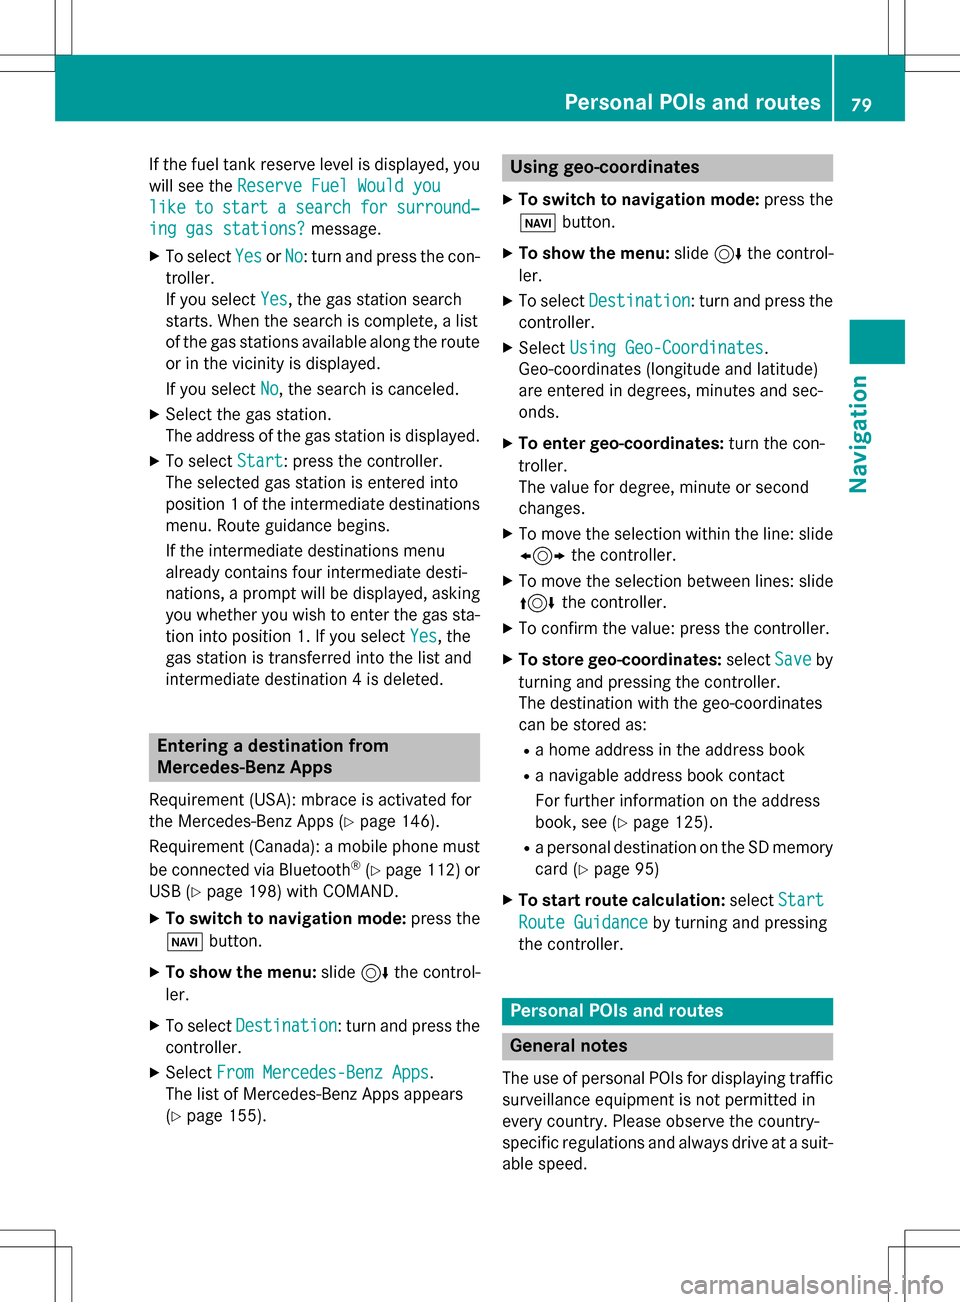
Usin gth ema p
:Crosshai r
;Distanceof crosshair position from cur -
ren tvehicl eposition
XTo switch to navigation mode: press the
ß button.
Destination entry75
Navigation
Z
Page 81 of 222
If the fuel tank reserve level is displayed, you
will see theReserve Fuel Would you
liketostartasearchforsurround‐
ing gas stations?message.
XTo selectYesorNo: turn and press the con-
troller.
If you select Yes
, the gas station search
starts. When the search is complete, a list
of the gas stations available along the route
or in the vicinity is displayed.
If you select No
, the search is canceled.
XSelect the gas station.
The address of the gas station is displayed.
XTo selectStart: press the controller.
The selected gas station is entered into
position 1 of the intermediate destinations
menu. Route guidance begins.
If the intermediate destinations menu
already contains four intermediate desti-
nations, a prompt will be displayed, asking
you whether you wish to enter the gas sta-
tion into position 1. If you select Yes
, the
gas station is transferred into the list and
intermediate destination 4 is deleted.
Entering a destination from
Mercedes-Benz Apps
Requirement (USA): mbrace is activated for
the Mercedes-Benz Apps (
Ypage 146).
Requirement (Canada): a mobile phone must be connected via Bluetooth
®(Ypage 112) or
USB (
Ypage 198) with COMAND.
XTo switch to navigation mode: press the
Ø button.
XTo show the menu: slide6the control-
ler.
XTo select Destination: turn and press the
controller.
XSelect From Mercedes-Benz Apps.
The list of Mercedes-Benz Apps appears
(
Ypage 155).
Using geo-coordinates
XTo switch to navigation mode: press the
ß button.
XTo show the menu: slide6the control-
ler.
XTo select Destination: turn and press the
controller.
XSelect Using Geo-Coordinates.
Geo-coordinates (longitude and latitude)
are entered in degrees, minutes and sec-
onds.
XTo enter geo-coordinates: turn the con-
troller.
The value for degree, minute or second
changes.
XTo move the selection within the line: slide
1 the controller.
XTo move the selection between lines: slide
4the controller.
XTo confirm the value: press the controller.
XTo store geo-coordinates: selectSaveby
turning and pressing the controller.
The destination with the geo-coordinates
can be stored as:
Ra home address in the address book
Ra navigable address book contact
For further information on the address
book, see (
Ypage 125).
Ra personal destination on the SD memory
card (
Ypage 95)
XTo start route calculation: selectStart
Route Guidanceby turning and pressing
the controller.
Personal POIs and routes
General notes
The use of personal POIs for displaying traffic surveillance equipment is not permitted in
every country. Please observe the country-
specific regulations and always drive at a suit-
able speed.
Personal POIs and routes79
Navigation
Z
Page 86 of 222
XSelectPersonal Routes.
Previously recorded routes are displayed.
XTo select a route, turn and press the con-
troller.
The map appears with a menu. The recor-
ded route is shown on the map in blue.
XTo calculate a route: selectStart.
XTo change the name and symbol: select
Edit
.
XSelect Change NameorEdit Icon.
XCharacter entry (Ypage 31).
XSelect a symbol.
Route guidance
General notes
COMAND calculates the route to the destina-
tion without taking account of the following,
for example:
Rtraffic lights
Rstop and yield signs
Rparking or stopping restrictions
Rroad narrowing
Rtemporary traffic rules and regulations
The navigation system can give differing driv-
ing recommendations if the actual street/
traffic situation does not correspond with the
digital map's data. For example, if the road
layout or the direction of a one-way street has
been changed.
For this reason, you must always observe
road and traffic rules and regulations during
your journey. Road and traffic rules and reg-
ulations always have priority over system
driving recommendations.
Route guidance begins once a route has been
calculated (
Ypage 69).
COMAND guides you to your destination by
means of navigation announcements in the
form of audible navigation announcements
and route guidance displays.
The route guidance displays can be seen if
navigation mode is switched on. If you do not follow the navigation announce-
ments or if you leave the calculated route,
COMAND automatically calculates a new
route to the destination.
If the digital map contains the corresponding
information, the following applies:
Rduring route guidance, COMAND tries to
a
void roads with restricted access. Those
roads, for example, that are closed to
through-traffic.
Rroads that have time restrictions (e.g.
closed on Sundays and public holidays) are considered for route guidance on days
when they are open. For this purpose, the
relevant times must be correctly stored in
the database.
Change of direction
Overview
Changes of direction have three phases:
RPreparation phase
RAnnouncement phase
RChange-of-direction phase
Changes in direction are also shown in the
multifunction display of the instrument clus-
ter (see the vehicle Operator's Manual).
Preparation phase
COMAND prepares you for the upcoming
change of direction, e.g. with the announce-
ment "Prepare to turn right". You see the full- screen map.
84Route guidance
Navigation
Page 90 of 222
Canceling/continuing route guidance
Canceling route guidance
XSlide 6the controller.
The menu is shown.
XTo select Destination: turn and press the
controller.
XSelect Cancel Active Route Guidance.
The blue route line is no longer shown on
the map.
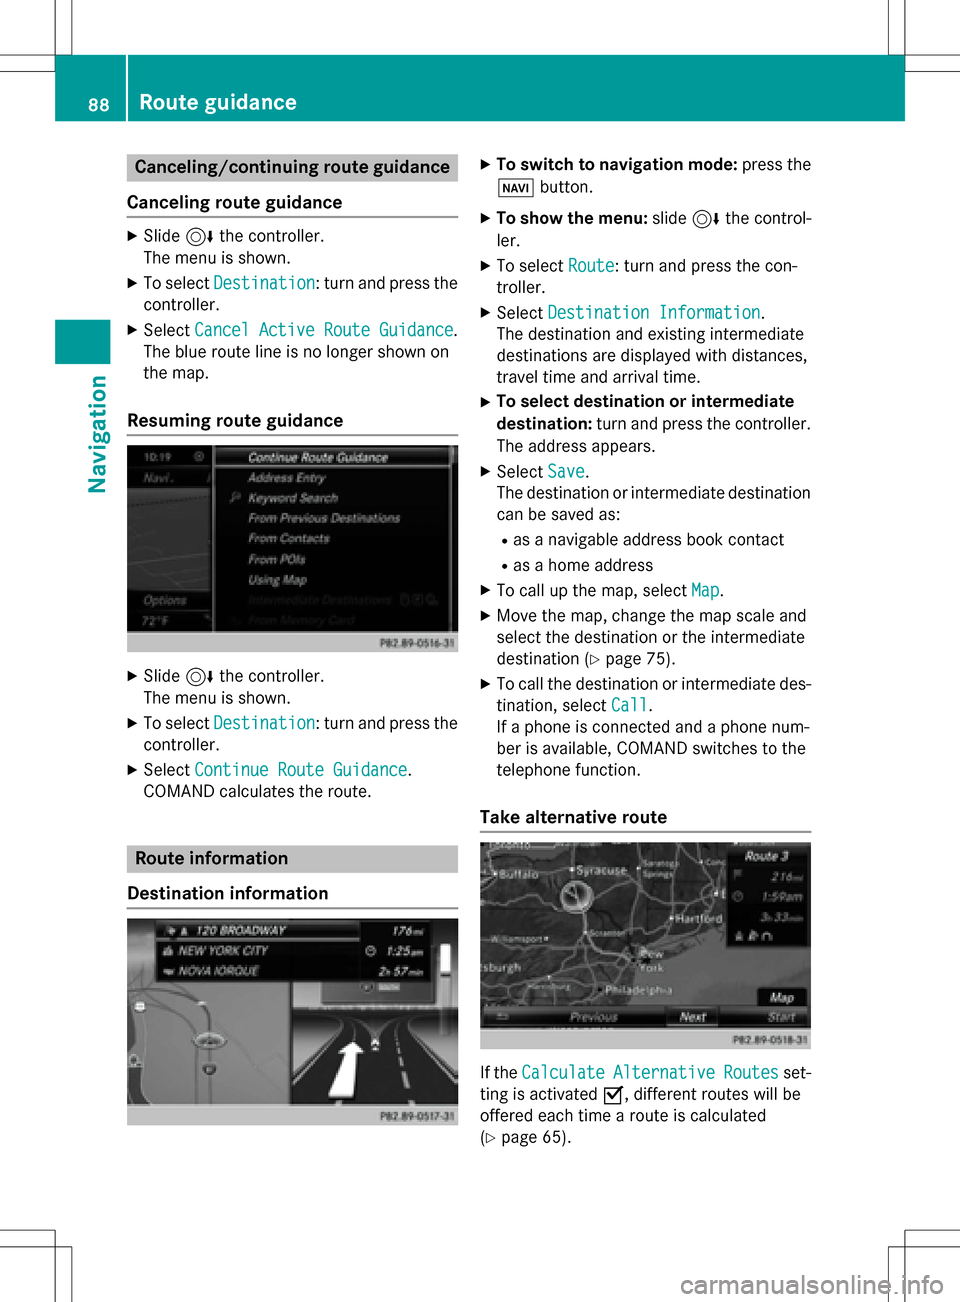
Resuming route guidance
XSlide 6the controller.
The menu is shown.
XTo select Destination: turn and press the
controller.
XSelect Continue Route Guidance.
COMAND calculates the route.
Route information
Destination information
XTo switch to navigation mode: press the
Ø button.
XTo show the menu: slide6the control-
ler.
XTo select Route: turn and press the con-
troller.
XSelect Destination Information.
The destination and existing intermediate
destinations are displayed with distances,
travel time and arrival time.
XTo select destination or intermediate
destination: turn and press the controller.
The address appears.
XSelect Save.
The destination or intermediate destination
can be saved as:
Ras a navigable address book contact
Ras a home address
XTo call up the map, select Map.
XMove the map, change the map scale and
select the destination or the intermediate
destination (
Ypage 75).
XTo call the destination or intermediate des-
tination, selectCall
.
If a phone is connected and a phone num-
ber is available, COMAND switches to the
telephone function.
Take alternative route
If the CalculateAlternativeRoutesset-
ting is activated O, different routes will be
offered each time a route is calculated
(
Ypage 65).
88Route guidance
Navigation
Page 91 of 222
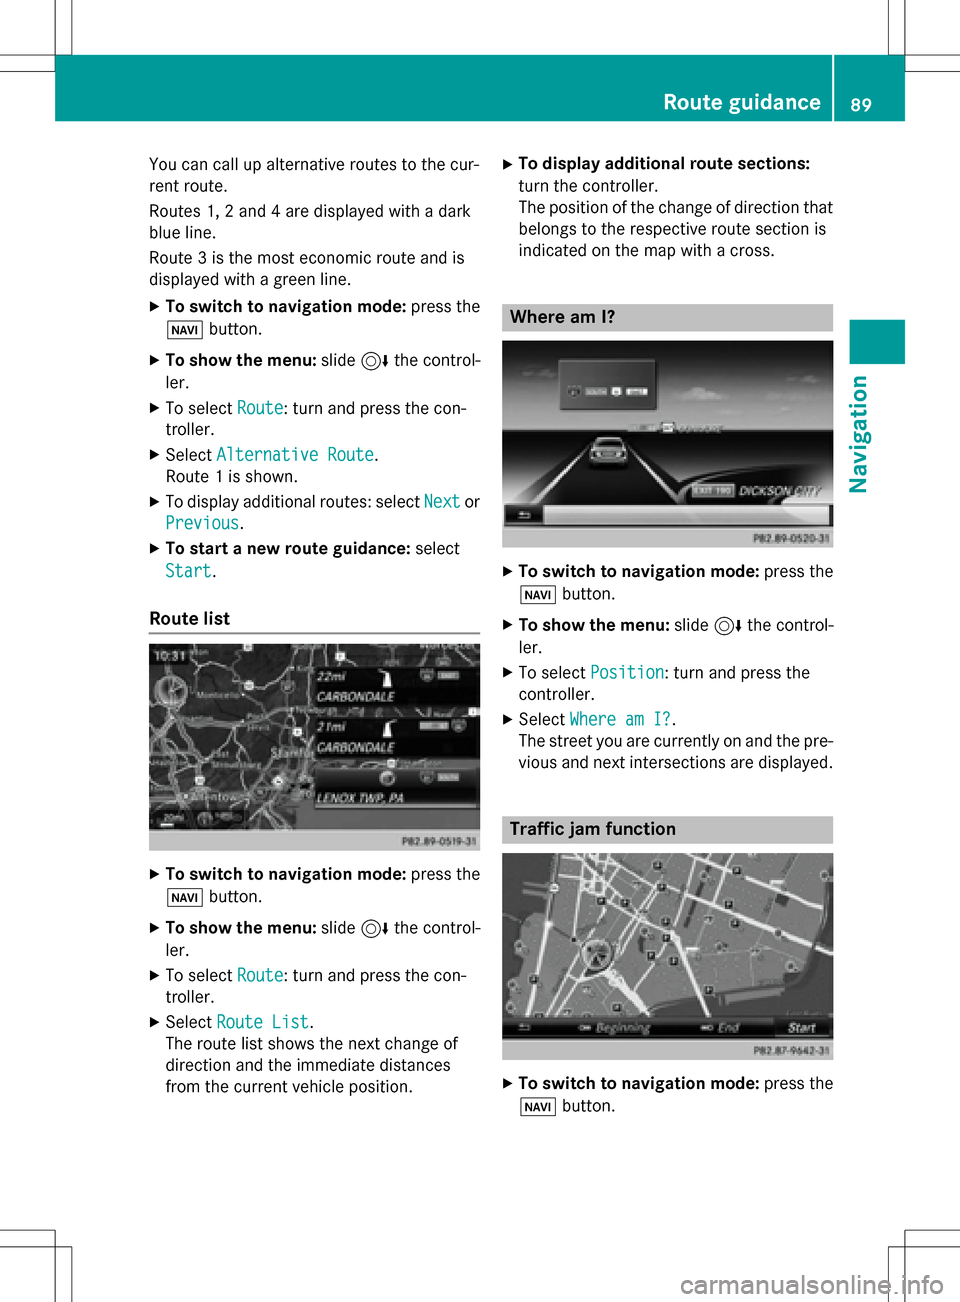
You can call up alternative routes to the cur-
rent route.
Routes 1, 2 and 4 are displayed with a dark
blue line.
Route 3 is the most economic route and is
displayed with a green line.
XTo switch to navigation mode:press the
Ø button.
XTo show the menu: slide6the control-
ler.
XTo select Route: turn and press the con-
troller.
XSelect Alternative Route.
Route 1 is shown.
XTo display additional routes: select Nextor
Previous
.
XTo start a new route guidance: select
Start
.
Route list
XTo switch to navigation mode: press the
Ø button.
XTo show the menu: slide6the control-
ler.
XTo select Route: turn and press the con-
troller.
XSelect Route List.
The route list shows the next change of
direction and the immediate distances
from the current vehicle position.
XTo display additional route sections:
turn the controller.
The position of the change of direction that
belongs to the respective route section is
indicated on the map with a cross.
Where am I?
XTo switch to navigation mode: press the
Ø button.
XTo show the menu: slide6the control-
ler.
XTo select Position: turn and press the
controller.
XSelect Where am I?.
The street you are currently on and the pre-
vious and next intersections are displayed.
Traffic jam function
XTo switch to navigation mode: press the
Ø button.
Route guidance89
Navigation
Z