2016 MERCEDES-BENZ GLC-Class transmission
[x] Cancel search: transmissionPage 14 of 222

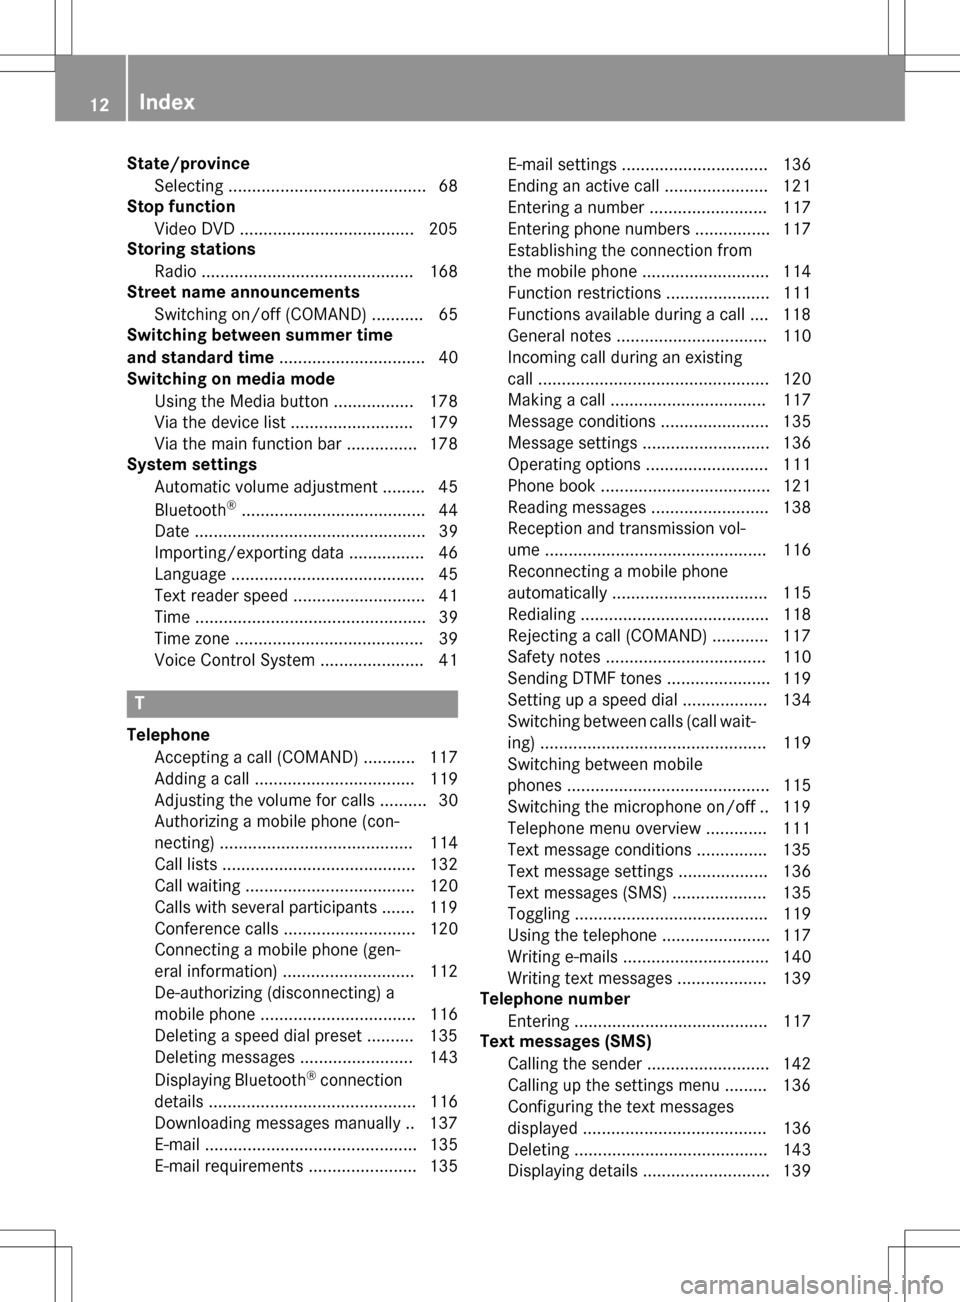
State/provinceSelecting .......................................... 68
Stop function
Video DVD .....................................2 05
Storing stations
Radio ............................................. 168
Street name announcements
Switching on/off (COMAND) ........... 65
Switching between summer time
and standard time ............................... 40
Switching on media mode
Using the Media button ................. 178
Via the device list .......................... 179
Via the main function bar ............... 178
System settings
Automatic volume adjustment ......... 45
Bluetooth
®....................................... 44
Date ................................................. 39
Importing/exporting data ................ 46
Language ......................................... 45
Text reader speed ............................ 41
Time ................................................. 39
Time zone ........................................ 39
Voice Control System ...................... 41
T
Telephone
Accepting a call (COMAND) ........... 117
Adding a call .................................. 119
Adjusting the volume for calls .......... 30
Authorizing a mobile phone (con-
necting) ......................................... 114
Call lists ......................................... 132
Call waiting .................................... 120
Calls with several participants ....... 119
Conference calls ............................ 120
Connecting a mobile phone (gen-
eral information) ............................ 112
De-authorizing (disconnecting) a
mobile phone ................................. 116
Deleting a speed dial preset .......... 135
Deleting messages ........................ 143
Displaying Bluetooth
®connection
details ............................................ 116
Downloading messages manually .. 137
E-mail ............................................. 135
E-mail requirements ....................... 135 E-mail settings ............................... 136
Ending an active call ...................... 121
Entering a number ......................... 117
Entering phone numbers ................ 117
Establishing the connection from
the mobile phone ........................... 114
Function restrictions ...................... 111
Functions available during a call .... 118
General notes ................................ 110
Incoming call during an existing
call ................................................. 120
Making a call ................................. 117
Message conditions ....................... 135
Message settings ........................... 136
Operating options .......................... 111
Phone book .................................... 121
Reading messages ......................... 138
Reception and transmission vol-
ume ............................................... 116
Reconnecting a mobile phone
automatically ................................. 115
Redialing ........................................ 118
Rejecting a call (COMAND) ............ 117
Safety notes .................................. 110
Sending DTMF tones ...................... 119
Setting up a speed dial .................. 134
Switching between calls (call wait-
ing) ................................................ 119
Switching between mobile
phones ........................................... 115
Switching the microphone on/of
f..1 19
Tel ephone menu overview ............. 111
Text message condi
tions ...............1 35
Text message settings ................... 136
Text messages (SMS) .................... 135
Toggling ......................................... 119
Using the telephone ....................... 117
Writing e-mails ............................... 140
Writing text messages ................... 139
Telephone number
Entering ......................................... 117
Text messages (SMS)
Calling the sender .......................... 142
Calling up the settings menu ......... 136
Configuring the text messages
displayed ....................................... 136
Deleting ......................................... 143
Displaying details ........................... 139
12Index
Page 46 of 222

XTo selectVehiclefrom the main function
bar: turn and press the controller.
XTo switch to the menu bar: slide 6the
controller.
XSelect System Settings.
The System Settings
menu appears.
XSelect WiFi.
The WiFi menu appears.
XSelect Generate Security Key.
XSelectRegenerate.
A new security key is generated.
XTo save the security key: turn the controller
and select Save
.
The WiFi menu appears. The new security
key will now be displayed and verified when
a connection is established via the security
key. The connection must be re-estab-
lished with the newly created security key.
iDevice connections established using the
previous security key will no longer work
after the security key is changed. You have
to reconnect these devices (
Ypage 42).
Changing the name of the SSID
XTo select Vehiclefrom the main function
bar: turn and press the controller.
XTo switch to the menu bar: slide 6the
controller.
XSelect System Settings.
The System Settings
menu is displayed.
XSelect WiFi.
The WiFi menu appears.
XSelect Change SSID.
A dialog for entering the SSID appears.
XEnter the new SSID.
XSelect ¬.
XPress the controller.
From now on, when establishing a connec-
tion, the vehicle will be shown with the new
SSID both on the device to be connected
and in the Connect
UsingSecurityKey
menu.
iDevice connections established using the
previous SSID will no longer work after the
SSID is changed. You have to reconnect
these devices (
Ypage 42).
Bluetooth®settings
General information about Blue-
tooth®
Bluetooth®-capable devices, e.g. mobile
phones, have to comply with a certain profile
in order to be connected to COMAND. Every
Bluetooth
®device has its own specific Blue-
tooth®name.
Bluetooth
®technology is a standard for
short-range wireless data transmissions up to
approximately 10 meters. You can use Blue-
tooth
®to connect your mobile phone to
COMAND to, for example:
Ruse the hands-free system
Restablish an Internet connection
Rlisten to music using Bluetooth®Audio
Rexchange vCards
Bluetooth
®is a registered trademark of Blue-
tooth Special Interest Group (SIG) Inc.
Activating/deactivating Bluetooth®
X
Press the Øbutton.
or
XPress Vehiclein the main function bar.
The vehicle menu is displayed.
44Bluetooth®settings
System settings
Page 54 of 222

XCallupVehicle Settings(Ypage 50 ).
XTo select Automatic Locking: turn and
press the controller.
The function switches on or off, depending
on the previous setting.
You can find further information on the lock-
ing feature inthe vehicle Operator's Manual.
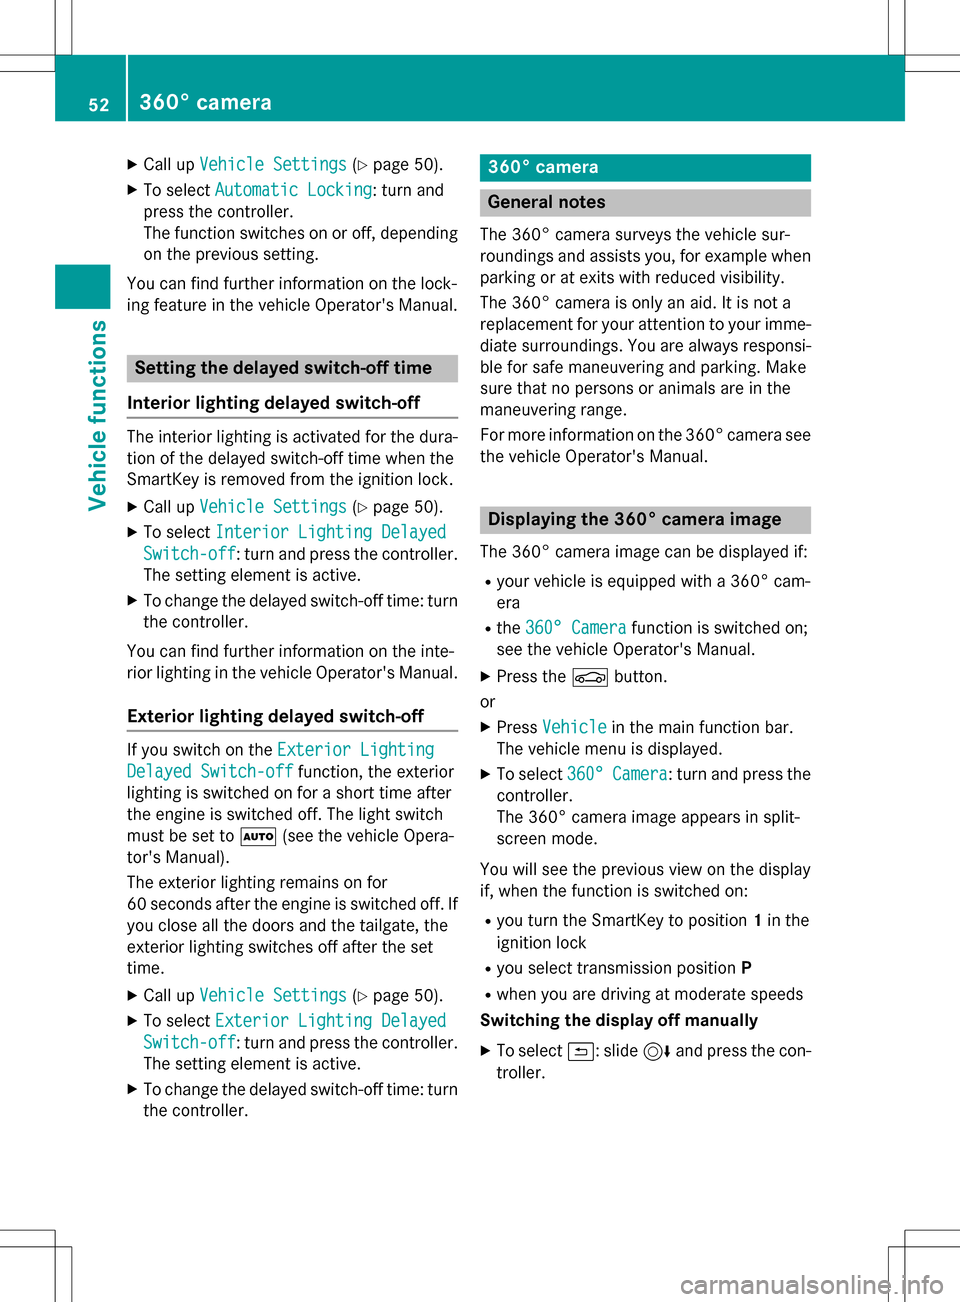
Setting the delayed switch-off time
Interior lighting delayed switch-off
The interior lighting isactivated for the dura-
tion of the delayed switch-off time when the
Sm artKey isremoved from the ignition lock.
XCall upVehicle Settings(Ypage 50 ).
XTo select Interior Lighting Delayed
Switch-off: turn and press the controller.
The setting element isactive.
XTo change the delayed switch-off time: turn
the controller.
You can find further information on the inte-
rior lighting inthe vehicle Operator's Manual.
Exterior lighting delayed switch-off
Ifyou switch on the Exterior Lighting
Delayed Switch-offfunction, the exterior
lighting is switched on for a short time after
the engine is switched off. The light switch
must beset to Ã(see the vehicle Opera-
tor's Manual).
The exterior lighting remains on for
60 seconds after the engine is switched off. If
you close all the doors and the tailgate, the
exterior lighting switches off after the set
time.
XCall upVehicle Settings(Ypage 50 ).
XTo select Exterior Lighting Delayed
Switch-off: turn and press the controller.
The setting element isactive.
XTo change the delayed switch-off time: turn
the controller.
360° camera
General notes
The 360° camera surveys the veh iclesur-
roundings and assists you, for example when
parking or at exit swit h reduced visibility.
The 360° camera isonly an aid. It isnot a
replacement for your attention to your imme-
diate surroundin gs. You are always responsi-
ble for safe maneuvering and parking. Make
sure that no persons or animals are inthe
maneuvering range.
For more information on the 360° camera see the veh icleOperator's Manual.
Displaying the 360° camera image
The 360° camera image can bedisplayed if:
Ryour vehicle isequipped with a 360° cam-
era
Rthe 360° Camerafunction isswitched on;
see the vehicle Operator's Manual.
XPress the Øbutton.
or
XPress Vehicleinthe main function bar.
The vehicle menu is displayed.
XTo select 360°Camera: turn and press the
controller.
The 360° camera image appears insplit-
screen mode.
You willsee the previo usview on the display
if, when the function isswitched on:
Ryou turn the SmartKey to position 1in the
ignit ion lock
Ryou select transmission position P
Rwhen you aredriving at moderate speeds
Switching the display off manually
XTo select &: slide 6and press the con-
troller.
52360° camera
Vehicle functions
Page 111 of 222

Your COMAND equipment................110
Important safet ynotes .................... .110
General notes .................................... 110
Telephon emenu ................................ 111
Connecting/disconnecting a
mobile phone .................................... .112
Reception an dtransmission vol-
um e.................................................... 116
Usin gth etelephon e........................ .117
Mobile phone voice recognition ......121
Phone book ........................................ 121
Address book .................................... 125
Cal llist s............................................ .132
Speed dial list s.................................. 134
Messages (text messages an de-
mails) ................................................ .135
109
Telephone
Page 116 of 222

Authorizing amobile phone (connect-
ing)
Authorizati onvia Secure Simple Pairing
If COMAND has foun dyour mobile phone ,you
can authorize (connect) it .
XTo selectamobile phone from th edevice
list :tur nth econtroller and press to con-
firm.
A code is displayed in COMAND and on th e
mobile phone.
Th ecode is th esam e
XCOMAND: selectYes.
XMobile phone: confirm thecode. Depend-
ing on th emobile phone used, you may
hav eto confirm th econnection to
COMAND and for th ePBAP and MA PBlue -
toot h
®profiles. The prompt to confirm may
tak eup to two minute sto be displayed. You
may also sav eth econfirmation on th e
mobile phon e(see th emanufacturer' s
operating instructions).
The mobile phone is no wauthorize dand
connecte dto COMAND .You can no w
spea kusin gth ehands-free system.
To ensur ean optimum language quality, you
can set th emobile phone's transmission and
reception volume (
Ypage 116).
Th ecode is dif ferent
XCOMAND: selectNo.
The process is canceled. Repeat th e
authorization .
Authorizationvia passkey entry (access
code)
If COMAND has foun dyour mobile phone ,you
can authorize (connect) it .
XTo select theBluetoot h®nameof th e
desired mobile phone in th edevice list :tur n
and press th econtroller .
The input men ufor th epasske yis dis-
played. The passke
yis aone- to sixteen-digit num -
ber combination whic hyou can choos e
yourself .
XCOMAN D:ente rth epasske yusin gth e
characte rbar.
XSelec t¬ once all th enumber shav e
been entered .
XMobile phone: enterth esam epasske y
and confirm your entry. Dependin gon th e
mobile phon eused, you may hav eto con-
fir m theconnection to COMAND and for th e
PBAP and MA PBluetoot h
®profiles.The
prompt to confirm may tak eup to two
minute sto be displayed. You may also sav e
th econfirmation on th emobile phon e(see
th emanufacturer' soperating instructions).
The mobile phon eis no wauthorize dand
connecte dto COMAND .You can no w
spea kusin gth ehan ds-free system.
To ensur ean optimum language quality, you
can setthemobile phone's transmission and
reception volume (
Ypage 116).
If th eAuthorizatio nFailed
message
appears, you may hav eentered adifferen t
passke yor exceeded th epre scribe dtime
limit. Repeat th eprocedure .
iSome mobile phones require apasske y
wit hfour or mor edigit s.
iIf you wish to re-authorize th emobile
phon eafter de-authorizing it ,you can
choos eanother passke yfor it .
Establishing the connection fr omthe
mob ile phone
The Bluetoot h®device nameof COMAND is
"MB Bluetooth".
XCOMAND: call up thetelephon emenu.
XTo switch to th emen ubar: slide 6the
controller .
XTo selectConnectDevice:tur nand press
th econtroller .
The device list is displayed.
114Connecting/disconnecting a mobile phone
Telephone
Page 117 of 222

XTo selectConnect via Phone: turn and
press the controller.
A message is displayed, stating that you
can start the search on your mobile phone.
XMobile phone: start the search for a Blue-
tooth®device (see manufacturer's operat-
ing instructions).
COMAND is displayed with the name "MB
Bluetooth" in the mobile phone's device
list.
XSelect "MB Bluetooth".
A prompt appears in the COMAND display
asking if the mobile phone should be
authorized.
XCOMAND: selectYes.
If No
is selected, the procedure is canceled.
If your mobile phone supports Secure Sim-
ple Pairing, a code is now displayed on both
devices.
The code is the same
XCOMAND: selectYes.
XMobile phone: confirm the code. Depend-
ing on the mobile phone used, you may
have to confirm the connection to
COMAND and for the PBAP and MAP Blue-
tooth
®profiles. The prompt to confirm may
take up to two minutes to be displayed. You
may also save the confirmation on the
mobile phone (see the manufacturer's
operating instructions).
The mobile phone is now authorized and
connected to COMAND. You can now
speak using the hands-free system.
To ensure an optimum language quality, you
can set the mobile phone's transmission and
reception volume (
Ypage 116).
The code is different
XCOMAND: selectNo.
The process is canceled. Repeat the pro-
cedure.
If your mobile phone does not support Secure
Simple Pairing, an input menu is displayed for
the passkey. The passkey is a one- to sixteen-
digit number combination which you can choose yourself. Enter the same passkey on
both COMAND and the mobile phone and
confirm. Depending on the mobile phone
used, you may have to confirm the connection
to COMAND and for the PBAP and MAP Blue-
tooth
®profiles.
Reconnecting automatically
COMAND always searches for the last con-
nected mobile phone.
If no connection can be made to the most
recently connected mobile phone, the system
searches for the mobile phone that was con-
nected before that one.
Switching between mobile phones
If you have authorized more than one mobile
phone, you can switch between the individual
phones.
XTo call up the telephone menu: press the
% button.
XTo show the menu bar: slide 6the con-
troller.
XTo select Connect Device: turn and press
the controller.
The device list is displayed.
XTo select the desired mobile phone: turn
and press the controller.
The selected mobile phone is searched for
and connected if it is within Bluetooth
®
range and if Bluetooth®is activated.
Only one mobile phone can be connected at
any one time. The currently connected mobile phone is indicated by the #dot in the device
list.
iYou can only switch to another authorized
mobile phone if you are not currently mak-
ing a call.
Connecting/disconnecting a mobile phone115
Telephone
Z
Page 118 of 222

De-authorizing (disconnecting)a
mobile phone
Mercedes-Ben zUSA, LL Crecommends de-
authorization in COMAN Dand on th emobile
phone .Subsequen tauthorization may other -
wise fail .
XTo callup th etelephon emenu: press th e
% button.
XTo sho wthemen ubar :slid e6 thecon-
troller.
XTo selec tConnec tDevice:turn and press
th econtroller .
XTo highlight th edesire dmobile phone in th e
devic elist :turn th econtroller .
XTo selectG: slide9 thecontroller .
XTo selectDeauthorize:turn and press th e
controller .
A prompt appears ,askin gwhether you
really wish to de-authoriz ethis device.
XTo selec tYes:turn and press th econtroller .
The mobile phone is de-authorized.
iBefore re-authorizin gth emobile phone ,
you should also delete th edevic enam eMB
Bluetoothfrom your mobile phone's Blue-
toot h®list.
Displaying connection detail s
XTo callup th etelephon emenu: press th e
% button.
XTo switch to th emen ubar in th etelephon e
menu: slid e6 thecontroller .
XTo selectConnec tDevice:turn and press
th econtroller .
XTo highlight th edesire dmobile phone in th e
devic elist :turn th econtroller .
XTo selectG: slide9 thecontroller .
XTo selectDetail s:turn and press th econ-
troller.
The following information concernin gth e
selecte dmobile phone is shown :
RBluetooth®devicenam e
RBluetoot h®address
RAvailabilit ystatus (shown after ane w
search )
RAuthorization status
XTo close th edetailed display :slid e8
th econtroller .
Reception an dtransmission volume
Once th emobile phone has been authorized,
you can optimize th etransmissio nand recep-
tion volume settings. To fin dout about th e
bes tpossible setting sfo ryour mobile phone ,
visit www.mercedes-benz-mobile.com .
Or cal lth eMercedes-Ben zCustomer Assis -
tanc eCente rat 1-800-FOR-MERCedes
(1-800-367-6372 ) (USA) or Customer Rela-
tions at 1-800-387-0100 (Canada).
XTo call up the telephone menu: press the
% button.
XTo switch to the menu bar: slide 6the
controller.
XTo select Connect Device: turn and press
the controller.
The device list appears.
XTo highlight the desired mobile phone in the
device list: turn the controller.
XTo select G: slide 9the controller.
XTo select Reception VolumeorTrans‐
mission Volume: turn and press the con-
troller.
XTo select a volume setting: turn the con-
troller.
XTo accept changes: press the controller.
116Reception and transmission volume
Telephone
Page 194 of 222

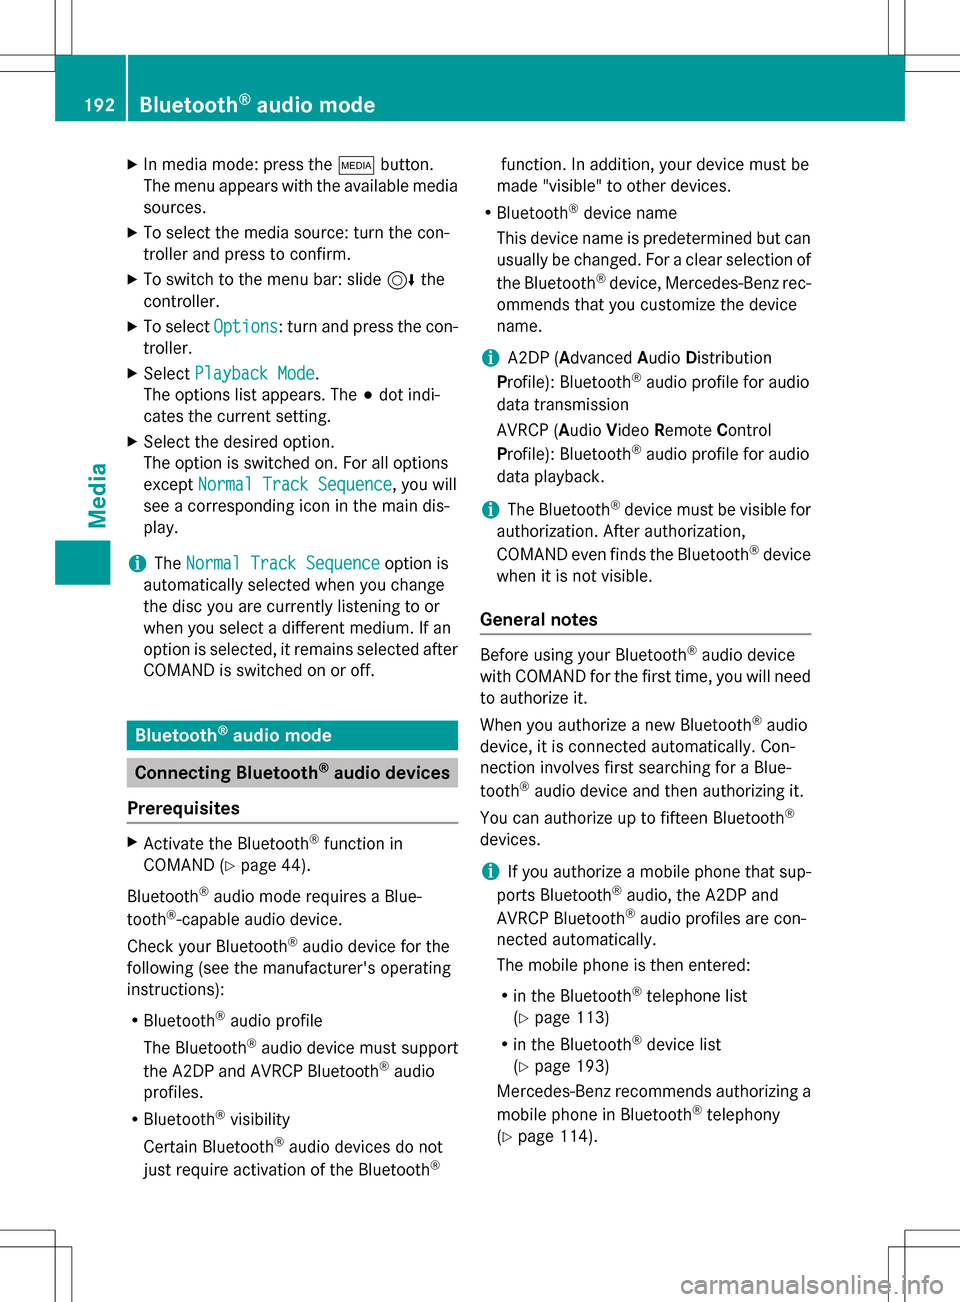
XIn media mode: press theÕbutton.
The menu appears with the available media sources.
XTo select the media source: turn the con-
troller and press to confirm.
XTo switch to the menu bar: slide 6the
controller.
XTo select Options: turn and press the con-
troller.
XSelect Playback Mode.
The options list appears. The #dot indi-
cates the current setting.
XSelect the desired option.
The option is switched on. For all options
except Normal Track Sequence
, you will
see a corresponding icon in the main dis-
play.
iThe Normal Track Sequenceoption is
automatically selected when you change
the disc you are currently listening to or
when you select a different medium. If an
option is selected, it remains selected after
COMAND is switched on or off.
Bluetooth®audio mode
Connecting Bluetooth®audio devices
Prerequisites
XActivate the Bluetooth®function in
COMAND (
Ypage 44).
Bluetooth
®audio mode requires a Blue-
tooth®-capable audio device.
Check your Bluetooth
®audio device for the
following (see the manufacturer's operating
instructions):
RBluetooth®audio profile
The Bluetooth
®audio device must support
the A2DP and AVRCP Bluetooth®audio
profiles.
RBluetooth®visibility
Certain Bluetooth
®audio devices do not
just require activation of the Bluetooth®
function. In addition, your device must be
made "visible" to other devices.
RBluetooth®device name
This device name is predetermined but can
usually be changed. For a clear selection of the Bluetooth
®device, Mercedes-Benz rec-
ommends that you customize the device
name.
iA2DP ( Advanced Audio Distribution
Profile): Bluetooth®audio profile for audio
data transmission
AVRCP (A udioVideo Remote Control
Profile): Bluetooth
®audio profile for audio
data playback.
iThe Bluetooth®device must be visible for
authorization. After authorization,
COMAND even finds the Bluetooth
®device
when it is not visible.
General notes
Before using your Bluetooth®audio device
with COMAND for the first time, you will need
to authorize it.
When you authorize a new Bluetooth
®audio
device, it is connected automatically. Con-
nection involves first searching for a Blue-
tooth
®audio device and then authorizing it.
You can authorize up to fifteen Bluetooth
®
devices.
iIf you authorize a mobile phone that sup-
ports Bluetooth®audio, the A2DP and
AVRCP Bluetooth®audio profiles are con-
nected automatically.
The mobile phone is then entered:
Rin the Bluetooth®telephone list
(
Ypage 113)
Rin the Bluetooth®device list
(
Ypage 193)
Mercedes-Benz recommends authorizing a
mobile phone in Bluetooth
®telephony
(
Ypage 114).
192Bluetooth®audio mode
Media