2016 MERCEDES-BENZ GL-Class Sd memory card
[x] Cancel search: Sd memory cardPage 93 of 246

8button on the COMAND control
panel.
or
XDuring a navigation announcement, press
the 8 button on the multifunction steer-
ing wheel.
The Spoken
drivingrecommendations
have been deactivated.message
appears.
XTo switch navigation announcements
back on: slide6the controller.
XTo select +: turn and press the controller.
COMAND automatically switches the naviga-
tion announcements back on when:
Ra new route is calculated.
Ryou switch COMAND on again or start the
engine.
A navigation message is given if the route is
recalculated during dynamic route guidance
due to new traffic reports (
Ypage 94).
Canceling/continuing route guidance
Canceling route guidance
XSlide 6the controller.
The menu is shown.
XTo select Destination: turn and press the
controller.
XSelect Cancel Active Route Guidance.
The blue route line is no longer shown on
the map.
Resuming route guidance
XSlide 6the controller.
The menu is shown.
XTo select Destination: turn and press the
controller.
XSelect Continue Route Guidance.
COMAND calculates the route.
Route information
Destination information
XTo switch to navigation mode: press the
Ø button.
XTo show the menu: slide6the control-
ler.
XTo select Route: turn and press the con-
troller.
XSelect Destination Information.
The destination and existing intermediate
destinations are displayed with distances,
travel time and arrival time.
XTo select destination or intermediate
destination: turn and press the controller.
The address appears.
You can use these functions for the desti-
nation or intermediate destination:
Rstore in the address book (Ypage 98)
Rsave to the SD memory card
(
Ypage 98)
Rview on the map (Ypage 104)
Rcall if a mobile phone is connected and a
phone number is available
(
Ypage 120)
Route guidance91
Navigation
Z
Page 100 of 246

XTo accept the proposed detour: press the
controller.
XTo reject the proposed detour and continue
with the original route: turn the controller
and press to confirm.
The original route is continued.
Storing destinations
General notes
In the "Last destinations" memory, the fol-
lowing are stored:
Rdestinations and intermediate destinations
according to the route calculation
Rthe current vehicle position or the crosshair
position, if these are saved
Rpersonal routes
If the memory is full, COMAND overwrites the
oldest destination.
You can save destinations permanently in the
address book (
Ypage 98) and on an SD
memory card (
Ypage 99). For instance, this
is possible immediately after entering an
address.
For further information on the address book,
see (
Ypage 127)
Storing the destination in the address
book
Storing as a new contact
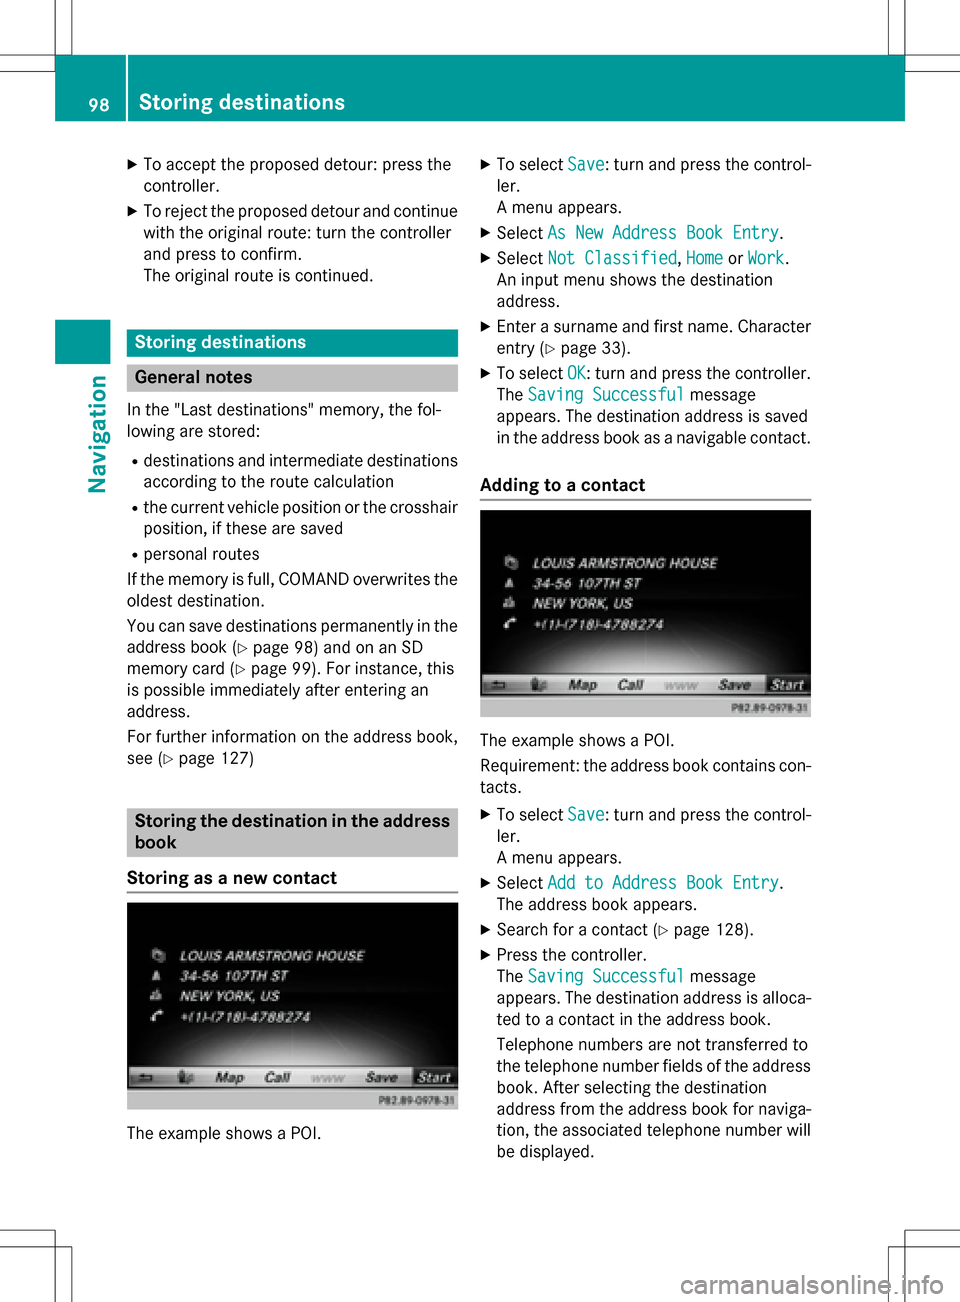
The example shows a POI.
XTo select Save: turn and press the control-
ler.
A menu appears.
XSelect As New Address Book Entry.
XSelectNot Classified,Homeor Work.
An input menu shows the destination
address.
XEnter a surname and first name. Character
entry (
Ypage 33).
XTo select OK: turn and press the controller.
The Saving Successful
message
appears. The destination address is saved
in the address book as a navigable contact.
Adding to a contact
The example shows a POI.
Requirement: the address book contains con-
tacts.
XTo select Save: turn and press the control-
ler.
A menu appears.
XSelect Add to Address Book Entry.
The address book appears.
XSearch for a contact (Ypage 128).
XPress the controller.
The Saving Successful
message
appears. The destination address is alloca-
ted to a contact in the address book.
Telephone numbers are not transferred to
the telephone number fields of the address
book. After selecting the destination
address from the address book for naviga-
tion, the associated telephone number will
be displayed.
98Storing destinations
Navigation
Page 101 of 246

If the contact already has two destination
addresses, a prompt will appear asking if a
destination address should be overwritten.
XSelectYesorNo.
If you select Yes
, a list showing both des-
tination addresses appears.
XTo select the destination address: turn and
press the controller.
The destination address is overwritten.
Saving destination to the SD memory
card
XInsert the SD memory card (Ypage 183).
XDisplay a POI, for example.
XTo select Save: turn and press the control-
ler.
A menu appears.
XSelect To Memory Card.
XSelectNot Classifiedor, if available,
select a category that you have created
yourself.
An input menu appears.
XEnter a surname and first name. Character
entry (
Ypage 34).
XSelect OK.
The Saving Successful
message
appears. The destination is saved to the SD
memory card.
Saving the current vehicle position
Using the Map
XTo switch to navigation mode: press the
ß button.
XWhen the map is shown, press and hold the
COMAND controller until you hear a tone.
The current vehicle position is saved to the
"Last destinations" memory.
If an SD memory card is inserted, the cur-
rent vehicle position will also be saved in
theNot Classified
category.
Using the menu
XTo switch to navigation mode: press the
ß button.
XTo show the menu: slide6the control-
ler.
XTo select Position: turn and press the
controller.
XSelect Save.
XStore the destination in the address book
(
Ypage 98).
XSave the destination to the SD card
(
Ypage 99).
Saving the crosshair position
XTo switch to navigation mode: press the
ß button.
XTo display the crosshair: press the con-
troller.
XMove the map to the desired position
(
Ypage 66).
XTo show the menu: press the controller.
XTo selectPosition: turn and press the
controller.
XSelect Save.
XStore the destination in the address book
(
Ypage 98).
XSave the destination to the SD card
(
Ypage 99).
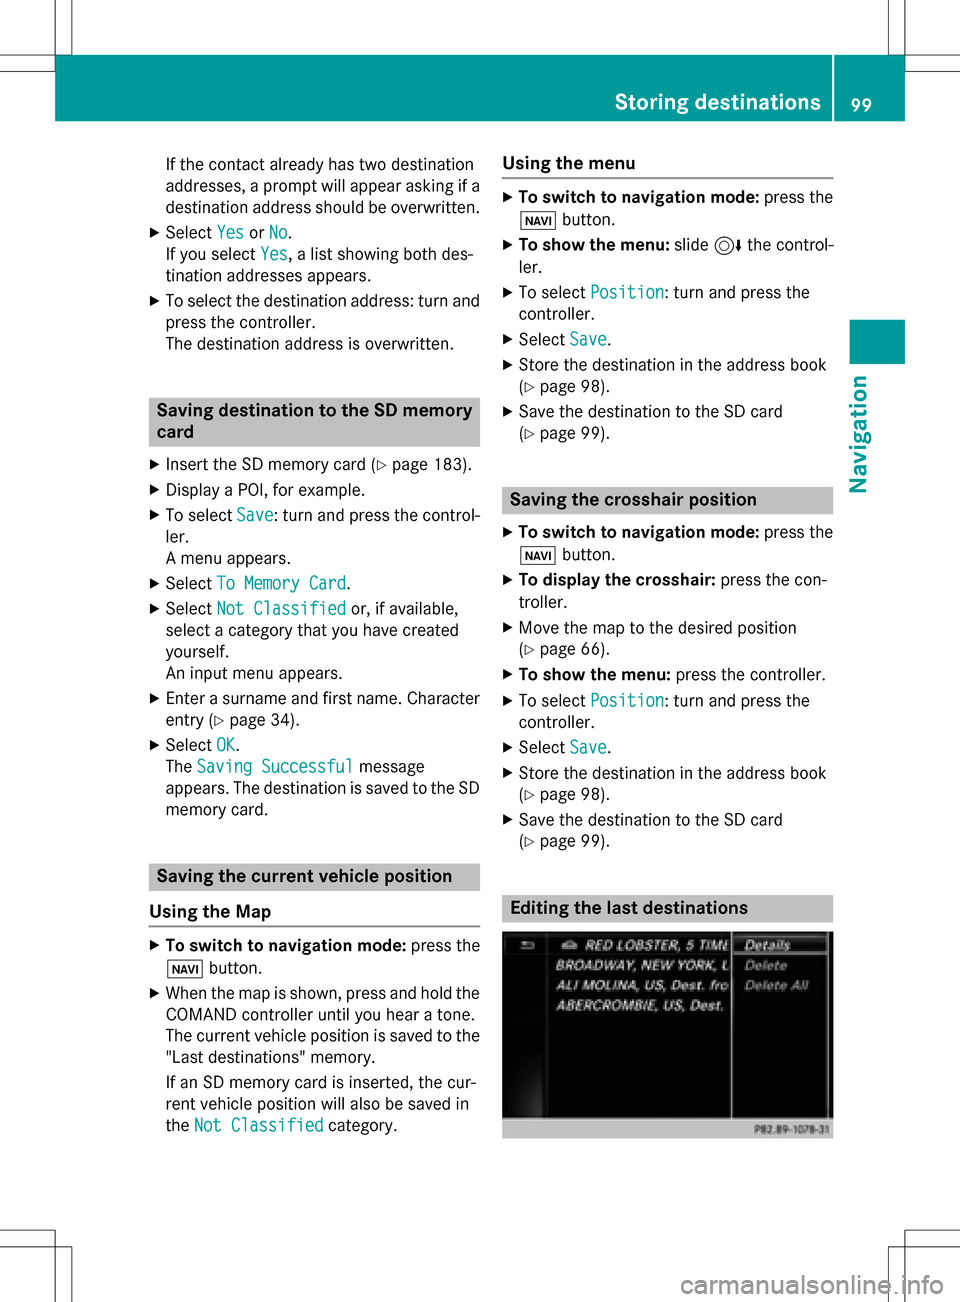
Editing the last destinations
Storing destinations99
Navigation
Z
Page 102 of 246

XTo switch to navigation mode:press the
ß button.
XTo show the menu: slide6the control-
ler.
XTo select Destination: turn and press the
controller.
XSelect From Last Destinations.
The "Last destinations" memory appears.
XTo save the destination: select the desti-
nation.
The destination address appears.
XStore the destination in the address book
(
Ypage 98).
XSave the destination to the SD card
(
Ypage 99).
XTo view the details: while in the "Last des-
tinations" memory, turn the controller and
highlight the entry.
XSlide 9the controller.
A menu appears.
XTo select Details: press the controller.
iThe destination address can be changed if
desired.
XTo delete one or all destinations: while in
the "Last destinations" memory, turn the
controller and highlight the entry.
XSlide 9the controller.
A menu appears.
XTo select DeleteorDelete All: turn and
press the controller.
A prompt appears.
XSelect YesorNo.
Selecting Yes
deletes the selected desti-
nation or all destinations.
Map functions
General notes
Company logos displayed on the map are
trademarks of the respective companies and
used solely for the purpose of indicating the
locations of these companies. The use of such
logos on the map does not indicate approval of, support of or advertising by these compa-
nies for the navigation system itself.
Map settings
Setting the map scale
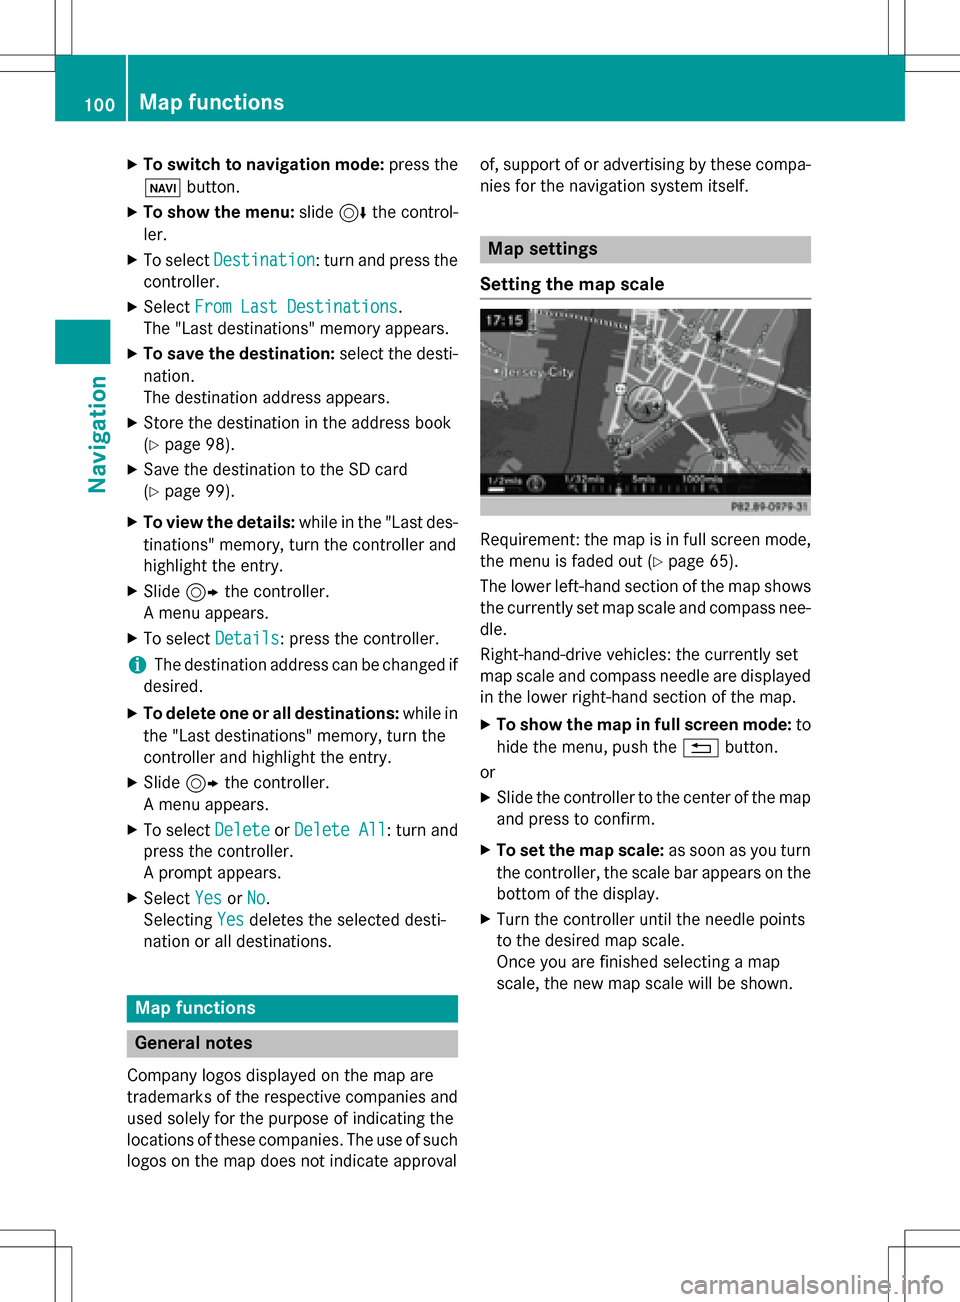
Requirement: the map is in full screen mode,
the menu is faded out (
Ypage 65).
The lower left-hand section of the map shows
the currently set map scale and compass nee-
dle.
Right-hand-drive vehicles: the currently set
map scale and compass needle are displayed
in the lower right-hand section of the map.
XTo show the map in full screen mode: to
hide the menu, push the %button.
or
XSlide the controller to the center of the map
and press to confirm.
XTo set the map scale: as soon as you turn
the controller, the scale bar appears on the bottom of the display.
XTurn the controller until the needle points
to the desired map scale.
Once you are finished selecting a map
scale, the new map scale will be shown.
100Map functions
Navigation
Page 112 of 246

ProblemPossible causes/consequences andMSolutions
The map software
update has failed.The digital map can be loaded with a DVD, SD memory card or USB
stick.
XCheck the readability of the data medium, e.g. in a PC.
XTo restart the update: insert the DVD.
or
XInsert an SD memory card or USB stick.
COMAND asks for an activation code during the map update. The
code must be validated in the vehicle.
XSwitch on the ignition.
XTo restart the update: insert the DVD.
or
XInsert an SD memory card or USB stick.
COMAND's integrated hard disk is defective.
XConsult an authorized Mercedes-Benz Center.
110Problems with the navigation system
Navigation
Page 126 of 246

You can now search for a contact
(
Ypage 124).
Further information on the symbols shown
(
Ypage 124).
iYou can also call up the phone book with
the multifunction steering wheel; see the
separate operating instructions.
Symbol overview
Sym-
bolExplanation
ÆContact that has been entered, edi-
ted or saved on COMAND.
\Contact with voice tag
These contacts have also been
assigned a voice tag. Voice tags are
available in vehicles with the Voice
Control System (see the separate
operating instructions).
ÃContact that was called up from a
mobile phone
¯Contact imported from the SD
memory card or USB device.
®Contact imported via the Blue-
tooth®interface.
Search for contact
Using the character bar
You determine the first letter of the contact
you are looking for with the first character you
enter.
XTo select characters: turn the controller
and press to confirm.
The first contact with the selected first
character is highlighted in the phone book.
If there are similar contacts, the next dif-
ferent character is shown. For example,
with contacts such as Jana
andJohn, the
beginnings of the names are identical. The
next different character A
andOare offered
for selection.
XSelect the characters of the contact you are
searching for one by one, pressing and con- firming with the controller each time.
XTo end the search: select ¬.
The contacts in the phone book are dis-
played.
XTo highlight a contact: turn the controller.
XTo call the contact: press the controller.
The Gsymbol indicates that a contact con-
tains more than one phone number.
XTo select a contact with the Gsymbol:
turn the controller and press to confirm.
The phone numbers are displayed. The G
symbol changes to I.
XTo call a telephone number: turn and press
the controller.
Back to the character bar
XPress the %button repeatedly until the
character bar is displayed.
Further information about character entry
(
Ypage 33).
124Phone book
Telephone
Page 129 of 246

Saving a contact
Saved contacts are indicated in the phone
book by different symbols (
Ypage 124).
XCall up the phone book (Ypage 123).
XSearch for and highlight a contact from themobile phone d(
Ypage 124).
XTo select G: slide 9the controller.
XTo select Save: turn and press the control-
ler.
The contact has now been saved. The con-
tact is identified by the ¥symbol in the
phone book.
iSaved contacts are also displayed in the
address book.
Saving or editing the contact data on
COMAND does not change the contacts on
the mobile phone. If automatic calling up of
phone contacts is activated, COMAND dis-
plays the copy ¥with the changed data.
Deleting a contact
You can delete contacts that have been
added, supplemented, saved or imported in
COMAND.
If there are one or several phone numbers
saved under the contact, the contact is
deleted from the phone book and the address
book.
If there are additional entries under the con-
tact, such as a navigable destination, only the
phone numbers are deleted. The contact is
retained in the address book with the remain-
ing entries.
XCall up the phone book (Ypage 123).
XSearch for and highlight a contact in the
phone book (
Ypage 124).
XTo select G: slide 9the controller.
XTo select Delete: turn and press the con-
troller.
A prompt appears asking whether the con-
tact should be deleted.
XTo select Yes: turn and press the controller.
The phone number is deleted.
or
XTo select No: turn and press the controller.
The process is canceled.
Closing the phone book
XTo select &from the character bar: turn
the controller and press to confirm.
or
XPress the %button.
Address book
Introduction
Always pay attention to traffic conditions.
Familiarize yourself with the address book
functions before beginning your journey.
You can use COMAND when the road and
traffic conditions permit. You could otherwise
become involved in an accident in which you
or others could be injured.
The address book displays all the contacts
from the various sources (mobile phone,
memory card, USB device, COMAND phone
book, navigation).
You can use the contacts to make telephone
calls, navigate and to write messages.
If a mobile phone is connected to COMAND
and automatic calling up is activated
(
Ypage 132), the mobile phone's contacts
are displayed in the address book. If you dis- connect the mobile phone from COMAND,
these contacts are no longer displayed in the
address book.
When you import, save, edit or add contacts,
they will be saved in COMAND. These con-
tacts will remain there even when you con-
nect COMAND to a different mobile phone.
You can view these contacts even without a
mobile phone.
Address book127
Telephone
Z
Page 135 of 246

vated, contacts which have already been
called up will continue to be displayed.
Saving a contact
Saved contacts are indicated in the phone
book by different symbols (
Ypage 124).
XCall up the address book (Ypage 128).
XTo select a contact: turn and press the con-
troller.
The details for the contact are displayed.
XTo selectG: slide 9the controller.
XTo select Save: turn and press the control-
ler.
The contact has now been saved.
iIf the saved address book entry contains a
phone number, the entry is also displayed
in the phone book.
Saving or editing the contact data on
COMAND does not change the contacts on
the mobile phone. If automatic download-
ing of phone contacts is activated,
COMAND displays the copy ¥with the
changed data. To add additional data, such
as additional phone numbers or e-mail
addresses, select this contact. In this way,
you avoid creating additional copies of the
mobile phone entry.
Deleting a contact
XCall up the address book (Ypage 128).
XSearch for a contact (Ypage 128).
XTo select G: slide 9the controller.
XTo select Delete Entry: turn and press
the controller.
XTo select Yes: turn and press the controller.
The contact is deleted.
or
XTo select No: turn and press the controller.
The process is canceled.
Closing the address book
XPress the %button.
Importing contacts
Information and requirements
Contacts can be imported as vCards (vcf
files). A vCard is an electronic business card.
A memory card, USB device or a Bluetooth
®
connection can be used for importing.
iUp to 2000 entries can be imported into
the address book. A message notifies you
when the maximum number is reached. In
order to be able to then import new con-
tacts, you have to delete existing contacts
(
Ypage 133).
SourcePrerequisites
Memory cardThe SD memory card is
inserted. It contains
importable contact details.
USB deviceThe USB device is inserted
into the USB port. It con-
tains importable contact
details.
Bluetooth®
connection
If the sending of vCards is
supported via Bluetooth®,
vCards can be received on
mobile phones or net-
books, for example.
Bluetooth
®must be activa-
ted in COMAND and on the
respective device (see the
manufacturer's operating
instructions).
Importing from the memory card or
USB device
Contacts imported from the memory card or
from a USB device are identified by the ¯
symbol.
Importing contacts133
Telephone
Z