2016 MERCEDES-BENZ GL-Class start stop button
[x] Cancel search: start stop buttonPage 7 of 246

Starting playback if the Blue-
tooth®audio device has been
stopped ......................................... 194
Telephony ...................................... 114
Telephony notes ............................ 112
Buttons and controller ........................ 24
C
Call lists
Displaying details ........................... 135
Opening and selecting an entry ..... 135
Saving an entry in the address
book .............................................. 136
Camera
360° camera (COMAND) ................. 58
Rear view camera ............................ 59
Car pool lanes ...................................... 68
Category list (music search) ............ 188
CD
Fast forward/fast rewind ............... 185
Inserting ........................................ 182
Inserting/loading (DVD changer) ... 182
Inserting/loading (Rear Seat
Entertainment System) .................. 232
Notes on discs ............................... 181
Removing/ejecting (Rear Seat
Entertainment System) .................. 232
Selecting a track ............................ 185
Sound settings (balance, bass,
fader, treble) .................................. 206
CD mode
Playback options ........................... 184
Character entry
Phone book ...................................... 33
Characters
Entering (navigation) ........................ 34
Clear button ......................................... 25
Climate control
Ionization (COMAND) ....................... 56
COMAND
Active multicontour seat .................. 56
Basic functions ................................ 31
Components .................................... 20
Control panel ................................... 23
Controller ......................................... 24
Display ............................................. 21
Functions ......................................... 20 Multicontour seat ............................ 56
Seat functions .................................. 56
Switching on/off .............................. 31
COMAND display
Cleaning instructions ....................... 22
Setting ............................................. 40
Contacts
Deleting ......................................... 133
Importing ....................................... 133
Controller ............................................. 24
Cordless headphones
Changing batteries ........................ 229
Indicator lamp ................................ 227
Rear Seat Entertainment System ... 227
Selecting the screen ...................... 228
D
Date format, setting ............................ 43
Day design, setting ............................. 40
Delayed switch-off
Interior lighting ................................ 55
Delayed switch-off time
Setting (COMAND) ........................... 55
Destination
Saving to SD memory card .............. 99
Storing in the address book ............. 98
Destination (navigation)
Entering a destination using the
map ................................................. 78
Entering a point of interest .............. 75
Entering using geo-coordinates ....... 82
Entering using Mercedes-Benz
Apps ................................................ 82
Keyword search ............................... 72
Saving .............................................. 98
Selecting an address book con-
tact as a destination ........................ 74
Selecting from the list of last des-
tinations ........................................... 74
Destination/route download
Deleting a destination from the
server ............................................ 157
Displaying destinations in the
vehicle ........................................... 156
Displaying the vehicle identifica-
tion number (VIN) .......................... 157
Importing destinations ................... 157
Index5
Page 61 of 246

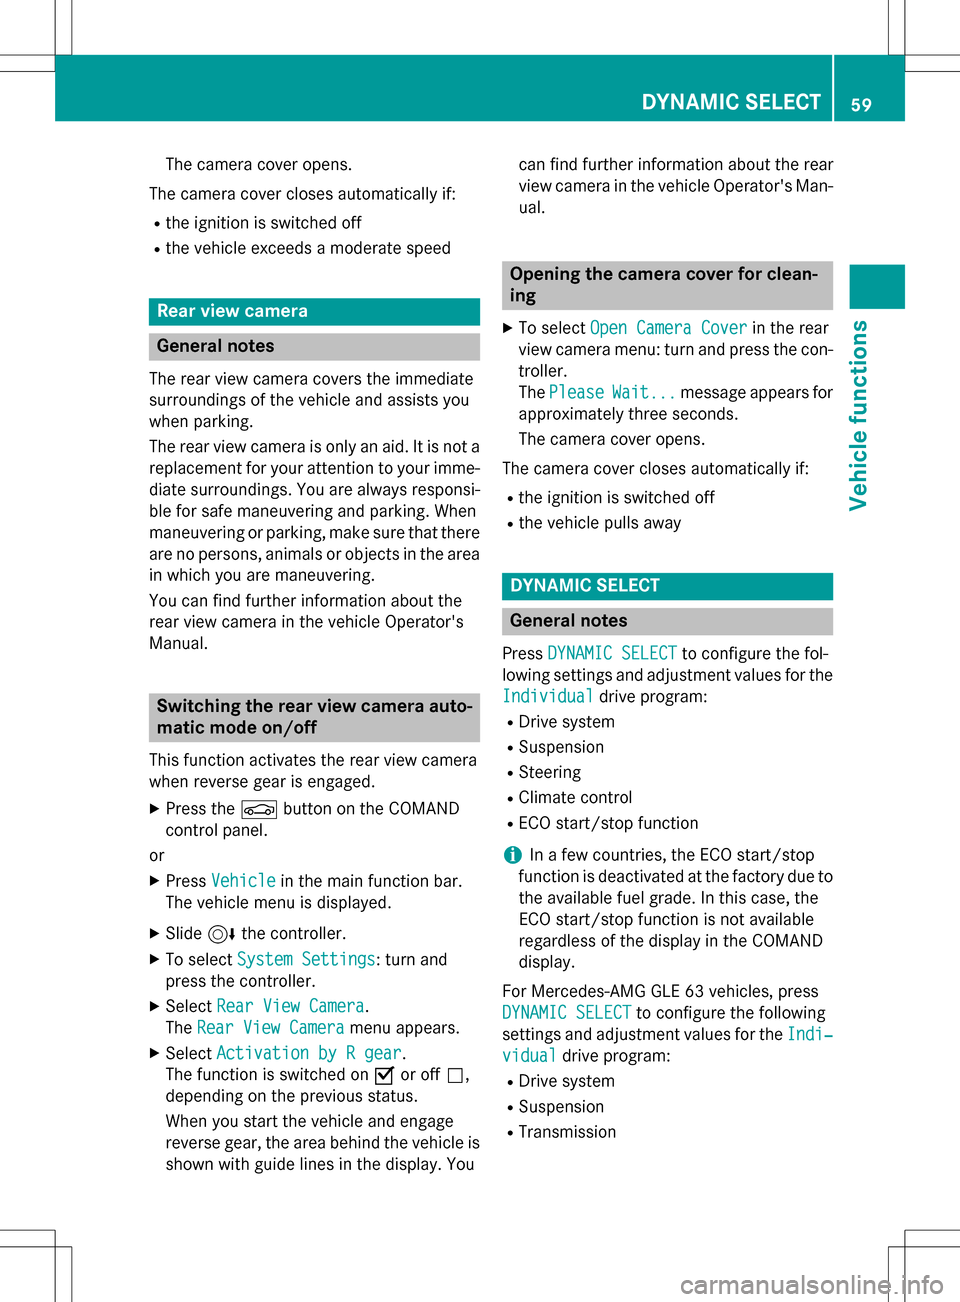
The camera cover opens.
The camera cover closes automatically if:
Rthe ignition is switched off
Rthe vehicle exceeds a moderate speed
Rear view camera
General notes
The rear view camera covers the immediate
surroundings of the vehicle and assists you
when parking.
The rear view camera is only an aid. It is not a
replacement for your attention to your imme-
diate surroundings. You are always responsi- ble for safe maneuvering and parking. When
maneuvering or parking, make sure that there
are no persons, animals or objects in the area in which you are maneuvering.
You can find further information about the
rear view camera in the vehicle Operator's
Manual.
Switching the rear view camera auto-
matic mode on/off
This function activates the rear view camera
when reverse gear is engaged.
XPress the Øbutton on the COMAND
control panel.
or
XPress Vehiclein the main function bar.
The vehicle menu is displayed.
XSlide 6the controller.
XTo select System Settings: turn and
press the controller.
XSelect Rear View Camera.
The Rear View Camera
menu appears.
XSelect Activation by R gear.
The function is switched on Oor off ª,
depending on the previous status.
When you start the vehicle and engage
reverse gear, the area behind the vehicle is
shown with guide lines in the display. You can find further information about the rear
view camera in the vehicle Operator's Man-
ual.
Opening the camera cover for clean-
ing
XTo select
Open Camera Coverin the rear
view camera menu: turn and press the con-
troller.
The Please
Wait...message appears for
approximately three seconds.
The camera cover opens.
The camera cover closes automatically if:
Rthe ignition is switched off
Rthe vehicle pulls away
DYNAMIC SELECT
General notes
Press DYNAMIC SELECTto configure the fol-
lowing settings and adjustment values for the
Individual
drive program:
RDrive system
RSuspension
RSteering
RClimate control
RECO start/stop function
iIn a few countries, the ECO start/stop
function is deactivated at the factory due to the available fuel grade. In this case, the
ECO start/stop function is not available
regardless of the display in the COMAND
display.
For Mercedes-AMG GLE 63 vehicles, press
DYNAMIC SELECT
to configure the following
settings and adjustment values for the Indi‐
vidualdrive program:
RDrive system
RSuspension
RTransmission
DYNAMIC SELECT59
Vehicle functions
Z
Page 62 of 246

iThere may be fewer settings or none
depending on your vehicle's equipment.
For further information on the Individual
drive program, see the vehicle Operator's
Manual.
Configuration via the controller
XPress theØbutton.
or
XPress Vehiclein the main function bar.
The vehicle menu is displayed.
XTo select DYNAMIC SELECT: turn and press
the controller.
The menu for setting the Individual
drive
program appears.
XTo select Drive,Suspension, Steering,
Climate Control
or Eco Start/Stop
Function: turn and press the controller.
XFor Mercedes-AMG GLE 63 vehicles, to
select Drive
,Suspensionor Transmis‐
sion: turn and press the controller.
XTo select individual settings: turn and
press the controller.
Configuration via the DYNAMIC
SELECT controller
i
There may be fewer settings depending
on your vehicle's equipment.
XUse the DYNAMIC SELECT controller to
select the Individual
drive program (see
the vehicle Operator's Manual).
A window appears after a short while.
XTo confirm Adjust: press the controller.
The menu for setting the Individual
drive
program appears.
XTo select Drive,Suspension, Steering,
Climate Control
or Eco Start/Stop
Function: turn and press the controller.
XFor Mercedes-AMG GLE 63 vehicles, to
select Drive
,Suspensionor Transmis‐
sion: turn and press the controller.
XTo select individual settings: turn and
press the controller.
Setting options
You can choose from the following settings
for the drive:
CComfort
SSport
S+Sport +
MManual
EEco
You can make the following settings for the
suspension:
CComfort
SSport
S+Sport +
You can make the following settings for the
steering:
CComfort
SSport
You can choose from the following settings
for climate control:
EEco
CComfort
60DYNAMIC SELECT
Vehicle functions
Page 70 of 246

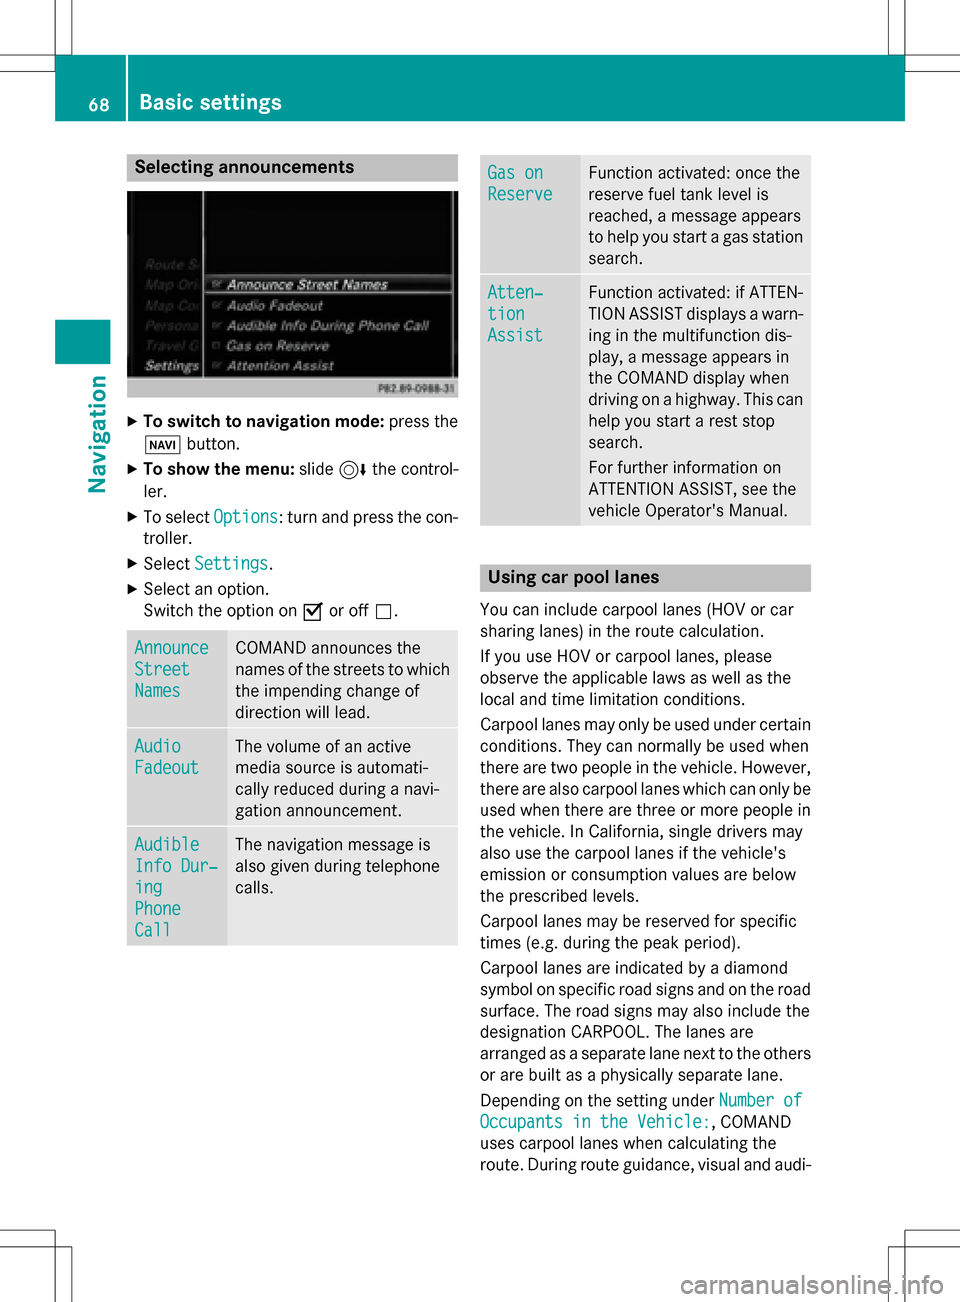
Selecting announcements
XTo switch to navigation mode:press the
Ø button.
XTo show the menu: slide6the control-
ler.
XTo select Options: turn and press the con-
troller.
XSelect Settings.
XSelect an option.
Switch the option on Oor off ª.
Announce
Street
Names
COMAND announces the
names of the streets to which
the impending change of
direction will lead.
Audio
Fadeout
The volume of an active
media source is automati-
cally reduced during a navi-
gation announcement.
Audible
Info Dur‐
ing
Phone
Call
The navigation message is
also given during telephone
calls.
Gas on
Reserve
Function activated: once the
reserve fuel tank level is
reached, a message appears
to help you start a gas station
search.
Atten‐
tion
Assist
Function activated: if ATTEN-
TION ASSIST displays a warn-
ing in the multifunction dis-
play, a message appears in
the COMAND display when
driving on a highway. This can
help you start a rest stop
search.
For further information on
ATTENTION ASSIST, see the
vehicle Operator's Manual.
Using car pool lanes
You can include carpool lanes (HOV or car
sharing lanes) in the route calculation.
If you use HOV or carpool lanes, please
observe the applicable laws as well as the
local and time limitation conditions.
Carpool lanes may only be used under certain
conditions. They can normally be used when
there are two people in the vehicle. However,
there are also carpool lanes which can only be
used when there are three or more people in
the vehicle. In California, single drivers may
also use the carpool lanes if the vehicle's
emission or consumption values are below
the prescribed levels.
Carpool lanes may be reserved for specific
times (e.g. during the peak period).
Carpool lanes are indicated by a diamond
symbol on specific road signs and on the road
surface. The road signs may also include the
designation CARPOOL. The lanes are
arranged as a separate lane next to the others
or are built as a physically separate lane.
Depending on the setting under Number of
Occupants in the Vehicle:, COMAND
uses carpool lanes when calculating the
route. During route guidance, visual and audi-
68Basic settings
Navigation
Page 88 of 246

XTo select the outward and return
routes:to select Swap
: turn and press the
controller.
The starting and destination positions of
your personal route, and thus the direction
for route guidance, are switched round.
One-way streets or restricted intersections are taken into consideration. Therefore, the
outward and return routes may differ from
each other.
XTo save a personal POI: to selectSave:
turn and press the controller.
XTo continue saving (Ypage 98).
XTo start route guidance: to selectStart:
turn and press the controller.
Recording the route
General notes
When recording the route, bear in mind the
following:
Rif the SD memory card is inserted, it must
not be removed during recording.
Rif route recording is started manually, it
must be finished manually before COMAND
is switched off (e .g. when the engine is
switched off).
RCOMAND minimizes the number of route
points recorded. Therefore when the recor-
ded route is subsequently commenced, it
may differ from the route that was originally
recorded.
Starting/finishing route recording
XInsert the SD memory card (Ypage 183).
XTo switch to navigation mode: press the
ß button.
XTo show the menu: slide6the control-
ler.
XTo select Destination: turn and press the
controller.
XSelect From Memory Card.
XSelectStart Route Recording.
The route is recorded and REC
appears at
the bottom edge of the screen.
XTo stop recording, select End Route
Recordingfrom the menu.
The route is stored under Personal
Routes.
Displaying/editing the recorded route
XInsert the SD memory card (Ypage 183).
XTo switch to navigation mode: press the
ß button.
XTo show the menu: slide6the control-
ler.
XTo select Destination: turn and press the
controller.
XSelect From Memory Card.
XSelectPersonal Routes.
Previously recorded routes are displayed.
XTo select a route: turn and press the con-
troller.
The map appears with a menu. The recor-
ded route is shown on the map in blue.
XTo start route calculation: selectStart.
XTo change the name and symbol: select
Edit
.
XSelect Change NameorEdit Icon.
XTo change name: enter character
(
Ypage 34).
XTo change symbol: select a symbol.
The symbol is saved.
86Personal POIs and routes
Navigation
Page 125 of 246

Rejecting:
XTo selectReject: turn and press the con-
troller.
or
XPress ~on the multifunction steering
wheel.
The behavior after the call is rejected
depends on your mobile phone and mobile
phone network provider.
Option 1: The originally active call is ended
and the incoming call is accepted.
Option 2: Both calls are ended.
Ending an active call
XTo select =in the telephone menu: turn
and press the controller.
or
XPress ~on the multifunction steering
wheel.
The active call is ended.
Mobile phone voice recognition
You can start or end voice recognition on your mobile phone with this function. Further infor-
mation on the voice recognition service; see
manufacturer's operating instructions.
To start the mobile phone voice recogni-
tion:
XConnect the mobile phone to COMAND;
see vehicle Operator's Manual.
XPress and hold the óbutton on the mul-
tifunction steering wheel for more than one second.
You can now use the mobile phone voice
recognition.
To end the mobile phone voice recogni-
tion:
XPress xon the multifunction steering
wheel.
The mobile phone voice recognition is stop-
ped.
Phone book
Introduction
The telephone book displays the contacts
from the address book which have a phone
number.
The mobile phone's telephone book is auto-
matically displayed in COMAND after connec-
tion (default setting). You can deactivate
automatic calling up (
Ypage 132).
In the telephone book, you can:
RCreate new contacts (Ypage 125)
RAdd information to contacts (Ypage 126)
RSearch for contacts (Ypage 124)
RStore contacts (Ypage 127)
RDelete contacts (Ypage 127)
Further information on importing contacts
(
Ypage 133).
When you import, save, edit or add contacts,
they will be permanently saved in COMAND.
These contacts will remain there even when
you connect COMAND to a different mobile
phone. You can view these contacts even
without a mobile phone.
Calling up the phone book
XTo call up the telephone menu: press the
% button.
XTo select Namein the telephone menu: turn
and press the controller.
If the phone book contains contacts, they
will be displayed in alphabetical order. The character bar at the bottom of the display is
active.
Phone book123
Telephone
Z
Page 193 of 246

iIf the mobile phone that is connected only
supports two Bluetooth®profiles at the
same time, COMAND functions may
behave as follows:
Rwhen connecting to the Internet, play-
back is stopped on the Bluetooth®audio
device.
Rwhen starting playback on the Blue-
tooth®audio device, the Internet con-
nection is ended.
Searching for and authorizing a Blue-
tooth®audio device
Switching to Bluetooth®audio mode
XPress the Õbutton.
XTo select Bluetooth Audioin the menu:
turn and press the controller.
A menu appears.
If you see the No Bluetooth Audio
Device Authorizedmessage, you will
need to authorize the Bluetooth®audio
device first.
XTo select Optionsin the Bluetooth audio
menu: slide 6the controller and press to
confirm.
XTo select Bluetooth Audio Devices:
press the controller.
A new menu appears.
:Bluetooth®audio player within range and
already authorized
;Newly detected mobile phone with Blue-
tooth®audio mode in range The Bluetooth
®device list displays all author-
ized devices, whether they are within range or not. After a device search, devices which are
within range but not authorized are also dis-
played.
Searching for Bluetooth
®audio
XTo select Search for Audio Devices:
press the controller.
The To connect an audio device,
make sure that: 1. The telephone
is switched on. 2. The BT Audio
function is activated and the
audio device is visible via BT.
(For details, see the audio devi‐
ce's operating instructions or
visit www.mercedes-benz.com/
connect).message appears.
XSelect Start Search.
COMAND searches for Bluetooth®audio
devices within range and adds them to the
Bluetooth
®device list.
The duration of the search depends on the
number of Bluetooth
®audio devices within
range and their characteristics.
iWith some Bluetooth®audio devices,
playback must first be started on the device
itself so that COMAND can play the audio
files. Bluetooth
®must also be given as a
media output location for the audio device
used.
Authorizing Bluetooth
®audio
XSelect a Bluetooth®audio device that has
not yet been authorized from the list: turn
and press the controller.
Authorization starts.
Depending on the Bluetooth
®audio device
used, you now have two options for con-
tinuing with authorization.
Bluetooth®audio mode191
Media
Z
Page 196 of 246

ATo stopËor start Ìplayback
BName of the connected Bluetooth®audio
device (example)
COptions menu
Some mobile phones only support two Blue-
tooth
®profiles at the same time (e.g. Hands-
Free Profile for Bluetooth®telephony and
Bluetooth®audio profile for audio streaming).
If you activate Bluetooth®audio mode and
there is already an active Internet connection, this can cause the connection to be termina-
ted.
Switching to Bluetooth®audio
XPress the Õbutton.
XTo select Bluetooth Audioin the menu:
turn and press the controller.
COMAND activates the Bluetooth
®audio
device. The basic display then appears.
Playback starts.
iIf the Bluetooth®audio device connected
supports metadata and corresponding data
is available, then the artist, track and album
name can be displayed.
Starting/stopping playback
XTo select Start playback Ì: turn and
press the controller.
Playback starts. Ëis selected.
XTo stop playback: select Ë.
A message appears. Ìis selected.
XTo continue playback: select Ì.
A message appears. Ëis selected.
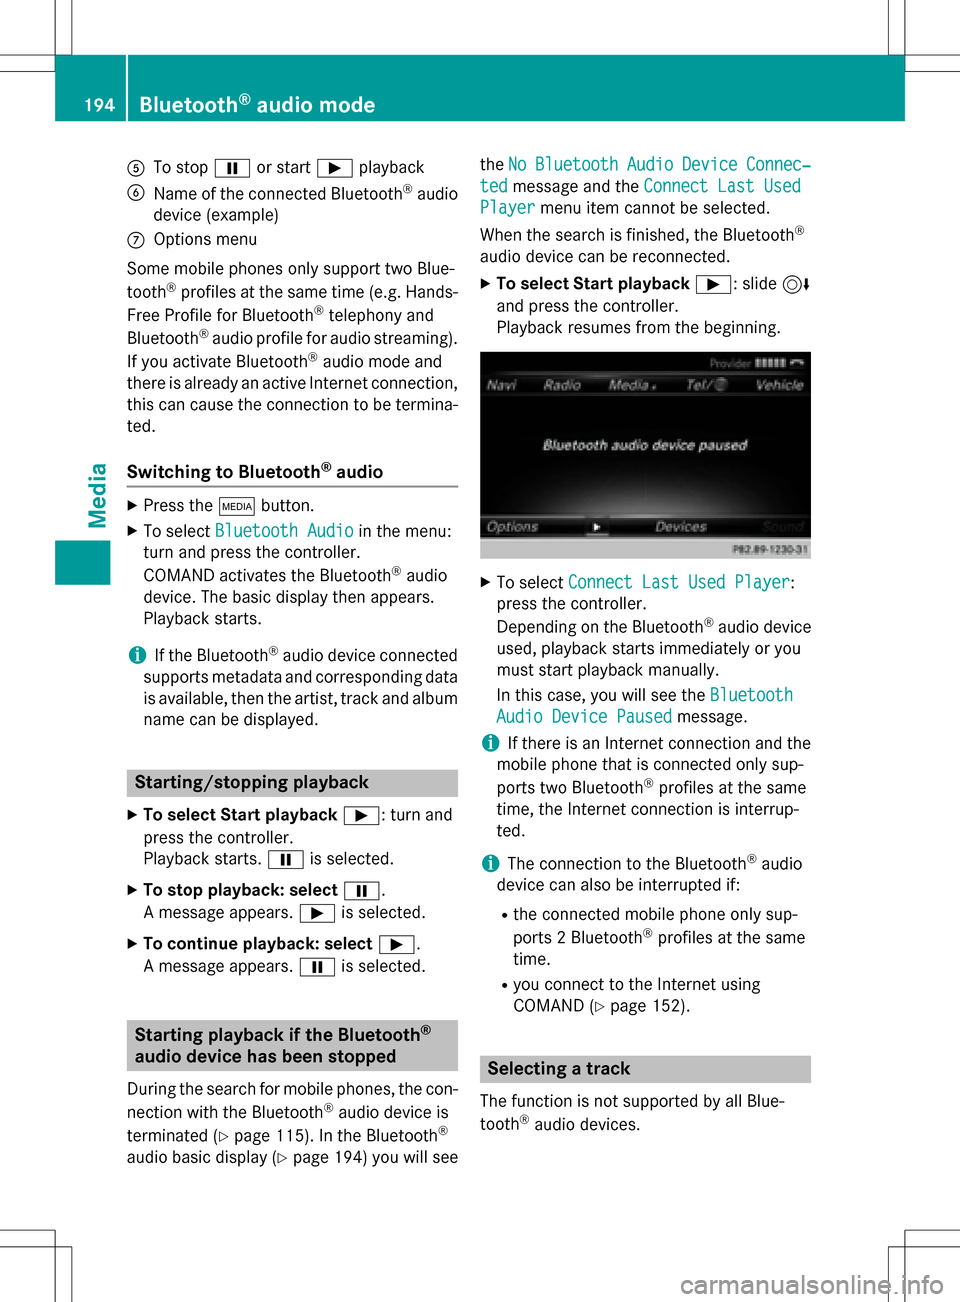
Starting playback if the Bluetooth®
audio device has been stopped
During the search for mobile phones, the con-
nection with the Bluetooth®audio device is
terminated (
Ypage 115). In the Bluetooth®
audio basic display (Ypage 194) you will see the
No
BluetoothAudioDeviceConnec‐
tedmessage and the Connect Last Used
Playermenu item cannot be selected.
When the search is finished, the Bluetooth
®
audio device can be reconnected.
XTo select Start playback Ì: slide6
and press the controller.
Playback resumes from the beginning.
XTo select Connect Last Used Player:
press the controller.
Depending on the Bluetooth
®audio device
used, playback starts immediately or you
must start playback manually.
In this case, you will see the Bluetooth
Audio Device Pausedmessage.
iIf there is an Internet connection and the
mobile phone that is connected only sup-
ports two Bluetooth
®profiles at the same
time, the Internet connection is interrup-
ted.
iThe connection to the Bluetooth®audio
device can also be interrupted if:
Rthe connected mobile phone only sup-
ports 2 Bluetooth®profiles at the same
time.
Ryou connect to the Internet using
COMAND (
Ypage 152).
Selecting a track
The function is not supported by all Blue-
tooth®audio devices.
194Bluetooth®audio mode
Media