2016 MERCEDES-BENZ G-CLASS SUV AUX
[x] Cancel search: AUXPage 95 of 261
appear
sontheremot econtrol display and the
runnin gtimeisz erom inutes.
Settin gthe departure time
Mak esure that th etimes et in th evehicle is
correc tbefore settin gthe departur etime.O th-
erwise, th eauxiliary heating may activat eatthe
wron gtimea nd at an unsuitable location. When
settin gthe departur etime, also observ ethe
important safety note s(Ypage 89).
X Briefly pres sthe u button.
X Pres sthe , or. button repeatedly
until th etimetobec hanged appear sonthe
display.
X Pres sthe u and^ button satthesame
time.
The Îsymbo lontheremot econtrol display
flashes.
X Pres sthe , or. button to set the
desired departur etime.
i The longer you pres
sthe , or. but-
ton, th efaster th etimec hanges.
X Pres sthe u and^ button satthesame
time.
The new departur etimeiss tored.
Activating th eset departure time
X Briefly pres sthe u button.
X Pres sthe , or. button repeatedly
until th edesired departur etimea ppear son
th ed isplay.
X Pres sthe u button.
The Ísymbol, th edepartur etimea nd,
dependin gontheselecte ddepartur etime,
th el etter A, BorCappear sonthedisplay.
Deactivatin gthe set departure time
X Briefly pres sthe u button.
The status of th eauxiliary heating is show non
th ed isplay.
X Pres sthe . button.
The first departur etim es toreda ppear sonthe
display.
X Pres sthe ^ button.
OFF is show nontheremot econtrol display. Replacing th
ebatterie sinthe remote
control Importan
tsafety notes G
WARNING
Batterie scontain toxic and corrosive substan-
ces. If batterie sare swallowed,itc an result in
severe health problems. There is arisk of fatal
injury.
Keep batterie sout of the reach of children. If
ab attery is swallowed,s eek medical attention
immediately. H
Environmental note Batteries contain pollutants.
It is illegal to dispose of them
with the household rubbish.
They must be collected sep-
arately and disposed of in anenvironmentall yresponsible
recycling system. Dispose of batteries in an
environmentall
yresponsible
manner. Take discharged
batteries to aquali fied spe-
cialist workshop or to acol-
lectio npoint for used batter-
ies.
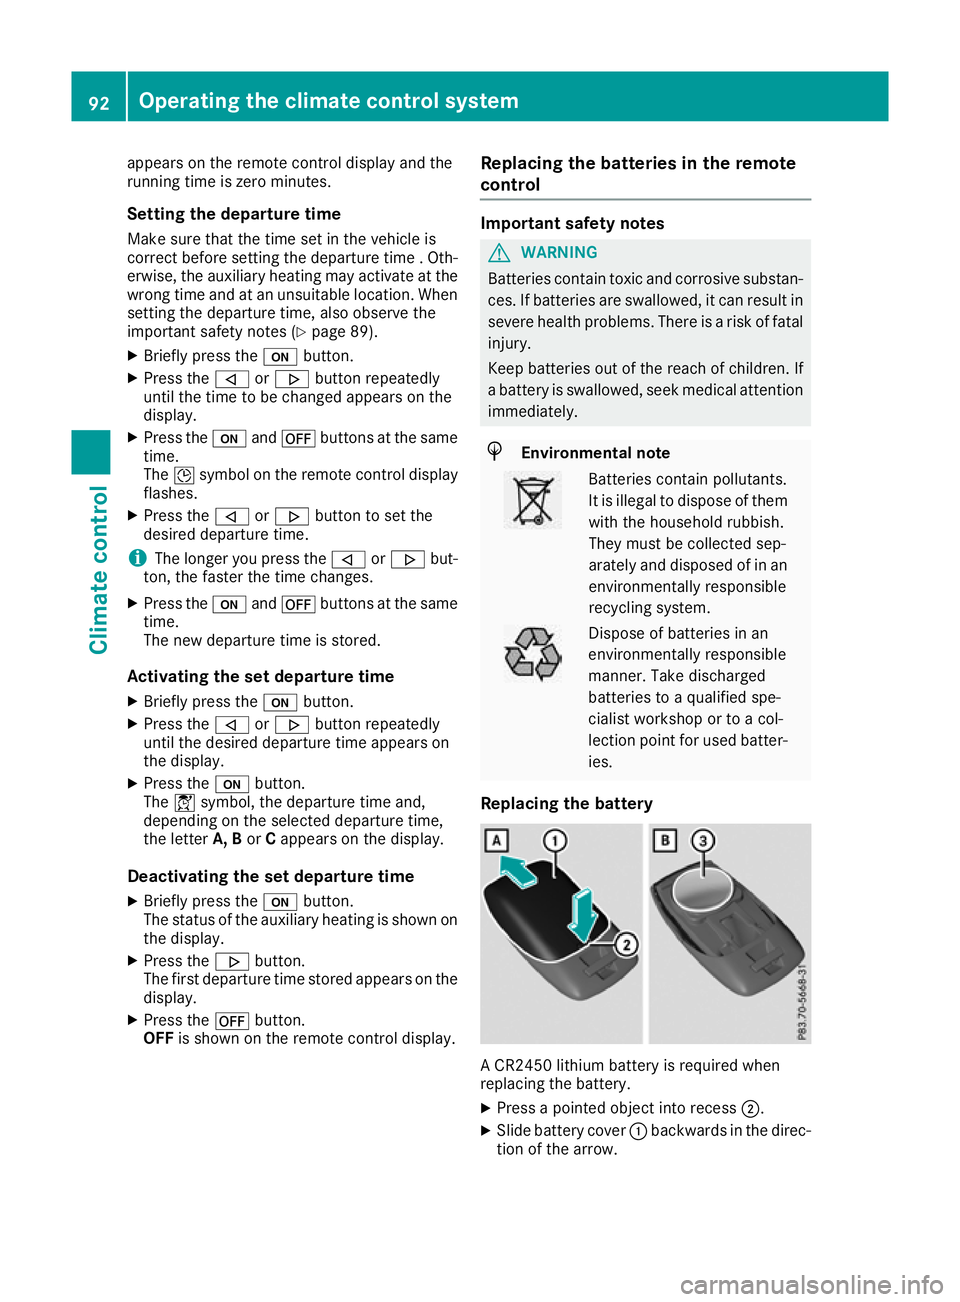
Replacin gthe battery AC
R2450 lithium battery is required when
replacing the battery.
X Press apointe dobject into recess ;.
X Slide battery cover :backwards in the direc-
tio noft he arrow. 92
Operatin
gthe climat econtrol systemClimat econt rol
Page 96 of 261
X
Insert new battery =with the lettering facing
upwards. X
Slide battery cover :onto the remote con-
trol in the opposite direction to the arrow until it engages.
X Use the remote control to check the vehicle's
auxiliary heating functions.
Problems with the auxiliary heating/ventilation Problem
Possible causes/con
sequences andM
MSolutions FAIL
¨ The signal transmission between the transmitter and the vehicle is
faulty.
X
Change your position in relation to the vehicle, moving closer if
necessary. FAIL The auxiliary heating or auxiliary ventilation cannot be switched on or
has switched itself off.
The starter battery is not sufficiently charged.
X Charge the starter battery. The fuel level has dropped into the reserve range.
X Refuel at the nearest filling station. The auxiliary heating or auxiliary ventilation is faulty.
X Have the auxiliary heating or auxiliary ventilation checked at a
qualified specialist workshop. The auxiliary heating or auxiliary ventilation was started more than
twice when the engine was switched off.
X Switch on the engine and let it run for more than 10 seconds. The battery symbol on
the left of the remote
control display is shown
as empty. The remote control battery is discharged.
X Replace the remote control battery (Y page 92).Air ven
ts Important safety notes
G
WARNING
Very ho torvery cold air can flow from the air
vents. This coul dresult in burns or frostbite in
the immediate vicinity of the air vents. There
is ar isk of injury.
Make sure that all vehicl eoccupants always
maintai nasufficient distance to the air out-
lets. If necessary, redirect the airflow to
another area of the vehicl einterior. In order to ensure the direct flow of fresh air
through the air vents into the vehicle interior,
please observe the following notes:
R keep the air inlet betwee nthe windscree nand
the bonnet free of blockages, such as ice,
snow or leaves
R never cover the vents or ventilation grilles in
the vehicle interior
i For virtually draught-free ventilation, adjust
the sliders of the air vents to the centre posi- tion.
i If the automatic climate control regularly
deviates from the selected temperature or is Airv
ents
93Climatecont rol Z
Page 111 of 261
Problems with the automatic transmission
Problem
Possible causes/consequences and
M
MSolutions The transmission has
problems shifting gear. The transmission is losing oil.
X Have the transmission checked at aqualified specialist workshop
immediately. The acceleration ability
is deteriorating.
The transmission no lon-
ger shifts gear. The transmission is in emergenc
ymode.
It is possible to shift to secondgear and reverse gear only.
X Stop.
X Shift the transmission to position P.
X Turn the key to position gin the ignition lock.
X Wait at least ten seconds before restarting the engine.
X Shift the transmission to position Dor R.
If D is selected, the transmission shifts to secondgear; ifRis
selected, the transmission shifts to reverse gear.
X Have the transmission checked at aqualified specialist workshop
immediately. Aw
arning tone sounds. Yo
uh ave:
R switched off the engine
R opene dthe driver's door
R not shifted the selector lever to position P
X Shif tthe selector lever to position P.Refuelling
Important safety notes
G
WARNING
Fue lish ighly flammable.Ify ou handlefuel
incorrectly ,there is arisk of fire and explo-
sion.
You must avoi dfire, naked flames, creating
sparks and smoking. Switch off the engine
and, if applicable,t he auxiliary heating before
refuelling. G
WARNING
Fuel sare poisonous and hazardous to health.
There is adange rofinjury.
Do not swallowf uel or let it come into contact
with skin, eyesorc lothing. Do not inhal efuel
vapours. Keep fuel sout of the reach of chil-
dren. If you or others come into contact with fuel,
observe the following:
R Wash the fuel off any affected area sofskin
with water and soap immediately.
R If you get fuel in youre yes,rinse them thor-
oughlyw ith clean water immediately.S eek
immediate medica lattention.
R If fuel is swallowed, seek immediate medi-
cal attention. Do not induce vomiting.
R Change any clothing that has come into
contact with fuel immediately. G
WARNING
Electrostatic charge can cause sparks and
thereby ignite fuel vapours. There is arisk of
fire and explosion.
Always touch the vehicl ebody before opening
the fuel filler flap or touching the fuel pump 108
RefuellingDrivinga
nd parking
Page 120 of 261
Alway
sreplace al lbrake discs and brake pads/
lining sonana xleatt he same time .Alway sfit
new brake pads/lining swhenr eplacing brake
discs.
The vehicl eisequippe dwithl ightweight brake
discs to which the whee lassembl ywithr im and
threaded connectio nism atched.
The us eofbrake discs othe rtha nt hose
approved by Mercedes-Benz ma yalter track
width and is subject to approval, if applicable.
Whe nhandling the brake discs, shock-type
load ssuchast hoseexperience dwhenc hanging
wheels ,can lead to areduction in comfort when
driving with lightweight brake discs. Avoid
shock-typ eloads on the lightweight brake discs,
particularly on the brake plate. Driving on slippe
rysurfaces
! Where possible, avoid spinnin
gthe drive
wheels when pulling away on slipper yroads.
You could otherwise damage th edrive train.
Thi stypeofd amage is no tcovered by the
term soft heMercedes-Ben zwarranty.
X Engage th edifferential locks if necessary
(Y page 126). Drivin
gonw et roads
Aquaplaning If wate
rhas accumulated to acertain depth on
the road surface, there is adanger of aquaplan-
ing occurring, even if:
R you are driving at low speeds
R the tyres have adequate tread depth
For this reason, drive in the following manner in the event of heavy rain or in conditions in which
aquaplaning can occur:
R lowery ours peed
R avoid tyre ruts
R avoid sudden steering movements
R brake carefully
Drivin gonflooded roads !
Bear in mind that vehicles travelling in front
or in the opposite direction create waves. This may cause the maximum permissibl ewater
depth to be exceeded. These notes must be observed under all cir-
cumstances. You could otherwise damage
the engine, the electronics or the transmis-
sion.
If you must drive on stretches of road on which
water has collected, please bear in mind that:
R in the case of standing water, the water level
must be no higher than the lower edge of the
vehicle body
R you should drive no faster than walking pace
Off-road fording !
Under no circumstances should you accel-
erate before entering the water. The bow
wave could cause water to enter and damage
the engine and neighbouring assemblies.
! Do not open any of the vehicle's doors while
fording. Otherwise, water could get into the
vehicle interior and damage the vehicle's
electronics and interior equipment.
i You may only drive through fresh water.
R Observe the safety notes (Y page 119) and
general notes (Y page 119) on driving off-
road
R Establish how deep the water is and the char-
acteristics of the body of water before fording
R Switch off automatic climate control
R Vehicles with auxiliary heating/ventila-
tion: switch the auxiliary heating/ventilation
off
R Shift the transfer case to the LOW RANGE
off-road driving position (Y page 124)
R Engage the differential locks if necessary
(Y page 119)
R Avoid high engine speeds
R Enter and exit the water at aflat place and at
as teady walking pace
R Drive slowly and at aconstant speed through
the water
R Ensure that abow wave does not form as you
drive
R Do not stop and do not switch off the engine.
Water offers ahigh degree of resistance, the
ground is slippery and, in some cases, unsta- ble. Therefore, it is difficult and dangerous to pull awayinw ater
R Cleana ny mud from the tyre tread after ford-
ing
R Apply the brakes to dry them after fording Driving tips
117Driving and parking Z
Page 121 of 261
Alway
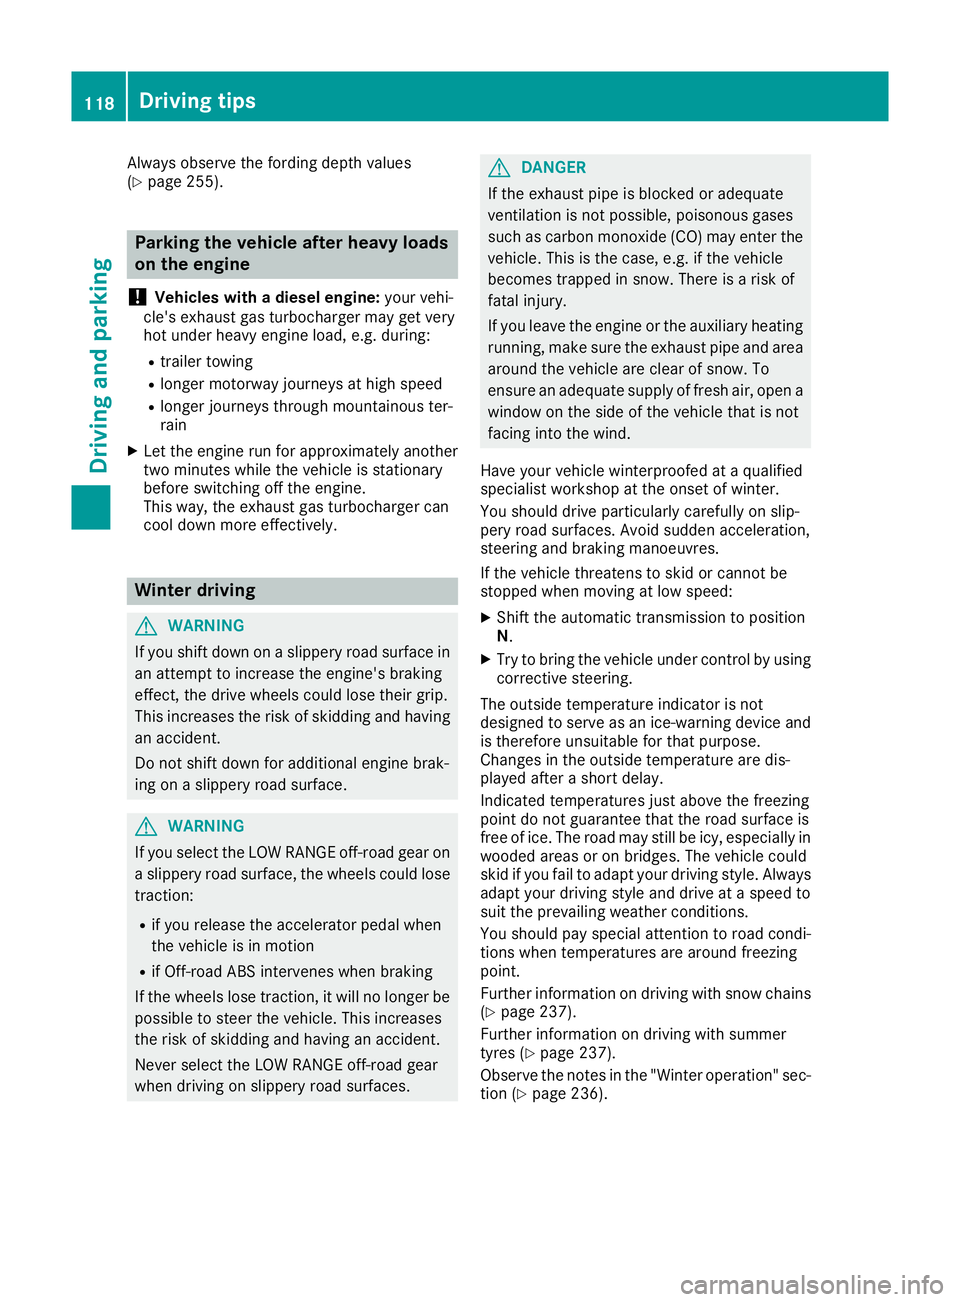
sobserve the fording depth values
(Y page 255). Parkin
gthe vehicle after heavy loads
on the engine
! Vehicles with
adiesel engine: your vehi-
cle's exhaust gas turbocharger may get very
hot under heavy engine load, e.g. during:
R trailer towing
R longer motorway journeys at high speed
R longer journeys through mountainous ter-
rain
X Let the engine run for approximately another
two minutes while the vehicle is stationary
before switching off the engine.
This way, the exhaust gas turbocharger can
cool down more effectively. Winte
rdriving G
WARNING
If you shift dow nonaslippery road surface in
an attempt to increas ethe engine's braking
effect, the drive wheels coul dlose their grip.
This increases the risk of skidding and having
an accident.
Do not shift downf or additionalengine brak-
ing on aslippery road surface. G
WARNING
If you select the LOW RANGE off-road gearon as lippery road surface, the wheels coul dlose
traction:
R if you release the accelerator peda lwhen
the vehicl eisinmotion
R if Off-road ABS intervenes when braking
If the wheels lose traction, it willnol onger be
possible to steer the vehicle. This increases
the risk of skidding and having an accident.
Never select the LOW RANGE off-road gear
when driving on slippery road surfaces. G
DANGER
If the exhaus tpipe is blocke doradequate
ventilation is no tpossible, poisonous gases
suc hasc arbon monoxide (CO) may ente rthe
vehicle. This is th ecase, e.g. if th evehicle
become strapped in snow. There is ariskof
fatal injury.
If you leav ethe engin eortheauxiliary heating
running, mak esuret he exhaust pipe and area
around th evehicl eare clear of snow. To
ensur eana dequate supply of fresh air, open a
window on th eside of th evehicl ethatisn ot
facing int othe wind.
Hav eyour vehicl ewinterproofed at aqualified
specialist workshop at th eonset of winter.
You should drive particularly carefully on slip-
per yroads urfaces. Avoid sudden acceleration,
steering and braking manoeuvres.
If th evehicl ethreaten stoskidorc annotbe
stoppe dwhen moving at low speed:
X Shift th eautomatic transmission to position
N.
X Try to bring th evehicl eunder control by using
corrective steering.
The outside temperature indicator is not
designed to serve as an ice-warning device and
is therefor eunsuitable for that purpose.
Changes in th eoutside temperature are dis-
played after ashort delay.
Indicate dtem peratures jus tabov ethe freezing
poin tdon otguarantee that th eroads urfac eis
free of ice .The roa dmay still be icy, especially in
wooded area soronbridges.The vehicl ecould
skid if you fail to adapt your drivin gstyle. Always
adapt your drivin gstyle and drive at aspeed to
suit th eprevailing weather conditions.
You should pay special attention to roa dcondi-
tion swhen temperatures are around freezing
point.
Further information on drivin gwiths nowc hains
(Y page 237).
Further information on drivin gwiths ummer
tyres (Y page 237).
Observ ethe note sint he"Winte roperation "sec-
tion (Y page 236). 118
Driving tipsDriving and parking
Page 140 of 261
X
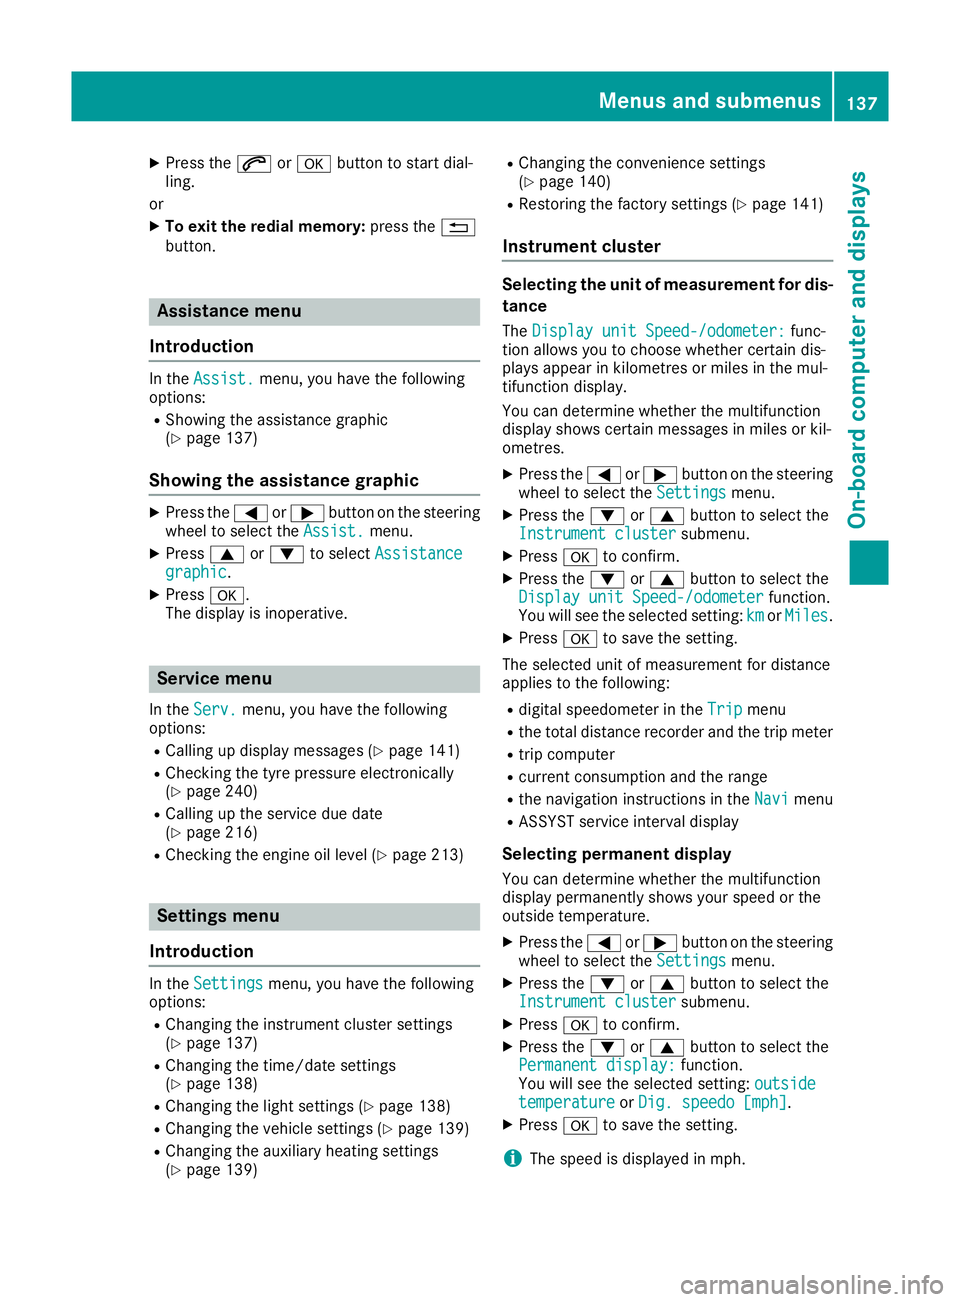
Press the 6ora button to start dial-
ling.
or X To exit the redial memory: press the%
button. Assistance menu
Introduction In the
Assist.
Assist. menu, you have the following
options:
R Showin gthe assistance graphic
(Y page 137)
Showing the assistanc egraphic X
Press the =or; button on the steering
wheel to select the Assist.
Assist. menu.
X Press 9or: to select Assistance
Assistance
graphic
graphic.
X Press a.
The displa yisinoperative. Service menu
In the Serv.
Serv. menu, you have the following
options:
R Calling up display messages (Y page 141)
R Checking the tyre pressure electronically
(Y page 240)
R Calling up the service due date
(Y page 216)
R Checking the engine oil level (Y page 213)Settings menu
Introduction In the
Settings
Settings menu, you have the following
options:
R Changing the instrument cluster settings
(Y page 137)
R Changing the time/date settings
(Y page 138)
R Changing the light settings (Y page 138)
R Changing the vehicle settings (Y page 139)
R Changing the auxiliary heating settings
(Y page 139) R
Changing the convenience settings
(Y pag e140)
R Restorin gthe factory settings (Y page 141)
Instrumen tcluster Selecting the uni
tofmeasurement for dis-
tance
The Display unit Speed-/odometer: Display unit Speed-/odometer: func-
tion allowsy ou to choose whether certain dis-
playsa ppear in kilometres or miles in the mul-
tifunction display.
You can determine whether the multifunction
display shows certain messages in miles or kil-
ometres.
X Press the =or; button on the steering
wheel to select the Settings Settingsmenu.
X Press the :or9 button to select the
Instrument cluster
Instrument cluster submenu.
X Press ato confirm.
X Press the :or9 button to select the
Display unit Speed-/odometer
Display unit Speed-/odometer function.
You will see the selected setting: km
kmorMiles
Miles.
X Press ato save the setting.
The selected unit of measurement for distance
applies to the following:
R digital speedometer in the Trip Tripmenu
R the total distance recorder and the trip meter
R trip computer
R current consumption and the range
R the navigation instruction sintheNavi
Navi menu
R ASSYST service interval display
Selecting permanent display You can determine whether the multifunction
displayp ermanently shows your speed or the
outside temperature.
X Press the =or; button on the steering
wheel to select the Settings
Settingsmenu.
X Press the :or9 button to select the
Instrument cluster
Instrument cluster submenu.
X Press ato confirm.
X Press the :or9 button to select the
Permanent display:
Permanent display: function.
You will see the selected setting: outside
outside
temperature
temperature orDig. speedo [mph]
Dig. speedo [mph].
X Press ato save the setting.
i The speed is displayed in mph. Menus and submenus
137On-boardcomputer and displays Z
Page 142 of 261
i
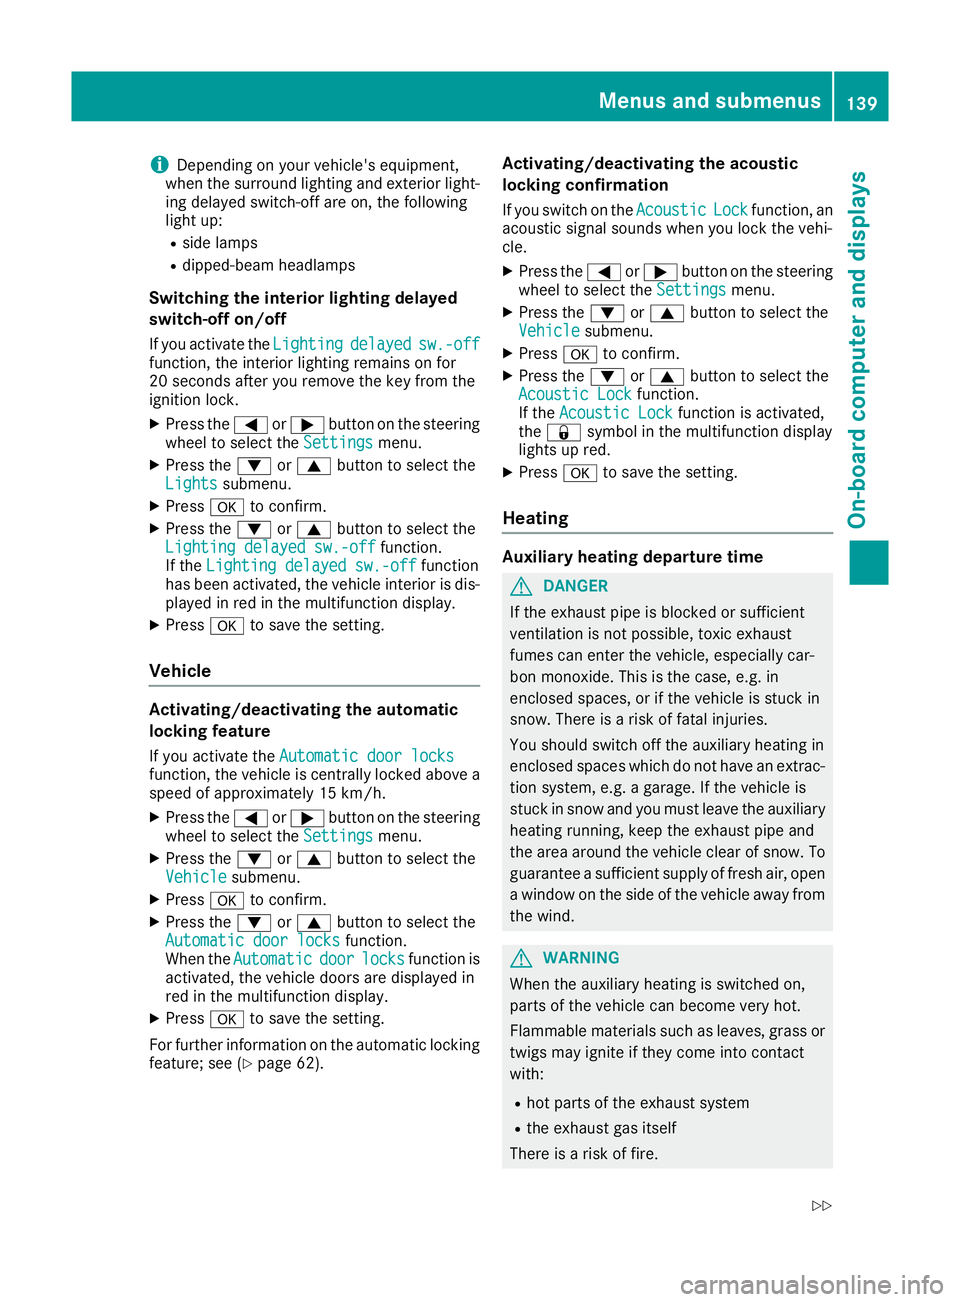
Depending on your vehicle's equipment,
when the surround lighting and exterio rlight-
ing delaye dswitch-off ar eon, the following
light up:
R side lamps
R dipped-beam headlamps
Switchin gthe interior lighting delayed
switch-off on/off
If yo uactivate the Lighting
Lighting delayed
delayedsw.-off
sw.-off
function, the interio rlighting remains on for
20 second safter yo uremove the key fro mthe
ignition lock.
X Press the =or; button on the steering
whee ltoselect theSettings
Settings menu.
X Press the :or9 button to select the
Lights
Lights submenu.
X Press ato confirm.
X Press the :or9 button to select the
Lighting delaye dsw.-off
Lighting delayed sw.-off function.
If the Lighting delayed sw.-off
Lighting delayed sw.-off function
has been activated, the vehicle interior is dis-
played in red in the multifunction display.
X Press ato save the setting.
Vehicle Activating/deactivating the automatic
locking feature
If you activate the Automatic door locks Automatic door locks
function, the vehicle is centrallyl ockedabov ea
spee dofa pproximately 15 km/h.
X Press the =or; buttononthesteering
whee ltos elect the Settings
Settings menu.
X Press the :or9 buttontos elect the
Vehicle
Vehicle submenu.
X Press ato confirm.
X Press the :or9 button to select the
Automatic doo rlocks
Automatic door locks function.
When the Automatic
Automatic door
doorlocks
locks function is
activated, the vehicle doors are displayed in
red in the multifunction display.
X Press ato save the setting.
For further information on the automatic locking
feature; see (Y page 62). Activating/deactivating the acoustic
locking confirmation
If you swi tchont heAcoustic Acoustic Lock
Lockfunction ,an
acoustic signal sounds when you loc kthe vehi-
cle.
X Press the =or; buttononthesteering
whee ltos elect the Settings
Settings menu.
X Press the :or9 buttontos elect the
Vehicle
Vehicle submenu.
X Press ato confirm.
X Press the :or9 button to select the
Acoustic Lock
Acoustic Lock function.
If the Acoustic Lock
Acoustic Lock function is activated,
the & symbol in the multifunctio ndisplay
lights up red.
X Press ato save the setting.
Heating Auxiliary heating departure time
G
DAN
GER
If th eexhaust pipe is blocke dorsufficient
ventilation is no tpossible, toxic exhaust
fumes can ente rthe vehicle, especially car-
bon monoxide. This is th ecase, e.g. in
enclosed spaces, or if th evehicl eiss tuck in
snow. There is ariskoff atal injuries.
You should switch off th eauxiliary heating in
enclosed spaces whic hdonothav eane xtrac-
tion system, e.g. agarage. If th evehicl eis
stuck in snow and you mus tleav ethe auxiliary
heating running, keep th eexhaust pipe and
th ea rea around th evehicl eclear of snow. To
guarantee asufficien tsupply of fresh air, open
aw indow on th eside of th evehicl eaway from
th ew ind. G
WARNING
When th eauxiliary heating is switched on,
parts of the vehicl ecan become very hot.
Flammable materials such as leaves, grass or twigs may ignite if they come into contact
with:
R hot parts of the exhaust system
R the exhaust gas itself
There is arisk of fire. Menus and submenus
139On-boardcomputer and displays
Z
Page 143 of 261
When the auxiliary heating is switched on,
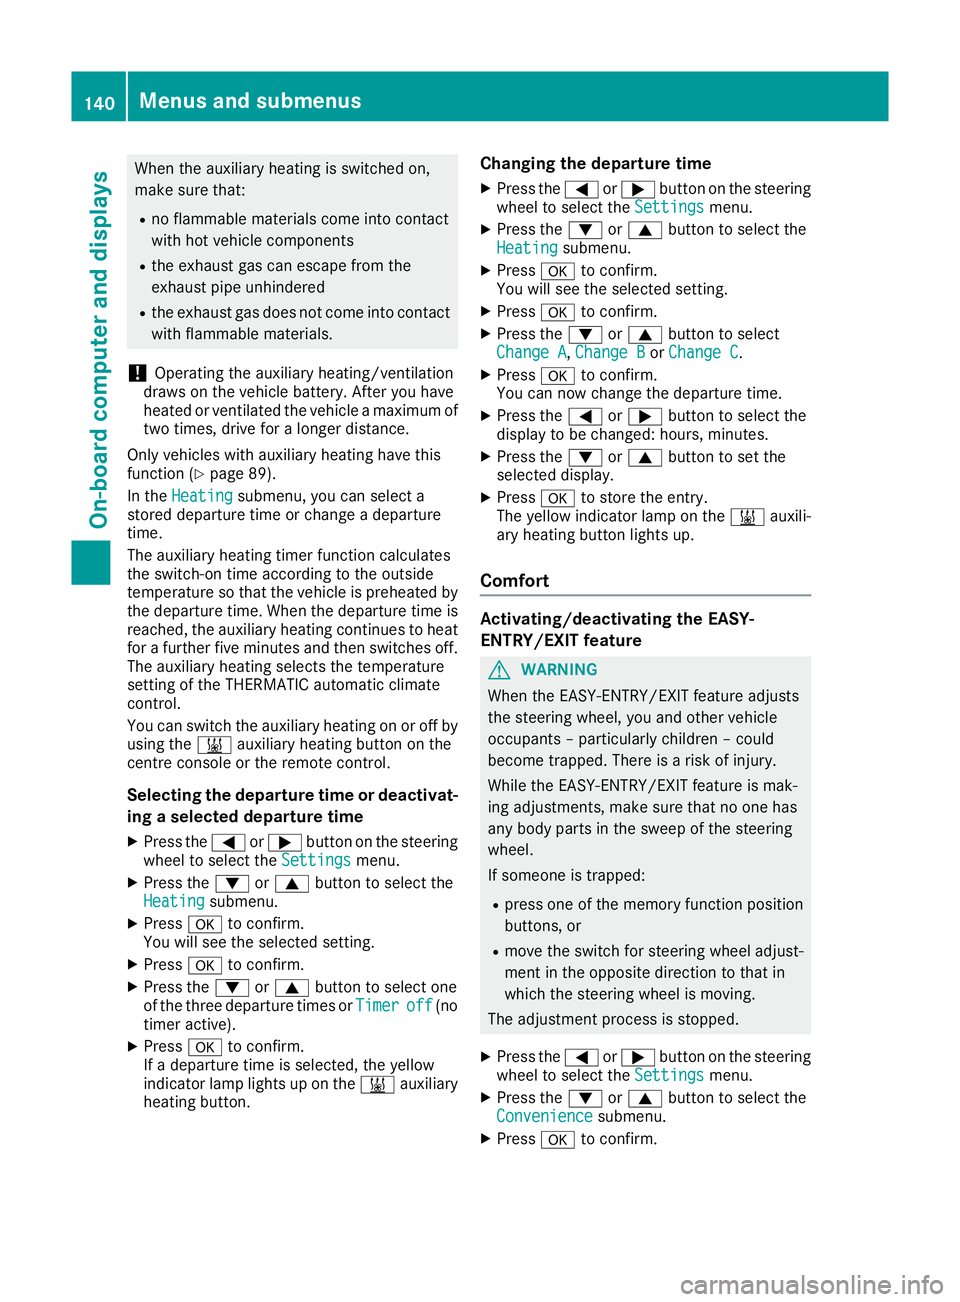
make sure that:
R no flammable materials come into contact
with hot vehicle components
R the exhaust gas can escape from the
exhaust pipe unhindered
R the exhaust gas does not come into contact
with flammable materials.
! Operatin
gthe auxiliary heating/ventilation
draws on the vehicle battery. After you have
heated or ventilated the vehicle amaximum of
two times, drive for alonger distance.
Only vehicles with auxiliary heating have this
function (Y page 89).
In the Heating Heating submenu, you can select a
stored departure time or change adeparture
time.
The auxiliary heating timer function calculates
the switch-on time accordin gtothe outside
temperature so that the vehicle is preheated by the departure time. When the departure time isreached, the auxiliary heating continues to heat for afurther five minutes and then switches off.
The auxiliary heating selects the temperature
setting of the THERMATIC automatic climate
control.
You can switch the auxiliary heating on or off by
using the &auxiliary heating button on the
centre console or the remot econtrol.
Selecting the departure time or deactivat- ing aselected departure time
X Press the =or; button on the steering
wheel to select the Settings Settingsmenu.
X Press the :or9 button to select the
Heating
Heating submenu.
X Press ato confirm.
You will see the selected setting.
X Press ato confirm.
X Press the :or9 button to select one
of the three departur etimes or Timer
Timeroff
off(no
timer active).
X Press ato confirm.
If ad eparture time is selected, the yellow
indicator lamp lights up on the &auxiliary
heating button. Changing the departure time
X
Press the =or; buttonont hesteering
wheel to selec tthe Settings Settings menu.
X Pres sthe : or9 button to selec tthe
Heating
Heating submenu.
X Press ato confirm.
Yo uw ill see the selected setting.
X Press ato confirm.
X Press the :or9 button to select
Change A Change A, Change B
Change BorChange C
Change C.
X Press ato confirm.
You can now change the departure time.
X Press the =or; button to select the
displaytobec hanged: hours, minutes.
X Press the :or9 button to set the
selected display.
X Press ato store the entry.
The yellow indicator lamp on the &auxili-
ary heating button lights up.
Comfort Activating/deactivating the EASY-
ENTRY/EXIT feature
G
WARNING
When the EASY-ENTRY/EXI Tfeature adjusts
the steering wheel, you and other vehicle
occupants –particularl ychildren –could
become trapped. There is arisk of injury.
Whil ethe EASY-ENTRY/EXIT feature is mak-
ing adjustments, make sure that no one has
any body parts in the swee pofthe steering
wheel.
If someone is trapped:
R press one of the memory function position
buttons, or
R move the switch for steering whee ladjust-
ment in the opposite direction to that in
which the steering whee lismoving.
The adjustment process is stopped.
X Press the =or; button on the steering
whee ltoselect the Settings Settings menu.
X Press the :or9 button to select the
Convenience
Convenience submenu.
X Press ato confirm. 140
Menu
sand submenusOn-boar dcomputer and displays