Page 342 of 557
They could be swallo
wed and lead tochok‐
ing. #
Keep SD cards out of there ach of chil‐
dren. #
Seek medical attention immediately if
an SD card has been swallo wed. *
NO
TEDama gecaused byhigh temp era‐
tures High
temp eratures can damage the SD mem‐
ory card. #
Remo vethe SD memory card af ter use
and take it out of theve hicle. Multimedia sy
stem:
, Media .
à Devices .
Memory card
Inserting
The multimedia connection unit is located in the
stow age compartment under the armrest. #
Insert the SD memory card into the SD card
slot until it engages. The side with the con‐
ta cts must face down wards.
Pla yable music files are pla yed bac k.
Re moving #
Press the SD card. #
Remo vethe SD card. Multimedia sy
stem 339
Page 344 of 557

Connecting USB devices
* NO
TEDama gecaused byhigh temp era‐
tures High
temp eratures can damage USB devices. #
Remo vethe USB device af ter use and
ta ke it out of theve hicle. The multimedia connection unit is
found in the
stow age compartment under the armrest and
has two USB ports. Depending on theve hicle's
equipment, additional USB ports may be found
in thestow age compartment of the cent recon‐
sole or rear folding compartment. #
Connect the USB device tothe USB port.
Pla yable music files are pla yed back only if
th e cor responding media display is activated.
% Use the USB port identified byç touse
Apple CarPlay™ and Android Auto™. Selecting a track
Multimedia sy
stem:
, Media
Vi ath e skip function #
Toskip backwards or forw ards toa track:
navigate up or down.
Vi ath e cur rent track list #
Select è. #
Select Current track list. #
Select a tra ck.
Selecting playback options
Multimedia sy stem:
, Media .
Z Options
Playing back similar trac ks #
Select Play similar tracks.
A track li stwith similar trac ksis created and
pla yed bac k.
Playback mode #
Select Play mode. #
Select Normal track sequence.
The cur rent track li stis pla yed in the order it
appears on the data storage medium. #
Select Random playback of the current track
list.
The cur rent track li stis pla yed in random
orde r. #
Select Random playback of the current
medium.
All trac kson the active data storage medium
are pla yed in random orde r.
% The available playback options depend on
th e connected media source.
Pa use and playback function
Multimedia sy stem:
, Media #
Press theto uchpad. #
Topause playback: select Ë. #
Tocontinue playba ck:select Ì.
Fa st forw ard/r ewind #
Press theto uchpad. #
Slide the controller tothe left or right 1. Multimedia sy
stem 341
Page 347 of 557

Ac
tivating/deactivating full-screen mode
Multimedia sy stem:
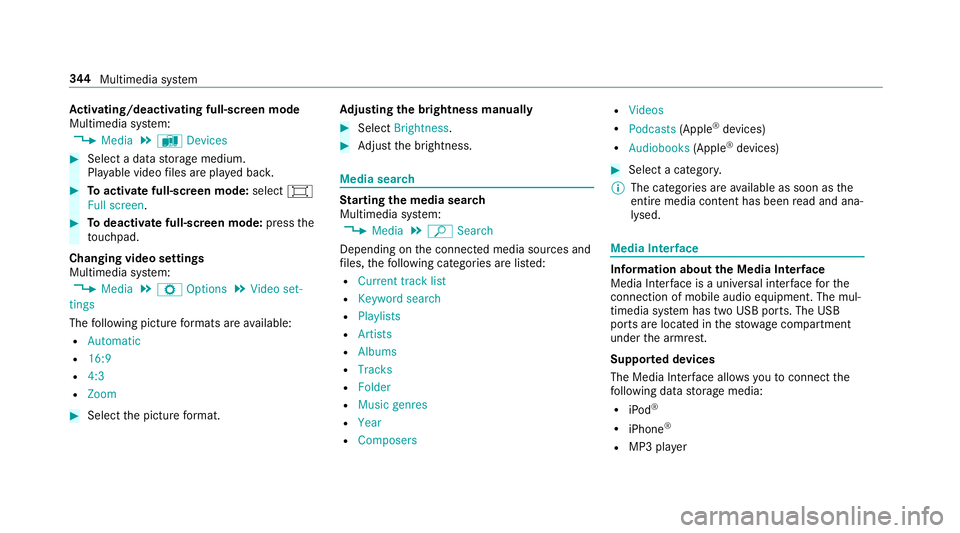
, Media .
à Devices #
Select a data storage medium.
Pla yable video files are pla yed bac k. #
Toactivate full-screen mode: select#
Full screen. #
Todeactivate full-sc reen mode: pressthe
to uchpad.
Changing video settings
Multimedia sy stem:
, Media .
Z Options .
Video set-
tings
The following picture form ats are available:
R Automatic
R 16:9
R 4:3
R Zoom #
Select the picture form at. Ad
justing the brightness manually #
Select Brightness . #
Adjust the brightness. Media sear
ch St
arting the media sear ch
Multimedia sy stem:
, Media .
ª Search
Depending on the connected media sources and
fi les, thefo llowing categories are lis ted:
R Current track list
R Keyword search
R Playlists
R Artists
R Albums
R Tracks
R Folder
R Music genres
R Year
R Composers R
Videos
R Podcasts (Apple®
devices)
R Audiobooks (Apple®
devices) #
Select a categor y.
% The categories are available as soon as the
entire media conte nt has beenread and ana‐
lysed. Media
Interface Information about
the Media Inter face
Media In terface is a universal inter face forthe
connection of mobile audio equipment. The mul‐
timedia sy stem has two USB ports. The USB
ports are located in thestow age compartment
under the armrest.
Suppor ted devices
The Media Inter face allo wsyouto connect the
fo llowing data storage media:
R iPod ®
R iPhone ®
R MP3 pla yer 344
Multimedia sy stem
Page 374 of 557

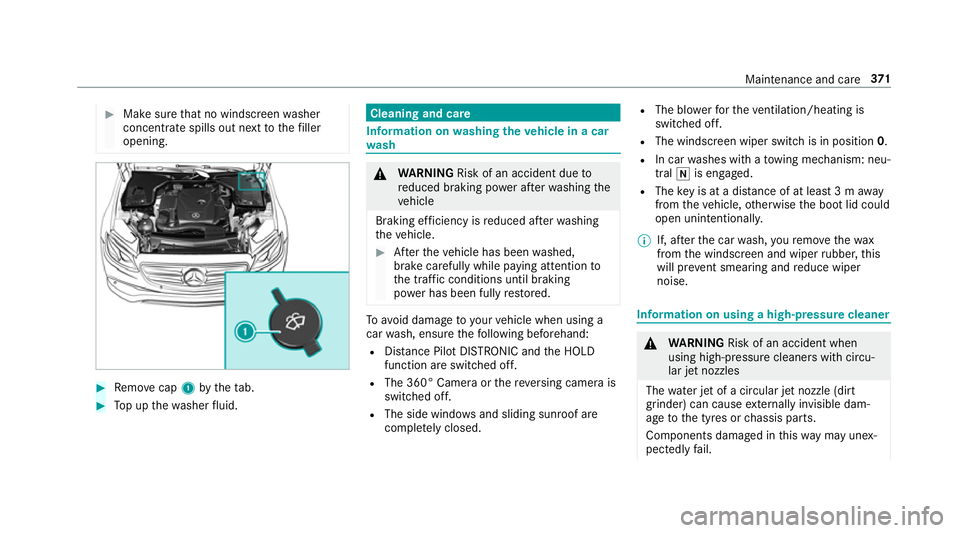
#
Make sure that no windsc reen washer
concentrate spills out next tothefiller
opening. #
Remo vecap 1bytheta b. #
Top up thewa sher fluid. Cleaning and care
Information on
washing theve hicle in a car
wa sh &
WARNING Risk of an accident due to
re duced braking po wer af terwa shing the
ve hicle
Braking ef ficiency is reduced af terwa shing
th eve hicle. #
Afterth eve hicle has been washed,
brake carefully while paying attention to
th e traf fic conditions until braking
po we r has been fully restored. To
avo id damage to yourvehicle when using a
car wash, ensure thefo llowing beforehand:
R Distance Pilot DISTRONIC and the HOLD
function are switched off.
R The 360° Camera or there ve rsing camera is
switched off.
R The side windo wsand sliding sun roof are
comple tely closed. R
The bl owerforth eve ntilation/heating is
switched off.
R The windsc reen wiper switch is in position 0.
R In car washes with a towing mechanism: neu‐
tral iis engaged.
R The key is at a dis tance of at least 3 m away
from theve hicle, otherwise the boot lid could
open unintentionall y.
% If, af terth e car wash, youre mo vethewax
from the windscreen and wiper rubber, this
will pr event smearing and reduce wiper
noise. Information on using a high-p
ressure cleaner &
WARNING Risk of an accident when
using high-pressure cleane rswith circu‐
lar jet nozzles
The wate r jet of a circular jet nozzle (dirt
grinder) can cause extern ally invisible dam‐
age tothe tyres or chassis parts.
Components damaged in this wa y may unex‐
pec tedly fail. Maintenance and care
371
Page 375 of 557

#
Do not use high-pressure cleane rswith
circular jet nozzles toclean theve hicle. #
Have damaged tyres or chassis parts
re placed immediatel y.To
avo id damage to yourvehicle, obser vethefo l‐
lowing when using a high-pressure cleaner:
R Keep theke y at least 3 m away from the
ve hicle. Otherwise the boot lid could open
unintentionall y.
R Maintain a dis tance of at least 30 cm tothe
ve hicle.
R Vehicles with deco rative foil: parts of your
ve hicle are co vered with a decorative foil. Maintain a dis
tance of at least 70 cm
between thefo il-c ove red parts of theve hicle
and the nozzle of the high pressure cleaner.
Mo vethe high-pressure cleaner nozzle
around whilst cleaning.
R Obser vethe information on the cor rect dis‐
ta nce in the equipment manufacturer's oper‐
ating instructions.
R Do not point the nozzle of the high-pressure
cleaner directly at sensitive parts such as
tyres, slits, electrical component parts, bat‐
te ries, light sources and ventilation sl ots. Wa
shing theve hicle byhand Obser
vethe legal requ irements, e.g. in some
countries, washing byhand is only allo wed at
specially equipped washing ba ys. #
Use a mild cleaning agent, such as a car
shampoo. #
Washtheve hicle with luk ewarmwate r using
a soft car sponge. When doing so, do not
ex pose theve hicle todirect sunlight. #
Carefully hose theve hicle off with water and
dry using a chamois. Take care not topoint
th ewate r jet directly towa rdsth e air inlet
grille. 372
Maintenance and care
Page 382 of 557
Emer
gency Re
moving the saf etyve st The saf
etyve sts are located in the saf etyve st
compa rtments in the driver's and front
passenger door stowage compartments. #
Toremo ve:pull out sa fety vest bag 1by
loop 2. #
Open saf etyve st bag 1and pull out the
saf etyve st.
% There are also saf etyve st compa rtments in
th ere ar door stowage compartments in
which saf etyve sts can be stowed. 1
Maximum number of washes
2 Maximum wash temp erature
3 Do not bleach
4 Do not iron
5 Do not use a laundry dr yer
6 Do not dr y-clean
7 This is a class 2 vest The
requ irements defined bythe legal standard
are on ly fulfilled if the saf etyve st isthe cor rect
size and is fully closed.
Re place the saf etyve st if:
R it is damaged or dirt on there flective strips
can no longer be remo ved
R the maximum number of washes is exceeded
R thefluorescence of the saf etyve st has faded Breakdown assis
tance 37 9
Page 383 of 557
Wa
rning triangle Re
moving the warning triangle #
Toremo ve:push bo thsides of warning trian‐
gl e holder 1inthe direction of the ar row
and open it. #
Remo ve wa rning triangle 2. Setting up
thewa rning triangle #
Fold side reflectors 1upwards toform a tri‐
angle and attach at theto p using press stud
2. #
Fold legs 3down and out tothe side. Fi
rs t-aid kit (soft sided) Fir
st-aid kit (so ftsided) 1is in the boot in the
left-hand stowage net. 380
Breakdown assis tance
Page 389 of 557

If, af
terte n minutes, a tyre pressure of
200 kPa (2.0 bar/29 psi) has been achie ved: &
WARNING Risk of accident from driving
wi th sealed tyres
A tyre temp orarily sealed with tyre sealant
impairs handling characteristics and is not
suitable for higher speeds. #
Adapt your driving style according lyand
drive carefull y. #
Do not exceed the specified maximum
speed with a tyre that has been sealed
using tyre sealant. #
Obse rveth e maximum permissible speed for
a tyre sealed with tyre sealant 80 km/h. #
Affix th e upper section of the TIREFIT sticker
to the instrument clus ter where it will be eas‐
ily seen bythe driver.
* NO
TEStaining from leaking tyre sealant Af
ter use, excess tyre sealant may leak out
from thefilling hose. #
Therefore, place thefilling hose in the
plastic bag that con tained the TIREFIT
kit. +
ENVIRONMEN
TALNO TEEnvironmental
pollution caused byenvironmen tally ir re‐
sponsible disposal Ty
re sealant contains polluta nts. #
Have the tyre sealant bottle disposed of
professionall y,e.g. at a Mercedes-Benz
service cent re. #
Switch off the tyre inflation compressor. #
Unscr ew thefilling hose from theva lve of the
defective tyre. #
Stow th e tyre sealant bottle, the tyre inflation
compressor and thewa rning triangle. #
Pull away immediatel y. #
Stop af ter driving for appro ximately ten
minutes and check the tyre pressure using
th e tyre inflation compressor.
The tyre pressure must now be at least
13 0 kPa (1.3 bar/19 psi). &
WARNING Risk of accident due tothe
specified tyre pressure not being ach‐
ie ved
If th e specified tyre pressure is not achie ved
af te r a brief drive, the tyre is too badly dam‐
aged. The tyre sealant cannot repair the tyre
in this ins tance.
Dama ged tyres and a tyre pressure that is
to o low can significantly impair braking and
handling characteristics. #
Do not drive on. #
Consult a qualified specialist workshop. Countries
that ha veMercedes-Benz
Service24h: ast icke r with the phone number
can also be found in your vehicle, e.g. on the
B‑pillar on the driver's side. #
Cor rect the tyre pressure if it is still at least
13 0 kPa (1.3 bar/19 psi). See the tyre pres‐
sure table on the fuel filler flap forva lues. #
Toincrease the ty repressure: switch on
th e tyre inflation compressor. 386
Breakdown assis tance