Page 89 of 322

Opening/closing using the SmartKey
Important safety notes
GWARNING
When opening or closing the soft top, there is a risk that parts of the body could become
trapped by moving parts such as the roof
mechanism, the trunk lid, or the side win-
dows. There is a risk of injury.
When opening or closing the roof, make sure
that no parts of the body are in the vicinity of
moving parts. Release the switch if somebody
becomes trapped.
Opening and closing
The SmartKey must be near the door handle.
XTo open: press the %button in the Smart-
Key until the soft top is completely opened.
The Convertible Top in Operation
mes-
sage appears in the multifunction display. The
seat ventilation is switched on. The rear side
windows open.
XTo close: press the&button in the Smart-
Key until the soft top is completely closed.
The Convertible Top in Operation
mes-
sage appears in the multifunction display. The soft top and the side windows close.
Closing the soft top manually
Important safety notes
GWARNING
Closing the soft top manually is a complex,
technically challenging procedure which can
also be physically demanding. You or others
can become trapped. There is a risk of injury.
Where possible, have the soft top closed man-
ually at a qualified specialist workshop.
If the soft top cannot be closed automatically,
check the following points:
Ris the trunk partition engaged (Ypage 91)?
Rare the head restraints on the rear bench
seats extended?
Ris the trunk lid closed?
Ris the on-board voltage sufficient?
Start the engine if necessary.
If automatic operation still does not work, the
soft top can be closed manually.
To carry out this work, you will need the assis-
tance of another person.
Closing the soft top
XApply the parking brake.
XOpen the side windows.
XLower the head restraints automatically
(Ypage 98) or manually (Ypage 98).
XRemove the SmartKey from the ignition lock.
XOpen the trunk.
XTake the two straps out of the vehicle tool kit
(Ypage 270).
XTake the hex-socket wrench out of the Oper-
ator's Manual wallet and keep it with you.
XTurn rotary catch :counter-clockwise and
fold cover ;down.
Soft top87
Opening and closing
Z
Page 90 of 322

XInsert Allen key=into valve screw ?on the
hydraulic pump.
XTurn valve screw ?of the hydraulic pump
with Allen key =counter-clockwise a full
turn.
XOn both sides of the trunk, tear paneling A
along the perforation in the direction of the
arrow.
XPull out catch Bas far as possible on both
sides and turn it counter-clockwise about a
quarter turn.
XMake sure catch Bis not drawn in again.
Otherwise, pull out catch Bagain as far as
possible and turn it counter-clockwise about
a quarter turn.
The soft-top compartment hinges are on the
right-hand and left-hand side in the gap between
the lid of the soft-top compartment and the
trunk seal.
XMove both levers Cof soft-top compartment
hinges forwards beyond the detent position
on both sides.
XOn both sides, pull the straps through behind the soft-top compartment hinges in the direc-
tion of the arrow D.
XRoute the straps through the created loops.
XPull the straps between the soft-top compart-
ment hinges and the soft-top compartment.
iDo not pull the straps as long as the trunk is
open.
88Soft top
Opening and closing
Page 91 of 322

XPlace strapsEon the soft-top compartment
lid.
iTake the hex-socket wrench and the Smart-
Key out of the trunk if necessary. You can only
access the trunk again once you have fully
closed the soft top manually.
XMake sure that catch Bis not pulled again.
Otherwise, pull out catch Bagain as far as
possible and turn it counter-clockwise about
a quarter turn.
XClose the trunk lid.
!The trunk lid must be closed for the next
steps. The soft top compartment cover could otherwise collide with the trunk lid.
XEach person takes a strap.
XPulling with force, simultaneously lift out the
cover of the soft-top compartment up and out
by the straps in the direction of the arrow.
GWARNING
If anywhere other than the indicated gripping
points is gripped, you or others can become
trapped or stuck. There is a risk of injury.
Take off jewelry and watches. Only hold the
indicated gripping points. Do not reach
between the cover halves and into the hinges.
XOne person stands on the right-hand side and
the other person on the left-hand side of the
vehicle.
XGrip the soft-top compartment with one hand
as illustrated.
XUse the other hand to support yourself on the
edge of the trunk lid as illustrated.
XLift soft-top compartment lid Fup as far as it
will go. In doing so, pull soft-top compartment cover Fevenly to the rear, applying constant
force.
GWARNING
If anywhere other than the indicated gripping
points is gripped, you or others can become
trapped or stuck. There is a risk of injury.
Take off jewelry and watches. Only hold the
indicated gripping points. Do not reach
between the cover halves and into the hinges.
XReach under the tip of soft top Gin the soft-
top compartment from the right-hand and
left-hand sides.
XLift the soft top out of the soft-top compart-
ment and guide it forwards in the direction of
the arrow onto windshield frame H.
Soft top89
Opening and closing
Z
Page 92 of 322

ITo open
JTo lock
XPull off the cover of the roof lock behind the
overhead control panel.
XInsert the Allen key into the roof lock.
XTurn the Allen key clockwiseIas far as it will
go.
!During the following step, make sure that
the Allen key is turned counter-clockwise as
far as it will go. Otherwise, the soft top may
not be properly locked.
XTurn Allen key Jcounter-clockwise as far as
it will go.
The soft top is now pre-locked on the wind-
shield frame.
XMove material tensioning frame Kto an
upright position.
!Make sure the soft-top compartment cover
does not collide with the material tensioning
frame during the following step.
XLower soft-top compartment lid L.
XWith your hand flat, press down the material
tensioning frame until it rests on soft-top sup-
portMof the soft-top compartment lid.
XWith your hand flat, press the soft-top com-
partment cover forwards/downwards on
both sides simultaneously until it engages in
the guide. Apply your hands to the points indi-
cated with arrows.
At the same time, press the material tension- ing frame gently downwards with your flat
hand.
XInsert the Allen key into the roof lock.
XTurn Allen key Ncounter-wise as far as it will
go.
XHave the soft-top mechanism repaired imme-
diately at a specialist workshop.
90Soft top
Opening and closing
Page 93 of 322

iPress the soft-top compartment lid again if
the trunk lid cannot be opened.
!Do not under any circumstances open the
trunk lid with the emergency key. You could
otherwise damage the trunk lid and the soft-
top compartment cover.
Relocking the soft top
Important safety notes
GWARNING
If you do not fully open/close the soft top, the
soft-top hydraulics depressurize after a short
time. This causes the soft top to lower unex-
pectedly and may cause you or others to be
trapped. There is a risk of injury.
Always open or close the soft top completely.
The soft top is not locked if:
Rthe Convertible Top in Operationmes-
sage appears in the multifunction display.
Ryou hear a warning tone for up to ten seconds
when pulling away or while driving.
Locking
You can lock the soft top again if it is not locked
fully.
XPull over and stop the vehicle safely as soon
as possible, paying attention to road and traf-
fic conditions.
XTurn the SmartKey to position 2in the ignition
lock.
XPress the soft-top switch (Ypage 86).
Trunk partition
General notes
!In order to avoid damaging the soft top or
stowed loads, please adhere to the following
while the soft top is open:
Rwhen the trunk partition is open, do not
place any objects in or behind the net on
the side that are too long. These objects could obstruct the trunk partition or cause
damage to the open soft top.
Rmake sure that the cargo does not push the
trunk partition upwards.
The soft top can only be opened when the trunk
partition is closed.
The trunk partition can be used to cover luggage
and loads in the trunk.
Opening and closing
XTo close: pull trunk partition :by the handle
in the direction of the arrow until it rests on
the sides of the trunk.
Trunk partition :finishes closing automati-
cally.
XTo open: push trunk partition :against the
direction of the arrow by the handle.
Trunk partition :finishes opening automat-
ically.
Brackets for the wind screen
GWARNING
If you use the wind screen in darkness or in
other conditions offering poor visibility, your
view to the rear is further impaired. There is a
risk of an accident.
Only use the wind screen when visibility con-
ditions are good.
!Mercedes-Benz recommends that you only
use wind screens which have been tested and
approved for Mercedes-Benz vehicles. This
helps to prevent damage to the vehicle.
!Observe the backrest position of the front
seats if the wind screen is installed, since the
Soft top91
Opening and closing
Z
Page 94 of 322

backrest could collide with the wind screen
here.
The wind screen protects against wind when
driving with the soft top open. It is secured
above the rear bench seats. For this reason, only
the driver and the front passenger can travel in
the vehicle when the wind screen is installed.
XWhen installing the wind screen, use lateral
brackets:.
Observe the manufacturer's installation
instructions.
AIRCAP
Important safety notes
GWARNING
When retracting the AIRCAP, persons could
become caught in the moving mechanism.
There is a risk of injury.
Ensure that persons do not hold onto the
upper frame of the windshield and do not
touch the AIRCAP wind deflector.
With AIRCAP, four people can travel comfortably
with the soft top open. AIRCAP reduces the draft
for the driver and passengers in both the front
and the rear compartment in a vehicle with the
soft top down.
AIRCAP has the following components:
Ra wind deflector between the windshield and
the soft top
Ran AIRCAP wind screen between the two head
restraints on the rear bench seat
You can open or close AIRCAP either when the
vehicle is stationary or when driving up to a
speed of 100 mph (160 km/ h).
Extending AIRCAP
XTurn the SmartKey to position 2in the ignition
lock.
XOpen the cover in the lower center console.
XPress AIRCAP button :.
The two indicator lamps on the AIRCAP button light up.
Wind deflector ;extends.
The head restraints on the rear bench seats and
AIRCAP wind screen =move to the center
position simultaneously.
When a seat belt in the rear compartment is
fastened, the head restraints on the rear bench seats and AIRCAP wind screen =move to the
upper position.
92Soft top
Opening and closing
Page 95 of 322

If you park your vehicle with the soft top down
and remove the SmartKey, the wind deflector
and the head restraints in the rear compartment
retract automatically. When you start the engine
again, the wind deflector and the head restraints
in the rear compartment extend again automat-
ically.
AIRCAP cannot be extended or retracted if the
vehicle speed exceeds approximately 100 mph
(160 km/h).
Retracting AIRCAP
XTurn the SmartKey to position2in the ignition
lock.
XOpen the cover in the lower center console.
XPress AIRCAP button :.
The two indicator lamps on the AIRCAP button
go out. Wind deflector ;retracts.
The head restraints on the rear bench seats and
AIRCAP wind screen =move to the lowest
position simultaneously.
If there are passengers wearing seat belts in the
rear compartment, the head restraints on the
rear bench seats and the AIRCAP wind screen
remain in the upper position.
Retracting the head restraints on the
rear bench seats from the driver's seat
To improve the rear view, you can retract the
head restraints on the rear bench seats individ-
ually (
Ypage 98). The wind deflector remains
in its current position.
Installing and removing the AIRCAP
wind screen
Preparation
You will need a 4 mm Allen key to install/remove the AIRCAP wind screen.
Before installing or removing the AIRCAP wind
screen:
XTurn the SmartKey to position 2in the ignition
lock.
XOpen the folding roof fully (Ypage 86).
XExtend the head restraints in the rear com-
partment fully (Ypage 98).
Removing
XUse the 4 mm Allen key to turn the bolts on
both sides counter-clockwise by about 90°
and loosen them.
XPull the bolts out of the brackets on the head
restraints.
XPull the AIRCAP wind screen out of the guide
rails in the direction of the arrow. Make sure
that you pull the AIRCAP wind screen for-
wards slightly when doing so.
Installing
XKeeping the AIRCAP wind screen horizontal,
guide it into the slot between the head
Soft top93
Opening and closing
Z
Page 96 of 322
restraints in the direction of the arrow with
both racks straight down.
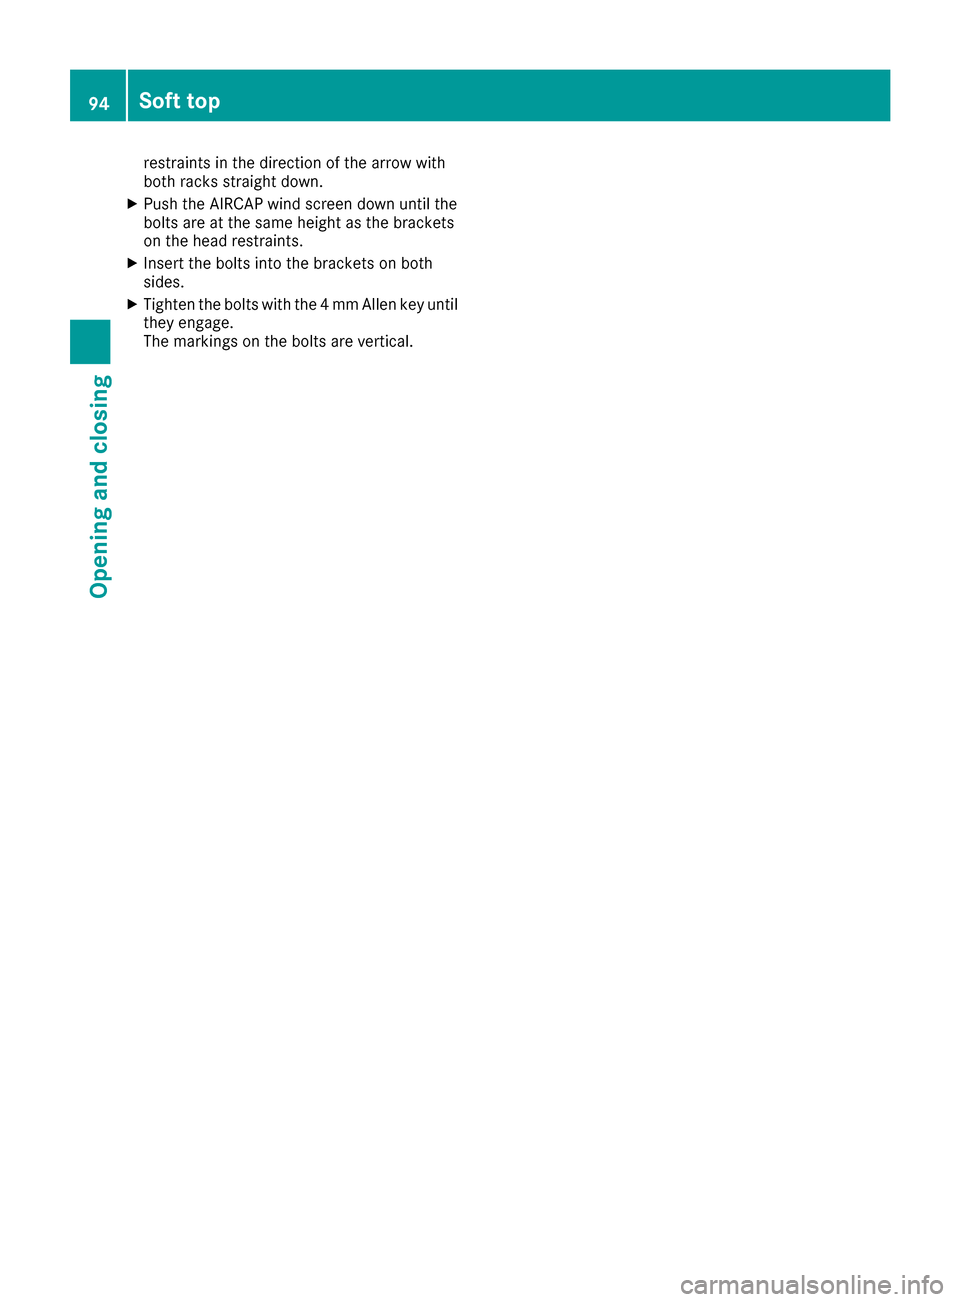
XPush the AIRCAP wind screen down until the
bolts are at the same height as the brackets
on the head restraints.
XInsert the bolts into the brackets on both
sides.
XTighten the bolts with the 4 mm Allen key until
they engage.
The markings on the bolts are vertical.
94Soft top
Opening and closing