2016 MERCEDES-BENZ CLA COUPE ECU
[x] Cancel search: ECUPage 273 of 345
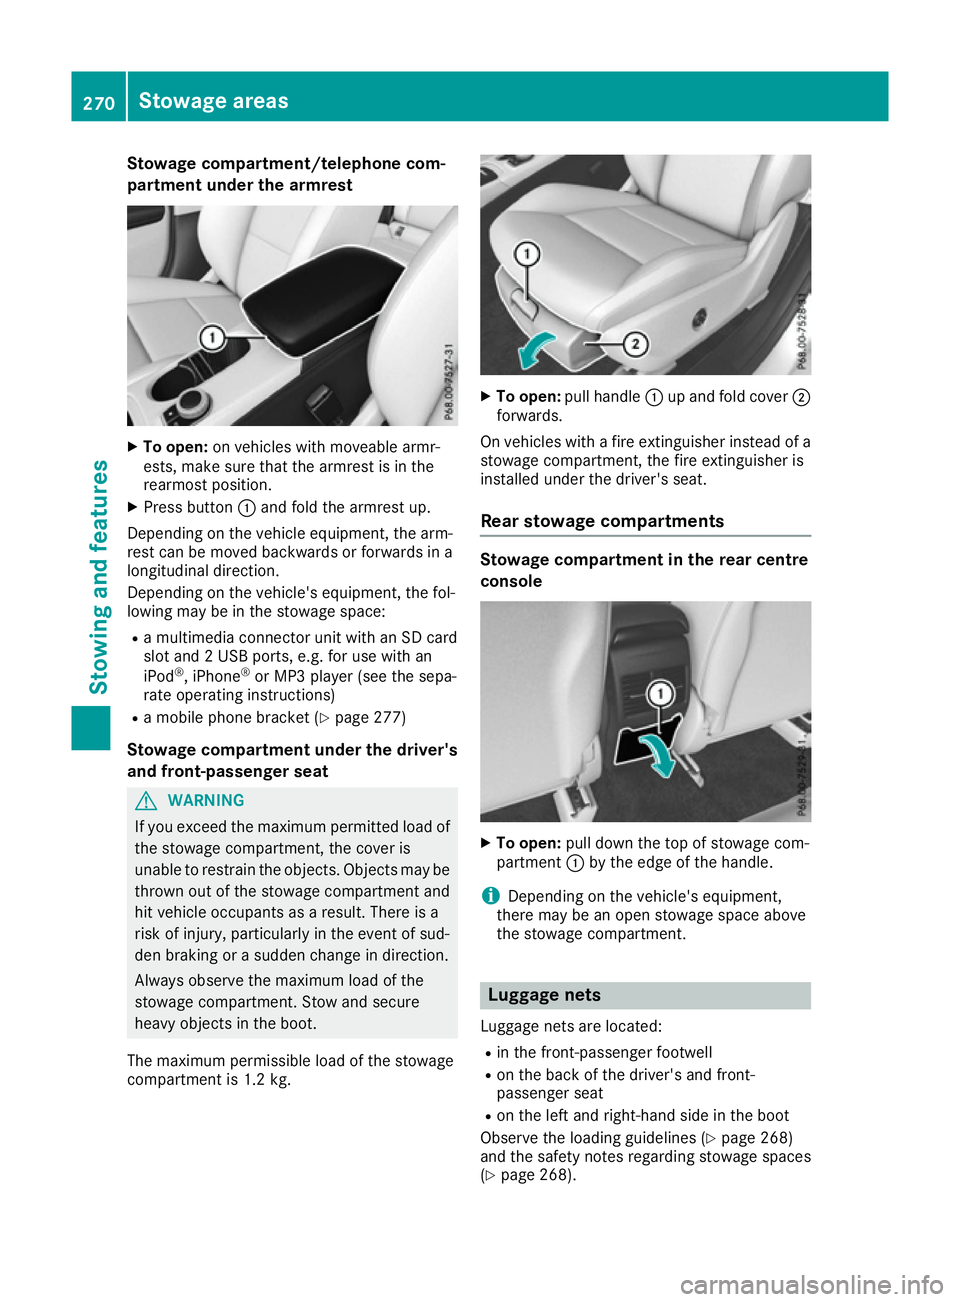
Stowage compartment/telephone com-
partment under the armrest X
To open: on vehicles with moveable armr-
ests, make sure that the armrest is in the
rearmost position.
X Press button :and fold the armrest up.
Depending on the vehicle equipment, the arm-
rest can be moved backwards or forwards in a
longitudinal direction.
Depending on the vehicle's equipment, the fol-
lowing may be in the stowage space:
R a multimedia connector unit with an SD card
slot and 2 USB ports, e.g. for use with an
iPod ®
, iPhone ®
or MP3 player (see the sepa-
rate operating instructions)
R a mobile phone bracket (Y page 277)
Stowage compartment under the driver's and front-passenger seat G
WARNING
If you exceed the maximum permitted load of the stowage compartment, the cover is
unable to restrain the objects. Objects may be
thrown out of the stowage compartment and
hit vehicle occupants as a result. There is a
risk of injury, particularly in the event of sud-
den braking or a sudden change in direction.
Always observe the maximum load of the
stowage compartment. Stow and secure
heavy objects in the boot.
The maximum permissible load of the stowage
compartment is 1.2 kg. X
To open: pull handle :up and fold cover ;
forwards.
On vehicles with a fire extinguisher instead of a
stowage compartment, the fire extinguisher is
installed under the driver's seat.
Rear stowage compartments Stowage compartment in the rear centre
console
X
To open: pull down the top of stowage com-
partment :by the edge of the handle.
i Depending on the vehicle's equipment,
there may be an open stowage space above
the stowage compartment. Luggage nets
Luggage nets are located:
R in the front-passenger footwell
R on the back of the driver's and front-
passenger seat
R on the left and right-hand side in the boot
Observe the loading guidelines (Y page 268)
and the safety notes regarding stowage spaces
(Y page 268). 270
Stowage areasStowing and features
Page 275 of 345
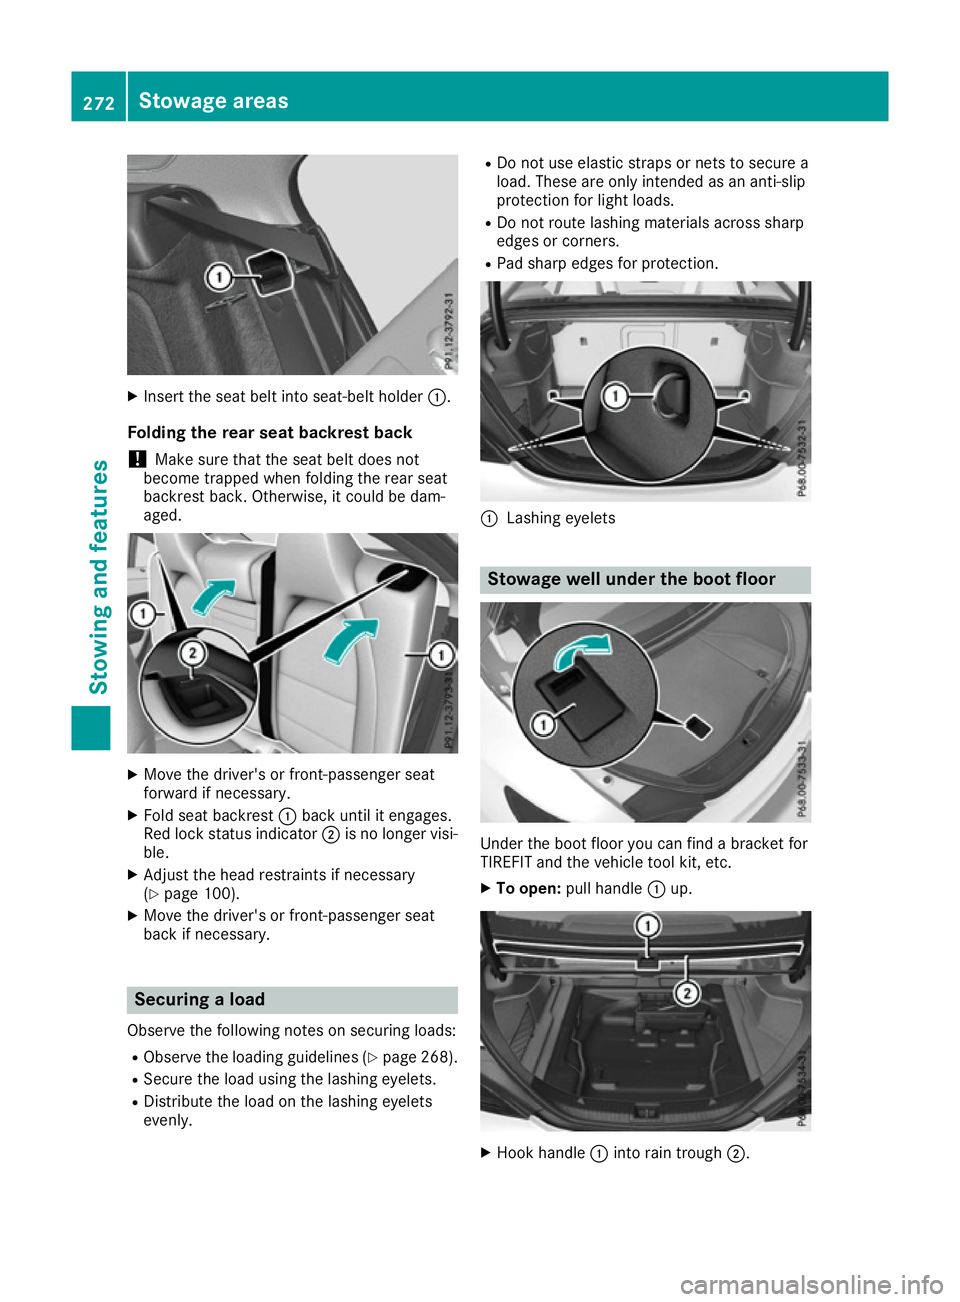
X
Insert the seat belt into seat-belt holder :.
Folding the rear seat backrest back
! Make sure that the seat belt does not
become trapped when folding the rear seat
backrest back. Otherwise, it could be dam-
aged. X
Move the driver's or front-passenger seat
forward if necessary.
X Fold seat backrest :back until it engages.
Red lock status indicator ;is no longer visi-
ble.
X Adjust the head restraints if necessary
(Y page 100).
X Move the driver's or front-passenger seat
back if necessary. Securing a load
Observe the following notes on securing loads: R Observe the loading guidelines (Y page 268).
R Secure the load using the lashing eyelets.
R Distribute the load on the lashing eyelets
evenly. R
Do not use elastic straps or nets to secure a
load. These are only intended as an anti-slip
protection for light loads.
R Do not route lashing materials across sharp
edges or corners.
R Pad sharp edges for protection. :
Lashing eyelets Stowage well under the boot floor
Under the boot floor you can find a bracket for
TIREFIT and the vehicle tool kit, etc.
X To open: pull handle :up. X
Hook handle :into rain trough ;.272
Stowage areasStowing and features
Page 276 of 345

To enlarge the boot you can remove the boot
floor.
X To remove: lift the boot floor almost to rain
trough ;and pull it out. X
To insert: place the boot floor at the bottom
in the centre.
X Hold sides of boot floor =and press in the
direction of the arrow until it engages in
hooks ?. Roof carrier
Important safety notes G
WARNING
When a load is transported on the roof, the
vehicle's centre of gravity rises and the han-
dling changes. If you exceed the maximum
roof load, the handling as well as steering and braking characteristics are severely affected.
There is a risk of an accident.
Always observe the maximum roof load and
adapt your driving style.
! Mercedes-Benz recommends that you only
use roof carriers that have been tested and
approved for Mercedes-Benz vehicles. This
helps to prevent damage to the vehicle.
Position the load on the roof carrier in such a way that the vehicle will not sustain damage
even when it is in motion.
Depending on the vehicle equipment, ensure
that when the roof carrier is fitted you can:
R open the panorama sliding sunroof fully
R open the boot lid fully You will find information on the maximum roof
load in the "Technical Data" section
(Y page 333).
An incorrectly secured roof carrier or roof load
may become detached from the vehicle. You
must therefore ensure that you observe the roof
carrier manufacturer's installation instructions.
Attaching the roof carrier X
Open and fold the covers :upwards care-
fully in the direction of the arrow.
X Only secure the roof carrier to the anchorage
points under covers :.
X Observe the manufacturer's installation
instructions. Features
Cup holders
Important safety notes G
WARNING
The cup holder cannot secure a drinks con-
tainer in place during a journey. If you use a
cup holder during a journey, the drinks con-
tainer could be flung around and liquid could
be spilt. Vehicle occupants could come into
contact with the liquid and, in particular, be
scalded by hot liquid. You could be distracted
from the traffic situation and lose control of
the vehicle. There is a risk of an accident and
injury.
Only use the cup holder when the vehicle is
stationary. Only place containers of a suitable Features
273Stowing and features
Z
Page 277 of 345
size in the cup holder. Seal the container, in
particular when it contains hot liquid. G
WARNING
If objects in the passenger compartment are
stowed incorrectly, they can slide or be
thrown around and hit vehicle occupants. In
addition, cupholders, open stowage spaces
and mobile phone brackets cannot always
retain all objects they contain. There is a risk of injury, particularly in the event of sudden
braking or a sudden change in direction.
R Always stow objects so that they cannot be
thrown around in such situations.
R Always make sure that objects do not pro-
trude from stowage spaces, parcel nets or
stowage nets.
R Close the lockable stowage spaces before
starting a journey.
R Always stow and secure heavy, hard, poin-
ted, sharp-edged, fragile or bulky objects in
the boot.
! Only use the cup holders for containers of
the right size and which have lids. The drinks could otherwise spill.
Observe the loading guidelines (Y page 268).
The stowage compartments in the doors provide
space for bottles:
R front: capacity up to 1.0 l
R rear: capacity up to 0.5 l
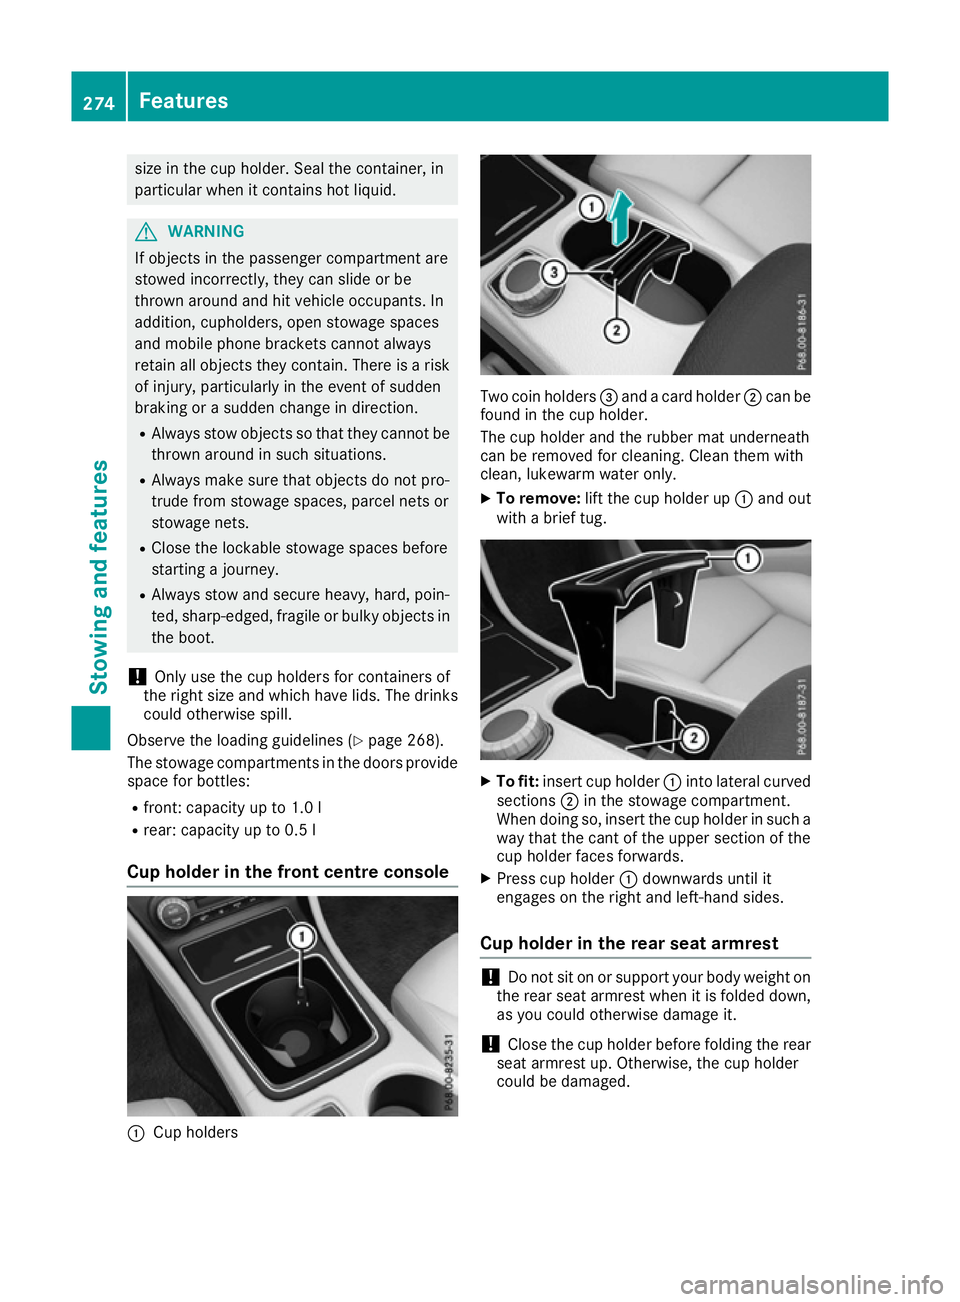
Cup holder in the front centre console :
Cup holders Two coin holders
=and a card holder ;can be
found in the cup holder.
The cup holder and the rubber mat underneath
can be removed for cleaning. Clean them with
clean, lukewarm water only.
X To remove: lift the cup holder up :and out
with a brief tug. X
To fit: insert cup holder :into lateral curved
sections ;in the stowage compartment.
When doing so, insert the cup holder in such a way that the cant of the upper section of the
cup holder faces forwards.
X Press cup holder :downwards until it
engages on the right and left-hand sides.
Cup holder in the rear seat armrest !
Do not sit on or support your body weight on
the rear seat armrest when it is folded down,
as you could otherwise damage it.
! Close the cup holder before folding the rear
seat armrest up. Otherwise, the cup holder
could be damaged. 274
FeaturesStowing and features
Page 281 of 345
X
Open the telephone compartment
(Y page 270).
X Place the mobile phone bracket into the pre-
installed fitting; see the separate installation
instructions for the mobile phone fitting.
X Insert the mobile phone into the mobile phone
bracket; see the separate installation instruc- tions for the mobile phone fitting.
i The mobile phone can also be operated
without being in the bracket. However, the
charging function and aerial function are not
available.
In order to use Bluetooth ®
(SAP profile) on your
telephone module, you must first insert the tele-
phone module into the pre-installed fitting. This connects it to the exterior aerial. If you wish to
charge the mobile phone, you must connect it to
a USB port.
Further information on the telephone module
with Bluetooth ®
(SAP profile) can be found in the
Digital Owner's Manual.
Operating the mobile phone You can operate the phone using the
6and
~ buttons on the multifunction steering
wheel. You can operate other mobile phone
functions via the on-board computer
(Y page 207).
When you remove the key from the ignition lock, the mobile phone is disconnected from the vehi-cle. You can then no longer make calls using the
hands-free system.
If a call is active and you remove the key from
the ignition lock, the conversation is transferred
over to the mobile phone. It is then possible to
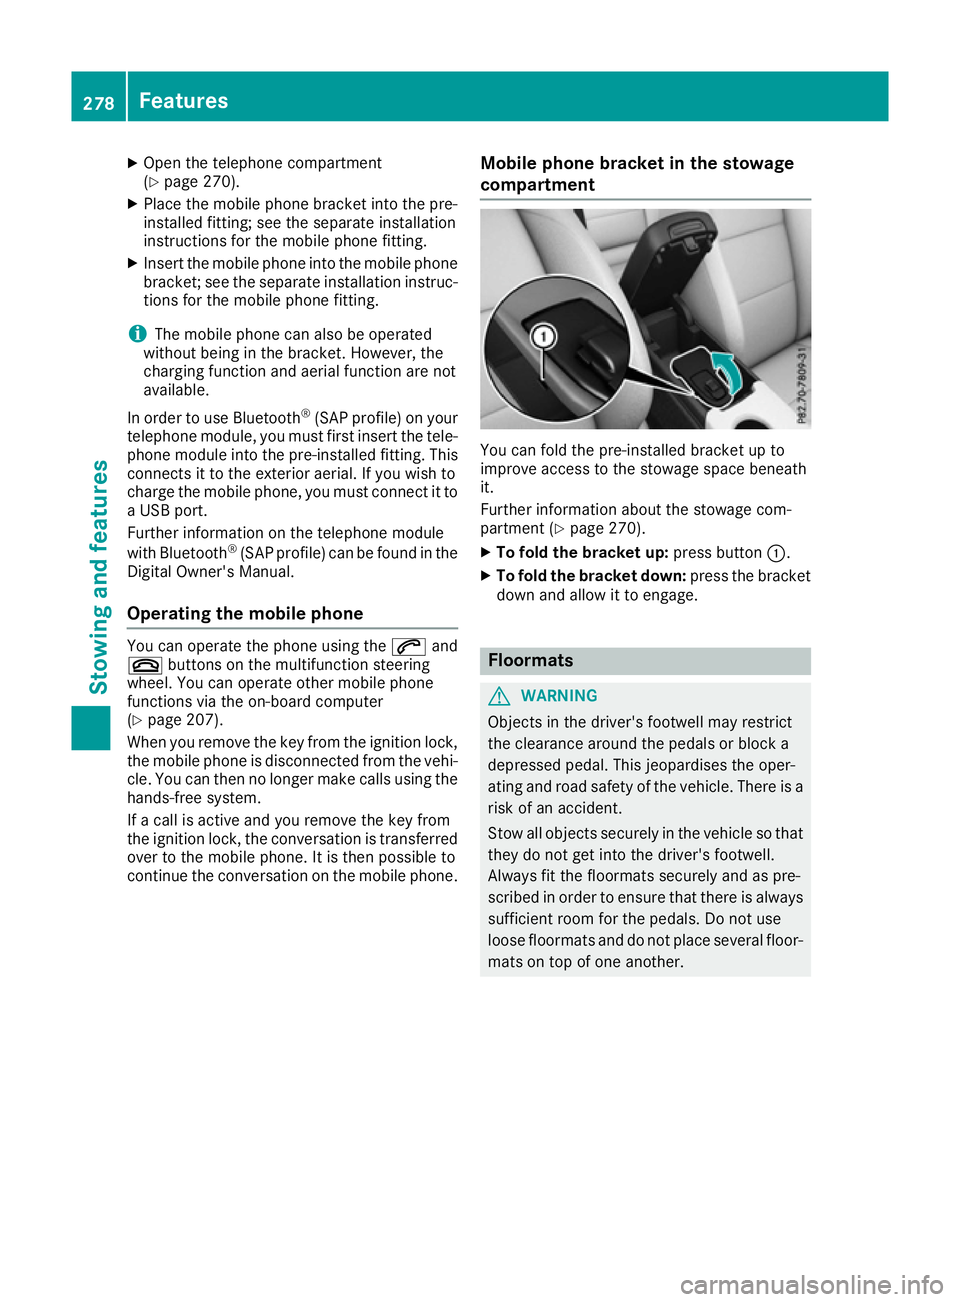
continue the conversation on the mobile phone. Mobile phone bracket in the stowage
compartment You can fold the pre-installed bracket up to
improve access to the stowage space beneath
it.
Further information about the stowage com-
partment (Y page 270).
X To fold the bracket up: press button:.
X To fold the bracket down: press the bracket
down and allow it to engage. Floormats
G
WARNING
Objects in the driver's footwell may restrict
the clearance around the pedals or block a
depressed pedal. This jeopardises the oper-
ating and road safety of the vehicle. There is a risk of an accident.
Stow all objects securely in the vehicle so that
they do not get into the driver's footwell.
Always fit the floormats securely and as pre-
scribed in order to ensure that there is always sufficient room for the pedals. Do not use
loose floormats and do not place several floor-mats on top of one another. 278
FeaturesStowing and features
Page 286 of 345
Topping up engine oil
G
WARNING
Certain components in the engine compart-
ment could be very hot, e.g. the engine, the
radiator and parts of the exhaust system.
There is a risk of injury when accessing the
engine compartment.
As far as possible, allow the engine to cool
down and only touch the components descri- bed in the following. G
WARNING
If engine oil comes into contact with hot com- ponents in the engine compartment, it may
ignite. There is a risk of fire and injury.
Make sure that engine oil does not spill out
over the filler neck. Allow the engine to cool
down and thoroughly clean the components
that have come into contact with engine oil
before you start the engine. H
Environmental note
When topping up the oil, take care not to spill
any. If oil enters the soil or waterways, it is
harmful to the environment.
! Use only engine oils and oil filters that are
approved for vehicles with a service system. A
list of the engine oils and oil filters that have
been tested and approved in accordance with Mercedes-Benz Specifications for Service
Products is available at any Mercedes-Benz
Service Centre.
The following cause engine failure or damage
to the exhaust system:
R Use of engine oils and oil filters that have
not been expressly approved for the service system
R Replacement of engine oil and oil filter after
the replacement interval specified by the
service system has expired
R Use of engine oil additives
! Do not add too much oil. Topping up with too
much engine oil can result in damage to the
engine or to the catalytic converter. Have
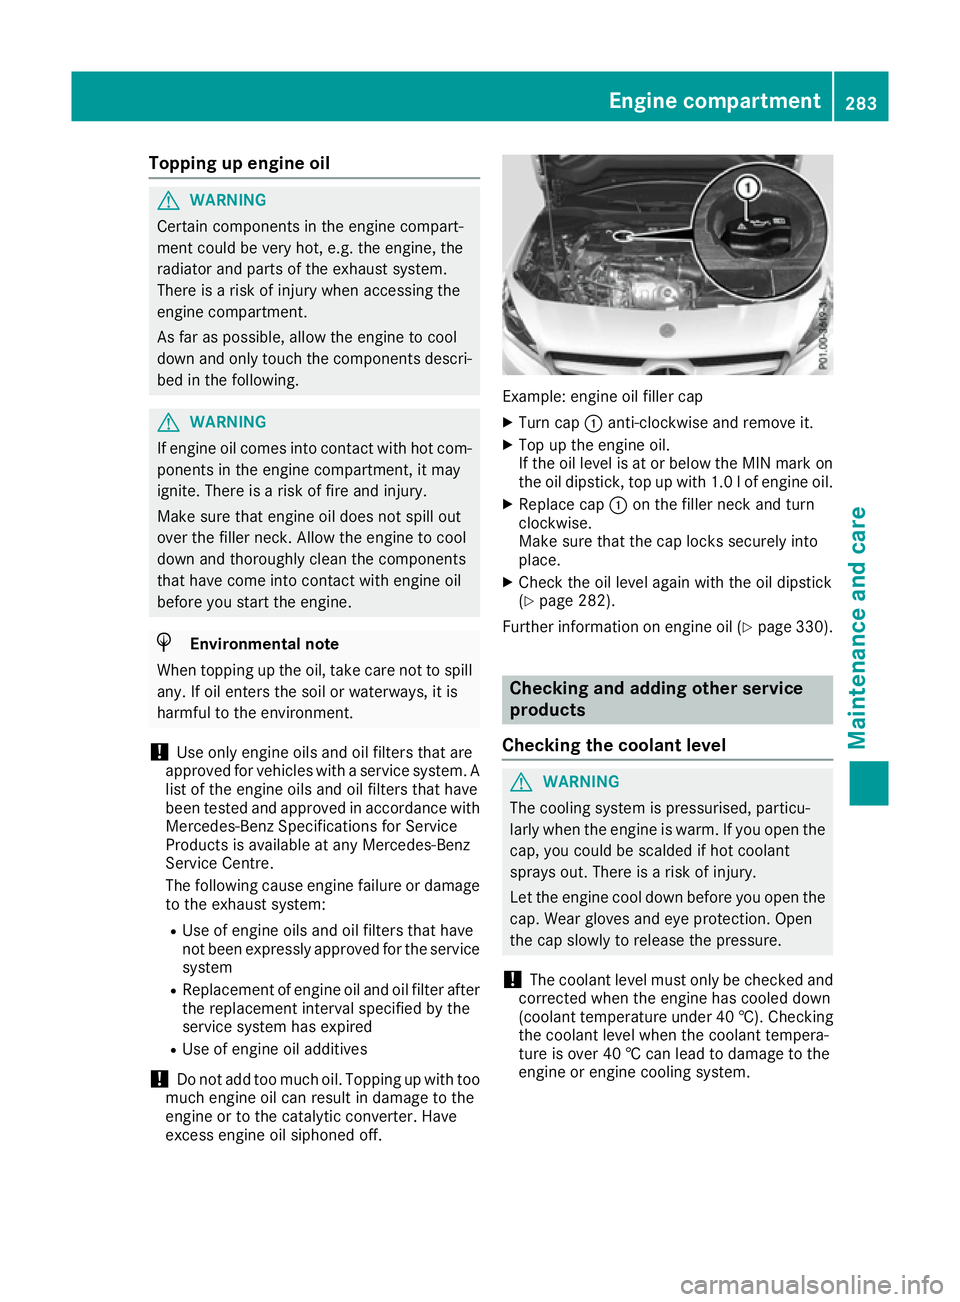
excess engine oil siphoned off. Example: engine oil filler cap
X Turn cap :anti-clockwise and remove it.
X Top up the engine oil.
If the oil level is at or below the MIN mark on
the oil dipstick, top up with 1.0 lof engine oil.
X Replace cap :on the filler neck and turn
clockwise.
Make sure that the cap locks securely into
place.
X Check the oil level again with the oil dipstick
(Y page 282).
Further information on engine oil (Y page 330). Checking and adding other service
products
Checking the coolant level G
WARNING
The cooling system is pressurised, particu-
larly when the engine is warm. If you open the cap, you could be scalded if hot coolant
sprays out. There is a risk of injury.
Let the engine cool down before you open the
cap. Wear gloves and eye protection. Open
the cap slowly to release the pressure.
! The coolant level must only be checked and
corrected when the engine has cooled down
(coolant temperature under 40 †). Checking
the coolant level when the coolant tempera-
ture is over 40 † can lead to damage to the
engine or engine cooling system. Engine compartment
283Maintenance and care Z
Page 291 of 345

These notes also apply to light-alloy wheels with
a clear matt finish.
The vehicle should preferably be washed by
hand using a soft sponge, car shampoo and
plenty of water.
Use only insect remover and car shampoo from
the range of approved Mercedes-Benz care
products. Cleaning vehicle parts
Cleaning the wheels G
WARNING
The water jet of circular-jet nozzles (dirt grind- ers) can cause damage not visible from the
outside to tyres or chassis components. Com-
ponents damaged in this way can unexpect-
edly fail. There is a risk of an accident.
Do not use high-pressure cleaners with circu-
lar-jet nozzles to clean the vehicle. Have dam- aged tyres or chassis components replaced
immediately.
! Do not use acidic wheel cleaning products
to remove brake dust. This could damage
wheel bolts and brake components.
! Do not park up your vehicle for a long period
of time immediately after cleaning, particu-
larly after cleaning the wheel rim with wheel
cleaner. Wheel cleaner may lead to increased corrosion of the brake discs and pads. You
should therefore drive for a few minutes after
cleaning. By heating up the brakes, the brake
discs and pads dry. The vehicle can then be
parked up for a long period of time.
Cleaning the windows G
WARNING
If the windscreen wipers are set in motion
when cleaning the windscreen or wiper
blades, you could become trapped. There is a danger of injury.
Always switch off the windscreen wipers and
the ignition before cleaning the windscreen or wiper blades. !
Only fold the windscreen wipers away from
the windscreen when vertical. Otherwise, you
will damage the bonnet.
! Do not use dry cloths, abrasive cleaning
agents, solvents or solvent-based cleaning
agents to clean the inside of the windows/
windscreen. Do not touch the inside of the
windows/windscreen with hard items such
as an ice scraper or a ring. Otherwise, the
windows/windscreen could be damaged.
! Clean the water drainage channels of the
windscreen and the rear window at regular
intervals. Deposits such as leaves, petals and
pollen may under certain circumstances pre-
vent water from draining away. This can lead
to corrosion damage and damage to elec-
tronic components.
X Clean the inside and outside of the windows
with a damp cloth and a cleaning agent that is
recommended and approved by Mercedes-
Benz.
Cleaning the wiper blades G
WARNING
If the windscreen wipers are set in motion
when cleaning the windscreen or wiper
blades, you could become trapped. There is a danger of injury.
Always switch off the windscreen wipers and
the ignition before cleaning the windscreen orwiper blades.
! Only fold the windscreen wipers away from
the windscreen when vertical. Otherwise, you
will damage the bonnet.
! Do not pull on the wiper blade. Otherwise,
the wiper blade could be damaged.
! Do not clean wiper blades too often and do
not rub them too hard. Otherwise, the graph- ite coating could be damaged. This could
cause wiper noise.
! Hold the wiper arm securely when folding
back. The windscreen could be damaged if
the wiper arm hits against it suddenly. 288
CareMaintenance and care
Page 296 of 345
Where will I find...?
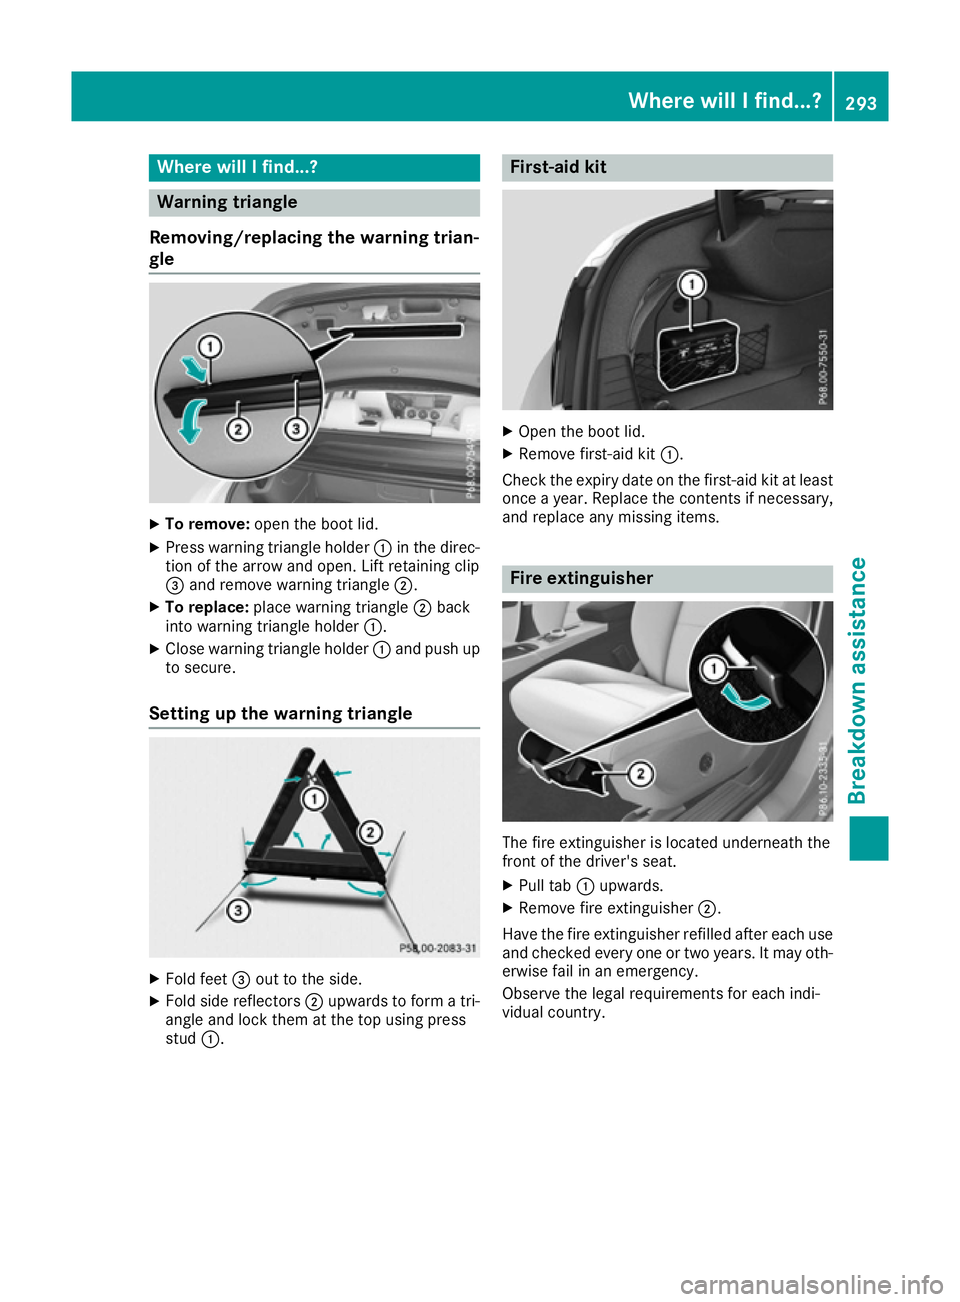
Warning triangle
Removing/replacing the warning trian-
gle X
To remove: open the boot lid.
X Press warning triangle holder :in the direc-
tion of the arrow and open. Lift retaining clip
= and remove warning triangle ;.
X To replace: place warning triangle ;back
into warning triangle holder :.
X Close warning triangle holder :and push up
to secure.
Setting up the warning triangle X
Fold feet =out to the side.
X Fold side reflectors ;upwards to form a tri-
angle and lock them at the top using press
stud :. First-aid kit
X
Open the boot lid.
X Remove first-aid kit :.
Check the expiry date on the first-aid kit at least
once a year. Replace the contents if necessary,
and replace any missing items. Fire extinguisher
The fire extinguisher is located underneath the
front of the driver's seat.
X Pull tab :upwards.
X Remove fire extinguisher ;.
Have the fire extinguisher refilled after each use and checked every one or two years. It may oth-
erwise fail in an emergency.
Observe the legal requirements for each indi-
vidual country. Where will I find...?
293Breakdown assistance