2016 MERCEDES-BENZ AMG GT S phone
[x] Cancel search: phonePage 79 of 226

will be entered in the intermediate destina-
tions menu. Once the route has been recal-
culated, the intermediate destination is
deleted from the intermediate destinations
menu.
Saving as a personal route
You can save a route with intermediate des-
tinations on the SD memory card.
Requirement: the SD memory card is format-
ted using the FAT file system (e.g. FAT32).
XInsert the SD memory card (Ypage 184).
XTo selectSaveAsPersonalRoutein the
intermediate destinations menu: press the
controller.
The route is saved on the SD memory card
under Personal Routes
.
Searching for a gas station when the
fuel level is low
Requirement: the setting Gas on Reserve
must be enabled (Ypage 61).
If the fuel tank reserve level is displayed, you
will see the Reserve Fuel Would you
liketostartasearchforsurround‐
ing gas stations?message.
XTo selectYesorNo: turn and press the con-
troller.
If you select Yes
, the gas station search
starts. When the search is complete, a list
of the gas stations available along the route
or in the vicinity is displayed.
If you select No
, the search is canceled.
XSelect the gas station.
The address of the gas station is displayed.
XTo selectStart: press the controller.
The selected gas station is entered into
position 1 of the intermediate destinations
menu. Route guidance begins.
If the intermediate destinations menu
already contains four intermediate desti-
nations, a prompt will be displayed, asking
you whether you wish to enter the gas sta-
tion into position 1. If you select Yes
, thegas station is transferred to the list and
intermediate destination 4 is deleted.
Entering a destination from
Mercedes-Benz Apps
Requirement (USA): mbrace is activated for
the Mercedes-Benz Apps (
Ypage 148).
Requirement (Canada): a mobile phone must be connected via Bluetooth
®(Ypage 114) or
USB (
Ypage 200) with COMAND.
XTo switch to navigation mode: slide5
the controller.
XTo select Navi: turn and press the control-
ler.
The map displays the current vehicle posi-
tion or the navigation menu appears.
XIf the navigation menu appears, press the
controller.
The map shows the vehicle's current posi-
tion.
XTo show the menu: slide6the control-
ler.
XTo select Destination: turn and press the
controller.
XSelect From Mercedes-Benz Apps.
The list of Mercedes-Benz Apps appears
(
Ypage 157).
Using geo-coordinates
XTo switch to navigation mode: slide5
the controller.
XTo select Navi: turn and press the control-
ler.
The map displays the current vehicle posi-
tion or the navigation menu appears.
XIf the navigation menu appears, press the
controller.
The map shows the vehicle's current posi-
tion.
Destination entry77
Navigation
Z
Page 84 of 226

XTo explore a personal POI or personal
route:turn and press the controller to
select Map
.
The map with the crosshair appears and
shows the destination.
XScroll the map (Ypage 60).
XSet the map scale (Ypage 98).
XTo switch to the menu: press the %but-
ton.
XTo call the personal POI: turn and press
the controller to select Call
.
If a mobile phone is connected to COMAND
and the telephone number is available, the
call is connected (
Ypage 120).
XTo save a personal POI: turn and press the
controller to select Save
.
XTo continue saving (Ypage 96).
XTo edit the name and symbol: turn and
press the controller to select Edit
.
XSelectChange NameorEdit Icon.
XCharacter entry (Ypage 32).
XSelect a symbol.
XTo delete a personal POI or route: turn
and press the controller to select Delete
.
A prompt will appear.
XSelect YesorNo.
If you select Yes
, the personal destination
or personal route is deleted.
XTo select the outward and return
routes: turn and press the controller to
select Swap
.
The starting and destination positions of
your personal route, and thus the direction
for route guidance, are switched round.
One-way streets or restricted intersections
are taken into consideration. Therefore, the outward and return routes may differ from
each other.
XTo start route guidance: turn and press
the controller to select Start
.
Recording the route
General notes
Routes are recorded on the SD memory card.
Requirement: the SD memory card is format-
ted using the FAT file system (e.g. FAT32).
When recording the route, bear in mind the
following:
Rif the SD memory card is inserted, it must
not be removed during recording.
Rif route recording is started manually, it
must be finished manually before COMAND
is switched off (e .g. when the engine is
switched off).
RCOMAND minimizes the number of route
points recorded. Therefore when the recor-
ded route is subsequently commenced, it
may differ from the route that was originally
recorded.
Starting/finishing route recording
XInsert the SD memory card (Ypage 184).
XTo switch to navigation mode: slide5
the controller.
XTo select Navi, turn and press the control-
ler.
The map displays the current vehicle posi-
tion or the navigation menu appears.
XIf the navigation menu appears, press the
controller.
The map shows the vehicle's current posi-
tion.
XTo show the menu: slide6the control-
ler.
XTo select Destination, turn and press the
controller.
XSelect From Memory Card.
XSelectStart Route Recording.
The route is recorded and REC appears at
the bottom edge of the screen.
82Personal POIs and routes
Navigation
Page 88 of 226

Calling up the selection mode
XWhen highway information is displayed,
slide9 the controller.
The marker is on the highway information.
The associated position is highlighted on
the map.
XTo select the desired rest stop/freeway
exit: turn and press the controller.
The available POIs are displayed.
Starting route guidance to a POI
XTo select a POI: turn the controller and
press to confirm.
The POI details are displayed.
You can perform the following functions:
Rstore in the address book (Ypage 96)
Rview on the map (Ypage 101)
Rcalled if a phone is connected and a
phone number is available (
Ypage 120).
Rselect for route guidance and a route to it
calculated (
Ypage 65).
Using the traffic jam function
Highway information enables the use of the
traffic jam function. The remaining route on
the highway in this case is blocked in the
direction of travel from the selected exit.
XTo select Detour: turn and press the con-
troller.
The traffic jam function appears
(
Ypage 89).
Destination reached
Once the destination is reached, you will see
the checkered flag. Route guidance is fin-
ished.
Navigation announcements
Repeating navigation announcements
If you missed the current navigation
announcement, you can call it up again.
86Route guidance
Navigation
Page 90 of 226

XTo switch to navigation mode:slide5
the controller.
XTo select Navi: turn and press the control-
ler.
The map displays the current vehicle posi-
tion or the navigation menu appears.
XIf the navigation menu appears, press the
controller.
The map shows the vehicle's current posi-
tion.
XTo show the menu: slide6the control-
ler.
XTo select Route: turn and press the con-
troller.
XSelect Destination Information.
The destination and existing intermediate
destinations are displayed with distances,
travel time and arrival time.
XTo select destination or intermediate
destination: turn and press the controller.
The address appears.
XSelect Save.
The destination or intermediate destination
can be saved as:
Ras a navigable address book contact
Rhome address
XTo call up the map, select Map.
XMove the map, change the map scale and
select the destination or the intermediate
destination (
Ypage 73).
XTo call the destination or intermediate des-
tination, selectCall
.
If a phone is connected and a phone num-
ber is available, COMAND switches to the
telephone function.
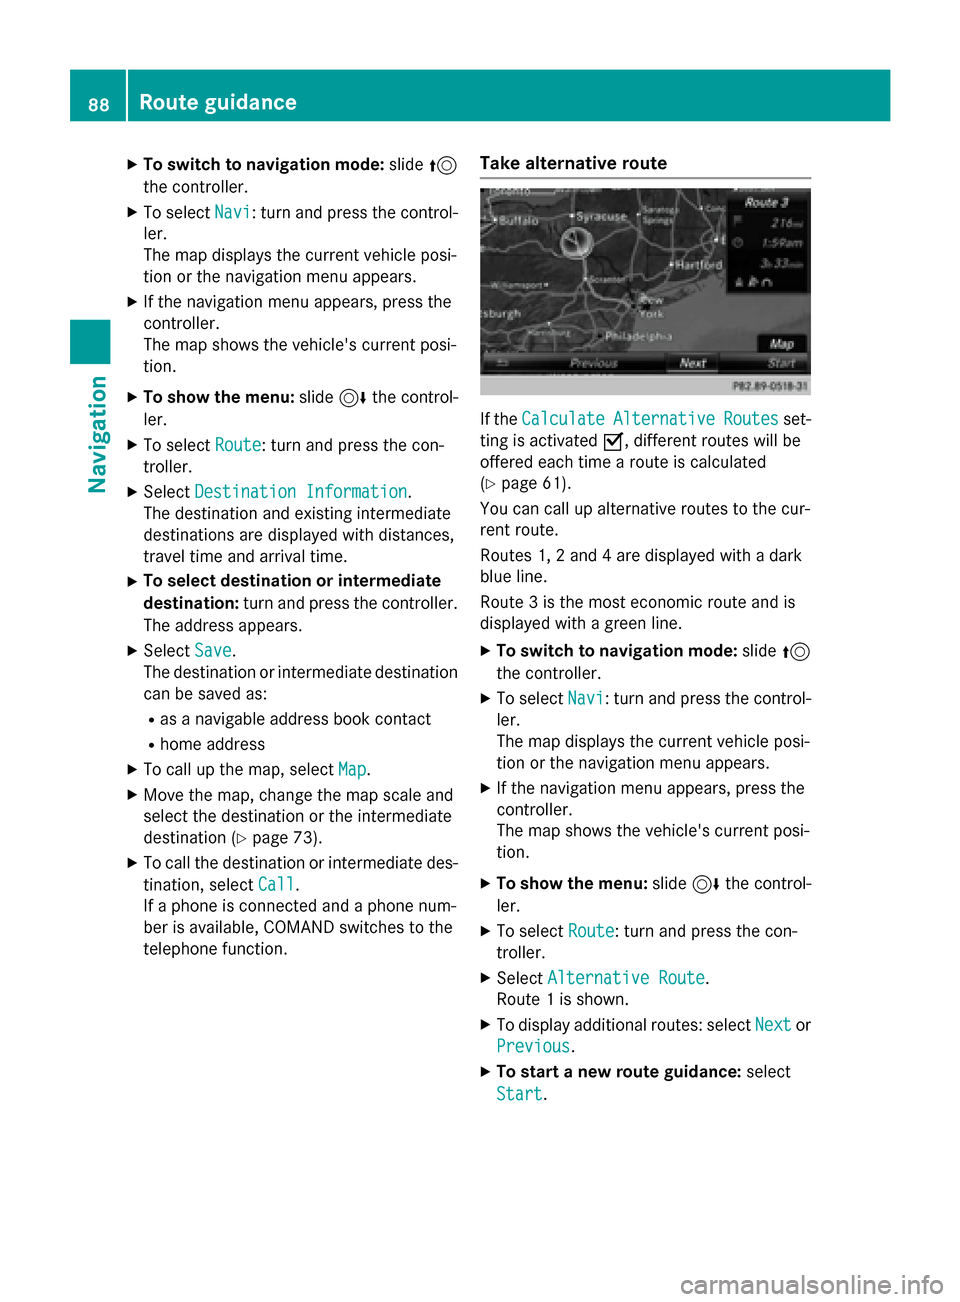
Take alternative route
If the CalculateAlternativeRoutesset-
ting is activated O, different routes will be
offered each time a route is calculated
(
Ypage 61).
You can call up alternative routes to the cur-
rent route.
Routes 1, 2 and 4 are displayed with a dark
blue line.
Route 3 is the most economic route and is
displayed with a green line.
XTo switch to navigation mode: slide5
the controller.
XTo select Navi: turn and press the control-
ler.
The map displays the current vehicle posi-
tion or the navigation menu appears.
XIf the navigation menu appears, press the
controller.
The map shows the vehicle's current posi-
tion.
XTo show the menu: slide6the control-
ler.
XTo select Route: turn and press the con-
troller.
XSelect Alternative Route.
Route 1 is shown.
XTo display additional routes: select Nextor
Previous
.
XTo start a new route guidance: select
Start
.
88Route guidance
Navigation
Page 98 of 226

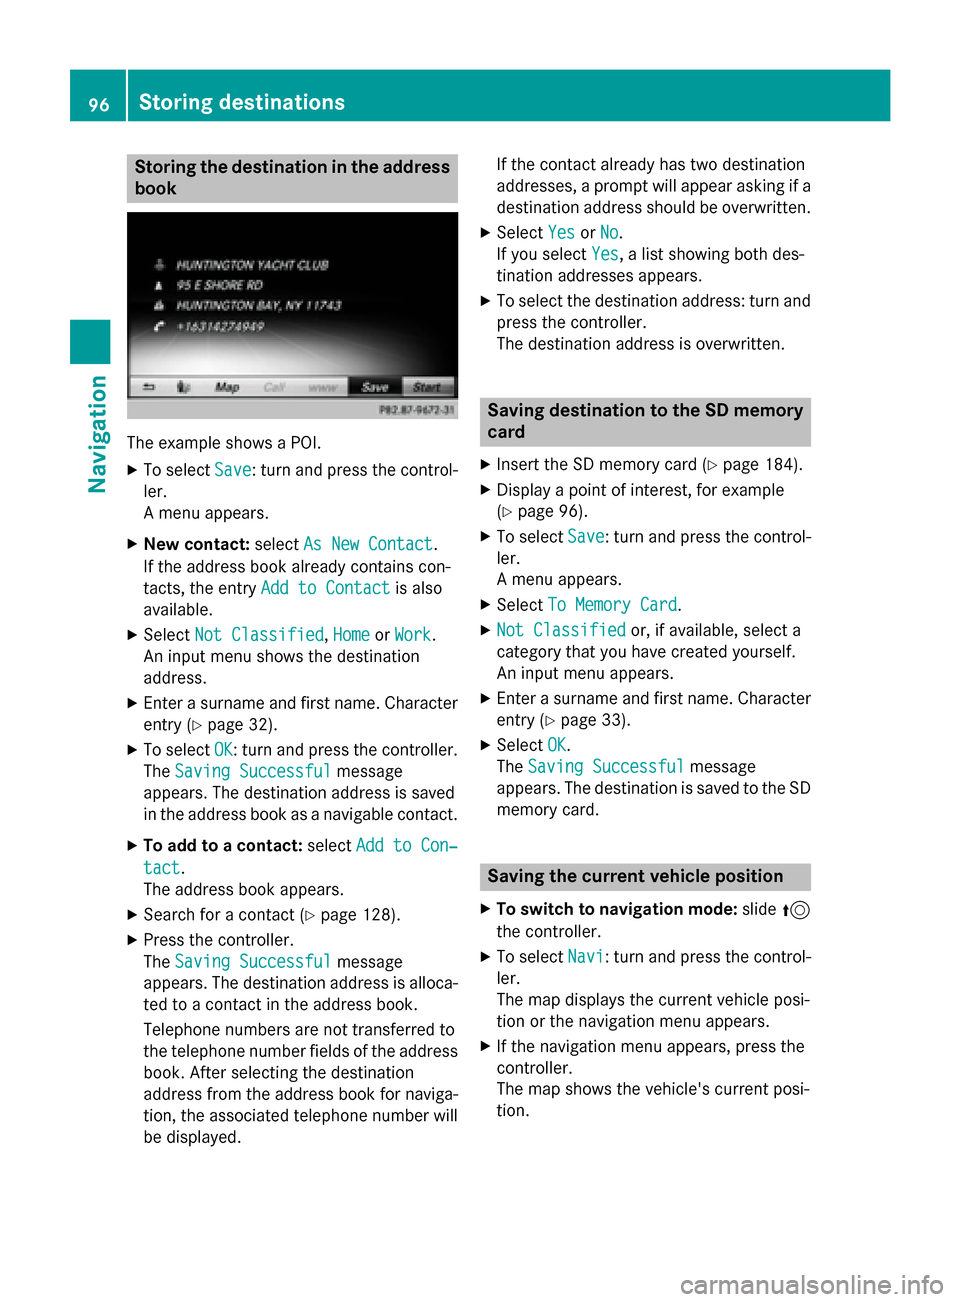
Storing the destination in the address
book
The example shows a POI.
XTo selectSave: turn and press the control-
ler.
A menu appears.
XNew contact: selectAs New Contact.
If the address book already contains con-
tacts, the entry Add to Contact
is also
available.
XSelect Not Classified,Homeor Work.
An input menu shows the destination
address.
XEnter a surname and first name. Character
entry (
Ypage 32).
XTo select OK: turn and press the controller.
The Saving Successful
message
appears. The destination address is saved
in the address book as a navigable contact.
XTo add to a contact: selectAdd to Con‐
tact.
The address book appears.
XSearch for a contact (Ypage 128).
XPress the controller.
The Saving Successful
message
appears. The destination address is alloca- ted to a contact in the address book.
Telephone numbers are not transferred to
the telephone number fields of the address
book. After selecting the destination
address from the address book for naviga-
tion, the associated telephone number will
be displayed. If the contact already has two destination
addresses, a prompt will appear asking if a
destination address should be overwritten.
XSelect
YesorNo.
If you select Yes
, a list showing both des-
tination addresses appears.
XTo select the destination address: turn and
press the controller.
The destination address is overwritten.
Saving destination to the SD memory
card
XInsert the SD memory card (Ypage 184).
XDisplay a point of interest, for example
(
Ypage 96).
XTo select Save: turn and press the control-
ler.
A menu appears.
XSelect To Memory Card.
XNot Classifiedor, if available, select a
category that you have created yourself.
An input menu appears.
XEnter a surname and first name. Character
entry (
Ypage 33).
XSelect OK.
The Saving Successful
message
appears. The destination is saved to the SD
memory card.
Saving the current vehicle position
XTo switch to navigation mode: slide5
the controller.
XTo select Navi: turn and press the control-
ler.
The map displays the current vehicle posi-
tion or the navigation menu appears.
XIf the navigation menu appears, press the
controller.
The map shows the vehicle's current posi-
tion.
96Storing destinations
Navigation
Page 106 of 226

Deleting one/all areas
XTo switch to navigation mode:slide5
th econtroller .
XTo selectNav i:turn and press th econtrol-
ler .
The map displays th ecurren tvehicle posi-
tion or th enavigation men uappears .
XIf thenavigation men uappears ,press th e
controller .
The map shows th evehicle' scurren tposi-
tion .
XTo show th emenu :slid e6 thecontrol-
ler .
XTo selec tOption s:turn and press th econ-
troller.
XSelec tRoute Settings.
XSelec tAvoid Option s.
XSelectAvoid Are a.
A list appears .
XTo deletean area: markan are aby turnin g
th econtroller .
XSlide9thecontroller .
XSelectDeleteor Delete All.
A prompt appears askin gwhether you wish
to delete th earea.
XSelec tYesor No.
Afte rselecting Yes
,th eare ais deleted.
XTo delet eall areas :when th elist appears ,
slid e9 thecontroller .
XSelectDelete All.
A prompt appears askin gwhether you wish
to delete all areas.
XSelec tYesor No.
Afte rselecting Yes
,all areas are deleted.
SIRIUS XM service
Displaying SIRIUS XM service informa -
tion
You can display th eSIRIU SXM servic einfor-
mation .
XTo switch to navigation mode: slide5
th econtroller .
XTo selectNav i:turn and press th econtrol-
ler .
The map displays th ecurren tvehicle posi-
tion or th enavigation men uappears .
XIf thenavigation men uappears ,press th e
controller .
The map shows th evehicle' scurren tposi-
tion .
XTo show th emenu :slid e6 thecontrol-
ler .
XTo selec tTraffi c:turn and press th econ-
troller.
XSelec tSIRIUS Servic e.
The provider' sphone number (SIRIUS XM)
and th eserial number of your servic emod-
ule are displayed .
iAlternatively you can cal lup this function
usin gth etouchpad (
Ypage 25).
Registering for th eSIRIUS XM traffic
repor tservice
XCall th eprovider telephon enumber shown
on th eCOMAN Ddisplay.
iYou can also hav eth esatellit eservic e
activated online. To do so, visit th eSIRIU S
XM Radio websit eat
http://www.sirius.com (USA).
Once th econnection has been established :
XFollow theservic eemployee's instructions.
The activation process may take up to
10 minutes.
If registration is no tincluded when purchas-
in gth esystem, your credit car ddetails will be
require dto activat eyour account.
Updating th edigital ma p
Introduction
The digita lmap sgenerate dby th emap soft-
ware becom eoutdated in th esam eway as
conventional road maps. Optimal rout eguid -
104Map functions
Navigation
Page 108 of 226

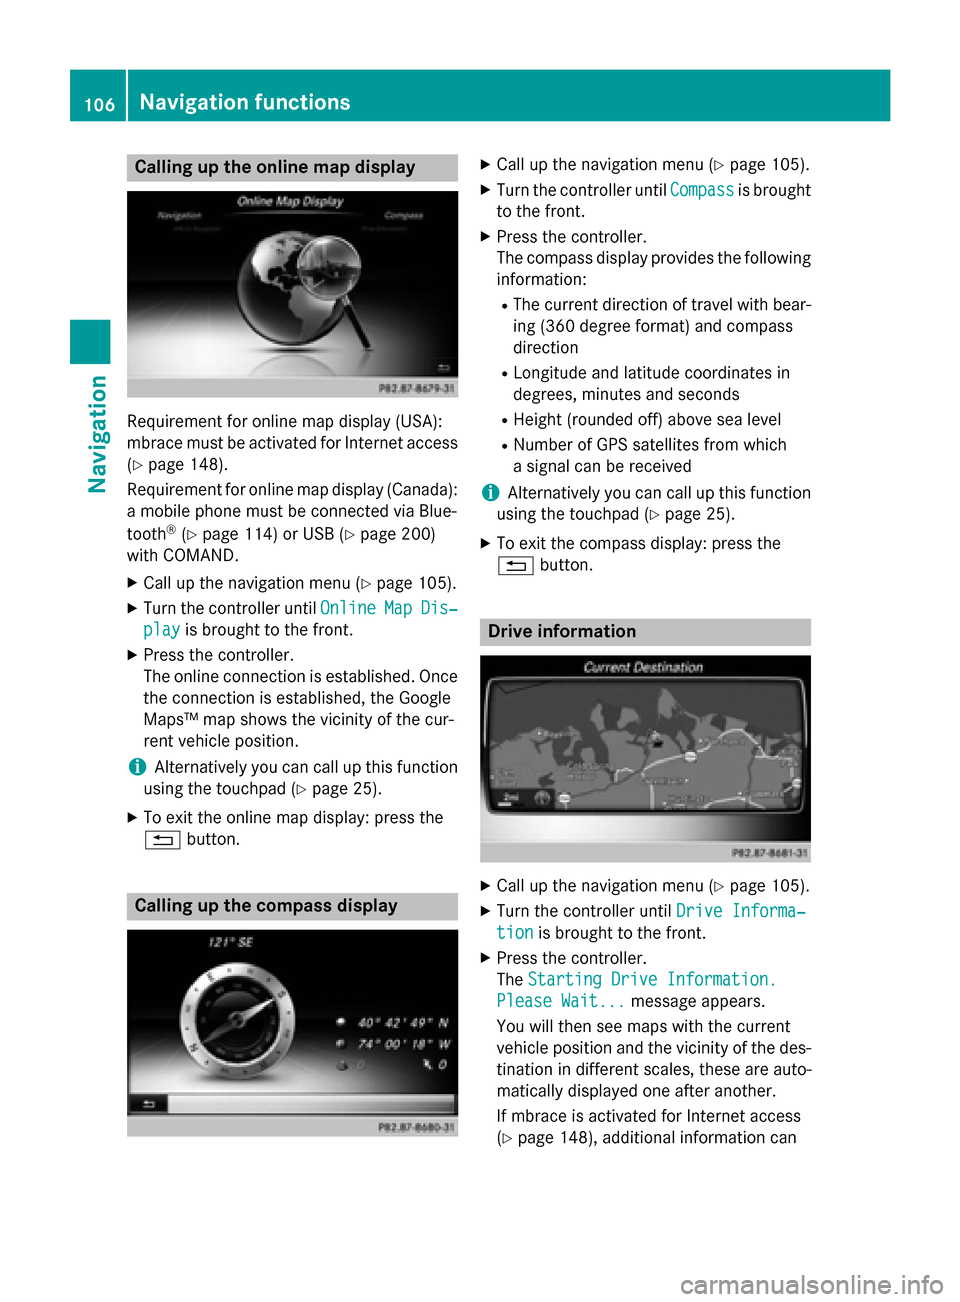
Calling up the online map display
Requirement for online map display (USA):
mbrace must be activated for Internet access
(
Ypage 148).
Requirement for online map display (Canada):
a mobile phone must be connected via Blue-
tooth
®(Ypage 114) or USB (Ypage 200)
with COMAND.
XCall up the navigation menu (Ypage 105).
XTurn the controller until OnlineMapDis‐
playis brought to the front.
XPress the controller.
The online connection is established. Once
the connection is established, the Google
Maps™ map shows the vicinity of the cur-
rent vehicle position.
iAlternatively you can call up this function
using the touchpad (
Ypage 25).
XTo exit the online map display: press the
% button.
Calling up the compass display
XCall up the navigation menu (Ypage 105).
XTurn the controller until Compassis brought
to the front.
XPress the controller.
The compass display provides the following information:
RThe current direction of travel with bear-
ing (360 degree format) and compass
direction
RLongitude and latitude coordinates in
degrees, minutes and seconds
RHeight (rounded off) above sea level
RNumber of GPS satellites from which
a signal can be received
iAlternatively you can call up this function
using the touchpad (
Ypage 25).
XTo exit the compass display: press the
% button.
Drive information
XCall up the navigation menu (Ypage 105).
XTurn the controller until Drive Informa‐
tionis brought to the front.
XPress the controller.
TheStarting Drive Information.
Please Wait...message appears.
You will then see maps with the current
vehicle position and the vicinity of the des-
tination in different scales, these are auto-
matically displayed one after another.
If mbrace is activated for Internet access
(
Ypage 148), additional information can
106Navigation functions
Navigation
Page 113 of 226

Your COMAND equipment................112
Important safet ynotes .................... .112
General notes .................................... 112
Telephon emenu ................................ 113
Connecting/disconnecting a
mobile phone .................................... .114
Reception an dtransmission vol-
um e.................................................... 118
Usin gth etelephon e........................ .119
Mobile phone voice recognition ......123
Phone book ........................................ 123
Address book .................................... 127
Cal llist s............................................ .134
Speed dial list s.................................. 136
Messages (text messages an de-
mails) ................................................ .137
111
Telephone