Page 67 of 524
Safety features of your vehicle
54
3
Air bag non-inflation conditions
In certain low-speed collisions the
air bags may not deploy. The air
bags are designed not to deploy in
such cases because they may not
provide benefits beyond the pro-
tection of the seat belts in such col-
lisions. Air bags are not designed to inflate
in rear collisions, because occu-
pants are moved backward by the
force of the impact. In this case,
inflated air bags would not be able
to provide any additional benefit. Front air bags may not inflate in
side impact collisions, because
occupants move to the direction of
the collision, and thus in side
impacts, frontal air bag deployment
would not provide additional occu-
pant protection.
OUN036087OVQ036018N
1VQA2086
Page 113 of 524
443
Features of your vehicle
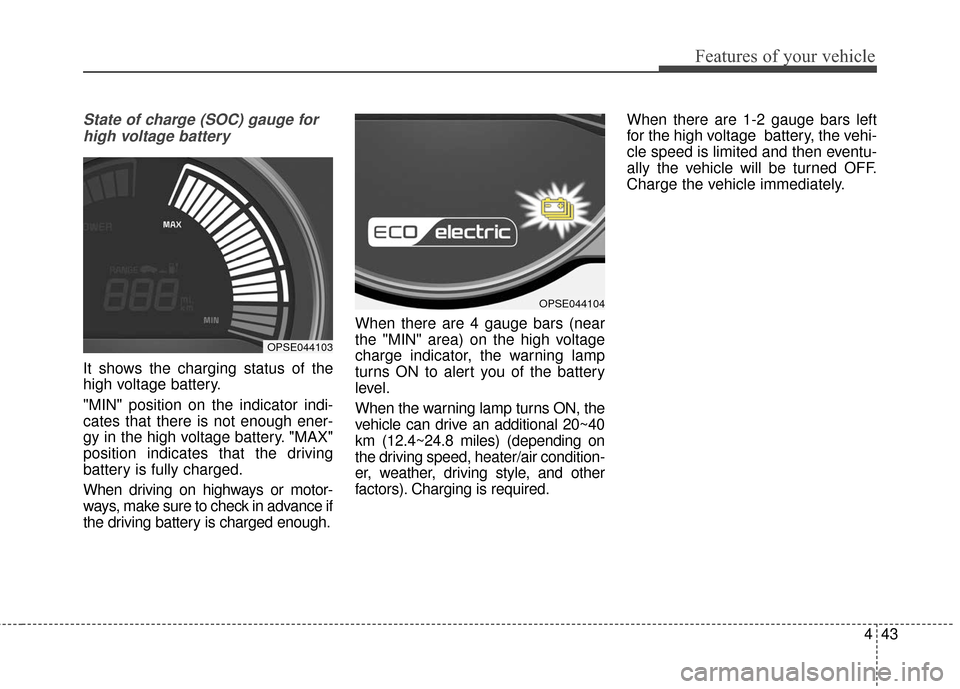
State of charge (SOC) gauge forhigh voltage battery
It shows the charging status of the
high voltage battery.
"MIN" position on the indicator indi-
cates that there is not enough ener-
gy in the high voltage battery. "MAX"
position indicates that the driving
battery is fully charged.
When driving on highways or motor-
ways, make sure to check in advance if
the driving battery is charged enough. When there are 4 gauge bars (near
the "MIN" area) on the high voltage
charge indicator, the warning lamp
turns ON to alert you of the battery
level.
When the warning lamp turns ON, the
vehicle can drive an additional 20~40
km (12.4~24.8 miles) (depending on
the driving speed, heater/air condition-
er, weather, driving style, and other
factors). Charging is required.When there are 1-2 gauge bars left
for the high voltage battery, the vehi-
cle speed is limited and then eventu-
ally the vehicle will be turned OFF.
Charge the vehicle immediately.
OPSE044103
OPSE044104
Page 134 of 524
Features of your vehicle
64
4
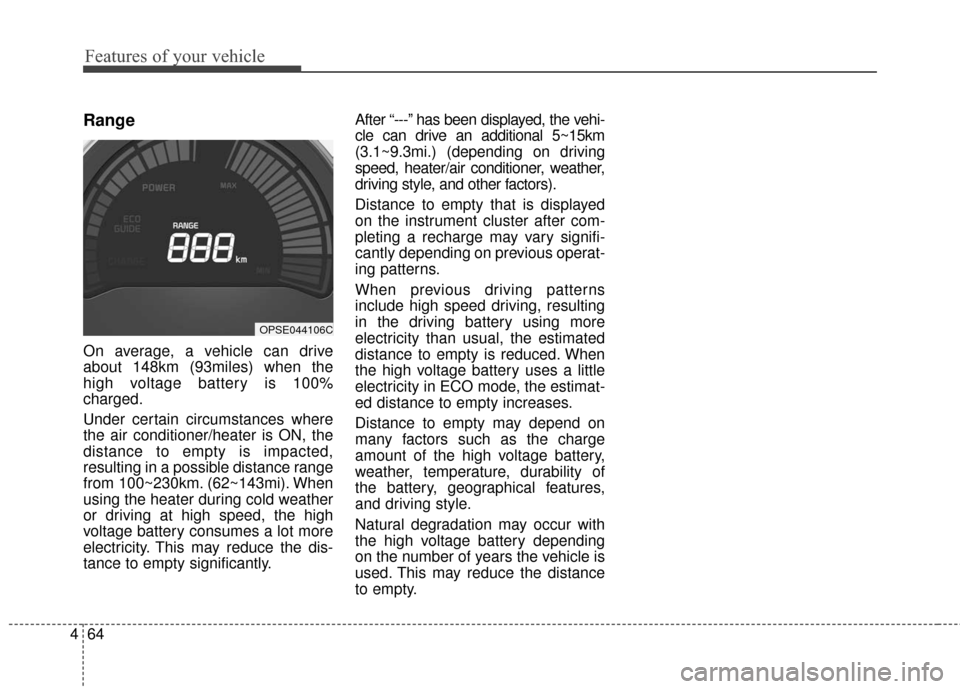
Range
On average, a vehicle can drive
about 148km (93miles) when the
high voltage battery is 100%
charged.
Under certain circumstances where
the air conditioner/heater is ON, the
distance to empty is impacted,
resulting in a possible distance range
from 100~230km. (62~143mi). When
using the heater during cold weather
or driving at high speed, the high
voltage battery consumes a lot more
electricity. This may reduce the dis-
tance to empty significantly. After “---” has been displayed, the vehi-
cle can drive an additional 5~15km
(3.1~9.3mi.) (depending on driving
speed, heater/air conditioner, weather,
driving style, and other factors).
Distance to empty that is displayed
on the instrument cluster after com-
pleting a recharge may vary signifi-
cantly depending on previous operat-
ing patterns.
When previous driving patterns
include high speed driving, resulting
in the driving battery using more
electricity than usual, the estimated
distance to empty is reduced. When
the high voltage battery uses a little
electricity in ECO mode, the estimat-
ed distance to empty increases.
Distance to empty may depend on
many factors such as the charge
amount of the high voltage battery,
weather, temperature, durability of
the battery, geographical features,
and driving style.
Natural degradation may occur with
the high voltage battery depending
on the number of years the vehicle is
used. This may reduce the distance
to empty.
OPSE044106C
Page 135 of 524

465
Features of your vehicle
Warning lights
✽ ✽NOTICE - Warning lights
Make sure that all warning lights
are OFF after starting the vehicle. If
any light is still ON, this indicates a
situation that needs attention.
Service warning light
This warning light illuminates :
Once you set the POWER button
to the ON position.
- It illuminates for approximately 3seconds
There is a failure with a sensor, actuator, or the electric compres-
sor for the air conditioner related to
the electric vehicle control system.
When the warning light turns ON
while driving, or does not turn OFF
after vehicle has started, have your
vehicle inspected by an authorized
Kia dealer.
Power down warning
light
This warning light illuminates :
When the power is limited for the safety of the electric vehicle.
- When the high voltage batterylevel is below a certain threshold,
the voltage is decreasing, the
temperature of the motor or driv-
ing battery is too high or too low,
there is a failure in the cooling
system, or a failure that is dis-
rupting normal driving.
WARNING AND INDICATOR LIGHTS
Page 148 of 524
Features of your vehicle
78
4
Non-operational conditions of
parking assist system
Parking assist system may not
operate normally when:
1. Moisture is frozen to the sensor. (It will operate normally when moisture
melts.)
2. Sensor is covered with foreign matter, such as snow or water, or
the sensor cover is blocked. (It will
operate normally when the materi-
al is removed or the sensor is no
longer blocked.)
3. Sensor is stained with foreign mat- ter such as snow or water. (Sensing
range will return to normal when
removed.)
4. The parking assist button is off.
There is a possibility of parking assist system malfunction when:
1. Driving on uneven road surfaces such as unpaved roads, gravel,
bumps, or gradient.
2. Objects generating excessive noise such as vehicle horns, loud motor-
cycle engines, or truck air brakes
can interfere with the sensor.
3. Heavy rain or water spray.
4. Wireless transmitters or mobile phones present near the sensor.
5. Sensor is covered with snow.
Detecting range may decrease when:
1. Outside air temperature is extremely hot or cold.
2. Undetectable objects smaller than 1 m (39 in) and narrower than 14
cm (5.5 in) in diameter.
The following objects may not be
recognized by the sensor:
1. Sharp or slim objects such as ropes, chains or small poles.
2. Objects, which tend to absorb sen- sor frequency such as clothes,
spongy material or snow.
Page 164 of 524
Features of your vehicle
94
4
AUTOMATIC CLIMATE CONTROL SYSTEM
OPSE045310N/OPSE044162N
1. Fan speed control button
2. Front windshield defroster button
3. Rear windshield defroster button
4. Temperature control knob/button
5. AUTO (automatic control) button
6. OFF button
7. HEAT button
8. Air conditioning button
9. Climate control information screen
selection button
10. Mode selection button
11. Driver Only button
12. Air intake control button
13. Climate control timer
14. Climate control display
■ ■ Type A
■ ■Type B
Page 165 of 524
495
Features of your vehicle
Automatic heating and air
conditioning
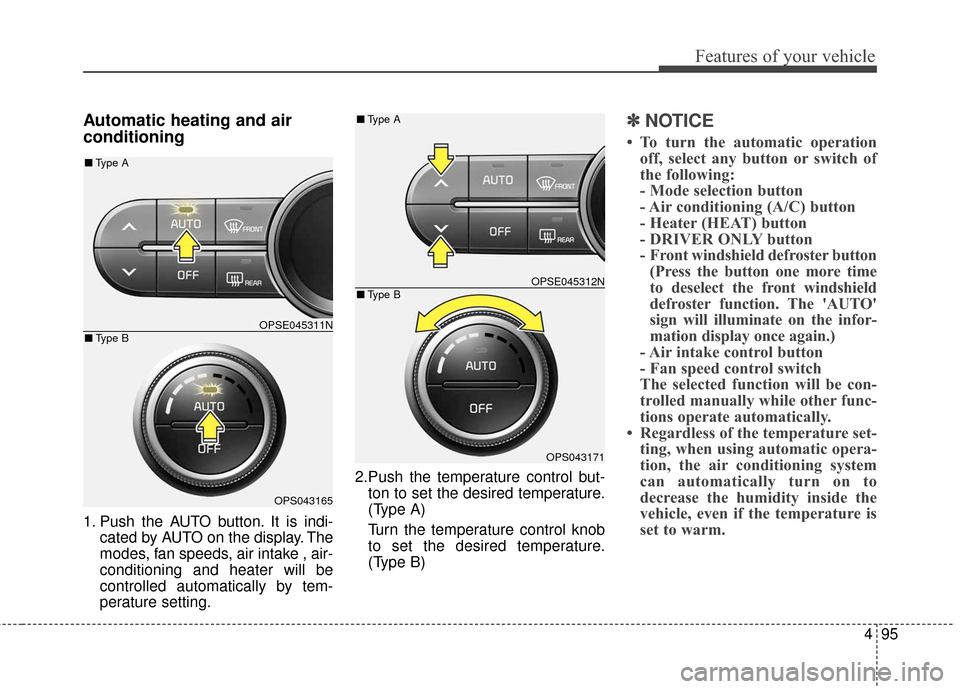
1. Push the AUTO button. It is indi-cated by AUTO on the display. The
modes, fan speeds, air intake , air-
conditioning and heater will be
controlled automatically by tem-
perature setting. 2.Push the temperature control but-
ton to set the desired temperature.
(Type A)
Turn the temperature control knob
to set the desired temperature.
(Type B)
✽ ✽ NOTICE
• To turn the automatic operation
off, select any button or switch of
the following:
- Mode selection button
- Air conditioning (A/C) button
- Heater (HEAT) button
- DRIVER ONLY button
- Front windshield defroster button(Press the button one more time
to deselect the front windshield
defroster function. The 'AUTO'
sign will illuminate on the infor-
mation display once again.)
- Air intake control button
- Fan speed control switch
The selected function will be con-
trolled manually while other func-
tions operate automatically.
• Regardless of the temperature set- ting, when using automatic opera-
tion, the air conditioning system
can automatically turn on to
decrease the humidity inside the
vehicle, even if the temperature is
set to warm.
OPSE045311N
OPS043165
■ Type B
■Type A
OPSE045312N
OPS043171
■Type B
■Type A
Page 166 of 524
Features of your vehicle
96
4
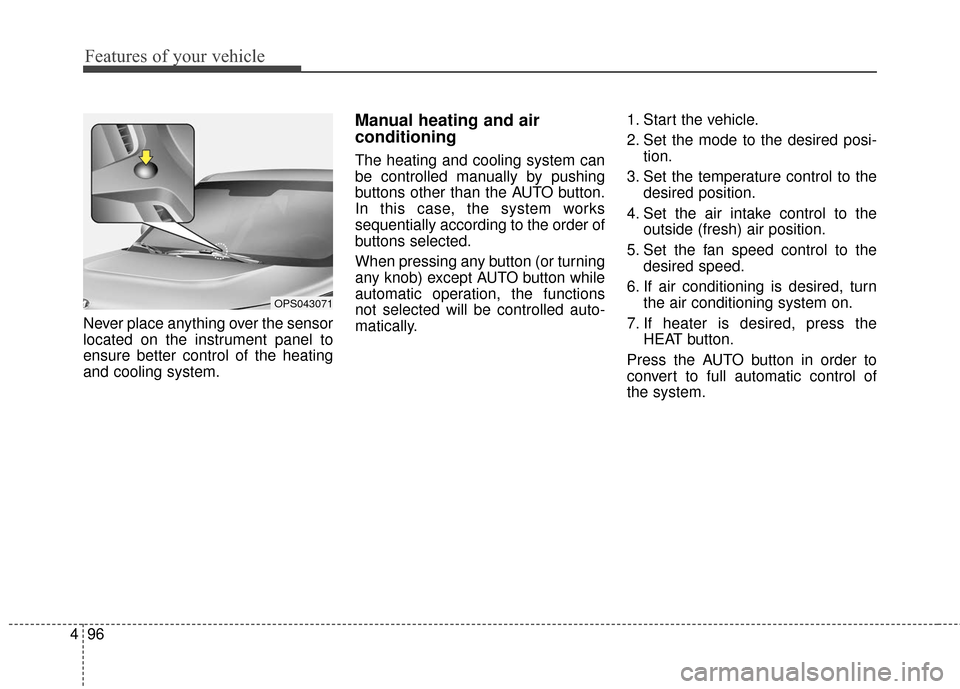
Never place anything over the sensor
located on the instrument panel to
ensure better control of the heating
and cooling system.
Manual heating and air
conditioning
The heating and cooling system can
be controlled manually by pushing
buttons other than the AUTO button.
In this case, the system works
sequentially according to the order of
buttons selected.
When pressing any button (or turning
any knob) except AUTO button while
automatic operation, the functions
not selected will be controlled auto-
matically. 1. Start the vehicle.
2. Set the mode to the desired posi-
tion.
3. Set the temperature control to the desired position.
4. Set the air intake control to the outside (fresh) air position.
5. Set the fan speed control to the desired speed.
6. If air conditioning is desired, turn the air conditioning system on.
7. If heater is desired, press the HEAT button.
Press the AUTO button in order to
convert to full automatic control of
the system.
OPS043071