Page 417 of 466
777
Maintenance
Backup light
1.Turn off the engine.
2.Open the trunk.
3.Loosen the retaining screw of thetrunk lid cover and then remove the
cover. 4.Disconnect the cable and then
remove the nuts by turning the nuts
counter clockwise.
5.Take the light assembly out.
6.Insert a new bulb by inserting it intothe socket.
7.Install the light assembly to the trunk.
8.Reinstall the nuts and connector and then the trunk lid cover by
pushing in the screw.
OTF070033
OTF074052
Backup light
OTF074054
OTFH074098N
■
Back up light-1
■ Back up light-2
Page 418 of 466
Maintenance
78
7
License plate light bulb
replacement
1.Turn off the engine.
2.Open the trunk. 3.Loosen the retaining screw of the
trunk lid cover and then remove the
cover.
4.Take out the light.
5.Insert a new bulb by inserting it into the socket.
6.Reinstall the trunk lid cover by pushing in the screw.
High mounted stop light
replacement
OTF070036
OTF070033
OTF074037
Page 421 of 466
781
Maintenance
Interior light bulb replacement
1. Using a flat-blade screwdriver,gently pry the lens from the interi-
or light housing.
2. Remove the bulb by pulling it straight out.
3. Install a new bulb in the socket.
4. Align the lens tabs with the interior light housing notches and snap
the lens into place.
WARNING- Interior Light
Prior to working on the Interior
Lights, ensure that the “OFF”
button is pressed to avoid burn-
ing your fingers or receiving an
electric shock.
CAUTION
Be careful not to dirty or dam- age lens, lens tab, and plastichousings.
■Type A
Front map lamp
OTFH074038N/OTF070039/OTF070040
Room lamp
■Type B
Vanity mirror lamp
Luggage room lamp
Glove box lamp OVG079040/OTF070041/OTF070042
Page 422 of 466

APPEARANCE CARE
Exterior care
Exterior general caution
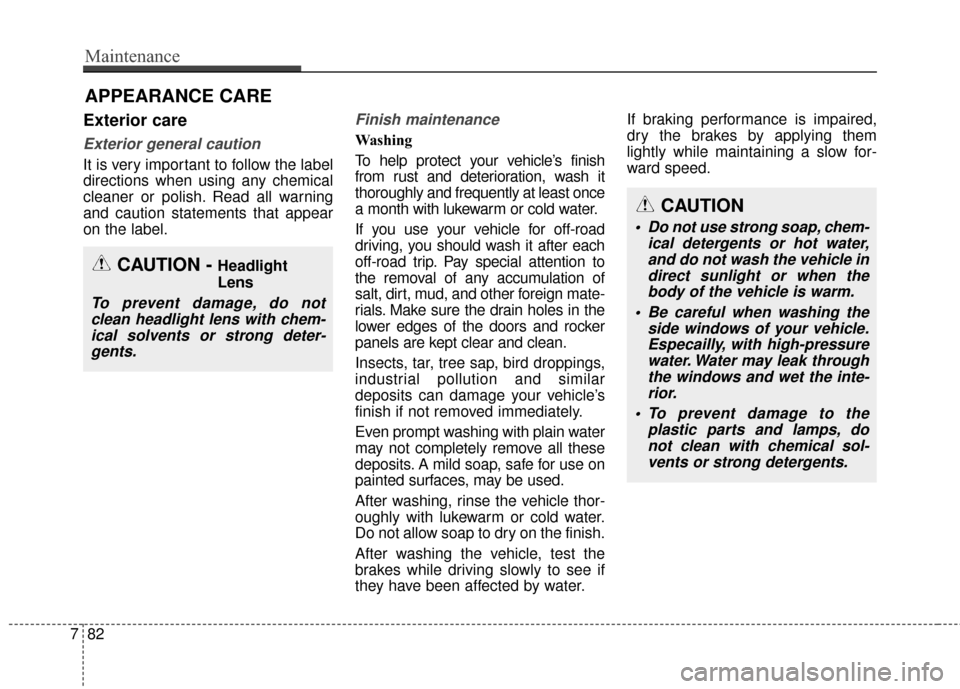
It is very important to follow the label
directions when using any chemical
cleaner or polish. Read all warning
and caution statements that appear
on the label.
Finish maintenance
Washing
To help protect your vehicle’s finish
from rust and deterioration, wash it
thoroughly and frequently at least once
a month with lukewarm or cold water.
If you use your vehicle for off-road
driving, you should wash it after each
off-road trip. Pay special attention to
the removal of any accumulation of
salt, dirt, mud, and other foreign mate-
rials. Make sure the drain holes in the
lower edges of the doors and rocker
panels are kept clear and clean.
Insects, tar, tree sap, bird droppings,
industrial pollution and similar
deposits can damage your vehicle’s
finish if not removed immediately.
Even prompt washing with plain water
may not completely remove all these
deposits. A mild soap, safe for use on
painted surfaces, may be used.
After washing, rinse the vehicle thor-
oughly with lukewarm or cold water.
Do not allow soap to dry on the finish.
After washing the vehicle, test the
brakes while driving slowly to see if
they have been affected by water.If braking performance is impaired,
dry the brakes by applying them
lightly while maintaining a slow for-
ward speed.
CAUTION - Headlight
Lens
To prevent damage, do not
clean headlight lens with chem-ical solvents or strong deter-gents.
782
Maintenance
CAUTION
Do not use strong soap, chem- ical detergents or hot water,and do not wash the vehicle indirect sunlight or when thebody of the vehicle is warm.
Be careful when washing the side windows of your vehicle.Especailly, with high-pressurewater. Water may leak throughthe windows and wet the inte-rior.
To prevent damage to the plastic parts and lamps, donot clean with chemical sol-vents or strong detergents.
Page 425 of 466

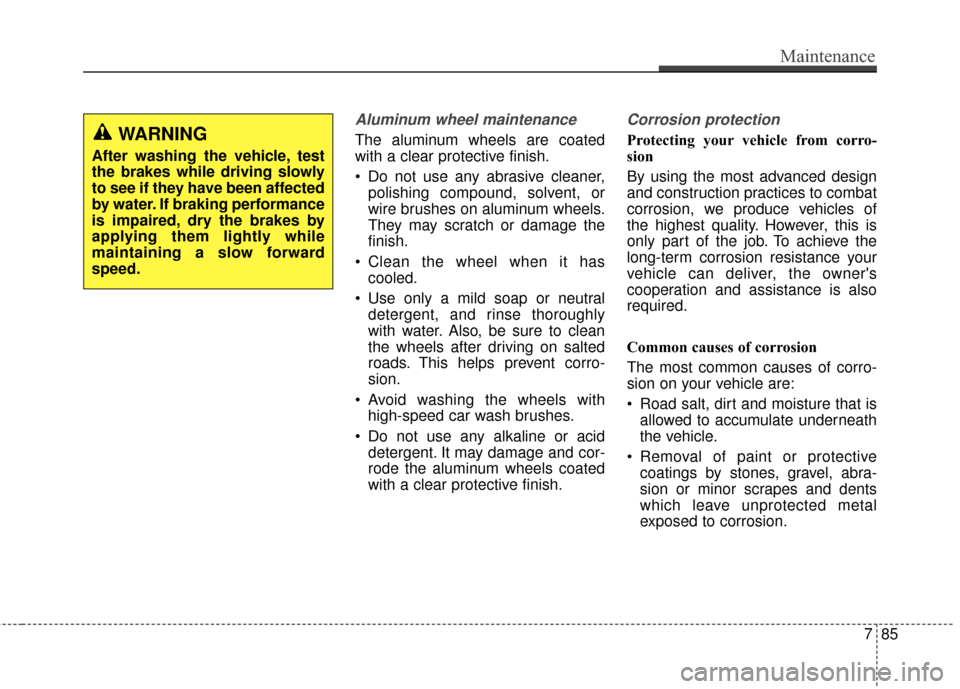
Aluminum wheel maintenance
The aluminum wheels are coated
with a clear protective finish.
Do not use any abrasive cleaner,polishing compound, solvent, or
wire brushes on aluminum wheels.
They may scratch or damage the
finish.
Clean the wheel when it has cooled.
Use only a mild soap or neutral detergent, and rinse thoroughly
with water. Also, be sure to clean
the wheels after driving on salted
roads. This helps prevent corro-
sion.
Avoid washing the wheels with high-speed car wash brushes.
Do not use any alkaline or acid detergent. It may damage and cor-
rode the aluminum wheels coated
with a clear protective finish.
Corrosion protection
Protecting your vehicle from corro-
sion
By using the most advanced design
and construction practices to combat
corrosion, we produce vehicles of
the highest quality. However, this is
only part of the job. To achieve the
long-term corrosion resistance your
vehicle can deliver, the owner's
cooperation and assistance is also
required.
Common causes of corrosion
The most common causes of corro-
sion on your vehicle are:
Road salt, dirt and moisture that isallowed to accumulate underneath
the vehicle.
coatings by stones, gravel, abra-
sion or minor scrapes and dents
which leave unprotected metal
exposed to corrosion.
Maintenance
85
7
WARNING
After washing the vehicle, test
the brakes while driving slowly
to see if they have been affected
by water. If braking performance
is impaired, dry the brakes by
applying them lightly while
maintaining a slow forward
speed.
Page 435 of 466
48
Specifications & Consumer information
BULB WATTAGE
* : if equipped
Light BulbWattage Bulb type
Front Headlamps (Low)
55H7S
Headlamps (Low) - HID type* 35D1S
Headlamps (High) 55H7L
Front turn signal lamps 28 P28/8W
Front position lamps 8/LED P28/8W/LED
Front fog lamps* 35/LED H8L/LED
Side Repeater lamps* LEDLED
Side marker LEDLED
Rear LED type
Rear Stop/Tail lamps (outside) LED
LED
Rear tail lamps (Inside) LEDLED
Rear turn signal lamps 27P27W
Back-up lamps 16#921
High mounted stop lamp* LEDLED
License plate lamps 5W5W
Interior Map lamps
10W10W
Room lamps 10C10W
Vanity mirror lamps5C5W
Glove box lamp5C5W
Trunk lamp 5C5W
Page 448 of 466

H8
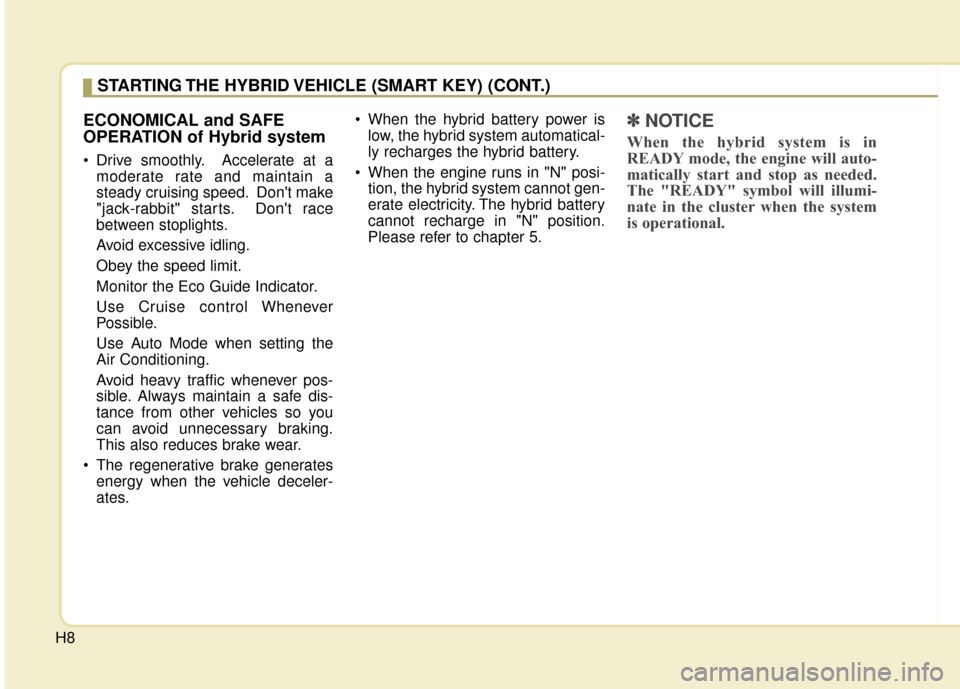
ECONOMICAL and SAFE
OPERATION of Hybrid system
Drive smoothly. Accelerate at amoderate rate and maintain a
steady cruising speed. Don't make
"jack-rabbit" starts. Don't race
between stoplights.
Avoid excessive idling.
Obey the speed limit.
Monitor the Eco Guide Indicator.
Use Cruise control Whenever
Possible.
Use Auto Mode when setting the
Air Conditioning.
Avoid heavy traffic whenever pos-
sible. Always maintain a safe dis-
tance from other vehicles so you
can avoid unnecessary braking.
This also reduces brake wear.
The regenerative brake generates energy when the vehicle deceler-
ates. When the hybrid battery power is
low, the hybrid system automatical-
ly recharges the hybrid battery.
When the engine runs in "N" posi- tion, the hybrid system cannot gen-
erate electricity. The hybrid battery
cannot recharge in "N" position.
Please refer to chapter 5.
✽ ✽ NOTICE
When the hybrid system is in
READY mode, the engine will auto-
matically start and stop as needed.
The "READY" symbol will illumi-
nate in the cluster when the system
is operational.
STARTING THE HYBRID VEHICLE (SMART KEY) (CONT.)
Page 459 of 466

Index
2I
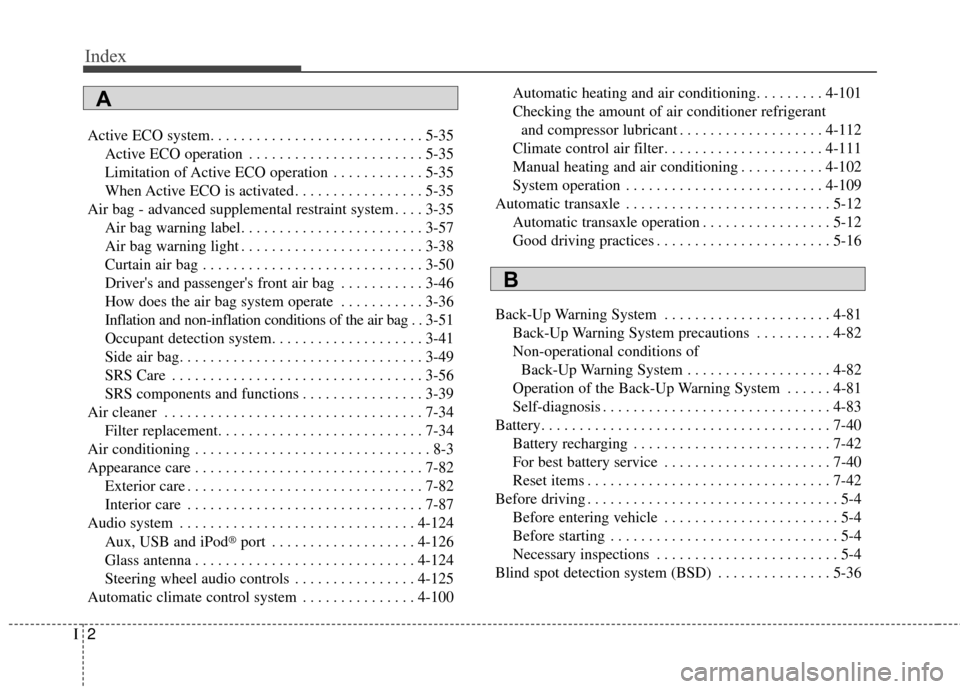
Active ECO system. . . . . . . . . . . . . . . . . . . . . . . . . . . . 5-35Active ECO operation . . . . . . . . . . . . . . . . . . . . . . . 5-35
Limitation of Active ECO operation . . . . . . . . . . . . 5-35
When Active ECO is activated . . . . . . . . . . . . . . . . . 5-35
Air bag - advanced supplemental restraint system . . . . 3-35 Air bag warning label. . . . . . . . . . . . . . . . . . . . . . . . 3-57
Air bag warning light . . . . . . . . . . . . . . . . . . . . . . . . 3-38
Curtain air bag . . . . . . . . . . . . . . . . . . . . . . . . . . . . . 3-50
Driver's and passenger's front air bag . . . . . . . . . . . 3-46
How does the air bag system operate . . . . . . . . . . . 3-36
Inflation and non-inflation conditions of the air bag . . 3-51
Occupant detection system. . . . . . . . . . . . . . . . . . . . 3-41
Side air bag. . . . . . . . . . . . . . . . . . . . . . . . . . . . . . . . 3-49
SRS Care . . . . . . . . . . . . . . . . . . . . . . . . . . . . . . . . . 3-56
SRS components and functions . . . . . . . . . . . . . . . . 3-39
Air cleaner . . . . . . . . . . . . . . . . . . . . . . . . . . . . . . . . . . 7-34\
Filter replacement. . . . . . . . . . . . . . . . . . . . . . . . . . . 7-34
Air conditioning . . . . . . . . . . . . . . . . . . . . . . . . . . . . . . . 8-3
Appearance care . . . . . . . . . . . . . . . . . . . . . . . . . . . . . . 7-82 Exterior care . . . . . . . . . . . . . . . . . . . . . . . . . . . . . . . 7-82
Interior care . . . . . . . . . . . . . . . . . . . . . . . . . . . . . . . 7-87
Audio system . . . . . . . . . . . . . . . . . . . . . . . . . . . . . . . 4-124
Aux, USB and iPod
®port . . . . . . . . . . . . . . . . . . . 4-126
Glass antenna . . . . . . . . . . . . . . . . . . . . . . . . . . . . . 4-124
Steering wheel audio controls . . . . . . . . . . . . . . . . 4-125
Automatic climate control system . . . . . . . . . . . . . . . 4-100 Automatic heating and air conditioning. . . . . . . . . 4-101
Checking the amount of air conditioner refrigerant
and compressor lubricant . . . . . . . . . . . . . . . . . . . 4-112
Climate control air filter. . . . . . . . . . . . . . . . . . . . . 4-111
Manual heating and air conditioning . . . . . . . . . . . 4-102
System operation . . . . . . . . . . . . . . . . . . . . . . . . . . 4-109
Automatic transaxle . . . . . . . . . . . . . . . . . . . . . . . . . . . 5-12 Automatic transaxle operation . . . . . . . . . . . . . . . . . 5-12
Good driving practices . . . . . . . . . . . . . . . . . . . . . . . 5-16
Back-Up Warning System . . . . . . . . . . . . . . . . . . . . . . 4-81 Back-Up Warning System precautions . . . . . . . . . . 4-82
Non-operational conditions ofBack-Up Warning System . . . . . . . . . . . . . . . . . . . 4-82
Operation of the Back-Up Warning System . . . . . . 4-81
Self-diagnosis . . . . . . . . . . . . . . . . . . . . . . . . . . . . . . 4-83
Battery. . . . . . . . . . . . . . . . . . . . . . . . . . . . . . . . . . . . \
. . 7-40 Battery recharging . . . . . . . . . . . . . . . . . . . . . . . . . . 7-42
For best battery service . . . . . . . . . . . . . . . . . . . . . . 7-40
Reset items . . . . . . . . . . . . . . . . . . . . . . . . . . . . . . . . 7-42
Before driving . . . . . . . . . . . . . . . . . . . . . . . . . . . . . . . . . 5-4 Before entering vehicle . . . . . . . . . . . . . . . . . . . . . . . 5-4
Before starting . . . . . . . . . . . . . . . . . . . . . . . . . . . . . . 5-4
Necessary inspections . . . . . . . . . . . . . . . . . . . . . . . . 5-4
Blind spot detection system (BSD) . . . . . . . . . . . . . . . 5-36
A
B