2016 KIA Optima Hybrid turn signal
[x] Cancel search: turn signalPage 16 of 466

25
Your vehicle at a glance
INSTRUMENT PANEL OVERVIEW
1. Instrument cluster .............................4-45
2. Light control / Turn signals.......4-87, 4-90
3. Wiper/Washer ...................................4-92
4. Horn ..................................................4-38
5. Steering wheel audio control ..........4-125
6. Auto cruise control ............................5-31
7. Driver’s air bag ..................................3-46
8. Steering wheel ..................................4-37
9. ENGINE START/STOP button ............5-6
10. Hazard ..............................................6-2
11. Audio .............................................4-124
12. Climate control system .................4-100
13. Shift lever ........................................5-12
14. Aux, USB and iPod
®port ..............4-126
15. Power outlet ..................................4-121
16. Seat warmer ...................................3-11
17. Passenger’s air bag ........................3-46
18. Glove box ......................................4-117
OTFH014002C
❈ The actual shape may differ from the illustration.
Page 54 of 466

Safety features of your vehicle
36
3
How does the air bag system
operate
Air bags are activated (able to
inflate if necessary) only when the
ignition switch is turned to the ON
or START the appropriate position.
Air bags inflate instantly in the event of serious frontal or side col-
lision (if equipped with side air bag
or curtain air bag) in order to help
protect the occupants from serious
physical injury.
There is no single speed at which the air bags will inflate.
Generally, air bags are designed to
inflate based upon the severity of a
collision and its direction. These
two factors determine whether the
sensors produce an electronic
deployment/ inflation signal.
Air bag deployment depends on a number of complex factors includ-
ing vehicle speed, angles of impact
and the density and stiffness of the
vehicles or objects which your
vehicle hits in the collision. Though,
factors are not limited to those
mentioned above. The front air bags will completely
inflate and deflate in an instant.
It is virtually impossible for you to
see the air bags inflate during an
accident. It is much more likely that
you will simply see the deflated air
bags hanging out of their storage
compartments after the collision.
In order to help provide protection in a severe collision, the air bags
must inflate rapidly. The speed of
air bag inflation is a consequence
of extremely short time in which a
collision occurs and the need to
get the air bag between the occu-
pant and the vehicle structures
before the occupant impacts those
structures. This speed of inflation
reduces the risk of serious or life-
threatening injuries in a severe col-
lision and is thus a necessary part
of air bag design.
However, air bag inflation can also
cause injuries which can include
facial abrasions, bruises and bro-
ken bones because the inflation
speed also causes the air bags to
expand with a great deal of force. There are even circumstances
under which contact with the
steering wheel air bag can cause
fatal injuries, especially if the
occupant is positioned exces-
sively close to the steering
wheel.
WARNING - Airbag
inflation
Sit as far back as possible from
the steering wheel while still
maintaining comfortable con-
trol of the your vehicle. A dis-
tance of at least 25 cm (10")
from your chest to the steering
wheel is recommended. Failure
to do so can result in airbag
inflation injuries to the driver.
Page 132 of 466

457
Features of your vehicle
Auto Door Unlock (if equipped)
Off:The auto door unlock operation will
be canceled.
Key Out or Power Off: All doors will be automatically
unlocked when the ignition key is
removed from ignition switch or
Engine Start/Stop Button is set to
the OFF position.
Shift Lever: All doors will be automatically
unlocked if the automatic transaxle
shift lever is shifted to the P (Park)
position. Two Press Unlock (if equipped)
Off:
The two press unlock function will
be deactivated. Therefore, all doors
will unlock if the door is unlocked.
On: The driver’s door will unlock if the
door is unlocked. When the door is
unlocked again within 4 seconds,
all doors will unlock.
Horn Feedback (if equipped)
Off: The Horn feedback operation will
be deactivated.
On: After locking the door by pressing
the lock button on the transmitter, if
you press the lock button again
within 4 seconds, the warning
sound will operate once to indicate
that all doors are locked.Lamp
One Touch Turn Lamp (if equipped)
If this item is checked, the lane
change signals will blink 3, 5 or 7
times when the turn signal lever is
moved slightly.
Head Lamp Delay (if equipped)
If this item is checked, the headlamp
delay function will be activated.
Welcome Light (if equipped)
If this item is checked, the welcome
light function will be activated.
Page 155 of 466

Features of your vehicle
80
4
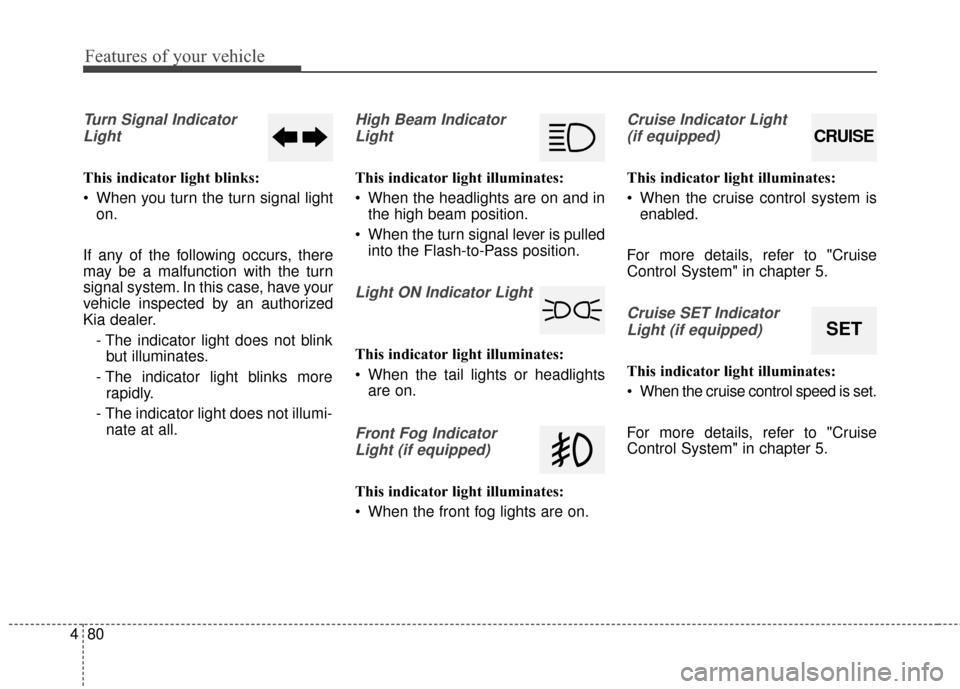
Turn Signal Indicator
Light
This indicator light blinks:
When you turn the turn signal light on.
If any of the following occurs, there
may be a malfunction with the turn
signal system. In this case, have your
vehicle inspected by an authorized
Kia dealer. - The indicator light does not blinkbut illuminates.
- The indicator light blinks more rapidly.
- The indicator light does not illumi- nate at all.
High Beam Indicator
Light
This indicator light illuminates:
When the headlights are on and in the high beam position.
When the turn signal lever is pulled into the Flash-to-Pass position.
Light ON Indicator Light
This indicator light illuminates:
When the tail lights or headlightsare on.
Front Fog Indicator
Light (if equipped)
This indicator light illuminates:
When the front fog lights are on.
Cruise Indicator Light (if equipped)
This indicator light illuminates:
When the cruise control system is enabled.
For more details, refer to "Cruise
Control System" in chapter 5.
Cruise SET Indicator Light (if equipped)
This indicator light illuminates:
When the cruise control speed is set.
For more details, refer to "Cruise
Control System" in chapter 5.
CRUISE
SET
Page 165 of 466

Features of your vehicle
90
4
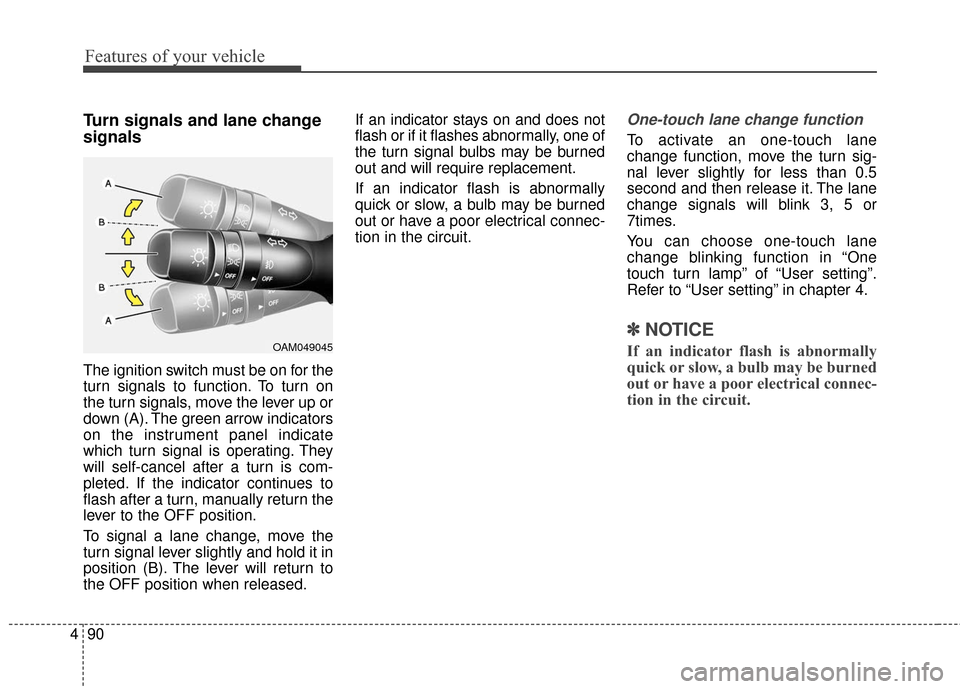
Turn signals and lane change
signals
The ignition switch must be on for the
turn signals to function. To turn on
the turn signals, move the lever up or
down (A). The green arrow indicators
on the instrument panel indicate
which turn signal is operating. They
will self-cancel after a turn is com-
pleted. If the indicator continues to
flash after a turn, manually return the
lever to the OFF position.
To signal a lane change, move the
turn signal lever slightly and hold it in
position (B). The lever will return to
the OFF position when released. If an indicator stays on and does not
flash or if it flashes abnormally, one of
the turn signal bulbs may be burned
out and will require replacement.
If an indicator flash is abnormally
quick or slow, a bulb may be burned
out or have a poor electrical connec-
tion in the circuit.
One-touch lane change function
To activate an one-touch lane
change function, move the turn sig-
nal lever slightly for less than 0.5
second and then release it. The lane
change signals will blink 3, 5 or
7times.
You can choose one-touch lane
change blinking function in “One
touch turn lamp” of “User setting”.
Refer to “User setting” in chapter 4.
✽ ✽
NOTICE
If an indicator flash is abnormally
quick or slow, a bulb may be burned
out or have a poor electrical connec-
tion in the circuit.OAM049045
Page 199 of 466

Features of your vehicle
124
4
AUDIO SYSTEM
✽
✽ NOTICE
If you install an after market HID
head lamp, your vehicle’s audio and
electronic device may malfunction.
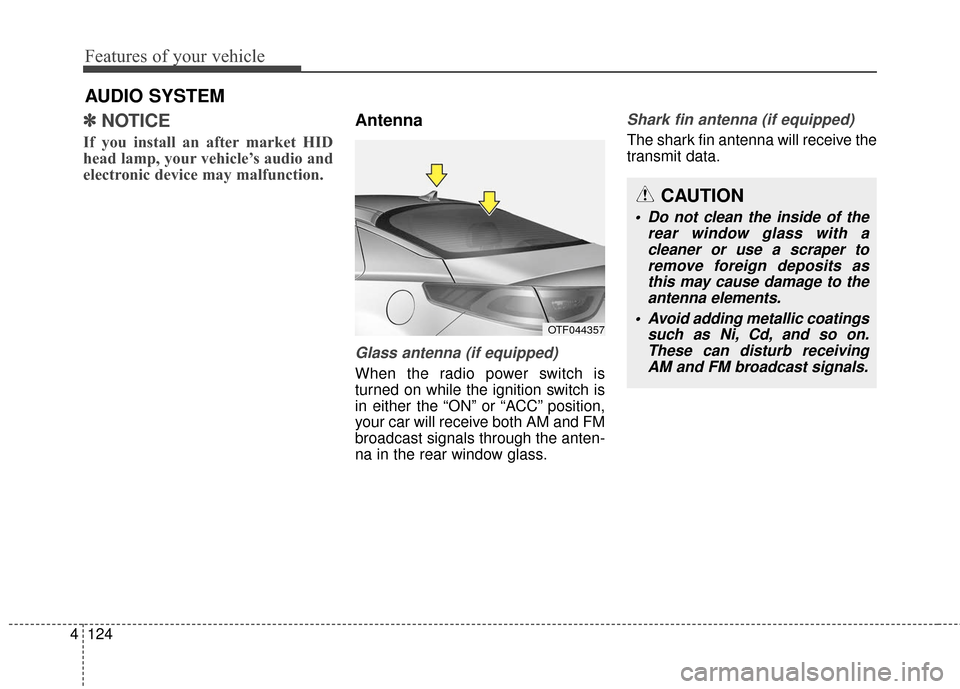
Antenna
Glass antenna (if equipped)
When the radio power switch is
turned on while the ignition switch is
in either the “ON” or “ACC” position,
your car will receive both AM and FM
broadcast signals through the anten-
na in the rear window glass.
Shark fin antenna (if equipped)
The shark fin antenna will receive the
transmit data.
OTF044357
CAUTION
• Do not clean the inside of the
rear window glass with acleaner or use a scraper toremove foreign deposits asthis may cause damage to theantenna elements.
Avoid adding metallic coatings such as Ni, Cd, and so on.These can disturb receivingAM and FM broadcast signals.
Page 223 of 466

Features of your vehicle
148
4
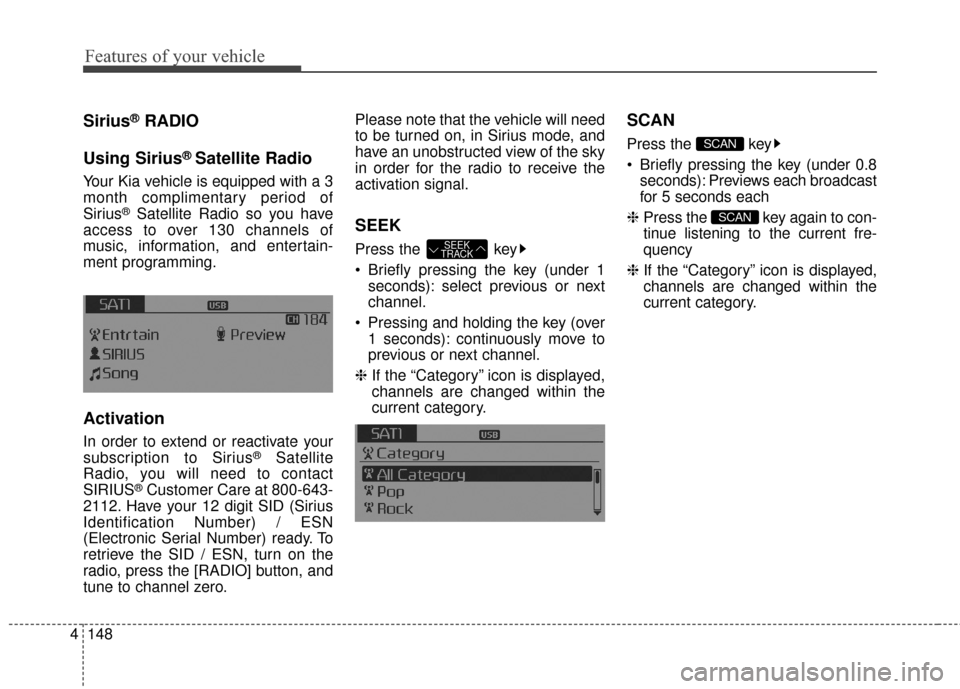
Sirius®RADIO
Using Sirius
®Satellite Radio
Your Kia vehicle is equipped with a 3
month complimentary period of
Sirius
®Satellite Radio so you have
access to over 130 channels of
music, information, and entertain-
ment programming.
Activation
In order to extend or reactivate your
subscription to Sirius®Satellite
Radio, you will need to contact
SIRIUS
®Customer Care at 800-643-
2112. Have your 12 digit SID (Sirius
Identification Number) / ESN
(Electronic Serial Number) ready. To
retrieve the SID / ESN, turn on the
radio, press the [RADIO] button, and
tune to channel zero. Please note that the vehicle will need
to be turned on, in Sirius mode, and
have an unobstructed view of the sky
in order for the radio to receive the
activation signal.
SEEK
Press the key
Briefly pressing the key (under 1
seconds): select previous or next
channel.
Pressing and holding the key (over 1 seconds): continuously move to
previous or next channel.
❈ If the “Category” icon is displayed,
channels are changed within the
current category.
SCAN
Press the key
Briefly pressing the key (under 0.8
seconds): Previews each broadcast
for 5 seconds each
❈ Press the key again to con-
tinue listening to the current fre-
quency
❈ If the “Category” icon is displayed,
channels are changed within the
current category.
SCAN
SCAN
SEEK
TRACK
Page 294 of 466

Driving your vehicle
38
5
If a vehicle is detected within the
boundary of the system, a warning
light will illuminate on the outside
rearview mirror.
If the detected vehicle is not in
detecting range, the warning will turn
off according to driving conditions. The second stage alarm will activate
when:
1.The first stage alert is on
2.The turn signal is on to change a
lane
When the second stage alert is acti-
vated, a warning light will blink on the
outside rearview mirror and a alarm
will sound.
If you move the turn signal switch to
the original position, the second
stage alert will be deactivated.
Detecting sensor
The sensors are located inside of the
rear bumper.
Always keep the rear bumper clean
for the system to work properly.
OTF054107
1st stage
OTF054108
2nd stage
OTFH054109