Page 111 of 276
MEDIA CONTROLS
The controls are accessed by pressing the desired button on the touchscreen and
choosing between Disc, AUX, USB, Bluetooth or SD Card.
NOTE:
Uconnect will automatically switch to the appropriate mode when something is first
connected or inserted into the system.
Navigation
• The information in the section below is only applicable if you have the 8.4ANsystem or the Navigation has been activated on your 8.4A system.
• If you have a Uconnect 8.4A system your radio is “Navigation-Ready,” and can be equipped with Navigation at an extra cost. Please see your dealer for details.
Press the “Nav” button on the touchscreen in the menu bar to access the Navigation
system.
Media Controls
1 — Repeat Music Track
2 — Music Track And Time
3 — Shuffle Music Tracks
4 — Music Track Information5 — Show Songs Currently In Cue To
Be Played
6 — Browse Music By
7 — Music Source
ELECTRONICS
109
Page 119 of 276
2. Uconnect Voice Recognition Button.
a. Short Press: Push and release the VR button to begin Radio, Climate,
Navigation, and other embedded functions. After you hear the single beep, say
a command.
b. Long Press: Push and hold continuously for a few milliseconds, then release the
VR button for Siri functions. After you hear the familiar Siri "double beep," say
a command.
3. Phone Hang Up Button.
Basic Voice Commands
The basic Voice Commands below can be given at any point while using your
Uconnect system.
Push the VR button
. After the beep, say:
• Cancel to stop a current voice session
• Help to hear a list of suggested Voice Commands
• Repeat to listen to the system prompts again
Notice the visual cues that inform you of your voice recognition system’s status. Cues
appear on the touchscreen.
Uconnect 8.4A/8.4AN
ELECTRONICS
117
Page 120 of 276
Radio
Use your voice to quickly get to the AM, FM or SiriusXM Satellite Radio stations you
would like to hear. (Subscription or included SiriusXM Satellite Radio trial required.)
Push the VR button
. After the beep, say:
• Tune to ninety-five-point-five FM
• Tune to Satellite Channel Hits 1
TIP: At any time, if you are not sure of what to say or want to learn a Voice Command,
push the VR button
and say “Help.”The system will provide you with a list of
commands.
Uconnect 8.4A/8.4AN Radio
ELECTRONICS
118
Page 131 of 276
Mobile App (8.4A/8.4AN)
You’re only a few steps away from using remote commands and playing your favorite
music in your vehicle.
To link your internet radio accounts:
1. Download theUconnect Access App on
your device.
2. Press the Via Mobile icon on the navi- gation bar at the bottom of the app.
3. Press the app you’d like to connect to your vehicle.
4. Enter your login information for the selected app and press Link.
5. Next time you’re in your vehicle, en- able Bluetooth, pair your device and
select the Via Mobile app you want to
play from the Uconnect touchscreen
to stream your personalized music.
NOTE:
• You can also complete this process on the web. Simply visit
moparownerconnect.com log in and
click Set Up Via Mobile Profile (under
Quick Links).
• Once you download the app to your compatible device, you will also be
able to start your vehicle and lock/unlock its doors from virtually anywhere.
Mobile App
ELECTRONICS
129
Page 135 of 276
Additional Information
© 2015 FCA US LLC. All rights reserved. Mopar, Mopar Owner Connect and
Uconnect are registered trademarks of FCA US LLC. Android is a trademark of Google
Inc. SiriusXM and all related marks and logos are trademarks of SiriusXM Radio Inc.
Yelp, Yelp logo, Yelp burst and related marks are registered trademarks of Yelp.
For Uconnect system support, visit DriveUconnect.com or call: 1-877-855-8400
(24 hours a day 7 days a week)
Uconnect Access Services Support: 1-855-792-4241. Please have your Uconnect
Security PIN ready when you call.
UCONNECT PHONE
Uconnect Phone (Bluetooth Hands Free Calling)
Uconnect 5.0 Phone Menu
1 — Call/Redial/Hold
2 — Mobile Phone Signal Strength
3 — Currently Paired Mobile Phone
4 — Mobile Phone Battery Life
5 — Mute Microphone
6 — Transfer To/From Uconnect
System7 — Uconnect Phone Settings Menu
8 — Text Messaging
9 — Direct Dial Pad
10 — Recent Call Log
11 — Browse Phone Book (Contains
9-1-1)
12 — End Call
ELECTRONICS
133
Page 137 of 276

Refer to the “Understanding The Features Of Your Vehicle” section of your vehicle's
Owner's Manual on the DVD for further details.
NOTE:
• The Uconnect Phone requires a mobile phone equipped with the BluetoothHands-Free Profile, Version 1.0 or higher.
• Most mobile phones/devices are compatible with the Uconnect system, however some mobile phones/devices may not be equipped with all of the required features
to utilize all of the Uconnect system features.
• For Uconnect Customer Care: • U.S. residents visit UconnectPhone.com or call 1-877-855-8400.
Pairing (Wirelessly Connecting) Your Mobile Phone To The Uconnect System
Mobile phone pairing is the process of establishing a wireless connection between a
cellular phone and the Uconnect system.
NOTE:
• To use the Uconnect Phone feature, you first must determine if your mobile phoneand software are compatible with the Uconnect system. Please visit
UconnectPhone.com for complete mobile phone compatibility information.
• Mobile phone pairing is not available while the vehicle is in motion.
• A maximum of 10 mobile phones can be paired to the Uconnect system.
Start Pairing Procedure On The Radio
Uconnect 5.0:
1. Place the ignition in the ACC or ON position.
2. Press the “Phone” button.
3. Select “Settings.”
4. Select “Paired Phones.”
5. Select “Add device.”
• Uconnect Phone will display an “Inprogress” screen while the system
is connecting.
Uconnect 5.0
ELECTRONICS
135
Page 141 of 276

Voice Command Tips
• Speaking complete names (i.e; Call John Doe vs. Call John) will result in greatersystem accuracy.
• You can “link” commands together for faster results. Say “Call John Doe, mobile,” for example.
• If you are listening to available voice command options, you do not have to listen to the entire list. When you hear the command that you need, push the
button on the steering wheel, wait for the beep and say your command.
Changing The Volume
• Start a dialogue by pushing the Phone button, then say a command for
example - "Help".
• Use the radio VOLUME/MUTE rotary knob to adjust the volume to a comfortable level while the Uconnect system is speaking.
NOTE:
The volume setting for Uconnect is different than the audio system.
NOTE:
To access help, push the Uconnect Phone button
on the steering wheel and say
"help." Push the Uconnect Phone Pickup button
or the VR buttonand say
"cancel" to cancel the help session.
Using Do Not Disturb
With Do Not Disturb, you can disable notifications from incoming calls and texts,
allowing you to keep your eyes on the road and hands on the wheel. For your
convenience there is a counter display to keep track of your missed calls and text
messages while you were using Do Not Disturb.
Do Not Disturb can automatically reply with a text message, a call or both, when
declining an incoming call and send it to voicemail.
Automatic reply messages can be:
• “I am driving right now, I will get back to you shortly.”
• Create a custom auto reply message up to 160 characters.
While in Do Not Disturb, Conference Call can be selected so you can still place a
second call without being interrupted by incoming calls.
NOTE:
• Only the beginning of your custom message will be seen on the touchscreen.
• Reply with text message is not compatible with iPhones.
• Auto reply with text message is only available on phones that supporting Bluetooth MAP.
ELECTRONICS
139
Page 146 of 276

VIDEO ENTERTAINMENT SYSTEM (VES)
System Operation
• Cycle the ignition to the ON or ACCposition.
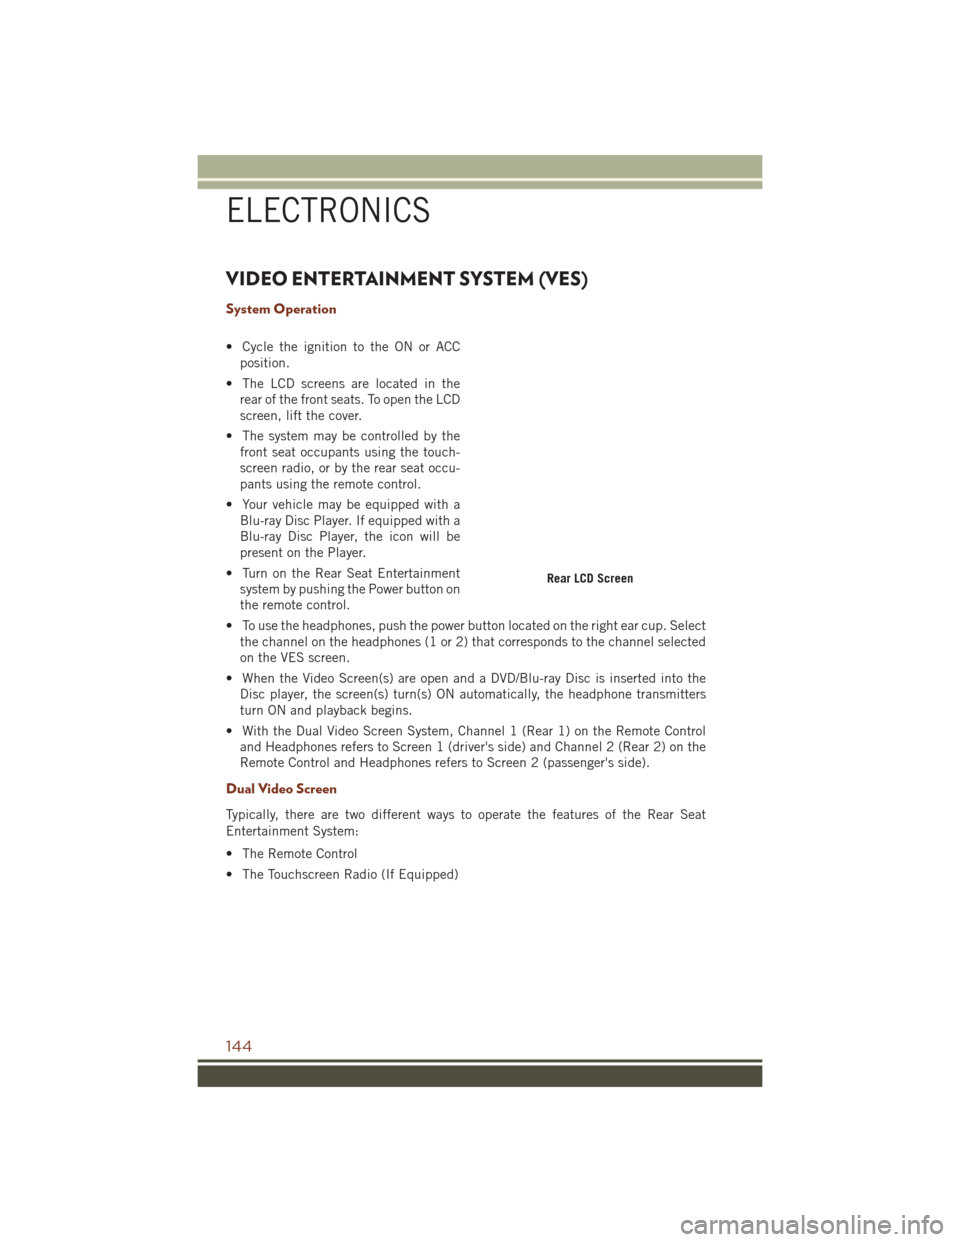
• The LCD screens are located in the rear of the front seats. To open the LCD
screen, lift the cover.
• The system may be controlled by the front seat occupants using the touch-
screen radio, or by the rear seat occu-
pants using the remote control.
• Your vehicle may be equipped with a Blu-ray Disc Player. If equipped with a
Blu-ray Disc Player, the icon will be
present on the Player.
• Turn on the Rear Seat Entertainment system by pushing the Power button on
the remote control.
• To use the headphones, push the power button located on the right ear cup. Select the channel on the headphones (1 or 2) that corresponds to the channel selected
on the VES screen.
• When the Video Screen(s) are open and a DVD/Blu-ray Disc is inserted into the Disc player, the screen(s) turn(s) ON automatically, the headphone transmitters
turn ON and playback begins.
• With the Dual Video Screen System, Channel 1 (Rear 1) on the Remote Control and Headphones refers to Screen 1 (driver's side) and Channel 2 (Rear 2) on the
Remote Control and Headphones refers to Screen 2 (passenger's side).
Dual Video Screen
Typically, there are two different ways to operate the features of the Rear Seat
Entertainment System:
• The Remote Control
• The Touchscreen Radio (If Equipped)
Rear LCD Screen
ELECTRONICS
144