2016 JEEP GRAND CHEROKEE set clock
[x] Cancel search: set clockPage 92 of 276

UCONNECT 5.0
Clock Setting
To start the clock setting procedure:
1. Push the MORE button on the faceplate. Next press the “Settings” button on thetouchscreen and then press the “Clock and Date” button on the touchscreen.
2. Press the “Set Time” button on the touchscreen.
3. Press the “Up” or “Down” arrows to adjust the hours or minutes, next select the “AM” or “PM” button on the touchscreen. You can also select 12hr or 24hr format
by pressing the desired button on the touchscreen.
Uconnect 5.0 Radio
1 — Radio Mode Button
2 — Reverse Seek Button
3 — Forward Seek Button
4 — Compass Information Button
5 — Climate Controls Button
6 — MORE Functions Button
7 — Audio Button
8 — Information Button
9 — Tune Button10 — AM/FM/SXM Button
11 — Browse/Enter Button Tune/
Scroll Knob
12 — Back Function Button
13 — Screen Off Button
14 — Mute Button/Rotate Volume
Knob
15 — Uconnect Phone Button
16 — Media Mode Button
ELECTRONICS
90
Page 93 of 276

4. Once the time is set press the “Done” button on the touchscreen to exit the timescreen.
NOTE:
In the Clock Setting Menu you can also select the “Show Time Status” button on the
touchscreen, then select from “On” or “Off” to display the time in the status bar.
Equalizer, Balance And Fade
1. Push the MORE button on the faceplate. Next press the “Settings” button on the touchscreen.
2. Then scroll down and press the “Audio” button on the touchscreen to get to the Audio menu.
3. The Audio Menu shows the following options for you to customize your audio settings.
Equalizer
• Press the “Equalizer” button on the touchscreen to adjust the Bass, Mid and Treble. Use the “+” or “–” button on the touchscreen to adjust the equalizer to your
desired settings. Press the “Back Arrow” button on the touchscreen when done.
Balance/Fade
• Press the “Balance/Fade” button on the touchscreen to adjust the sound from the speakers. Use the arrow button on the touchscreen to adjust the sound level from
the front and rear or right and left side speakers. Press the Center “C” button on
the touchscreen to reset the balance and fade to the factory setting. Press the
“Back Arrow” button on the touchscreen when done.
Speed Adjusted Volume
• Press the “Speed Adjusted Volume” button on the touchscreen to select between OFF, 1, 2 or 3. This will decrease the radio volume relative to a decrease in vehicle
speed. Press the “Back Arrow” button on the touchscreen when done.
Loudness
• Press the “Loudness” button on the touchscreen to select the Loudness feature. When this feature is activated it improves sound quality at lower volumes.
Surround Sound
• Press the “Surround Sound” button on the touchscreen, select “On” or “Off” followed by pressing the “Back Arrow” button on the touchscreen. When this
feature is activated, it provides simulated surround sound mode.
Radio Operation
Seek Up/Seek Down
• Press the up or down button to seek through radio stations in AM, FM or SXMbands.
• Hold either button to bypass stations without stopping.
ELECTRONICS
91
Page 103 of 276

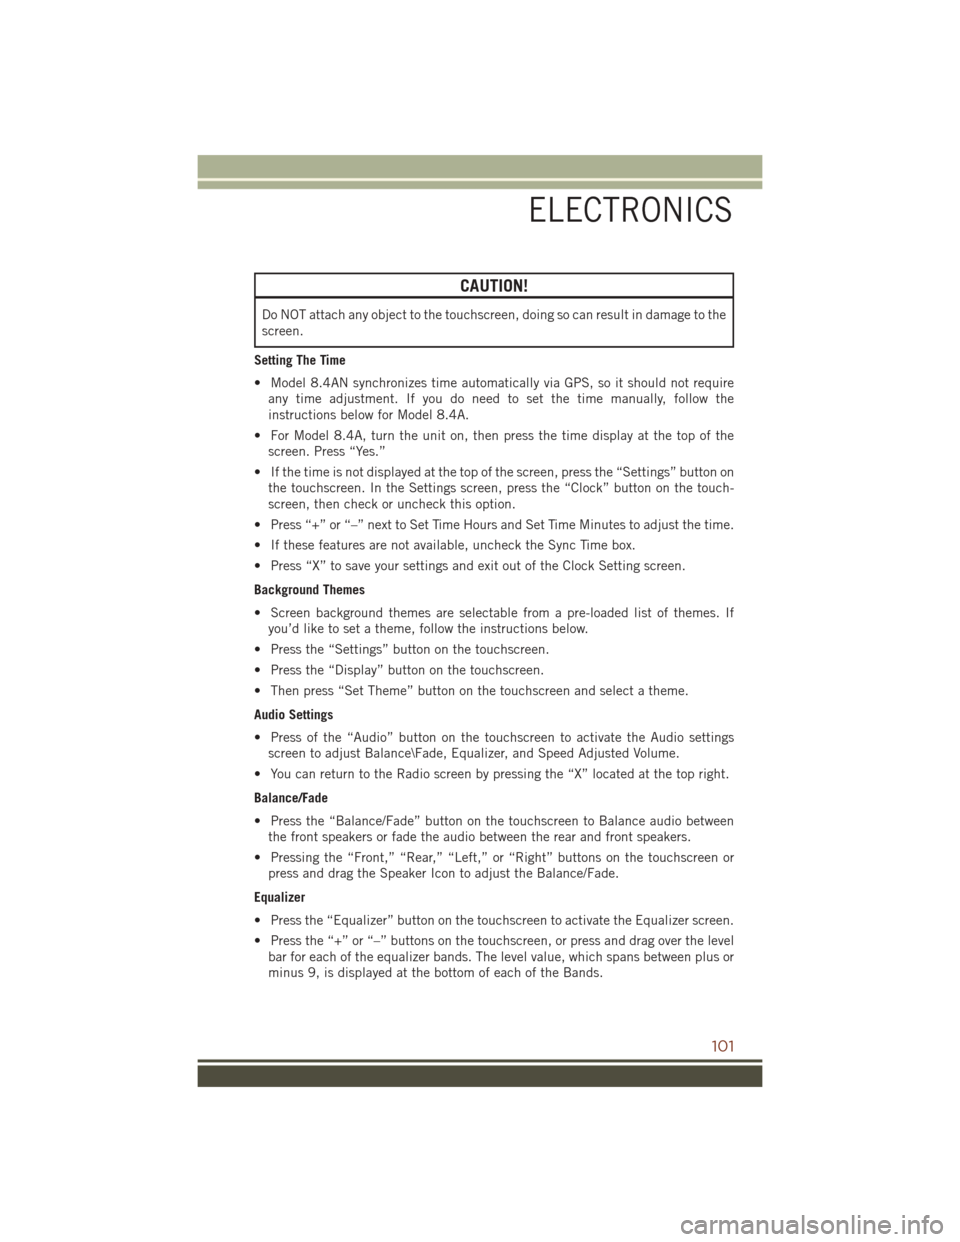
CAUTION!
Do NOT attach any object to the touchscreen, doing so can result in damage to the
screen.
Setting The Time
• Model 8.4AN synchronizes time automatically via GPS, so it should not require any time adjustment. If you do need to set the time manually, follow the
instructions below for Model 8.4A.
• For Model 8.4A, turn the unit on, then press the time display at the top of the screen. Press “Yes.”
• If the time is not displayed at the top of the screen, press the “Settings” button on the touchscreen. In the Settings screen, press the “Clock” button on the touch-
screen, then check or uncheck this option.
• Press “+” or “–” next to Set Time Hours and Set Time Minutes to adjust the time.
• If these features are not available, uncheck the Sync Time box.
• Press “X” to save your settings and exit out of the Clock Setting screen.
Background Themes
• Screen background themes are selectable from a pre-loaded list of themes. If you’d like to set a theme, follow the instructions below.
• Press the “Settings” button on the touchscreen.
• Press the “Display” button on the touchscreen.
• Then press “Set Theme” button on the touchscreen and select a theme.
Audio Settings
• Press of the “Audio” button on the touchscreen to activate the Audio settings screen to adjust Balance\Fade, Equalizer, and Speed Adjusted Volume.
• You can return to the Radio screen by pressing the “X” located at the top right.
Balance/Fade
• Press the “Balance/Fade” button on the touchscreen to Balance audio between the front speakers or fade the audio between the rear and front speakers.
• Pressing the “Front,” “Rear,” “Left,” or “Right” buttons on the touchscreen or press and drag the Speaker Icon to adjust the Balance/Fade.
Equalizer
• Press the “Equalizer” button on the touchscreen to activate the Equalizer screen.
• Press the “+” or “–” buttons on the touchscreen, or press and drag over the level bar for each of the equalizer bands. The level value, which spans between plus or
minus 9, is displayed at the bottom of each of the Bands.
ELECTRONICS
101
Page 150 of 276

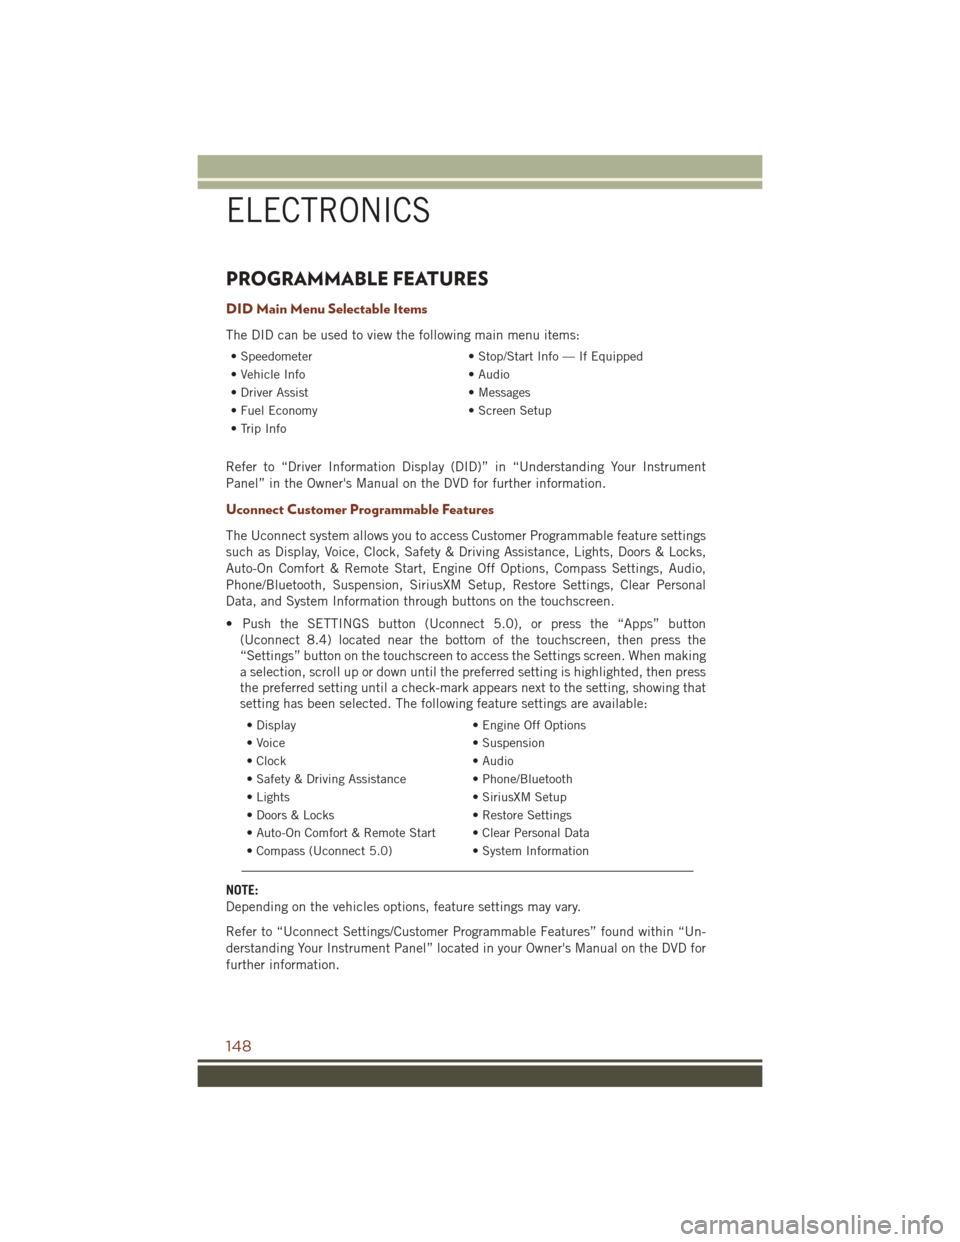
PROGRAMMABLE FEATURES
DID Main Menu Selectable Items
The DID can be used to view the following main menu items:
• Speedometer• Stop/Start Info — If Equipped
• Vehicle Info • Audio
• Driver Assist • Messages
• Fuel Economy • Screen Setup
• Trip Info
Refer to “Driver Information Display (DID)” in “Understanding Your Instrument
Panel” in the Owner's Manual on the DVD for further information.
Uconnect Customer Programmable Features
The Uconnect system allows you to access Customer Programmable feature settings
such as Display, Voice, Clock, Safety & Driving Assistance, Lights, Doors & Locks,
Auto-On Comfort & Remote Start, Engine Off Options, Compass Settings, Audio,
Phone/Bluetooth, Suspension, SiriusXM Setup, Restore Settings, Clear Personal
Data, and System Information through buttons on the touchscreen.
• Push the SETTINGS button (Uconnect 5.0), or press the “Apps” button (Uconnect 8.4) located near the bottom of the touchscreen, then press the
“Settings” button on the touchscreen to access the Settings screen. When making
a selection, scroll up or down until the preferred setting is highlighted, then press
the preferred setting until a check-mark appears next to the setting, showing that
setting has been selected. The following feature settings are available:
• Display • Engine Off Options
• Voice • Suspension
• Clock • Audio
• Safety & Driving Assistance • Phone/Bluetooth
• Lights • SiriusXM Setup
• Doors & Locks • Restore Settings
• Auto-On Comfort & Remote Start • Clear Personal Data
• Compass (Uconnect 5.0) • System Information
NOTE:
Depending on the vehicles options, feature settings may vary.
Refer to “Uconnect Settings/Customer Programmable Features” found within “Un-
derstanding Your Instrument Panel” located in your Owner's Manual on the DVD for
further information.
ELECTRONICS
148
Page 263 of 276

FREQUENTLY ASKED QUESTIONS
GETTING STARTED
How do I install my LATCH Equipped Child Seat? pg. 23
How do I program my Front Seat Memory? pg. 31
ELECTRONICS
Which radio is in my vehicle?
• Uconnect 5.0 pg. 90
• Uconnect 8.4A/8.4AN pg. 100
How do I activate the Audio Jack?
• Uconnect 5.0 pg. 93
• Uconnect 8.4A/8.4AN pg. 107
How do I set the clock on my radio?
• Uconnect 5.0 pg. 90
• Uconnect 8.4A/8.4AN pg. 100
How do I use the Navigation feature?
• Uconnect 8.4A/8.4AN pg. 109
How do I configure my Universal Garage Door Opener (HomeLink)? pg. 150
How do I pair my cell phone via Bluetooth with the Uconnect Hands-Free Voice
Activation System? pg. 133
How do I improve the Bluetooth performance of my Uconnect System? pg. 142
OFF-ROAD CAPABILITIES
How do I shift into different four-wheel drive selections? pg. 155
UTILITY
How do I know how much I can tow with my Jeep Cherokee? pg. 161
WHAT TO DO IN EMERGENCIES
What do I do if my TPMS warning light is blinking? pg. 191
How do I change a flat tire? pg. 198
How do I Jump-Start my vehicle? pg. 206
FAQ’s
261
Page 266 of 276

Child Restraints............23
CenterSeatLATCH.........24
Child Seat Installation .......26
Install A LATCH-Compatible Child
Restraint ..............26
ChildSeat................26
Child Seat Installation .........23
Cleaning Wheels ..............232
Windshield Wiper Blades ....232
ClimateControl..........66,125
Clock...................90
Clock Setting ..............90
Cluster Warning/Indicator Lights AirBagWarningLight ......190
Brake Warning Light .......193
Electronic Speed Control ON
Indicator ..............195
Electronic Speed Control SET
Indicator .............195
Electronic Stability Control (ESC)
OFF Indicator Light .......196
Front Fog Light Indicator ....195
High Beam Indicator ......195
Park/Headlight ON Indicator . .195
Turn Signal Indicator ......195
Vehicle Security Light ......195
Clutch .................232
ClutchFluid..............232
Compact Spare Tire ..........255
Compass Calibration .........147
Cooling System ............232
Adding Coolant (Antifreeze) . .232
Coolant Capacity . .226, 228, 230
Coolant Level ...........232
Disposal Of Used Coolant ....232
Drain, Flush, And Refill .....232
Inspection ............232
PointsToRemember ......232
Pressure Cap ...........232
Selection Of Coolant
(Antifreeze) ....226, 228, 229,
230, 232
Corrosion Protection .........232
Customer Assistance ......258, 259
Customer Programmable Features ..............148 DEF (Diesel Exhaust Fluid)
.....184
Defects, Reporting ..........259
Diesel Engine Maintenance .....182
Diesel Exhaust Fluid (DEF) .....184
Diesel Fuel Water Separator .....182
Disabled Vehicle Towing ....189, 212
Disarming, Security System ......17
Disposal Antifreeze (Engine Coolant) . . .232
Disturb .................139
Driver Information Display DID.................196
Instrument Cluster Display . . .196
Programmable Features .....148
E-85Fuel...............227
Economy(Fuel)Mode......61,172
Electronics Your Vehicle's Sound System . . .74
Electronic Speed Control (Cruise Control) ................50
Electronic Stability Control (ESC) . .194
Electronic Stability Control (ESC) OFF Indicator ..............196
Electronic Throttle Control Warning Light ................191
Emergency, In Case Of Freeing Vehicle When Stuck . .214
Jump Starting ..........206
Tow Hooks ............209
Towing ...............189
Engine.................180 Air Cleaner ............232
Break-In Recommendations
. . .42
Checking Oil Level ........232
Compartment ...........218
Coolant
(Antifreeze) ......226, 229, 230
Cooling ...............232
Fuel Requirements .....226, 228
Jump Starting ..........206
Malfunction Indicator (Check
Engine) ..............194
Oil .... 226, 228, 229, 230, 232
Oil Filler Cap ...........232
Oil Selection .....226, 228, 232
Overheating ............197
INDEX
264