2016 JEEP GRAND CHEROKEE instrument panel
[x] Cancel search: instrument panelPage 63 of 276

• Holding the (-) paddle depressed will downshift the transmission to the lowestgear possible at the current speed.
• Transmission shifting will be more noticeable when AutoStick is enabled.
• The system may revert to automatic shift mode if a fault or overheat condition is detected.
NOTE:
When Selec-Speed or Hill Descent Control is enabled, AutoStick is not active.
To disengage AutoStick, return the gear selector to the DRIVE position, or press and
hold the (+) shift paddle (if the gear selector is already in DRIVE) until "D" is once
again indicated in the instrument cluster. You can shift in or out of AutoStick at any
time without taking your foot off the accelerator pedal.
WARNING!
Do not downshift for additional engine braking on a slippery surface. The drive
wheels could lose their grip and the vehicle could skid, causing a collision or
personal injury.
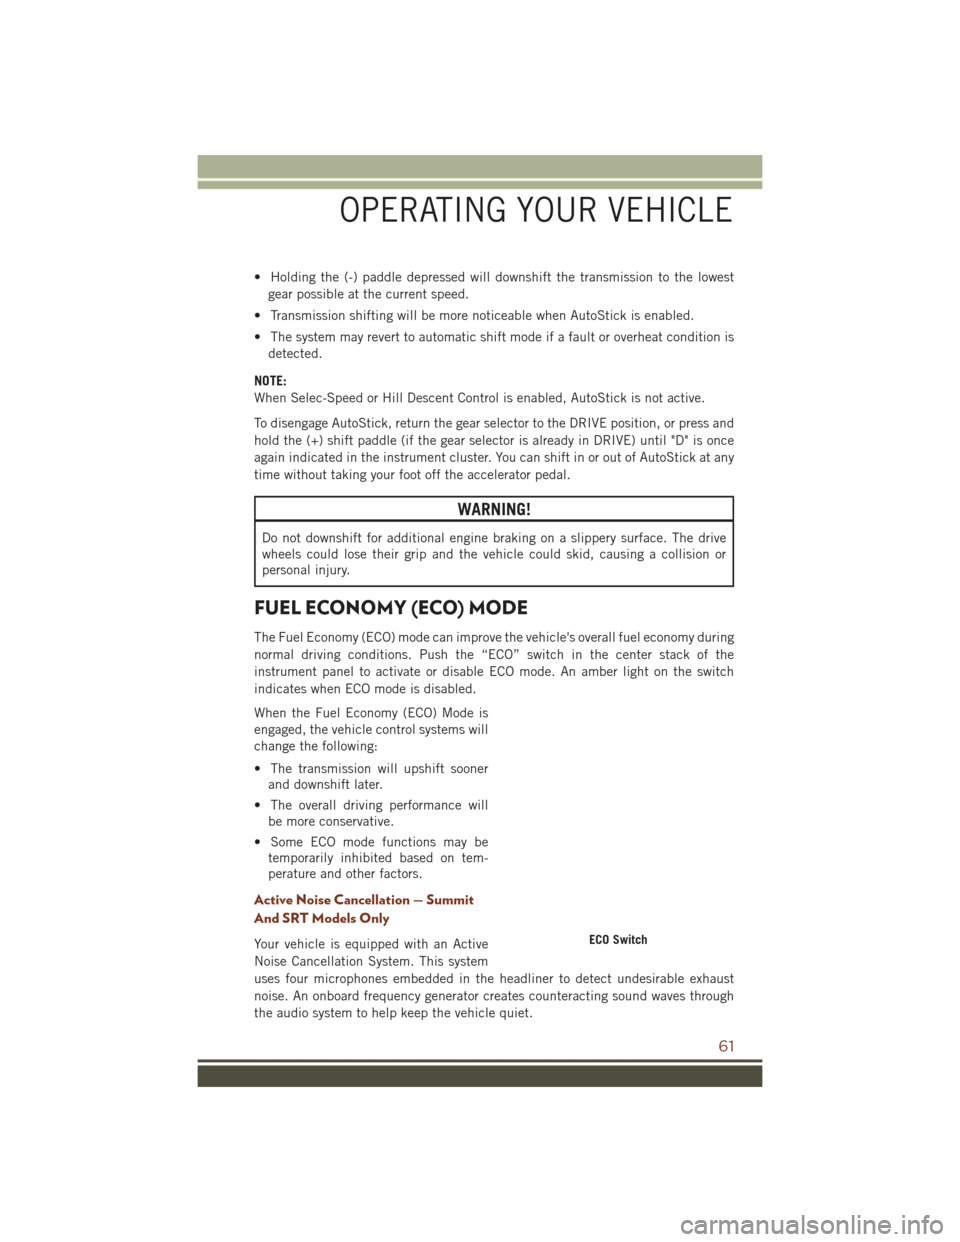
FUEL ECONOMY (ECO) MODE
The Fuel Economy (ECO) mode can improve the vehicle's overall fuel economy during
normal driving conditions. Push the “ECO” switch in the center stack of the
instrument panel to activate or disable ECO mode. An amber light on the switch
indicates when ECO mode is disabled.
When the Fuel Economy (ECO) Mode is
engaged, the vehicle control systems will
change the following:
• The transmission will upshift sooner and downshift later.
• The overall driving performance will be more conservative.
• Some ECO mode functions may be temporarily inhibited based on tem-
perature and other factors.
Active Noise Cancellation — Summit
And SRT Models Only
Your vehicle is equipped with an Active
Noise Cancellation System. This system
uses four microphones embedded in the headliner to detect undesirable exhaust
noise. An onboard frequency generator creates counteracting sound waves through
the audio system to help keep the vehicle quiet.ECO Switch
OPERATING YOUR VEHICLE
61
Page 64 of 276

STOP/START SYSTEM — IF EQUIPPED
The Stop/Start function was developed to reduce fuel consumption. The system will
stop the engine automatically during a vehicle stop if the required conditions are
met. Releasing the brake pedal or pressing the accelerator pedal will automatically
re-start the engine.
Automatic Mode
The Stop/Start feature is enabled after every normal customer
engine start. At that time, the system will go into STOP/START
READY and if all other conditions are met, can go into a STOP/
START AUTOSTOP ACTIVE “Autostop” mode.
To Activate The Autostop Mode, The Following Must Occur:
• The system must be in STOP/START READY state. A STOP/START READY message will be displayed in the Driver Information Display (DID) within the
Stop/Start section. Refer to “Driver Information Display (DID)” in “Understanding
Your Instrument Panel” in your owner’s manual on the DVD for further information.
• The vehicle must be completely stopped.
• The shifter must be in a forward gear and the brake pedal depressed.
The engine will shut down, the tachometer will move to the zero position and the
Stop/Start telltale will illuminate indicating you are in Autostop. Customer settings
will be maintained upon return to an engine running condition.
Refer to the “Stop/Start System” in the “Starting And Operating” section located in
your Owner’s Manual on the DVD for further information.
Possible Reasons The Engine Does Not Autostop
Prior to engine shut down, the system will check many safety and comfort conditions
to see if they are fulfilled. Detailed information about the operation of the Stop/Start
system may be viewed in the DID Stop/Start Screen. In the following situations, the
engine will not stop:
• Driver’s seat belt is not buckled.
• Driver’s door is not closed.
• Battery temperature is too warm or cold.
• Battery charge is low.
• The vehicle is on a steep grade.
• Cabin heating or cooling is in process and an acceptable cabin temperature has not been achieved.
• HVAC is set to full defrost mode at a high blower speed.
OPERATING YOUR VEHICLE
62
Page 66 of 276

To Manually Turn Off The Stop/Start System
1. Push the STOP/START Off switch (lo-cated on the switch bank). The light
on the switch will illuminate.
2. The “STOP/START OFF” message will appear in Driver Information Display
(DID). Refer to or “Driver Information
Display (DID)” in “Understanding
Your Instrument Panel” in your Own-
er’s Manual on the DVD for further
information.
3. At the next vehicle stop (after turning off the STOP/START system) the en-
gine will not be stopped.
4. The STOP/START system will reset itself back to an ON condition every
time the ignition is turned off and back on.
To Manually Turn On The Stop/Start System
Push the STOP/START Off switch (located on the switch bank). The light on the
switch will turn off.
For complete details on the Stop/Start System, refer to the “Stop/Start System” in
the “Starting And Operating” section located in your Owner’s Manual on the DVD for
further information.
STOP/START Off Switch
OPERATING YOUR VEHICLE
64
Page 67 of 276

System Malfunction
If there is a malfunction in the STOP/START system, the system will not shut down
the engine. A “SERVICE STOP/START SYSTEM” message will appear in the Driver
Information Display (DID). Refer to “Driver Information Display (DID)“ in “Under-
standing Your Instrument Panel” for further information.
If the “SERVICE STOP/START SYSTEM” message appears in the DID, have the
system checked by your authorized dealer.
SPORT MODE — IF EQUIPPED
Your vehicle is equipped with a Sport
Mode feature. This mode is a configura-
tion set up for typical enthusiast driving.
The engine, transmission, and steering
systems are all set to their SPORT set-
tings. Sport Mode will provide improved
throttle response and modified shifting
for an enhanced driving experience, as
well the greatest amount of steering feel.
This mode may be activated and deacti-
vated by pushing the Sport button on the
instrument panel switch bank.
Sport Mode Button
OPERATING YOUR VEHICLE
65
Page 72 of 276

Parksense Rear Park Assist — If Equipped
The ParkSense Rear Park Assist system provides visual and audible indications of the
distance between the rear fascia and a detected obstacle when backing up, e.g.
during a parking maneuver. If your vehicle is equipped with this feature, the vehicle
brakes may be automatically applied and released when performing a reverse parking
maneuver if the system detects a possible collision with an obstacle.
The automatic braking function can be enabled/disabled from the Customer-
Programmable Features section of the Uconnect System.
ParkSense can be active only when the gear selector is in REVERSE. If ParkSense is
enabled at this gear selector position, the system will remain active until the vehicle
speed is increased to approximately 7 mph (11 km/h) or above. When in REVERSE
and above the system's operating speed, a warning will appear within the Driver
Information Display (DID) indicating the vehicle speed is too fast. The system will
become active again if the vehicle speed is decreased to speeds less than approxi-
mately 6 mph (9 km/h).
Cleaning The ParkSense Sensors
If “PARKSENSE UNAVAILABLE WIPE REAR SENSORS" or "PARKSENSE UNAVAIL-
ABLE WIPE FRONT SENSORS” appears in the “Driver Information Display (DID),”
clean the ParkSense sensors with water, car wash soap and a soft cloth. Do not use
rough or hard cloths. Do not scratch or poke the sensors. Otherwise, you could
damage the sensors.
PARKVIEW REAR BACK-UP CAMERA
You can see an on-screen image of the rear of your vehicle whenever the transmission
is shifted into REVERSE. The ParkView Rear Back-Up Camera image will be
displayed on the radio display screen, located on the center stack of the instrument
panel.
If the radio display screen appears foggy, clean the camera lens located on the rear
of the vehicle above the rear license plate.
Refer to “ParkView Rear Back-Up Camera — If Equipped” in “Understanding The
Features Of Your Vehicle” in your Owner's Manual on the DVD for further details.
WARNING!
Drivers must be careful when backing up; even when using the ParkView Rear
Back-Up Camera. Always check carefully behind your vehicle, and be sure to
check for pedestrians, animals, other vehicles, obstructions, or blind spots before
backing up. You must continue to pay attention while backing up. Failure to do so
can result in serious injury or death.
OPERATING YOUR VEHICLE
70
Page 86 of 276

Maintaining Your Uconnect Access Account
Selling Your Vehicle
When you sell your vehicle, we recommend that you remove your Uconnect Access
Account information from the vehicle. You can do this on the Mopar Owner Connect
website moparownerconnect.com. Removing your account information cancels your
subscription and makes your vehicle factory-ready for a new owner/subscriber.
For additional information on Uconnect, visit DriveUconnect.com or call
1-877-855-8400 .
Built-In Features
WARNING!
• ALWAYS obey traffic laws and pay attention to the road. Some UconnectAccess services, including 9-1-1 and Assist, will NOT work without an operable
1X (voice/data) or 3G (data) network connection.
• ALWAYS drive safely with your hands on the steering wheel. You have full
responsibility and assume all risks related to the use of the Uconnect features
and applications in this vehicle. Only use Uconnect when it is safe to do so.
Failure to do so may result in an accident involving serious injury or death.
• Ignoring the rearview mirror light could mean you may not have 9-1-1 Call
service if needed. If the rearview mirror light is illuminated, have an authorized
dealer service the 9-1-1 Call system immediately.
• The Occupant Restraint Controller (ORC) turns on the Air Bag Warning Light on
the instrument panel if a malfunction is detected in any part of the airbag
system. If the Air Bag Warning Light is illuminated, the air bag system may not
be working properly and the 9-1-1 system may not send a signal to a 9-1-1
operator if an air bag is deployed. If the Air Bag Warning Light is illuminated,
have an authorized dealer service your vehicle immediately.
• If anyone in the vehicle could be in danger (e.g., fire or smoke is visible,
dangerous road conditions or location), do not wait for voice contact from a
9-1-1 operator. All occupants should exit the vehicle immediately and move to
a safe location.
• The 9-1-1 Call system is embedded into the vehicle’s electrical system. Do not
add aftermarket electrical equipment to the vehicle’s electrical system. This
may prevent your vehicle from sending a signal to initiate an emergency call. To
avoid interference that can cause the 9-1-1 Call system to fail, never add
aftermarket equipment (e.g., two-way mobile radio, CB radio, data recorder,
etc.) to your vehicle’s electrical system or modify the antennas on your vehicle.
• IF YOUR VEHICLE LOSES BATTERY POWER FOR ANY REASON (INCLUDING
DURING OR AFTER AN ACCIDENT), the Uconnect features, apps and ser-
vices, among others, will not operate.
ELECTRONICS
84
Page 150 of 276

PROGRAMMABLE FEATURES
DID Main Menu Selectable Items
The DID can be used to view the following main menu items:
• Speedometer• Stop/Start Info — If Equipped
• Vehicle Info • Audio
• Driver Assist • Messages
• Fuel Economy • Screen Setup
• Trip Info
Refer to “Driver Information Display (DID)” in “Understanding Your Instrument
Panel” in the Owner's Manual on the DVD for further information.
Uconnect Customer Programmable Features
The Uconnect system allows you to access Customer Programmable feature settings
such as Display, Voice, Clock, Safety & Driving Assistance, Lights, Doors & Locks,
Auto-On Comfort & Remote Start, Engine Off Options, Compass Settings, Audio,
Phone/Bluetooth, Suspension, SiriusXM Setup, Restore Settings, Clear Personal
Data, and System Information through buttons on the touchscreen.
• Push the SETTINGS button (Uconnect 5.0), or press the “Apps” button (Uconnect 8.4) located near the bottom of the touchscreen, then press the
“Settings” button on the touchscreen to access the Settings screen. When making
a selection, scroll up or down until the preferred setting is highlighted, then press
the preferred setting until a check-mark appears next to the setting, showing that
setting has been selected. The following feature settings are available:
• Display • Engine Off Options
• Voice • Suspension
• Clock • Audio
• Safety & Driving Assistance • Phone/Bluetooth
• Lights • SiriusXM Setup
• Doors & Locks • Restore Settings
• Auto-On Comfort & Remote Start • Clear Personal Data
• Compass (Uconnect 5.0) • System Information
NOTE:
Depending on the vehicles options, feature settings may vary.
Refer to “Uconnect Settings/Customer Programmable Features” found within “Un-
derstanding Your Instrument Panel” located in your Owner's Manual on the DVD for
further information.
ELECTRONICS
148
Page 155 of 276

WARNING!
To Avoid Serious Injury or Death DO NOT:
• insert any objects into the receptacles
• touch with wet hands
Close the lid when not in use. If this outlet is mishandled, it may cause an electric
shock and failure.
POWER OUTLETS
There are three 12 Volt electrical power outlets on this vehicle.
The front power outlet is located inside the center storage bin of the instrument
panel. Push inward on the storage lid to open the compartment and gain access to
this power outlet.
A second front power outlet is located
inside the center console.
The rear power outlet is located in the
right rear cargo area.
The power outlets are labeled with either
a “key” or a “battery” symbol to indicate
how the outlet is powered. Power outlets
labeled with a “key” are powered when
the ignition switch is in the ON/RUN or
ACC position, while the outlets labeled
with a “battery” are connected directly to
the battery and powered at all times.
NOTE:
• Do not exceed the maximum power of160 Watts (13 Amps) at 12 Volts. If
the 160 Watt (13 Amp) power rating is
exceeded, the fuse protecting the sys-
tem will need to be replaced.
• Power outlets are designed for acces- sory plugs only. Do not insert any other
object in the power outlet as this will
damage the outlet and blow the fuse.
Improper use of the power outlet can
cause damage not covered by your new
vehicle warranty.
Front Power Outlet
Center Console Power Outlet
ELECTRONICS
153